Let’s be honest for a second. There is a specific kind of dread that hits around 4:30 PM on a Sunday. You stare into your open refrigerator, and all you see is a lonely jar of pickles and half a lemon. It’s not glamorous. It’s not appetizing. And honestly? It’s the enemy of a good week ahead.
I used to spend hours on Sundays trying to cook elaborate meals for the week. I’d end up with four different containers of food that tasted like cardboard by Wednesday. I was tired, the kitchen was a disaster zone, and my enthusiasm for eating leftovers had vanished faster than my weekend energy. I needed a system that actually worked.
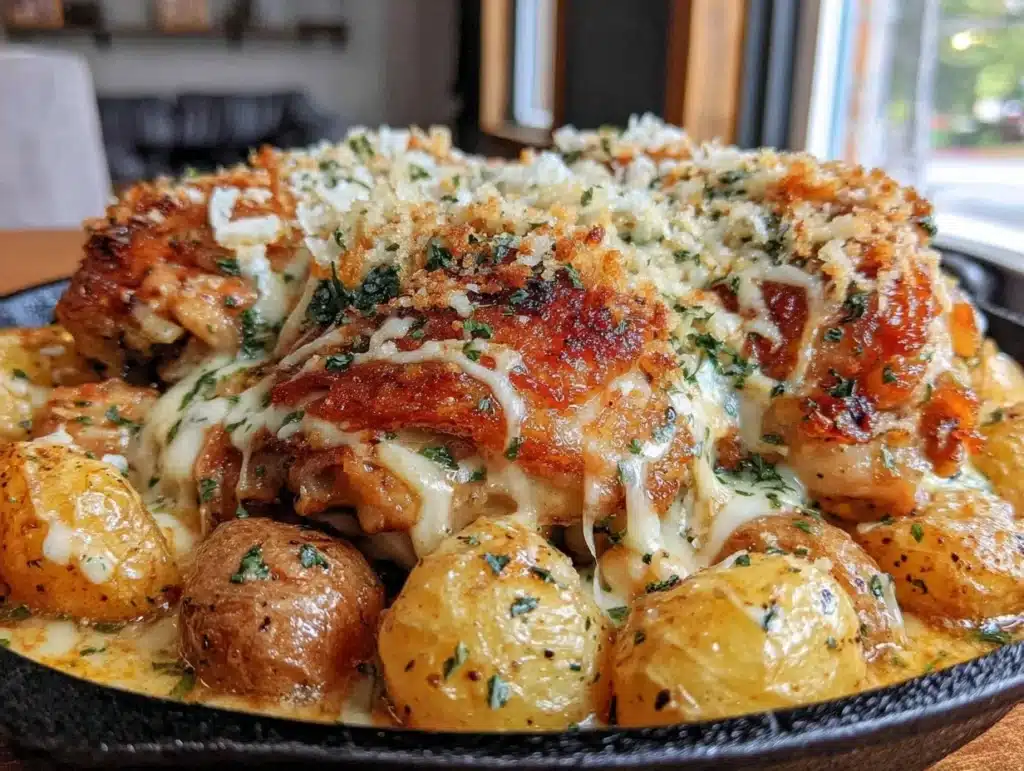
Then I made this one-skillet garlic parmesan chicken. I wasn’t trying to reinvent the wheel. I just wanted dinner that night. But what I found was a meal prep miracle. The sauce thickens perfectly as it cools. The chicken stays juicy even after sitting in the fridge for four days. It’s the kind of dish that tastes better on Tuesday morning than it did on Sunday night.
If you’ve been struggling with dry chicken or bland lunches, you know how frustrating it is. This recipe fixes both. I’ve tested this over a dozen times now. I’ve made it for my family, for my coworkers, and for myself when I just want something comforting but healthy. It’s become my go-to for “packed the way that actually keeps it fresh.” It’s reliable, it’s flavorful, and it doesn’t require a mountain of dishes to clean up.
I remember the first time I packed this for work. My colleague asked what smelled so good when I opened my container at lunch. It wasn’t just a meal; it was a mood lifter. That’s the power of good food. It sets the tone for the rest of your day. And with this recipe, you get that benefit for five days straight. No more guessing what to eat. No more ordering takeout because you’re too tired to cook.
This isn’t just another chicken recipe. It’s a strategy. It’s about taking control of your week with minimal effort. The garlic and parmesan create a savory coating that doesn’t get soggy. The skillet method locks in moisture. And the best part? You can make it in under 45 minutes. Let’s face it, we don’t have hours to spend in the kitchen. We need food that works as hard as we do.
Why You’ll Love This Recipe
After testing this dish in various forms, I can confidently say that this one-skillet garlic parmesan chicken is a standout. It’s not just about the taste, although that is incredible. It’s about the practicality. Most meal prep recipes fail because the food dries out or the flavors clash after a day or two. This one doesn’t. The sauce is emulsified by the starch from the pasta (if you add it) or the reduction of the cream, creating a protective layer around the chicken.
Here is why this recipe deserves a permanent spot in your rotation:
- Quick & Easy: You can have this from start to finish in about 30 minutes. That’s less time than it takes to scroll through food delivery apps. It’s perfect for those busy weeknights when you want something homemade but don’t have the energy for a five-course meal.
- Simple Ingredients: You likely have everything you need right now. Chicken breasts, garlic, parmesan cheese, heavy cream, and basic spices. No fancy grocery trips or obscure ingredients that will sit in your pantry for months.
- Perfect for Meal Prep: This is the holy grail of lunch boxes. It reheats beautifully in the microwave without becoming rubbery. The flavors actually meld together over time, making day three and four arguably the best.
- Crowd-Pleaser: Even my picky eater husband asks for seconds. Kids usually love the creamy, cheesy sauce. It’s a safe bet for potlucks or family dinners where you need to please everyone.
- Unbelievably Delicious: The combination of sharp parmesan and pungent garlic is next-level comfort food. It’s rich but not heavy. It feels indulgent, but it’s packed with protein.
What makes this different from other garlic chicken recipes is the technique. By deglazing the pan with a little broth or wine, you lift all the browned bits (the fond) from the bottom of the skillet. These bits are full of flavor. Most people skip this step. I never do. It creates a depth of flavor that you just can’t get from just mixing ingredients in a bowl.
Also, the way the parmesan melts into the cream creates a sauce that clings to the chicken rather than pooling at the bottom of your container. This is crucial for meal prep. You want every bite to be flavorful, not just the first one. This recipe delivers consistency from the first spoonful to the last.
It’s also incredibly forgiving. If you overcook the chicken slightly, the sauce saves it. If you add too much garlic, well, more is better here. It’s a robust dish that stands up to the rigors of being packed, transported, and stored. It’s comfort food reimagined for the modern, busy life. Healthier, faster, but with the same soul-soothing satisfaction.
What Ingredients You Will Need
This recipe relies on high-quality, simple ingredients to deliver bold flavor. The magic happens in the ratio of cheese to cream. You want a rich sauce that isn’t too heavy, and a chicken that is tender and flavorful. Here is what you need to gather before you start cooking.
- Chicken Breasts: Use boneless, skinless chicken breasts. I prefer organic if possible, but standard works fine. Pound them to an even thickness so they cook uniformly. (About 1.5 lbs total)
- Garlic: Fresh garlic is non-negotiable here. Pre-minced jarred garlic has a metallic taste that ruins the dish. Use at least 4-5 cloves. (Minced finely)
- Parmesan Cheese: Buy the block and grate it yourself. Pre-grated cheese contains anti-caking agents that prevent it from melting smoothly. You want a creamy sauce, not a grainy one. (1/2 cup, freshly grated)
- Heavy Cream: This provides the richness and helps keep the chicken moist. If you want a lighter version, you can use half-and-half, but the sauce will be thinner. (1 cup)
- Chicken Broth: Use low-sodium broth so you can control the saltiness. It helps deglaze the pan and adds depth. (1/2 cup)
- Butter: Unsalted butter is best so you can control the salt level. It adds a silky texture to the sauce. (2 tablespoons)
- Olive Oil: A neutral oil or olive oil for searing the chicken. Olive oil adds a nice fruity note. (1 tablespoon)
- Dried Italian Seasoning: This gives it that classic Italian-American vibe. If you don’t have it, use a mix of oregano, basil, and thyme. (1 teaspoon)
- Red Pepper Flakes: Optional, but recommended. A pinch adds a subtle heat that cuts through the richness of the cream. (1/4 teaspoon)
- Salt and Black Pepper: To taste. Always season your chicken well before cooking. (To taste)
- Parsley: Fresh chopped parsley for garnish. It adds color and a fresh contrast to the rich sauce. (2 tablespoons, chopped)
I recommend using a brand like Parmigiano-Reggiano for the cheese. It has a sharper, more complex flavor that really shines in this dish. For the chicken, look for breasts that are relatively uniform in size. If they vary wildly, you’ll end up with some dry pieces and some undercooked ones. It’s all about consistency.
If you are dairy-free, you can swap the heavy cream for full-fat coconut milk. It won’t taste exactly like parmesan, but it will be creamy and satisfying. For the cheese, nutritional yeast can add a cheesy flavor, though the texture will be different. These substitutions work well if you have dietary restrictions.
The key here is freshness. Fresh garlic and fresh herbs make a huge difference. Don’t skimp on the quality. This is a simple dish, so the ingredients speak for themselves. If they are bad, the dish will be bad. Keep it simple, keep it fresh, and you’ll be rewarded.
Equipment Needed
You don’t need a fancy kitchen to make this. A large skillet is the star of the show. I use a 12-inch cast iron skillet or a large non-stick pan. Cast iron is great for retaining heat, which helps get a good sear on the chicken. Non-stick is easier for cleaning, especially with the creamy sauce.
If you don’t have a large skillet, you can use a Dutch oven. Just make sure it’s wide enough to sear the chicken in batches without crowding. Crowding the pan steams the chicken instead of browning it, and you want that golden crust for flavor.
You’ll also need a whisk for mixing the sauce. A wooden spoon is good for stirring without scratching non-stick pans. A meat mallet or rolling pin is helpful for pounding the chicken breasts to an even thickness. This ensures they cook at the same rate.
A sharp knife and a cutting board are essential. I prefer a chef’s knife for its versatility. For grating the parmesan, a fine microplane grater is ideal. It creates a fine powder that melts instantly into the sauce. A box grater works too, but it takes more effort.
Don’t forget your meal prep containers. Glass containers are best for reheating. They don’t stain or hold odors like plastic can. Look for containers with tight-fitting lids to prevent leaks in your lunch bag. I use 3-compartment containers to keep the chicken and sauce separate from any sides until I’m ready to eat.
Budget-friendly options include a standard non-stick frying pan and a simple box grater. You don’t need to spend a fortune on equipment. The skill matters more than the tools. Just make sure your skillet is in good condition. If your non-stick coating is peeling, it’s time for a new one.
Preparation Method
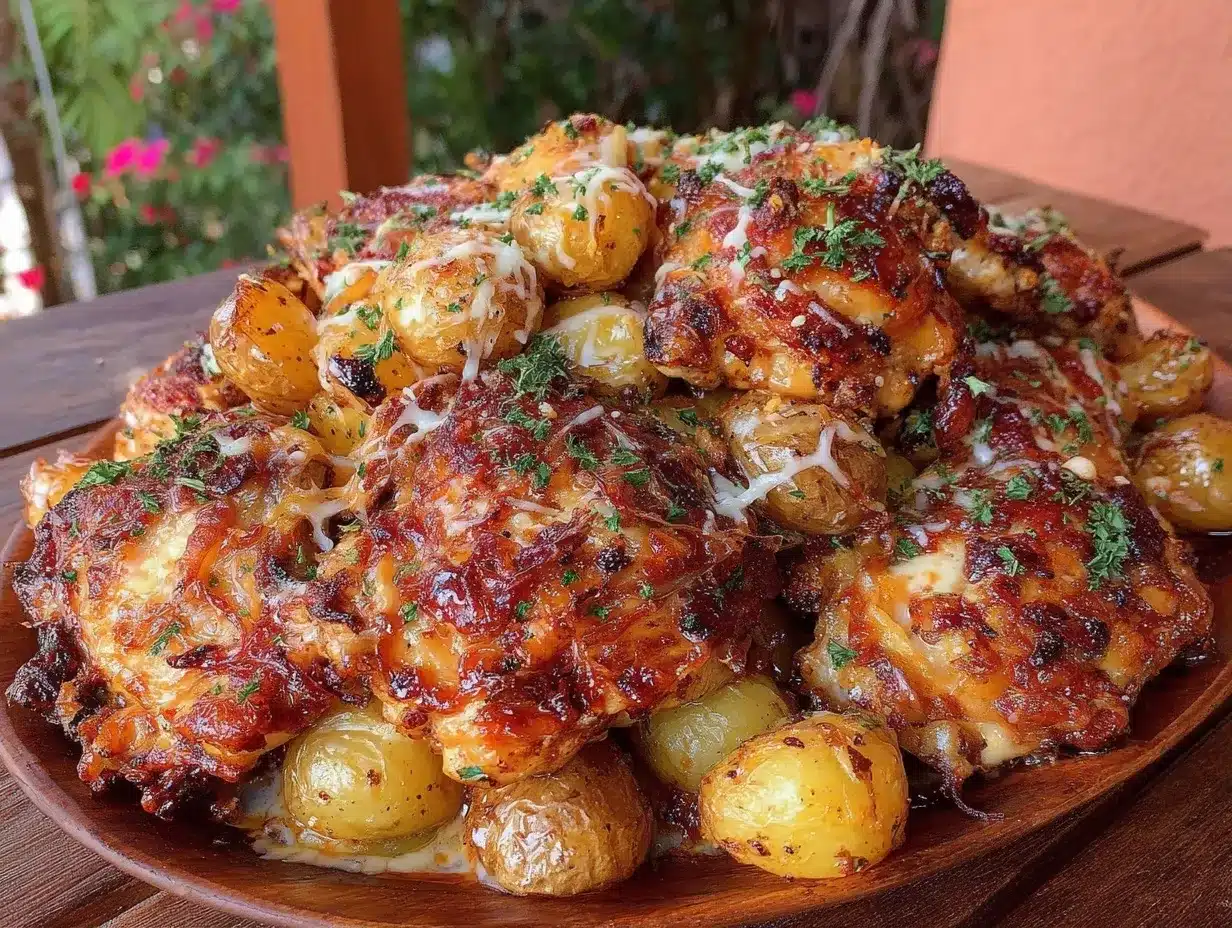
- Prep the Chicken: Pat the chicken breasts dry with paper towels. This is crucial for getting a good sear. Moisture is the enemy of browning. Season both sides generously with salt, pepper, and Italian seasoning. Pound the chicken to an even 1/2-inch thickness. This ensures even cooking. (Time: 5 minutes)
- Sear the Chicken: Heat the olive oil and 1 tablespoon of butter in your large skillet over medium-high heat. Once the butter stops foaming, add the chicken breasts. Do not overcrowd the pan. Sear for 5-6 minutes on one side until golden brown. Flip and cook for another 4-5 minutes. Remove chicken to a plate. It doesn’t need to be fully cooked through yet. (Time: 10-12 minutes)
- Sauté the Garlic: Reduce heat to medium. Add the remaining tablespoon of butter to the same skillet. Add the minced garlic and red pepper flakes. Sauté for 1 minute until fragrant. Be careful not to burn the garlic. Burnt garlic is bitter. Stir constantly. (Time: 1 minute)
- Make the Sauce: Pour in the chicken broth to deglaze the pan. Scrape up any browned bits from the bottom. Let it simmer for 2 minutes to reduce slightly. Then, stir in the heavy cream. Bring to a gentle simmer. (Time: 3 minutes)
- Melt the Cheese: Reduce heat to low. Gradually stir in the grated parmesan cheese. Whisk continuously until the cheese is melted and the sauce is smooth. This should take about 2 minutes. Do not boil the sauce vigorously, or it may separate. (Time: 2 minutes)
- Combine and Simmer: Return the chicken breasts to the skillet, nestling them into the sauce. Spoon some sauce over the top of the chicken. Cover the skillet and let it simmer on low heat for 5-7 minutes, or until the chicken reaches an internal temperature of 165°F. (Time: 7 minutes)
- Rest and Serve: Remove from heat. Let the chicken rest in the sauce for 5 minutes. This allows the juices to redistribute. Garnish with fresh parsley. Serve immediately or let cool for meal prep. (Time: 5 minutes)
Common issue: The sauce breaks. If the sauce looks oily or grainy, it was likely too hot. Always keep the heat low when adding cheese. If it breaks, you can rescue it by whisking in a splash of cold water or cream off the heat.
Another tip: If you like a thicker sauce, let it simmer uncovered for an extra 2-3 minutes after adding the cheese. The liquid will evaporate, and the sauce will coat the back of a spoon. This is ideal for meal prep as it won’t leak.
Cooking Tips & Techniques
One of the biggest mistakes people make with chicken is not patting it dry. I’ve made this error myself. I thought I was being efficient by skipping the paper towels. Result? Steamed chicken. No browning. No flavor. Always, always dry your meat before it hits the pan.
Another technique is the “rest.” Many people cut into the chicken immediately after cooking. This lets all the juices run out onto the plate. By letting it rest, the fibers relax and reabsorb the moisture. The chicken stays juicy in the container for days. It’s a simple step that makes a huge difference.
Timing is everything. If you add the garlic too early, it burns. If you add it too late, it’s raw. Aim for that 60-second mark. It should be golden and aromatic. If it smells like it’s burning, start over. It’s better to lose a minute than to ruin the whole dish.
Multitasking strategy: While the chicken rests, you can chop the parsley or wash your bowls. Use that 5-minute rest time productively. It keeps the workflow smooth and gets you to eating faster.
Consistency tip: Use a meat thermometer. It’s the only way to be sure. Visual cues can be deceiving. 165°F is the safe zone. If you pull it at 160°F, it will carry over to 165°F while resting. This prevents overcooking.
I once tried to make this in a small pan. The sauce was too thin and the chicken didn’t sear well. Always use a large skillet. Surface area matters for browning. If you don’t have space, cook in batches. It takes longer, but the result is worth it.
Variations & Adaptations
This recipe is versatile. You can tweak it to fit your dietary needs or taste preferences. Here are a few variations I’ve tried.
Gluten-Free Option: This recipe is naturally gluten-free. Just ensure your chicken broth is certified gluten-free. Some broths contain wheat-based additives. Check the label. Serve with rice or zucchini noodles instead of pasta.
Lighter Version: Swap heavy cream for unsweetened almond milk or half-and-half. You’ll need to add a teaspoon of cornstarch to thicken the sauce. It won’t be as rich, but it’s lower in calories. The flavor is still great.
Spicy Kick: Add more red pepper flakes or use spicy Italian sausage instead of chicken. The heat pairs well with the creamy sauce. It’s a fun twist for those who like a bit of fire.
Veggie Boost: Sauté spinach or mushrooms in the skillet before adding the garlic. They absorb the flavors beautifully. Spinach wilts quickly, so add it at the end. Mushrooms add a meaty texture. It’s a great way to sneak in more veggies.
Pasta Version: Cook linguine or fettuccine in the same skillet after removing the chicken. Add a splash of pasta water to the sauce. Toss everything together. It’s a complete meal in one pan. This is my favorite way to eat it for dinner.
I tried adding sun-dried tomatoes once. It was delicious, but the oil from the tomatoes changed the sauce consistency. It was still good, just different. Experiment to find what you like best. The base recipe is a solid foundation for creativity.
Serving & Storage Suggestions
Serve this warm. It’s best enjoyed fresh, but it stores exceptionally well. For meal prep, let the chicken cool completely in the sauce before packing. This prevents condensation, which can make the food soggy. Pack it in glass containers with tight lids.
In the refrigerator, this will keep for up to 4 days. The flavors meld and deepen over time. Day three is often the best day. The sauce thickens as it sits, coating the chicken perfectly.
To reheat, microwave in 30-second intervals. Stir in between. If the sauce is too thick, add a splash of water or broth. This restores the consistency. Avoid overheating, or the chicken will dry out.
Freezing: You can freeze this dish, but the texture of the sauce may change slightly. It might separate upon thawing. Reheat gently and whisk to re-emulsify. It’s still tasty, but fresh is best.
Pair with a simple green salad or roasted vegetables. A crusty piece of bread is great for soaking up the extra sauce. I often serve it with steamed broccoli for a balanced meal. The bitterness of the broccoli contrasts nicely with the rich chicken.
Flavors develop over time. The garlic becomes milder and sweeter. The parmesan integrates fully. Don’t be afraid to let it sit for a day or two. It’s part of the charm of this dish.
Nutritional Information & Benefits
Each serving (one chicken breast with sauce) contains approximately 450 calories. It’s high in protein, with about 40g per serving. This makes it great for muscle recovery and satiety. The fat content is around 25g, primarily from the cream and cheese. It’s a satisfying meal that keeps you full for hours.
Garlic is known for its immune-boosting properties. It contains allicin, which has antibacterial and antiviral effects. Parmesan is a good source of calcium and protein. Chicken is a lean protein source when prepared this way.
This dish is naturally gluten-free. It’s low in carbs if you skip the pasta. It’s suitable for many dietary patterns. Just be mindful of the sodium content if you are watching your salt intake. Use low-sodium broth and go easy on the added salt.
From a wellness perspective, this meal provides steady energy. The protein and fat combination stabilizes blood sugar levels. You won’t experience the mid-afternoon crash that comes from carb-heavy lunches. It’s a smart choice for sustained focus and energy.
I appreciate that it’s not overly processed. Whole ingredients, simple preparation. It aligns with my goal of eating clean without sacrificing flavor. It proves that healthy food can be indulgent.
Conclusion
This one-skillet garlic parmesan chicken is more than just a recipe. It’s a solution to the Sunday night dilemma. It’s reliable, delicious, and easy to make. I hope you find it as useful in your meal prep routine as I have in mine.
Feel free to customize it. Add veggies, swap proteins, or adjust the spice level. Make it your own. The base is flexible enough to handle your tweaks.
I love this recipe because it brings order to chaos. It turns a stressful week into an organized one. And the taste? Unbeatable. It’s comfort food that fuels you.
Try it this week. Pack it for lunch. Let me know how it goes in the comments below. I’d love to hear your variations and tips. Share this with a friend who needs meal prep inspiration. Let’s make eating better, together.
Frequently Asked Questions
Can I use chicken thighs instead of breasts?
Yes, chicken thighs work well. They are juicier and more forgiving. Just adjust the cooking time slightly, as thighs may take a bit longer to cook through. They are also higher in fat, which adds richness.
Why did my sauce separate?
This usually happens if the heat is too high when adding the cheese. Keep the heat low and whisk constantly. If it separates, you can rescue it by whisking in a splash of cold water or cream off the heat.
How long does this keep in the fridge?
It keeps well for up to 4 days in an airtight container. The flavors improve after day one, making it perfect for mid-week lunches.
Can I freeze this recipe?
Yes, but the sauce may separate upon thawing. Reheat gently and whisk to re-emulsify. It’s best eaten fresh, but freezing is an option for longer storage.
What sides go well with this dish?
Steamed broccoli, roasted asparagus, or a simple green salad are great options. If you want a heartier meal, serve it over pasta or rice. Crusty bread is also a nice addition for soaking up the sauce.
Pin This Recipe!
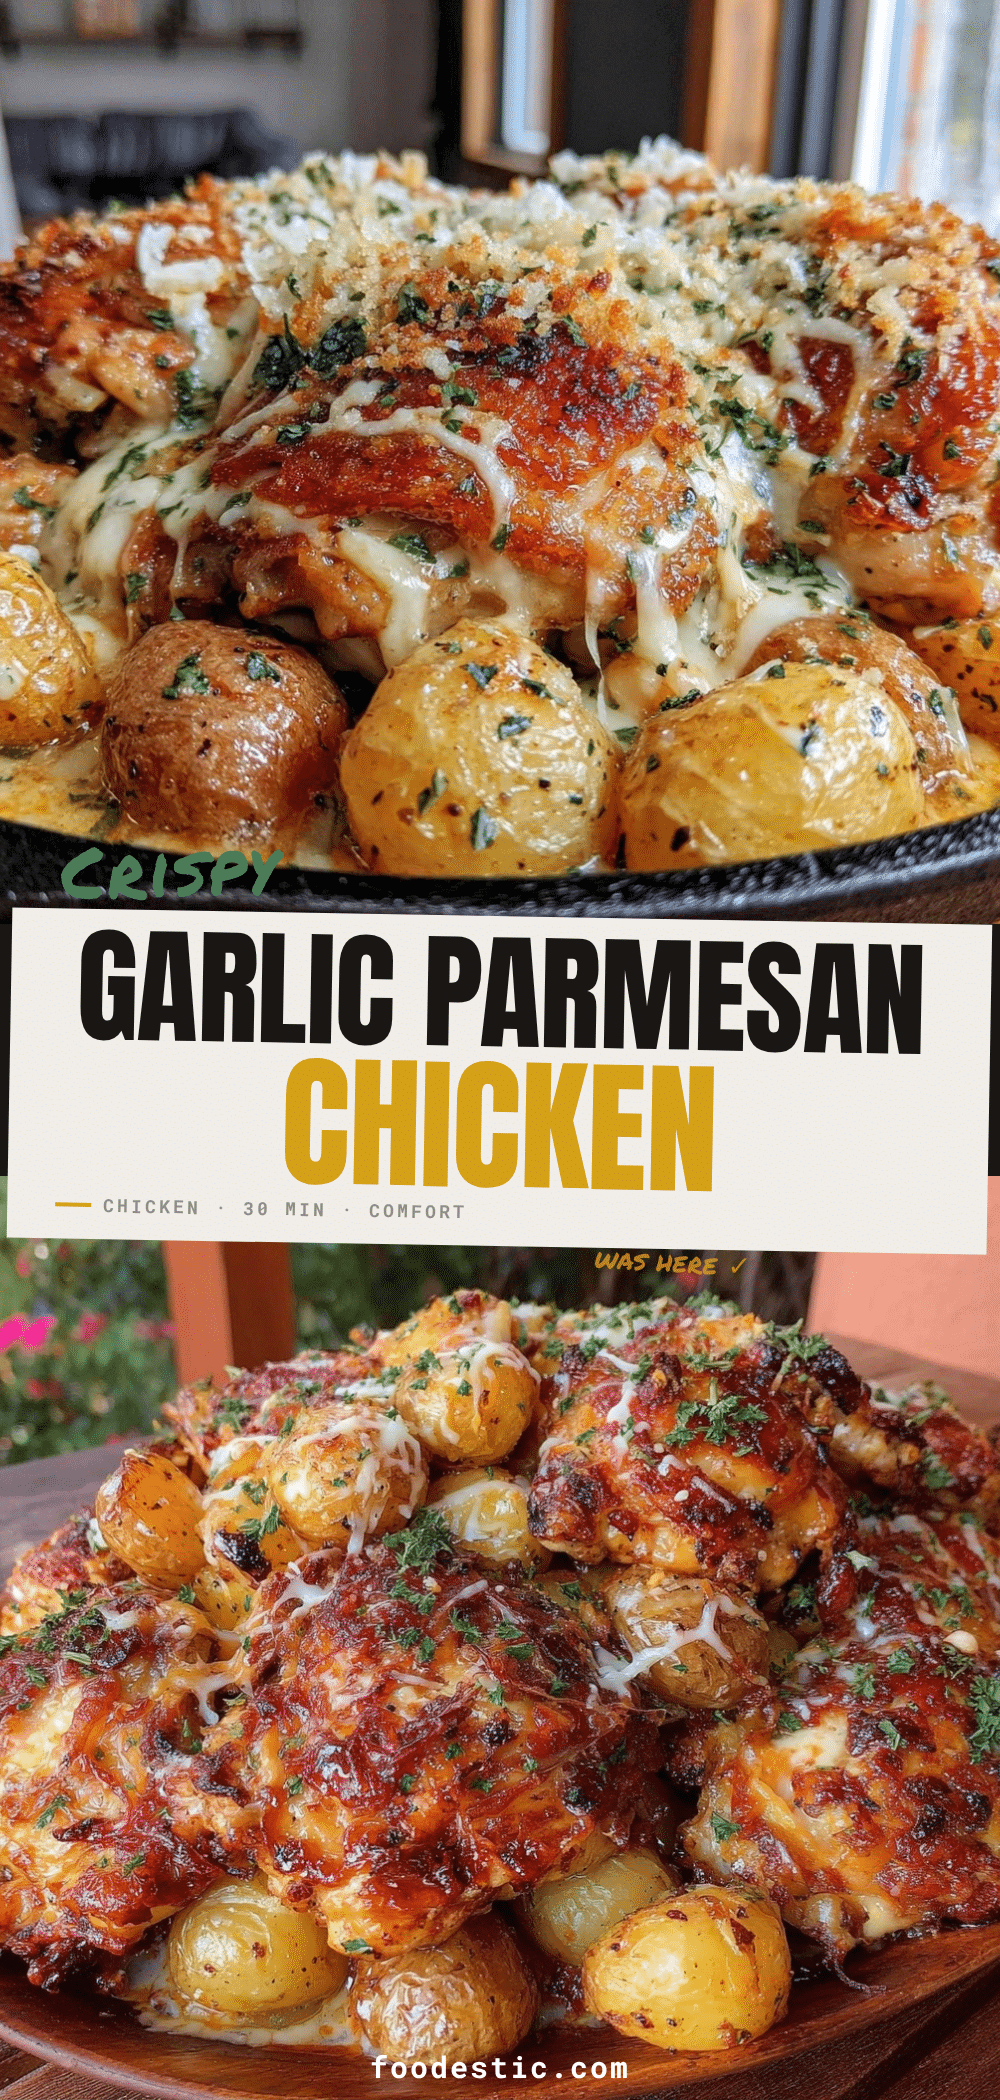

One-Skillet Garlic Parmesan Chicken
- Total Time: 30 minutes
- Yield: 4 servings 1x
Description
A quick, one-skillet meal prep favorite featuring juicy chicken breasts in a rich, creamy garlic and parmesan sauce. This dish is designed to stay moist and flavorful for up to four days in the fridge.
Ingredients
- 1.5 lbs boneless, skinless chicken breasts
- 4–5 cloves fresh garlic, minced
- 1/2 cup freshly grated Parmesan cheese (Parmigiano-Reggiano recommended)
- 1 cup heavy cream
- 1/2 cup low-sodium chicken broth
- 2 tablespoons unsalted butter
- 1 tablespoon olive oil
- 1 teaspoon dried Italian seasoning
- 1/4 teaspoon red pepper flakes
- Salt and black pepper to taste
- 2 tablespoons fresh parsley, chopped
Instructions
- Pat chicken breasts dry and season with salt, pepper, and Italian seasoning. Pound to an even 1/2-inch thickness.
- Heat olive oil and 1 tablespoon butter in a large skillet over medium-high heat. Sear chicken for 5-6 minutes per side until golden brown. Remove to a plate.
- Reduce heat to medium. Add remaining 1 tablespoon butter, minced garlic, and red pepper flakes. Sauté for 1 minute until fragrant.
- Pour in chicken broth to deglaze the pan, scraping up browned bits. Simmer for 2 minutes.
- Stir in heavy cream and bring to a gentle simmer.
- Reduce heat to low and gradually whisk in Parmesan cheese until melted and smooth.
- Return chicken to the skillet, nestling into the sauce. Cover and simmer on low for 5-7 minutes until chicken reaches 165°F.
- Remove from heat and let rest in the sauce for 5 minutes. Garnish with parsley and serve.
Notes
Pat chicken dry before searing to ensure browning. Do not boil the sauce vigorously after adding cheese to prevent separation. If the sauce breaks, whisk in a splash of cold water or cream. For a thicker sauce, simmer uncovered for an extra 2-3 minutes.
- Prep Time: 5 minutes
- Cook Time: 25 minutes
- Category: Main Course
- Cuisine: Italian
Nutrition
- Serving Size: 1 chicken breast wit
- Calories: 450
- Sugar: 1
- Sodium: 600
- Fat: 25
- Saturated Fat: 12
- Carbohydrates: 3
- Protein: 40
Keywords: garlic parmesan chicken, meal prep, one skillet, creamy chicken, easy dinner, gluten-free, high protein


