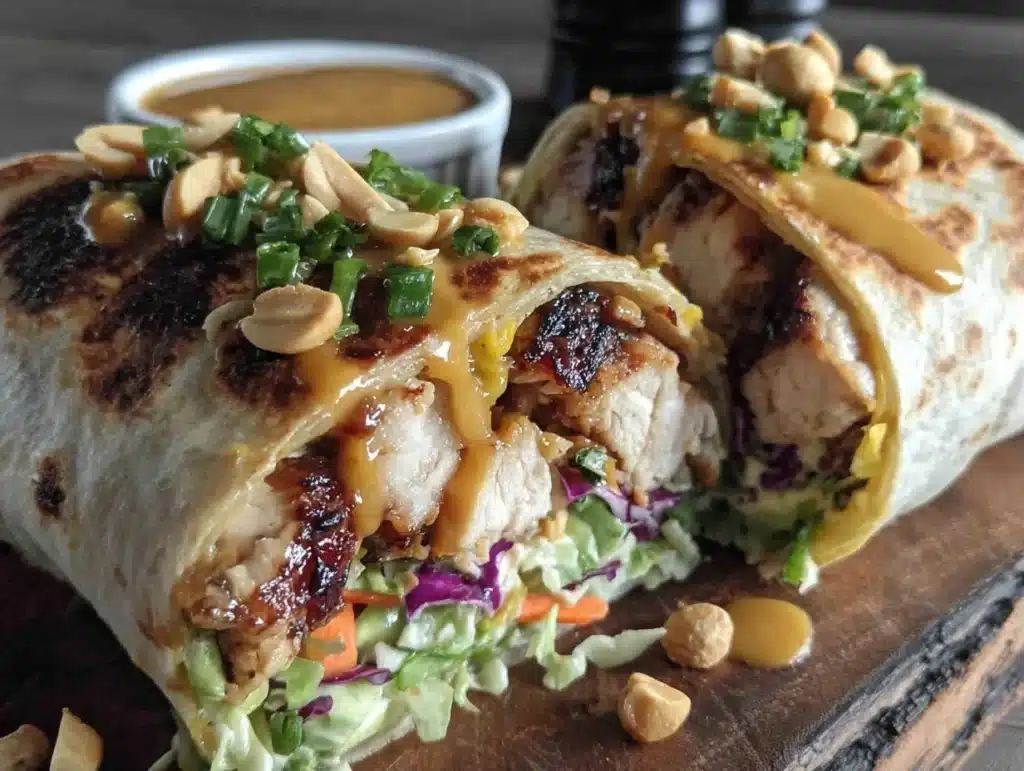
There is a specific kind of dread that hits me every Sunday evening when I open my fridge. It’s not hunger. It’s the realization that I have zero edible food that doesn’t require a skillet and thirty minutes of active standing. I used to just eat dry cereal for dinner. Don’t judge me. It happened more often than I’d like to admit. That changed the day I discovered the magic of meal-prepping creamy Thai peanut chicken wraps. Honestly, they are the only thing keeping me from becoming a takeout subscription service.
I first made these wraps during a particularly chaotic work week when my energy levels were lower than my bank account. I needed something that tasted indulgent but could be assembled in under ten minutes while I was rushing out the door. The result was a revelation. The sauce clings to the chicken perfectly, and the crunch of the veggies cuts through the richness. It’s comfort food, but portable. And let’s be real, portable is everything when you’re trying to survive the 3 PM slump.
These creamy Thai peanut chicken wraps are worth making because they solve the biggest problem with healthy eating: boredom. You know how boring plain grilled chicken and rice can get? This recipe takes that basic foundation and injects it with bold, savory-sweet flavor that keeps you excited to eat. Whether you are a busy mom, a student, or just someone who values their time, these wraps are your new best friend. I’ve tested this recipe over a dozen times, tweaking the sauce ratios until it was just right. As someone who meal preps for a living, I can tell you this is the gold standard for lunch.
The beauty of this recipe lies in its versatility. You can use rotisserie chicken to save time, or cook fresh thighs for better texture. The key is the sauce. It’s creamy without being heavy, and spicy without being overwhelming. I love that I can make a big batch on Sunday and have five days of delicious lunches ready to go. It’s not just about saving time; it’s about saving your sanity. When you know you have a delicious, healthy meal waiting for you, the stress of “what’s for lunch?” disappears. These wraps are packed the way that actually keeps it fresh, so you aren’t dealing with soggy tortillas by Wednesday.
Why You’ll Love This Recipe
After years of trial and error with meal prep, I’ve learned that not all leftovers are created equal. Some meals taste better on day one and turn into a sad, mushy mess by day three. These creamy Thai peanut chicken wraps are different. They are engineered to survive the week. Here is why this recipe has earned a permanent spot in my rotation:
- Quick & Easy Assembly: Once the chicken is cooked, the wraps come together in under five minutes. This is perfect for busy weeknights or when you just need to grab and go. I often cook the chicken while dinner is simmering, so the prep is nearly effortless.
- Simple Ingredients: You likely have most of these items in your pantry right now. Peanut butter, soy sauce, lime juice, and chicken. No fancy grocery trips needed. This simplicity is key to making it a repeatable habit rather than a special occasion.
- Perfect for Meal Prep: These wraps hold up incredibly well in the fridge. Unlike salads that wilt, the tortilla stays pliable and the chicken stays moist. They are great for potlucks, office lunches, or cozy dinners when you want something low-effort.
- Crowd-Pleaser: I’ve served these to picky eaters and foodies alike, and everyone loves them. The flavor profile is familiar yet exciting. It hits that sweet, salty, and savory spot that most people crave.
- Unbelievably Delicious: The texture combination is next-level. You get the chew of the tortilla, the tender chicken, the crunch of the carrots and cabbage, and the creamy, rich sauce. It’s comfort food reimagined for the modern, busy lifestyle.
What makes this recipe stand out from other chicken wrap ideas is the balance of the sauce. Many peanut sauces can be too thick or too sweet. I’ve adjusted the ratio of creamy peanut butter to acidic lime juice to create a dressing that coats every ingredient without dripping everywhere. It’s the kind of recipe that makes you close your eyes after the first bite. It’s healthier than restaurant versions but has that same soul-soothing satisfaction. Plus, it’s a great way to use up leftover vegetables, which saves money and reduces waste.
What Ingredients You Will Need
This recipe relies on a balance of fresh produce, pantry staples, and protein to deliver bold flavor and satisfying texture. The ingredients are chosen for their ability to hold up well during storage and their complementary flavors. Here is what you need to gather:
For the Chicken
- Chicken Thighs: 1.5 lbs (680g). I prefer thighs over breasts because they stay juicier when reheated or stored. Boneless, skinless works best for easy slicing.
- Garlic: 3 cloves, minced. Fresh garlic is non-negotiable here. It adds the aromatic base that makes the dish smell amazing.
- Ginger: 1 tablespoon, fresh grated. If you don’t have fresh, you can use half a teaspoon of ground ginger, but fresh is better.
- Coconut Oil: 1 tablespoon. Adds a subtle richness and helps with browning.
For the Creamy Thai Peanut Sauce
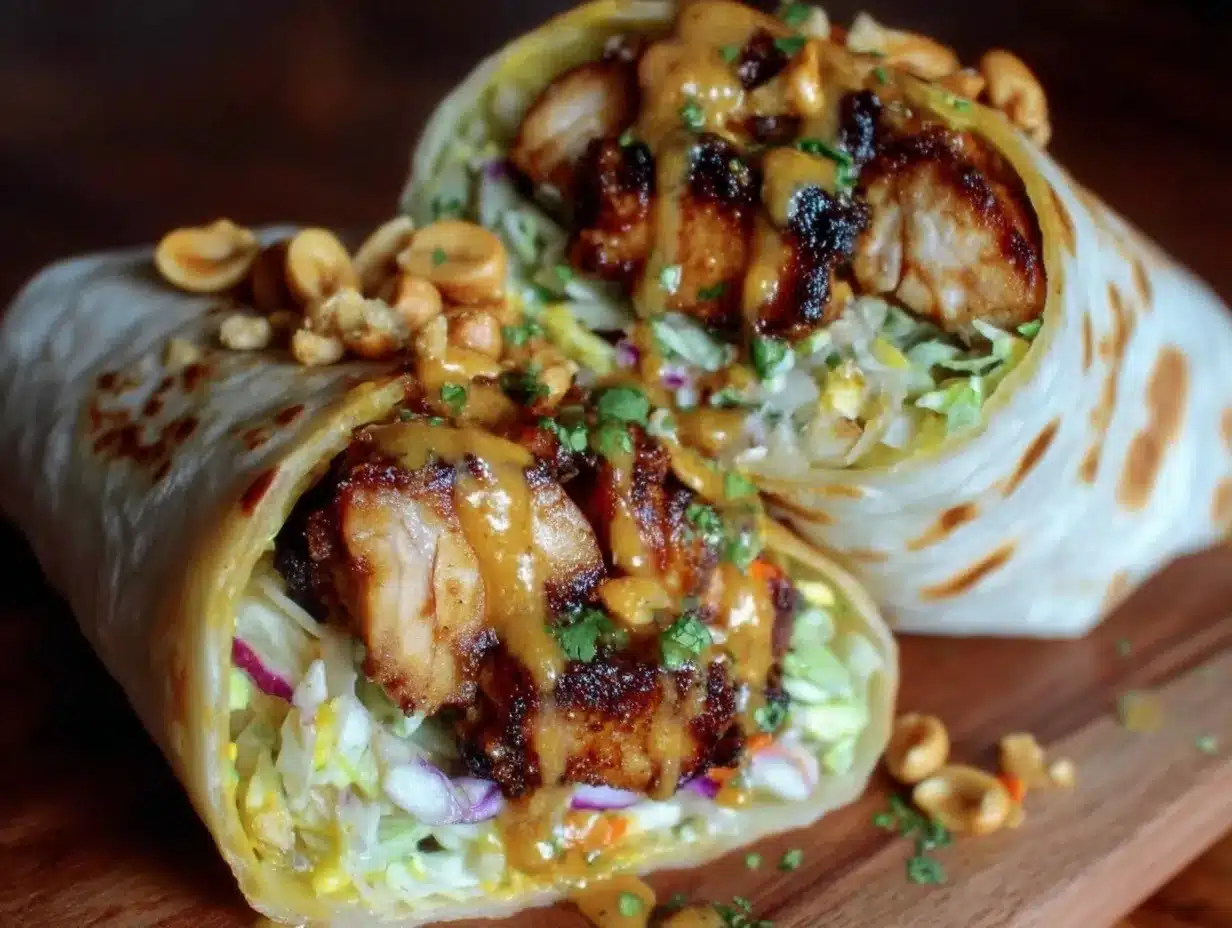
- Creamy Peanut Butter: ½ cup (128g). I recommend natural brands like Smucker’s Natural or Justin’s. Avoid ones with added sugars or oils if possible, as they can make the sauce grainy.
- Soy Sauce: ¼ cup (60ml). Use low-sodium soy sauce to control the saltiness. Tamari is a great gluten-free alternative.
- Warm Water: ¼ to ½ cup (60-120ml). This thins the sauce to the perfect drizzling consistency. Adjust based on your preference.
- Rice Vinegar: 2 tablespoons. Adds the necessary acidity to cut through the fat of the peanut butter.
- Lime Juice: 1 tablespoon, fresh squeezed. Bottled lime juice doesn’t have the same bright pop. Fresh is worth the effort.
- Sriracha or Chili Flakes: 1 teaspoon. Adjust based on your heat tolerance. I like a little kick to balance the sweetness.
- Honey or Maple Syrup: 1 tablespoon. Adds a touch of sweetness. Use maple syrup for a vegan option.
For the Wraps
- Large Flour Tortillas: 6 large wraps. Look for high-quality tortillas that are flexible. Whole wheat works too, but flour holds the sauce better without getting soggy too quickly.
- Shredded Carrots: 1 cup. Adds crunch and color. Pre-shredded bags save time.
- Red Cabbage: 1 cup, thinly sliced. Provides a nice texture contrast and keeps fresh for days.
- Cilantro: ¼ cup, chopped. Fresh herbs are essential for that authentic Thai flavor profile.
- Green Onions: 2 stalks, sliced. Adds a mild onion bite.
If you need substitutions, you can use grilled chicken breast, though it may be slightly drier. For the sauce, almond butter or cashew butter can replace peanut butter for a nut-free or different flavor profile. The veggies are flexible; bell peppers, snap peas, or cucumber all work well. Just keep in mind that watery veggies like cucumber can make the tortilla soggy if prepped too far in advance.
Equipment Needed
You don’t need a fancy kitchen to make these wraps. A standard skillet is all you really need for cooking the chicken. I use a 10-inch non-stick skillet because it makes cleanup a breeze. If you don’t have one, a cast-iron skillet works great too, just make sure it’s well-seasoned to prevent sticking.
For the sauce, a small mixing bowl and a whisk are perfect. If you find the peanut butter too thick to whisk, you can microwave it for 15-20 seconds to soften it up. This makes blending with the soy sauce and vinegar much easier. A silicone spatula helps scrape every bit of sauce out of the bowl.
For assembly, you’ll need a large cutting board and a sharp knife. I prefer a chef’s knife for slicing the chicken and chopping the veggies. Having a good knife makes the prep work faster and safer. If you’re short on time, you can buy pre-shredded carrots and cabbage, though slicing your own cabbage gives a better texture.
I also recommend having a few airtight containers on hand for storage. Glass containers are great for keeping the wraps fresh, but plastic works too. Just make sure they seal tightly to prevent air from drying out the tortillas. Budget-friendly options like zip-top bags can also work if you lay the wraps flat in the fridge.
Preparation Method
- Prepare the Chicken: Start by patting the chicken thighs dry with paper towels. This step is crucial for getting a good sear. Season them lightly with salt and pepper. Heat the coconut oil in your skillet over medium-high heat. Once the oil is shimmering, add the chicken. Cook for 5-6 minutes per side until golden brown and cooked through (internal temperature of 165°F or 74°C). Remove from heat and let rest for 5 minutes. This resting period allows the juices to redistribute, keeping the meat moist. Slice the chicken into thin strips against the grain. This makes each bite tender and easy to wrap.
- Make the Sauce: While the chicken rests, combine the creamy peanut butter, soy sauce, rice vinegar, lime juice, honey, and sriracha in a small bowl. Whisk vigorously until smooth. If the sauce is too thick, add warm water one tablespoon at a time until it reaches a drizzling consistency. Taste and adjust. Need more heat? Add more sriracha. Need more tang? Add more lime juice. The sauce should be creamy, savory, and slightly sweet.
- Prep the Veggies: Thinly slice the red cabbage and green onions. If you aren’t using pre-shredded carrots, shred them using a box grater. Chop the cilantro. Keep the veggies separate from the chicken until assembly to maintain their crunch.
- Warm the Tortillas: This is a pro tip. Warm the tortillas in a dry skillet for 30 seconds per side or microwave them wrapped in a damp paper towel for 15 seconds. Warm tortillas are more flexible and less likely to crack when you roll them. This step makes a huge difference in the final texture.
- Assemble the Wraps: Lay a tortilla flat. Spoon a generous amount of sauce onto the center, leaving a border around the edges. Top with the sliced chicken, shredded carrots, cabbage, green onions, and cilantro. Be careful not to overstuff, or the wrap will burst. Fold the bottom of the tortilla over the filling, fold in the sides, and roll tightly. Repeat with remaining ingredients.
- Store Properly: Wrap each completed wrap tightly in plastic wrap or aluminum foil. This is the secret to keeping them fresh. The plastic wrap creates a barrier against air, preventing the tortilla from drying out and the veggies from wilting. Place them in an airtight container in the fridge.
When assembling, try to distribute the ingredients evenly so each bite has a bit of everything. If you’re making these ahead, you can prepare the components separately and assemble them fresh each morning. However, for true convenience, full assembly is the way to go. Just ensure the tortillas are high quality to withstand the moisture from the sauce and veggies.
Cooking Tips & Techniques
One common mistake I see people make is using too much sauce. It’s tempting to drown the wrap in flavor, but too much liquid will make the tortilla soggy and difficult to handle. Start with a moderate amount of sauce and add more if needed. The veggies also release moisture over time, so the wrap will get wetter by day three. That’s why the tight wrapping is so important.
Another tip is to slice the chicken against the grain. This shortens the muscle fibers, making the meat more tender. If you slice with the grain, the chicken can be chewy and tough, especially if it’s slightly overcooked. Since we are meal prepping, it’s easy to accidentally overcook the chicken. Thighs are forgiving, but breasts can dry out quickly. If you use breasts, remove them from the heat as soon as they hit 160°F (71°C), as the residual heat will finish cooking them.
For the sauce, always use warm water to thin it. Cold water can cause the peanut butter to clump. If you’re in a rush, you can microwave the peanut butter briefly to soften it. This ensures a smooth, emulsified sauce without lumps. I’ve also learned that letting the sauce sit for 10 minutes before using it allows the flavors to meld. It’s a small step that makes a big difference in taste.
Multitasking is key here. While the chicken is cooking, start prepping the veggies. While the chicken rests, whisk the sauce. This keeps the process efficient and reduces the total time in the kitchen. I also recommend cooking the chicken in batches if you’re making a large quantity. Overcrowding the pan leads to steaming instead of searing, which means you miss out on that delicious browned flavor.
Variations & Adaptations
One of the best things about this recipe is how adaptable it is. If you want to switch up the protein, try using tofu or shrimp. Firm tofu works well if you press it first and then pan-fry it until crispy. Shrimp cooks much faster, so just sauté for 2-3 minutes per side. For a vegetarian version, you can use chickpeas or edamame. They absorb the sauce beautifully and add a nice protein boost.
For a gluten-free option, simply swap the soy sauce for tamari and use gluten-free tortillas. Many brands now make great gluten-free wraps that hold up well. If you’re avoiding nuts, you can use sunflower seed butter or soy nut butter. The flavor will be slightly different, but still delicious. Just make sure to check the labels for any allergen warnings.
I’ve also tried adding mango slices to the wrap for a sweet and spicy twist. The fruit pairs surprisingly well with the savory sauce. Another variation is to add avocado for extra creaminess. Just add the avocado fresh each day to prevent browning. For a lower-carb option, you can wrap the filling in large lettuce leaves instead of tortillas. This creates a fresh, crunchy wrap that is very refreshing.
If you prefer a spicier wrap, add more sriracha or use a hotter chili paste like sambal oelek. You can also add crushed peanuts on top for extra crunch and visual appeal. I sometimes sprinkle sesame seeds over the top for a nice garnish. These small tweaks allow you to keep the recipe interesting over time. Feel free to experiment with different veggies based on what you have on hand. Bell peppers, snap peas, and even zucchini can work in a pinch.
Serving & Storage Suggestions
These wraps are best served cold or at room temperature. I find that the flavors meld and intensify after a few hours in the fridge, making them even better on day two and three. If you prefer them warm, you can microwave the wrap for 30-60 seconds. Just be careful not to overheat it, or the tortilla might become tough.
For presentation, you can cut the wrap in half diagonally. This makes it easier to eat and looks more appealing. Serve with a side of fresh fruit or a light salad if you’re having them for dinner. A cold glass of ginger ale or iced tea pairs nicely with the savory wrap. For lunch, they are complete on their own.
Storage is key to success. Keep the wraps in an airtight container in the fridge for up to 4 days. The plastic wrap or foil is essential for preventing dryness. Do not freeze the wraps, as the tortilla will become mushy upon thawing. If you want to prep ahead, you can cook the chicken and make the sauce up to 5 days in advance. Store them separately and assemble the wraps fresh each morning. This ensures the best texture and flavor.
Over time, the veggies may release some water, making the wrap slightly softer. This is normal and doesn’t affect the taste. If you notice the wrap is getting too soggy, you can add a few fresh veggies before eating. The flavors develop nicely over the days, so don’t be surprised if it tastes even better on day four.
Nutritional Information & Benefits
These wraps are a balanced meal, providing a good mix of protein, healthy fats, and carbohydrates. Each wrap contains approximately 450-500 calories, depending on the size of the tortilla and the amount of sauce used. The chicken provides lean protein, which helps keep you full and supports muscle repair. The peanut butter adds healthy fats, which are essential for nutrient absorption and satiety.
The vegetables add fiber, vitamins, and minerals. Carrots are rich in vitamin A, and cabbage provides vitamin C and K. This recipe is naturally gluten-free if you use tamari and GF tortillas. It can also be made dairy-free and nut-free with substitutions. For those watching their sodium, use low-sodium soy sauce and control the amount of salt added during cooking.
From a wellness perspective, this recipe is great for maintaining energy levels throughout the day. The complex carbs from the tortilla and veggies provide sustained energy, while the protein prevents sugar crashes. I love that I can feel good about what I’m eating. It’s not just about weight loss; it’s about nourishing my body with wholesome ingredients. This wrap is a perfect example of how healthy food can be delicious and satisfying.
Conclusion
Creamy Thai peanut chicken wraps are more than just a meal; they are a solution to the daily lunch dilemma. They are delicious, nutritious, and incredibly convenient. I hope this recipe helps you streamline your meal prep and enjoy your lunches more. Feel free to customize the ingredients to suit your taste. Add more veggies, change the protein, or adjust the spice level. The possibilities are endless.
I’d love to hear how you make these wraps your own. Do you add extra crunch? Do you prefer a spicier sauce? Share your variations in the comments below. If you try this recipe, please rate it and share a photo. It helps others discover the recipe and gives me motivation to keep creating content. Thank you for reading, and happy meal prepping!
Frequently Asked Questions
Can I use chicken breast instead of thighs?
Yes, you can use chicken breast, but it may be slightly drier. To prevent this, do not overcook the breast. Remove it from the heat as soon as it hits 160°F (71°C) and let it rest before slicing. Thighs are more forgiving and stay juicier during storage.
How long do these wraps last in the fridge?
These wraps are best eaten within 3-4 days. After that, the tortilla may become soggy, and the veggies may lose their crunch. For best results, store them in airtight containers with plastic wrap directly touching the surface of the wrap.
Can I freeze these wraps?
It is not recommended to freeze assembled wraps. The tortilla will become mushy and unpleasant upon thawing. However, you can freeze the cooked chicken and sauce separately. Thaw them in the fridge overnight and assemble fresh wraps when ready to eat.
What can I use instead of peanut butter?
You can use almond butter, cashew butter, or sunflower seed butter. Each will give a slightly different flavor profile, but all will work well in the sauce. Just ensure the alternative is creamy and not chunky, as it will be harder to whisk into a smooth sauce.
How do I prevent the tortilla from getting soggy?
To prevent sogginess, wrap the tortilla tightly in plastic wrap or foil. This creates a barrier against moisture. Also, avoid adding too much sauce. Start with a moderate amount and add more if needed. Using drier veggies like cabbage and carrots also helps compared to watery veggies like cucumber.
Pin This Recipe!
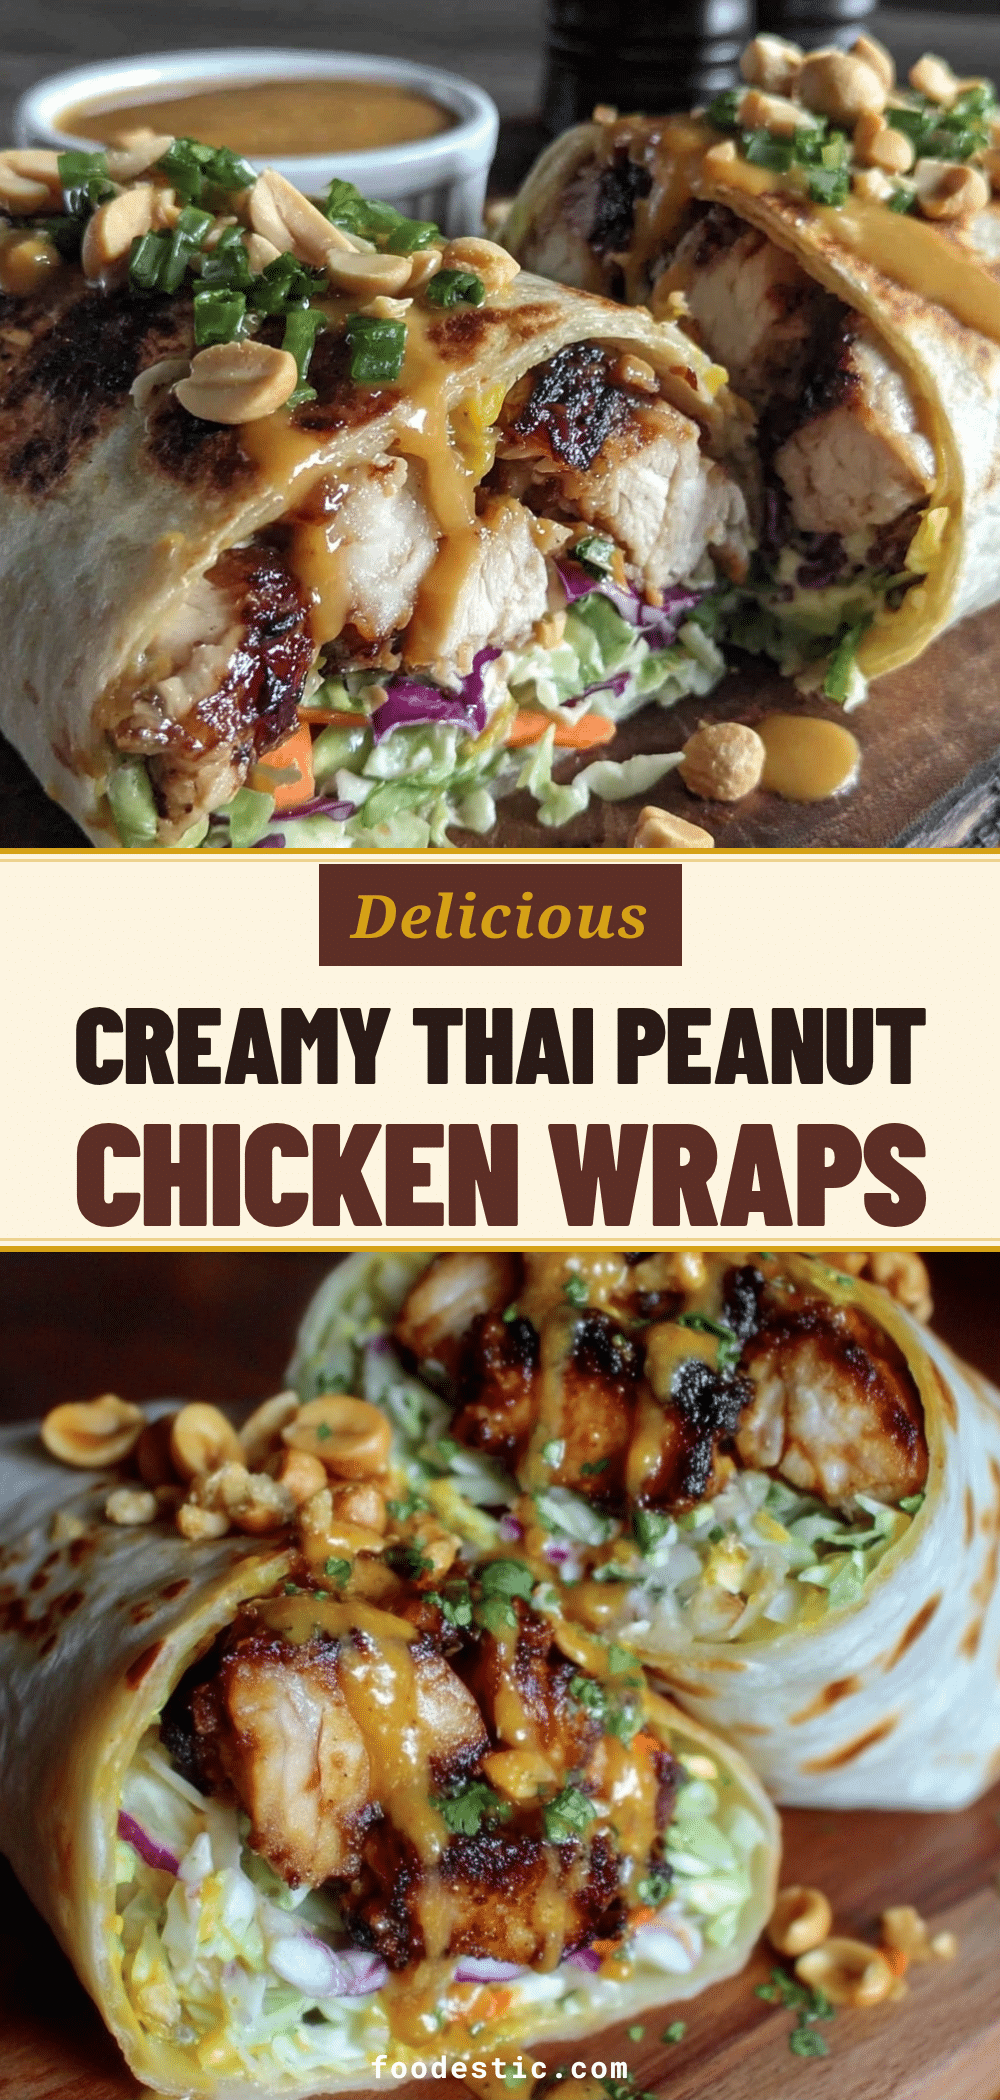

Creamy Thai Peanut Chicken Wraps: Meal Prep Secrets
- Total Time: 30 minutes
- Yield: 6 servings 1x
Description
These creamy Thai peanut chicken wraps are the ultimate meal prep solution, offering bold savory-sweet flavor and portable convenience. They are designed to stay fresh and delicious for up to four days in the fridge, making them perfect for busy lunches.
Ingredients
- 1.5 lbs (680g) boneless, skinless chicken thighs
- 3 cloves garlic, minced
- 1 tablespoon fresh ginger, grated
- 1 tablespoon coconut oil
- Salt and pepper to taste
- ½ cup (128g) creamy peanut butter
- ¼ cup (60ml) soy sauce (or tamari for gluten-free)
- ¼ to ½ cup warm water
- 2 tablespoons rice vinegar
- 1 tablespoon fresh lime juice
- 1 teaspoon sriracha or chili flakes
- 1 tablespoon honey or maple syrup
- 6 large flour tortillas
- 1 cup shredded carrots
- 1 cup red cabbage, thinly sliced
- ¼ cup cilantro, chopped
- 2 stalks green onions, sliced
Instructions
- Pat chicken thighs dry and season with salt and pepper. Heat coconut oil in a skillet over medium-high heat.
- Cook chicken for 5-6 minutes per side until golden brown and internal temperature reaches 165°F (74°C). Remove from heat and let rest for 5 minutes.
- Slice the rested chicken into thin strips against the grain.
- In a small bowl, whisk together peanut butter, soy sauce, rice vinegar, lime juice, honey, and sriracha until smooth. Add warm water one tablespoon at a time until the sauce reaches a drizzling consistency.
- Prepare vegetables by slicing red cabbage and green onions, shredding carrots, and chopping cilantro.
- Warm tortillas in a dry skillet for 30 seconds per side or microwave wrapped in a damp paper towel for 15 seconds to make them pliable.
- Lay a tortilla flat and spoon a generous amount of sauce onto the center, leaving a border.
- Top with sliced chicken, shredded carrots, cabbage, green onions, and cilantro.
- Fold the bottom of the tortilla over the filling, fold in the sides, and roll tightly.
- Wrap each completed wrap tightly in plastic wrap or aluminum foil to prevent drying out. Store in an airtight container in the fridge.
Notes
Slice chicken against the grain for tenderness. Use warm water to thin the peanut butter sauce to prevent clumping. Wrap tightly in plastic wrap to keep tortillas from drying out and veggies from wilting. Do not freeze assembled wraps as tortillas will become mushy. Best eaten within 3-4 days.
- Prep Time: 15 minutes
- Cook Time: 15 minutes
- Category: Lunch
- Cuisine: Thai
Nutrition
- Serving Size: 1 wrap
- Calories: 475
- Sugar: 12
- Sodium: 680
- Fat: 22
- Saturated Fat: 4
- Carbohydrates: 45
- Fiber: 4
- Protein: 28
Keywords: Thai peanut chicken, meal prep, chicken wraps, healthy lunch, peanut sauce, quick dinner, portable meals


