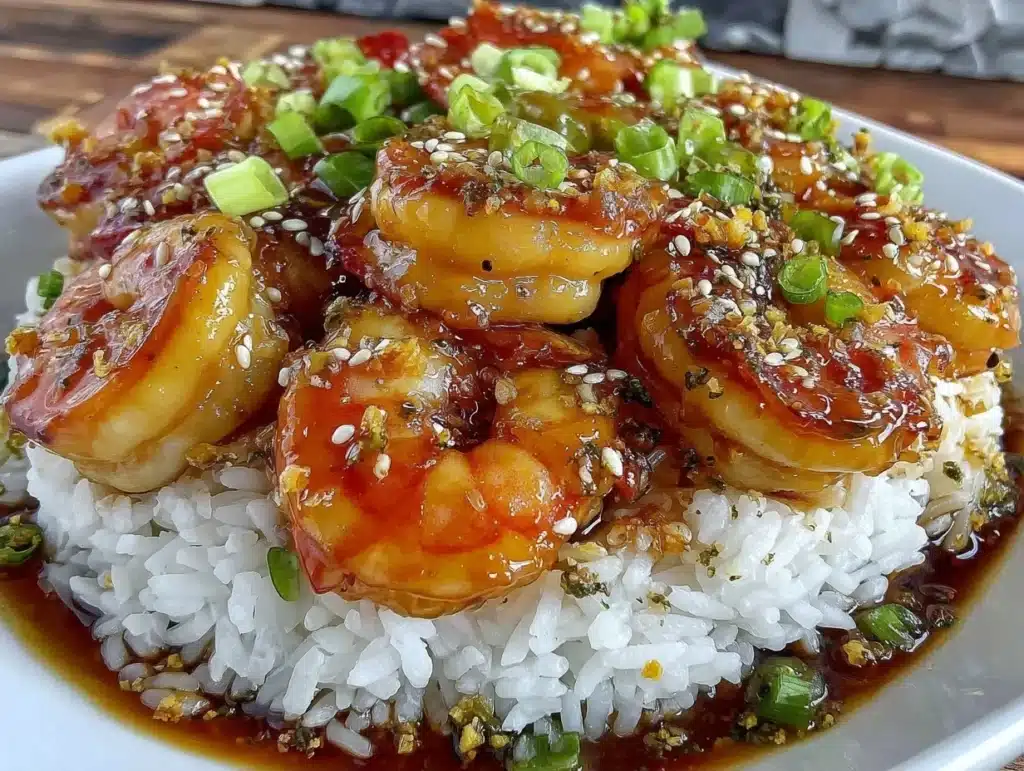
Let’s face it, meal prepping shrimp is usually a gamble. You know that feeling? You spend twenty minutes peeling and deveining, searing them in a hot pan, and they turn out perfect. But then you put them in the Tupperware for Tuesday’s lunch. By Wednesday, they’re rubbery, dry, and honestly, a little sad. I’ve thrown away more expensive shrimp than I care to admit because I didn’t trust the leftovers.
That changed completely when I started making these honey garlic shrimp bowls. The first time I made them, I was stressed about a busy work week. I wanted something fast, healthy, and actually delicious for lunch. I tossed the shrimp in a sticky, sweet, and savory glaze and packed them away. On day four, I opened the container, expecting disappointment. Instead, I got a flavor bomb. The shrimp had soaked up the sauce, becoming tender and flavorful rather than tough.
This recipe is my go-to for easy honey garlic shrimp bowls because it solves the biggest problem with seafood meal prep: texture. The cornstarch coating creates a barrier that keeps the shrimp juicy, while the thick glaze acts like a protective shield in the fridge. It’s not just convenient; it’s a game-changer for anyone who wants to eat well during the workweek without spending hours in the kitchen every morning.
I’ve tested this recipe over a dozen times, tweaking the sauce ratios and cooking methods to get it just right. Whether you’re a busy parent, a professional on the go, or just someone who hates waste, this dish delivers. It’s high-protein, low-carb friendly, and tastes better than takeout. Plus, the smell of garlic and honey cooking fills the kitchen with comfort. It’s the kind of meal that makes you look forward to lunch, not dread it.
Why You’ll Love This Recipe
There are a lot of shrimp recipes out there, but this one stands out for a few specific reasons. I’ve been meal prepping for years, and I’ve learned that the best recipes are the ones that hold up. This easy honey garlic shrimp bowls recipe is built for success in the fridge. Here is why it deserves a spot in your weekly rotation:
- Quick & Easy: From peel to plate, this takes about 20 minutes. The sauce comes together in one bowl, and the shrimp cooks in under 5 minutes. It’s perfect for those nights when you’re exhausted but still want a healthy dinner.
- Simple Ingredients: You probably have everything you need right now. Shrimp, honey, garlic, soy sauce, and a few pantry staples. No fancy grocery trips or obscure ingredients needed.
- Perfect for Meal Prep: This is the star feature. These bowls stay moist and flavorful for up to four days. I’ve actually had them on day five, and they were still edible (though I usually eat them by day four!).
- Crowd-Pleaser: Kids love the sweet honey flavor, and adults appreciate the savory garlic kick. It’s a balanced meal that satisfies picky eaters and health-conscious folks alike.
- Unbelievably Delicious: The combination of sticky, sweet, and salty is irresistible. The texture of the shrimp is tender, not chewy, thanks to the quick sear and coating.
What makes this different from other shrimp recipes? It’s the balance of moisture and flavor. Most recipes rinse the shrimp and throw them in dry. I pat them dry and toss them in a little cornstarch before cooking. This creates a slight crust that holds the sauce better. It’s a small trick, but it makes a huge difference in how the meal tastes on day two and beyond. It’s comfort food that doesn’t weigh you down.
What Ingredients You Will Need
This recipe relies on fresh, high-quality ingredients to deliver bold flavor without the fuss. The key is balancing the sweetness of the honey with the saltiness of the soy sauce and the punch of fresh garlic. Here is what you need to make the best easy honey garlic shrimp bowls:
- Jumbo or Extra-Large Shrimp: Look for fresh or frozen shrimp that are peeled and deveined. If using frozen, thaw them completely. I prefer wild-caught shrimp for better texture. (About 1.5 lbs / 680g)
- Cornstarch: This is the secret weapon. It coats the shrimp to keep them juicy and helps the sauce cling. (2 tablespoons)
- Neutral Oil: Avocado oil or vegetable oil works best for high-heat searing. Olive oil can burn at high temps. (2 tablespoons)
- Garlic: Fresh minced garlic is non-negotiable. Jarred garlic lacks that fresh punch. Use about 4-5 cloves. (1 tablespoon minced)
- Fresh Ginger: Grated ginger adds a warm, spicy note that cuts through the sweetness. (1 teaspoon grated)
- Honey: Use a good quality honey. Clover or wildflower honey works well. (1/4 cup / 60ml)
- Soy Sauce: Low-sodium soy sauce is best to control saltiness. Tamari for gluten-free. (3 tablespoons)
- Rice Vinegar: Adds brightness and acidity to balance the sugar. (1 tablespoon)
- Sesame Oil: A little goes a long way. Adds that classic Asian flavor. (1 teaspoon)
- Red Pepper Flakes: Optional, but recommended for a little heat. (1/4 teaspoon)
- Sesame Seeds: For garnish and nutty flavor. (1 tablespoon)
- Green Onions: Chopped, for freshness and color. (2 stalks)
I recommend using a brand like Kikkoman for soy sauce, as it has a consistent flavor. For the honey, local honey adds a nice depth. If you are gluten-sensitive, swap the soy sauce for tamari or coconut aminos. The cornstarch is essential, so don’t skip it. It’s what makes the sauce glossy and the shrimp tender.
Equipment Needed
You don’t need fancy gear for this. A standard kitchen setup is all you need. Here is what you’ll use:
- Large Skillet or Wok: A non-stick skillet is easiest for cleanup. A carbon steel wok gives better heat distribution if you have one.
- Mixing Bowls: One small bowl for the sauce, one medium for tossing shrimp in cornstarch.
- Measuring Spoons and Cups: Precision matters for the sauce balance.
- Tongs: Essential for flipping shrimp quickly without breaking them.
- Sharp Knife and Cutting Board: For mincing garlic and chopping green onions.
- Airtight Containers: Glass containers are best for meal prep. They don’t stain and keep food fresh longer.
I’ve tried plastic containers, but they sometimes retain garlic odors. Glass is worth the extra weight. Also, a good pair of kitchen shears can help if you need to trim any remaining vein bits from the shrimp quickly.
Preparation Method
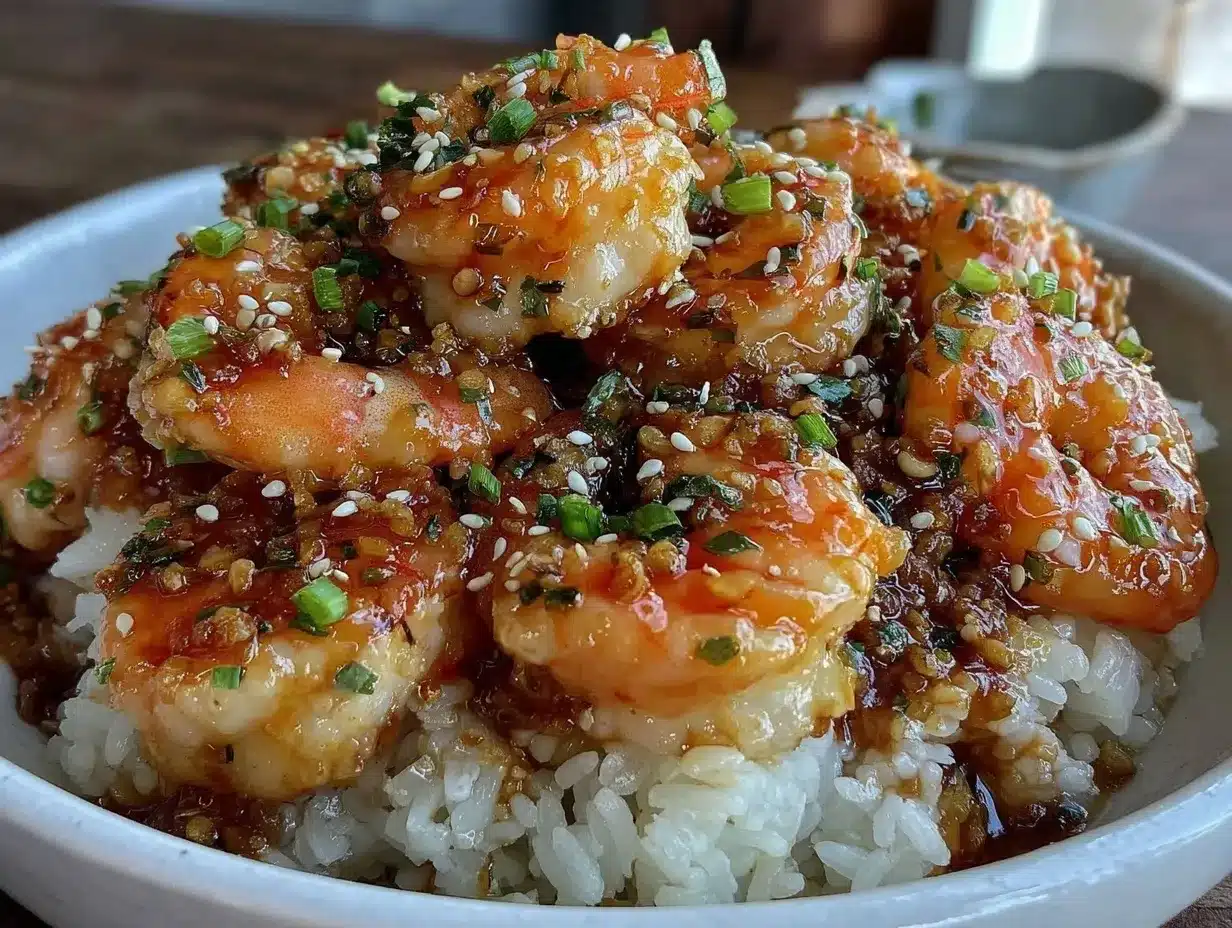
Let’s get cooking. This process is straightforward, but timing is key to keep the shrimp tender.
- Prep the Shrimp: Pat the shrimp dry with paper towels. This is crucial for getting a good sear. Place them in a bowl and sprinkle with cornstarch. Toss until lightly coated. They should look dusty, not clumpy. (5 minutes)
- Mix the Sauce: In a small bowl, whisk together honey, soy sauce, rice vinegar, sesame oil, minced garlic, grated ginger, and red pepper flakes. Set aside. The sauce should be smooth and glossy. (3 minutes)
- Heat the Pan: Place your skillet or wok over medium-high heat. Add the neutral oil. Wait until the oil shimmers and starts to move freely. This indicates it’s hot enough. (2 minutes)
- Sear the Shrimp: Add the shrimp in a single layer. Do not overcrowd the pan. Cook for 1-2 minutes per side until they turn pink and opaque. Remove shrimp from the pan and set aside on a plate. They will finish cooking later. (4 minutes total)
- Cook the Sauce: Reduce heat to medium. Pour the sauce mixture into the same pan. It will bubble immediately. Stir constantly for 1-2 minutes until it thickens and becomes syrupy. This is called a “glaze” stage. (2 minutes)
- Combine: Return the shrimp to the pan. Toss them in the sauce for 30 seconds to coat evenly. Remove from heat immediately. The residual heat will finish cooking the shrimp. (1 minute)
- Garnish and Serve: Sprinkle with sesame seeds and chopped green onions. Serve immediately over rice, cauliflower rice, or noodles. (1 minute)
Tip: Don’t overcook the shrimp in step 4. They will continue to cook in the sauce. If they look done, they are done. Overcooked shrimp are tough and rubbery.
Cooking Tips & Techniques
I’ve made plenty of mistakes with shrimp before getting this right. Here are some lessons learned:
- Pat Dry: Wet shrimp steam instead of sear. Always dry them thoroughly. This step is non-negotiable for texture.
- High Heat: Keep the pan hot. If it’s too cool, the shrimp release water and become soggy. Medium-high is the sweet spot.
- Don’t Crowd the Pan: Cook in batches if you have a lot of shrimp. Crowding lowers the pan temperature and leads to steaming.
- Sauce Thickness: If the sauce gets too thick, add a teaspoon of water. If it’s too thin, simmer a bit longer. It should coat the back of a spoon.
- Residual Cooking: Remove shrimp from heat when they are just barely pink. They will cook more in the hot sauce. This prevents overcooking.
My biggest failure was leaving the shrimp in the pan too long after adding the sauce. I thought I needed to “cook them in.” No, you just need to coat them. The shrimp are already done. This tip saves you from rubbery shrimp every time.
Variations & Adaptations
This recipe is versatile. Here are some ways to tweak it:
- Spicy Version: Add a tablespoon of gochujang or sriracha to the sauce for a Korean-inspired twist.
- Vegetable Boost: Toss in broccoli florets or bell pepper strips when cooking the sauce. They absorb the flavor beautifully.
- Gluten-Free: Use tamari or coconut aminos instead of soy sauce. Check your honey label if you’re strict.
- Low-Carb: Serve over cauliflower rice or zucchini noodles instead of white rice.
- Coconut Curry: Add a tablespoon of red curry paste to the sauce for a creamy, spicy variation.
I often add snap peas for crunch. They hold up well in the fridge too. If you like sweet potatoes, cube them small and roast them alongside the shrimp for a hearty bowl. These variations keep the recipe fresh and exciting.
Serving & Storage Suggestions
Serve these bowls warm or at room temperature. They taste great both ways. For presentation, top with extra green onions and sesame seeds. A squeeze of lime juice adds brightness just before eating.
Storage: Let the shrimp cool completely before storing. Place them in airtight glass containers. They will last in the refrigerator for up to 4 days. The sauce actually penetrates the shrimp more over time, making day three and four delicious.
Reheating: Reheat gently in the microwave with a splash of water. Cover with a damp paper towel to keep them moist. Avoid high heat, which can make shrimp tough. You can also eat them cold straight from the fridge; the flavors are still vibrant.
Freezing: I don’t recommend freezing cooked shrimp. They become mushy when thawed. It’s best to freeze the raw shrimp and sauce separately, then cook fresh. But honestly, these last long enough in the fridge that freezing isn’t usually necessary.
Nutritional Information & Benefits
This dish is a nutritional powerhouse. Shrimp is low in calories but high in protein, making it great for muscle repair and satiety. Honey provides quick energy, while garlic and ginger have anti-inflammatory properties. The sauce is balanced, avoiding excessive sugar.
- Protein: High quality, complete protein from shrimp.
- Calories: Moderate, depending on the base you serve it with.
- Gluten-Free: Easily adaptable with tamari.
- Allergens: Contains shellfish. Avoid if you have allergies.
I love this recipe because it fuels me through long workdays. The protein keeps me full, and the complex flavors satisfy my sweet tooth without sugar crash. It’s a smart choice for wellness.
Conclusion
These easy honey garlic shrimp bowls are a staple in my home for a reason. They are fast, delicious, and surprisingly durable in the fridge. I still can’t believe they are still good on day four. The texture stays tender, and the flavor deepens. It’s a recipe that takes the stress out of meal prep. You can make a big batch on Sunday and enjoy it all week. I encourage you to try it and see how it fits into your routine. Customize it with your favorite veggies or proteins. Let me know how you like it! Leave a comment below with your variations. Happy cooking!
Frequently Asked Questions
Can I use frozen shrimp?
Yes, but you must thaw them completely and pat them very dry. Excess water will prevent the cornstarch from sticking and make the shrimp steam instead of sear.
How do I prevent the shrimp from getting rubbery?
Don’t overcook them. Sear them quickly and remove them from the pan before they are fully done. They will finish cooking in the hot sauce. Also, don’t cook them more than 2 minutes per side.
Can I make the sauce ahead of time?
Absolutely. The sauce can be mixed and stored in the fridge for up to a week. This saves time during prep. Just whisk it again before pouring into the pan.
What is the best base to serve with these bowls?
Fluffy jasmine rice is classic. For low-carb, cauliflower rice is excellent. Quinoa adds a nutty texture and extra protein. Any of these work well with the sticky sauce.
Why is my sauce too thin?
The cornstarch in the sauce needs to cook to thicken. Simmer it a bit longer on medium heat. If it’s still thin, you can add a tiny slurry of cornstarch and water to fix it.
Pin This Recipe!
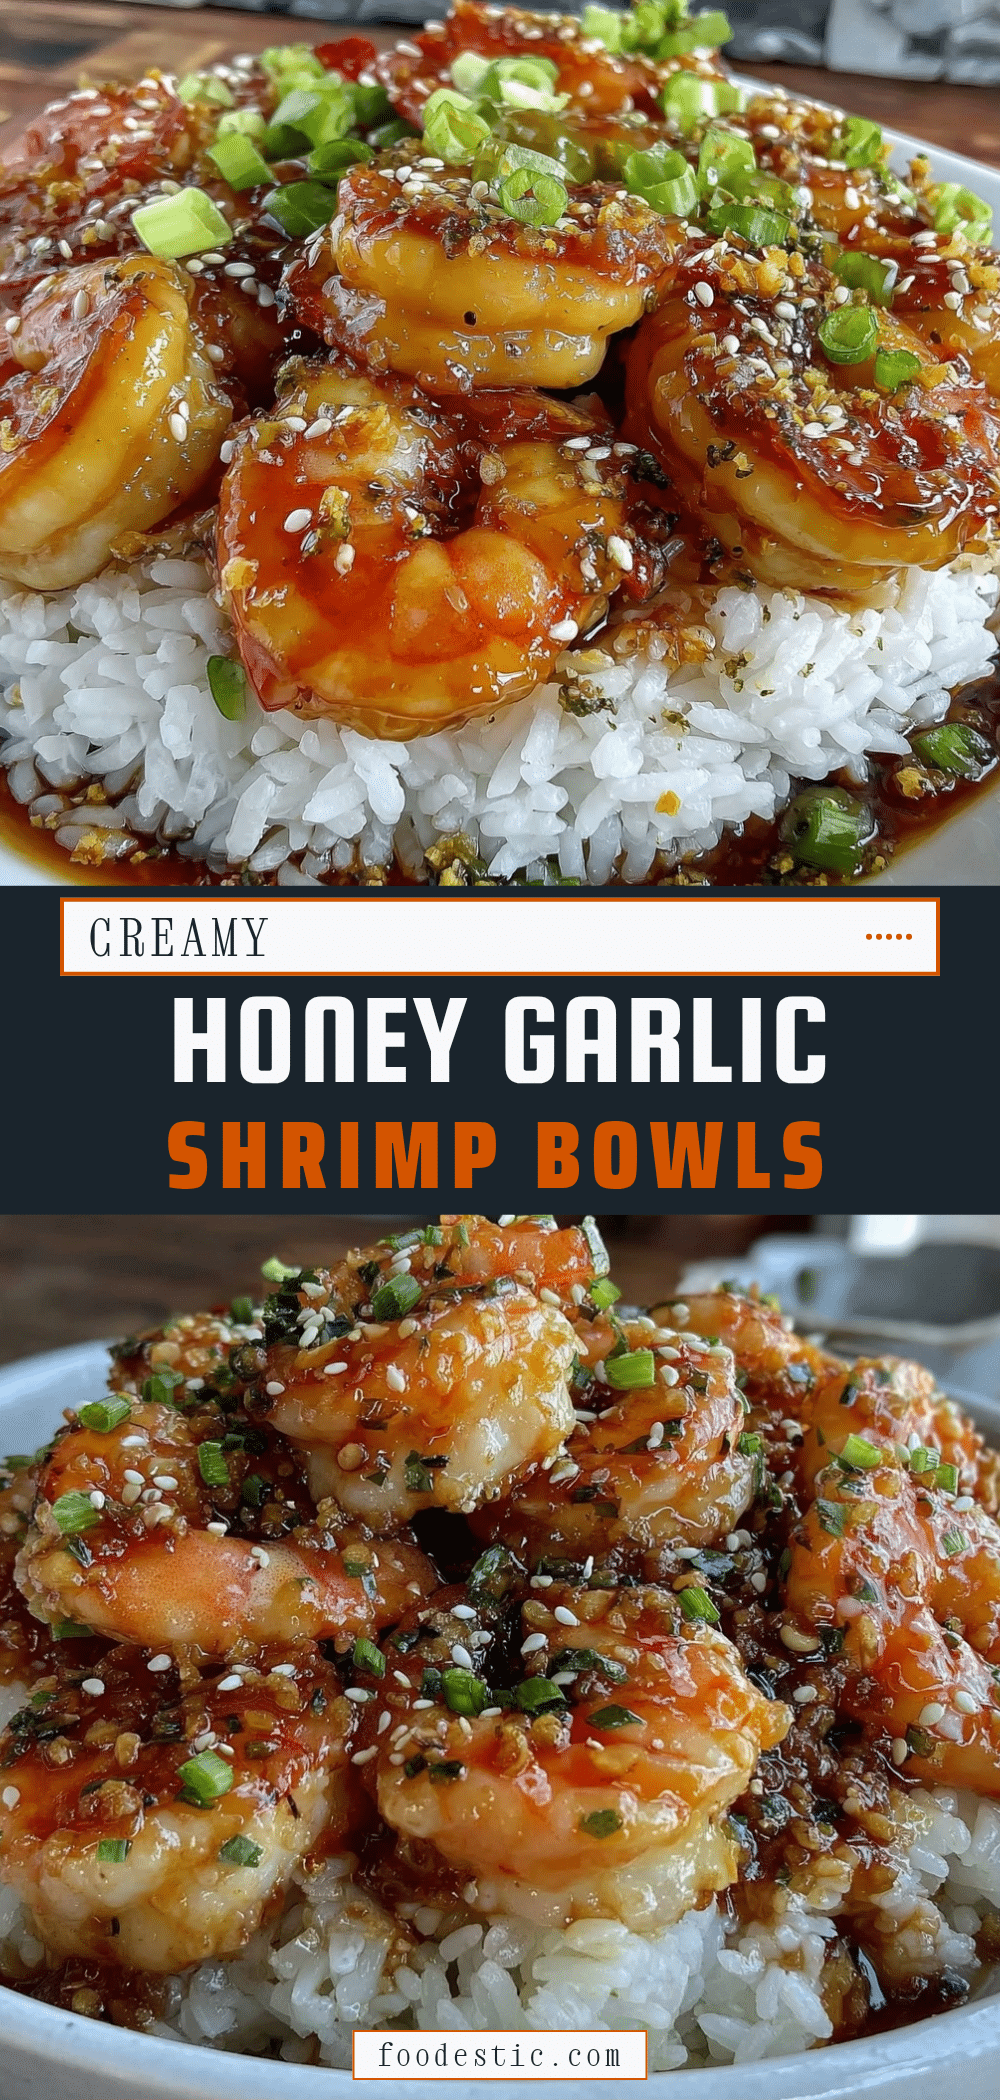

Easy Honey Garlic Shrimp Bowls
- Total Time: 20 minutes
- Yield: 4 servings 1x
Description
A meal-prep friendly shrimp recipe featuring a sticky honey garlic glaze and cornstarch coating that keeps the shrimp tender and flavorful for up to four days.
Ingredients
- 1.5 lbs jumbo or extra-large shrimp, peeled and deveined
- 2 tablespoons cornstarch
- 2 tablespoons neutral oil (avocado or vegetable)
- 1 tablespoon fresh minced garlic (4–5 cloves)
- 1 teaspoon fresh grated ginger
- 1/4 cup honey
- 3 tablespoons soy sauce (or tamari for gluten-free)
- 1 tablespoon rice vinegar
- 1 teaspoon sesame oil
- 1/4 teaspoon red pepper flakes
- 1 tablespoon sesame seeds
- 2 stalks green onions, chopped
Instructions
- Pat the shrimp dry with paper towels and toss with cornstarch until lightly coated.
- In a small bowl, whisk together honey, soy sauce, rice vinegar, sesame oil, minced garlic, grated ginger, and red pepper flakes.
- Heat neutral oil in a large skillet or wok over medium-high heat until shimmering.
- Sear shrimp in a single layer for 1-2 minutes per side until pink and opaque. Remove from pan and set aside.
- Reduce heat to medium and pour the sauce mixture into the same pan. Stir constantly for 1-2 minutes until thickened into a syrupy glaze.
- Return shrimp to the pan and toss for 30 seconds to coat evenly. Remove from heat immediately.
- Garnish with sesame seeds and chopped green onions. Serve over rice, cauliflower rice, or noodles.
Notes
Pat shrimp dry thoroughly to ensure a good sear. Do not overcrowd the pan. Remove shrimp from heat when just barely pink as they will continue to cook in the hot sauce. Sauce can be made ahead and stored in the fridge for up to a week.
- Prep Time: 8 minutes
- Cook Time: 12 minutes
- Category: Main Course
- Cuisine: Asian
Nutrition
- Serving Size: 1 bowl
- Calories: 350
- Sugar: 24
- Sodium: 800
- Fat: 12
- Saturated Fat: 1
- Carbohydrates: 28
- Fiber: 1
- Protein: 30
Keywords: honey garlic shrimp, meal prep, shrimp bowls, easy dinner, high protein, low carb, gluten-free option


