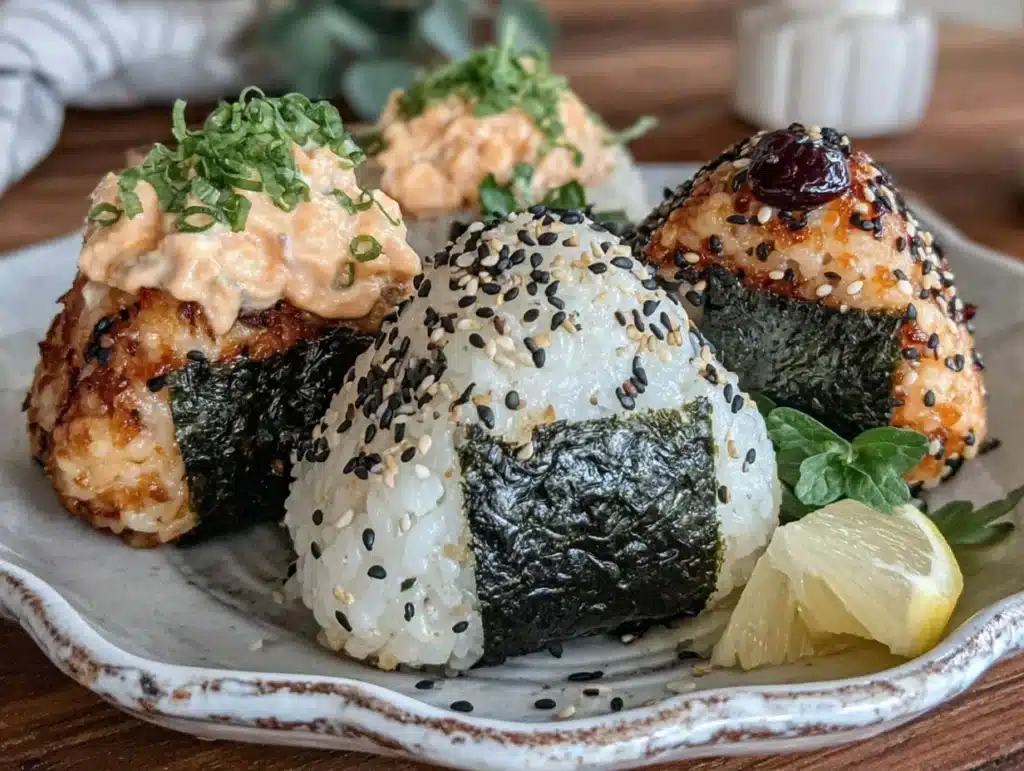
Let’s face it, most lunchbox rice looks pretty sad by 1 PM. It’s usually dry, clumped together, or just completely forgotten at the bottom of a Tupperware container. I used to think onigiri were strictly a hot-from-the-street-food-stand treat, something you had to eat standing up while dodging traffic in Tokyo. But after years of meal prepping and trying to keep my midweek lunches exciting, I realized I was missing out on the best part: the crispy exterior.
I first tried making crispy cheesy onigiri about three years ago when I was trying to use up a bag of rice that was starting to look a little stale. I wasn’t aiming for gourmet; I just wanted something savory that would survive the commute. I wrapped the rice in nori, pan-fried it until golden, and added a gooey center. The result was shocking. It wasn’t just warm rice anymore. It was crunchy, salty, and incredibly satisfying. Honestly, it changed how I think about packing lunch.
Now, this recipe has become my Sunday ritual. I make a big batch of them, wrap them up, and they stay fresh and flavorful all week long. If you are tired of the same old turkey sandwich routine, you need to try this. It’s portable, it’s hearty, and it tastes better on day two than day one. The combination of the crisp rice crust and the molten cheese center is pure comfort food magic. Plus, it’s a great way to introduce kids to Japanese flavors without making a huge mess.
Why You’ll Love This Recipe
There are a million reasons to add crispy cheesy onigiri to your weekly rotation, but here is why this specific version stands out from the crowd. I’ve tested dozens of rice ball recipes, and most fall flat because they get soggy or taste bland. This one hits different. It’s the kind of recipe that makes you stop mid-bite and just stare at your lunchbox in appreciation.
* **Quick & Easy Prep:** Once you get the hang of shaping the rice, these come together fast. You can prep a week’s worth of lunches in under an hour. It’s perfect for busy weeknights when you just want to grab and go.
* **Simple Ingredients:** You don’t need a trip to a specialty Asian market for most of this. You likely have rice, cheese, nori, and soy sauce in your kitchen right now. It’s budget-friendly and accessible.
* **Perfect for Meal Prep:** This is the holy grail of lunchbox items. They hold up well in the fridge and taste amazing cold or reheated. No more sad, cold rice blobs.
* **Crowd-Pleaser:** Even people who claim they “don’t like rice” usually love these. The crispy texture masks the plainness of cold rice, and the cheese makes it universally appealing.
* **Unbelievably Delicious:** The contrast between the shatteringly crisp exterior and the soft, salty cheese inside is next-level. It’s savory, umami-rich, and deeply satisfying.
What makes this recipe different is the technique. Most people boil the rice and pack it raw. Here, we pan-fry the formed rice balls in a little oil before wrapping them. This creates that iconic golden crust that protects the rice from getting mushy. It’s a small step that makes a massive difference in texture and flavor. It’s not just lunch; it’s a little pocket of joy in your day.
What Ingredients You Will Need
This recipe relies on high-quality basics to deliver bold flavor without the fuss. The key is balancing the saltiness of the nori and soy sauce with the richness of the cheese. You want ingredients that complement each other, not compete. Here is what you need to get started.
- Japonica Rice: Short-grain Japanese rice is non-negotiable here. It’s sticky enough to hold its shape when formed into triangles. Long-grain rice will fall apart. Look for brands like Koshihikari for the best texture. (2 cups uncooked)
- Water: For cooking the rice. Use filtered water if you can, as it makes a difference in the final taste. (Approx. 2.5 cups)
- Shredded Cheese: I prefer a mix of mozzarella for stretch and cheddar for flavor. Pre-shredded cheese has anti-caking agents that can make it melt unevenly, so block cheese is better. (1 cup, divided)
- Nori Sheets: Roasted seaweed sheets are essential for wrapping. Make sure they are fresh and crisp. Old nori loses its snap and flavor. (1 pack)
- Soy Sauce: Use a good quality Japanese soy sauce like Kikkoman. It adds that essential umami punch. (2 tbsp)
- Sesame Oil: Just a teaspoon adds a nutty aroma that elevates the whole dish. It pairs perfectly with the rice. (1 tsp)
- Mayonnaise: Yes, really. A tablespoon of mayo in the rice binding mixture adds creaminess and helps the rice stick together better. (1 tbsp)
- Flaky Sea Salt: For sprinkling on top after frying. It adds a nice crunch and visual appeal. (Optional)
For the cheese filling, avoid using pre-shredded bags if possible. The cornstarch coating prevents it from melting smoothly. I buy a block of mozzarella and shred it myself. It melts so much better. If you are watching sodium, you can reduce the soy sauce, but don’t skip it entirely. The saltiness is what ties the mild rice and cheese together.
Equipment Needed
You don’t need fancy gadgets to make these, but having the right tools helps. A non-stick skillet is crucial for getting that even golden crust without burning the rice. I use a 10-inch cast iron skillet or a heavy-bottomed non-stick pan. Cast iron holds heat well, which helps crisp the rice evenly.
A rice cooker is my go-to for cooking the rice. It ensures consistent results every time. If you don’t have one, a standard pot with a tight-fitting lid works fine. Just keep an eye on the water level.
For shaping, I use plastic wrap or food-safe gloves. This prevents the sticky rice from adhering to your hands. It’s much cleaner than trying to work with bare hands. A small spoon or your fingers work for stuffing the cheese.
Avoid using a wok for this. The curved sides make it hard to press the rice balls flat and crisp. A flat-bottomed pan is best. Also, make sure your nori is fresh. If your seaweed sheets are limp or stale, they won’t wrap properly and will tear.
Preparation Method
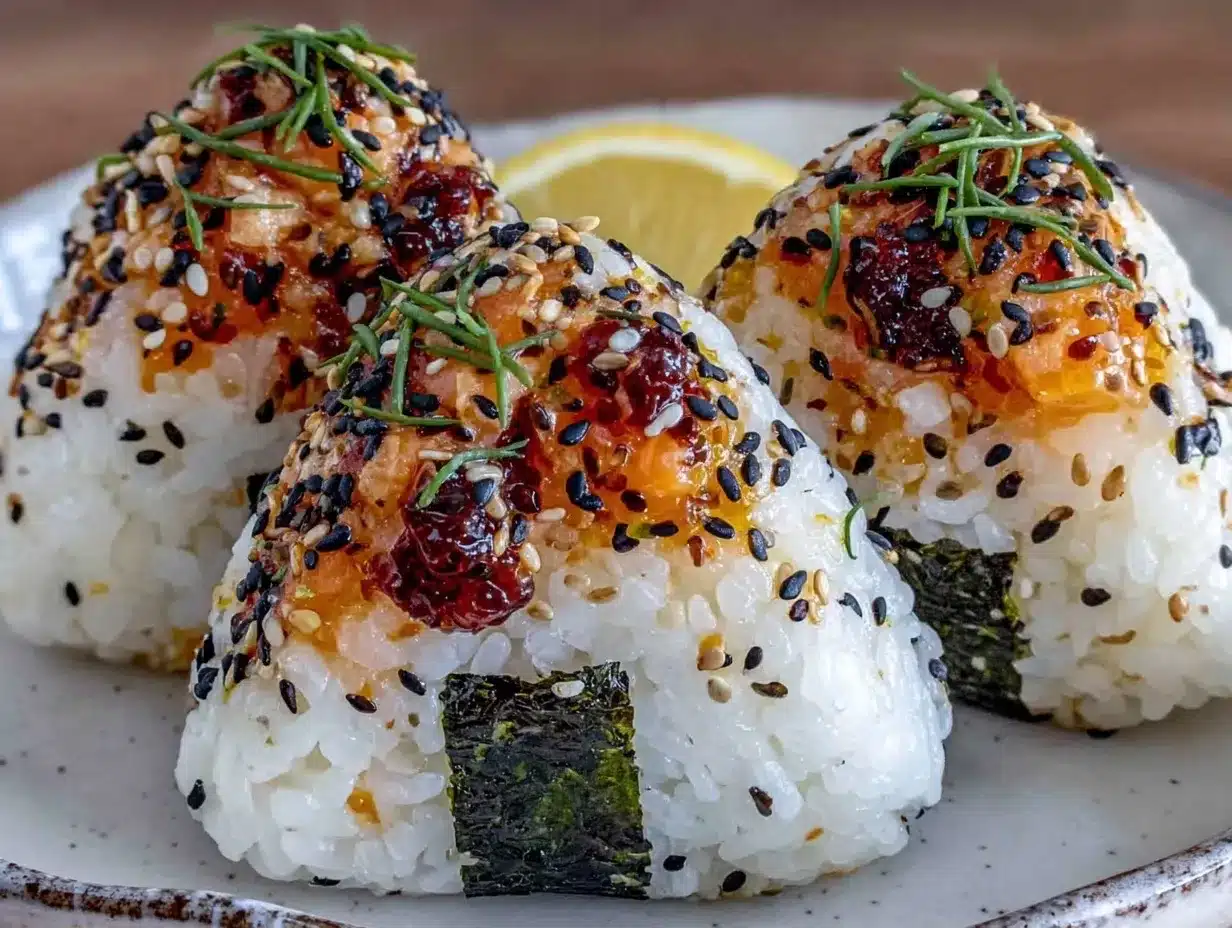
Let’s walk through how to make these crispy cheesy onigiri. It’s simpler than it looks, but attention to detail matters.
- Cook the Rice: Rinse your short-grain rice under cold water until the water runs clear. This removes excess starch. Cook the rice according to your rice cooker or stovetop instructions. Once done, let it sit covered for 10 minutes to steam. (15-20 mins)
- Season the Rice: While the rice is still hot, transfer it to a large bowl. Add the soy sauce, sesame oil, and mayonnaise. Gently fold these in. Do not mash the rice; you want to keep the grains distinct but coated. Let it cool to room temperature. (10 mins)
- Prepare the Cheese: Cut your block of cheese into small cubes, about 1 inch each. This ensures each onigiri has a good center of cheese without leaking out too much. Keep them ready in a bowl.
- Shape the First Onigiri: Wet your hands or put on a plastic glove. Take a handful of rice, about 1/3 cup. Flatten it in your palm. Place a cube of cheese in the center. Gather the edges of the rice to enclose the cheese completely. Shape it into a triangle by gently pressing your thumbs into the sides. (5 mins)
- Repeat: Continue shaping the rest of the rice and cheese. Place the formed balls on a plate lined with parchment paper. They should be firm but not compressed too hard.
- Pane-Fry: Heat a skillet over medium heat. Add a thin layer of oil. Once the oil is shimmering, place the rice balls in the pan. Fry for 2-3 minutes per side until golden brown and crispy. Press down gently with a spatula to ensure even contact. (10-15 mins)
- Wrap in Nori: Cut the nori sheets into strips that fit around the triangle. Wrap one strip around the middle of each onigiri. Secure it with a bit of rice paste or a toothpick if needed. Sprinkle with flaky sea salt.
The key here is patience. Don’t rush the frying step. If the heat is too high, the outside burns before the inside warms up. Medium-low is your friend. You want a deep golden color, not a pale tan.
Cooking Tips & Techniques
I’ve made plenty of mistakes with onigiri, so you don’t have to. Here is what I’ve learned the hard way.
First, the rice temperature matters. If you try to shape hot rice, it will stick to your hands and burn you. If you shape cold, hard rice, it won’t hold together. Room temperature is the sweet spot. If you meal prep, let the rice cool completely before shaping.
Second, don’t overfill the cheese. I used to pack them full of cheese, and they would burst open in the pan. Leave a small border of rice around the cheese cube. This acts as a seal.
Third, keep your pan dry before adding oil. If your rice balls are wet, they will steam instead of fry. Pat them dry with a paper towel if needed. This ensures that crispy crust.
Multitasking is key here. While the rice cooks, prep your cheese and cut your nori. Have everything ready before you start shaping. This makes the process smooth and less stressful.
Variations & Adaptations
This recipe is a blank canvas. Once you master the basics, you can get creative.
* **Spicy Tuna:** Mix canned tuna with mayo, sriracha, and green onions inside the rice. Skip the cheese cube for a different texture.
* **Salmon and Cream Cheese:** Use smoked salmon and cream cheese for a bagel-like flavor profile. It’s surprisingly delicious.
* **Vegetable Medley:** Add finely diced carrots, peas, and corn to the rice mixture before shaping. It adds color and nutrition.
* **Gluten-Free:** Use tamari instead of soy sauce. Most rice and cheese are naturally gluten-free, but check your nori packaging.
I once tried making these with brown rice. It didn’t work as well because brown rice is less sticky and has a stronger flavor. Stick to white short-grain rice for the best texture. For a vegan version, use dairy-free cheese and nutritional yeast in the rice.
Serving & Storage Suggestions
These onigiri are best eaten within 24 hours for maximum crispiness. However, they hold up surprisingly well in the fridge. Store them in an airtight container with a paper towel at the bottom to absorb moisture. This keeps the nori from getting too soggy.
To reheat, you can microwave them for 30-60 seconds. They will be softer, but still tasty. For the best texture, reheat them in a toaster oven or air fryer for 2-3 minutes. This restores the crisp exterior.
I love packing these with a side of pickled ginger or a small container of miso soup. It balances the savory rice with something light and acidic. They are also great paired with a green salad with a sesame dressing.
Avoid freezing them raw. The cheese can separate upon thawing. If you must freeze, fry them first, then freeze. Reheat directly from frozen in the oven.
Nutritional Information & Benefits
One onigiri contains approximately 250-300 calories, depending on the size and cheese amount. It’s a balanced meal with carbs from the rice, protein and fat from the cheese, and minerals from the nori.
Rice provides quick energy, making it great for active days. Nori is rich in iodine and vitamins A, C, and E. Cheese adds calcium and protein. It’s a nutrient-dense lunch that keeps you full for hours.
For those watching sodium, control the soy sauce amount. You can also use low-sodium cheese. It’s a flexible recipe that can fit various dietary needs.
Conclusion
Crispy cheesy onigiri is more than just a lunchbox item. It’s a game-changer for anyone tired of boring meals. It’s easy to make, delicious to eat, and perfect for prepping ahead. I hope you try this recipe and find it as enjoyable as I do.
Feel free to experiment with different fillings and flavors. Make it your own. If you make these, please share your creations or let me know how they turned out in the comments. I love hearing from you.
Happy meal prepping!
Frequently Asked Questions
Can I make these ahead of time?
Yes, absolutely. Shape and fry them up to 2 days in advance. Store them in the fridge and reheat before eating. The flavors actually meld nicely overnight.
Why is my rice falling apart?
You might be using the wrong type of rice. Ensure you are using short-grain Japanese rice. Also, make sure you are pressing the rice firmly enough when shaping. Adding a little mayo helps bind it.
Can I use long-grain rice?
It’s not recommended. Long-grain rice is not sticky enough to hold the shape and enclose the cheese. It will likely crumble during frying.
How do I keep the nori crisp?
Wrap the nori just before eating if possible. If packing for lunch, wrap it loosely around the rice ball. You can also place the nori in a separate small bag and wrap it yourself at lunchtime.
What cheese melts best?
Mozzarella is the best for stretch. Cheddar adds flavor. A mix of both works perfectly. Avoid hard cheeses like parmesan as they don’t melt well for this application.
Pin This Recipe!
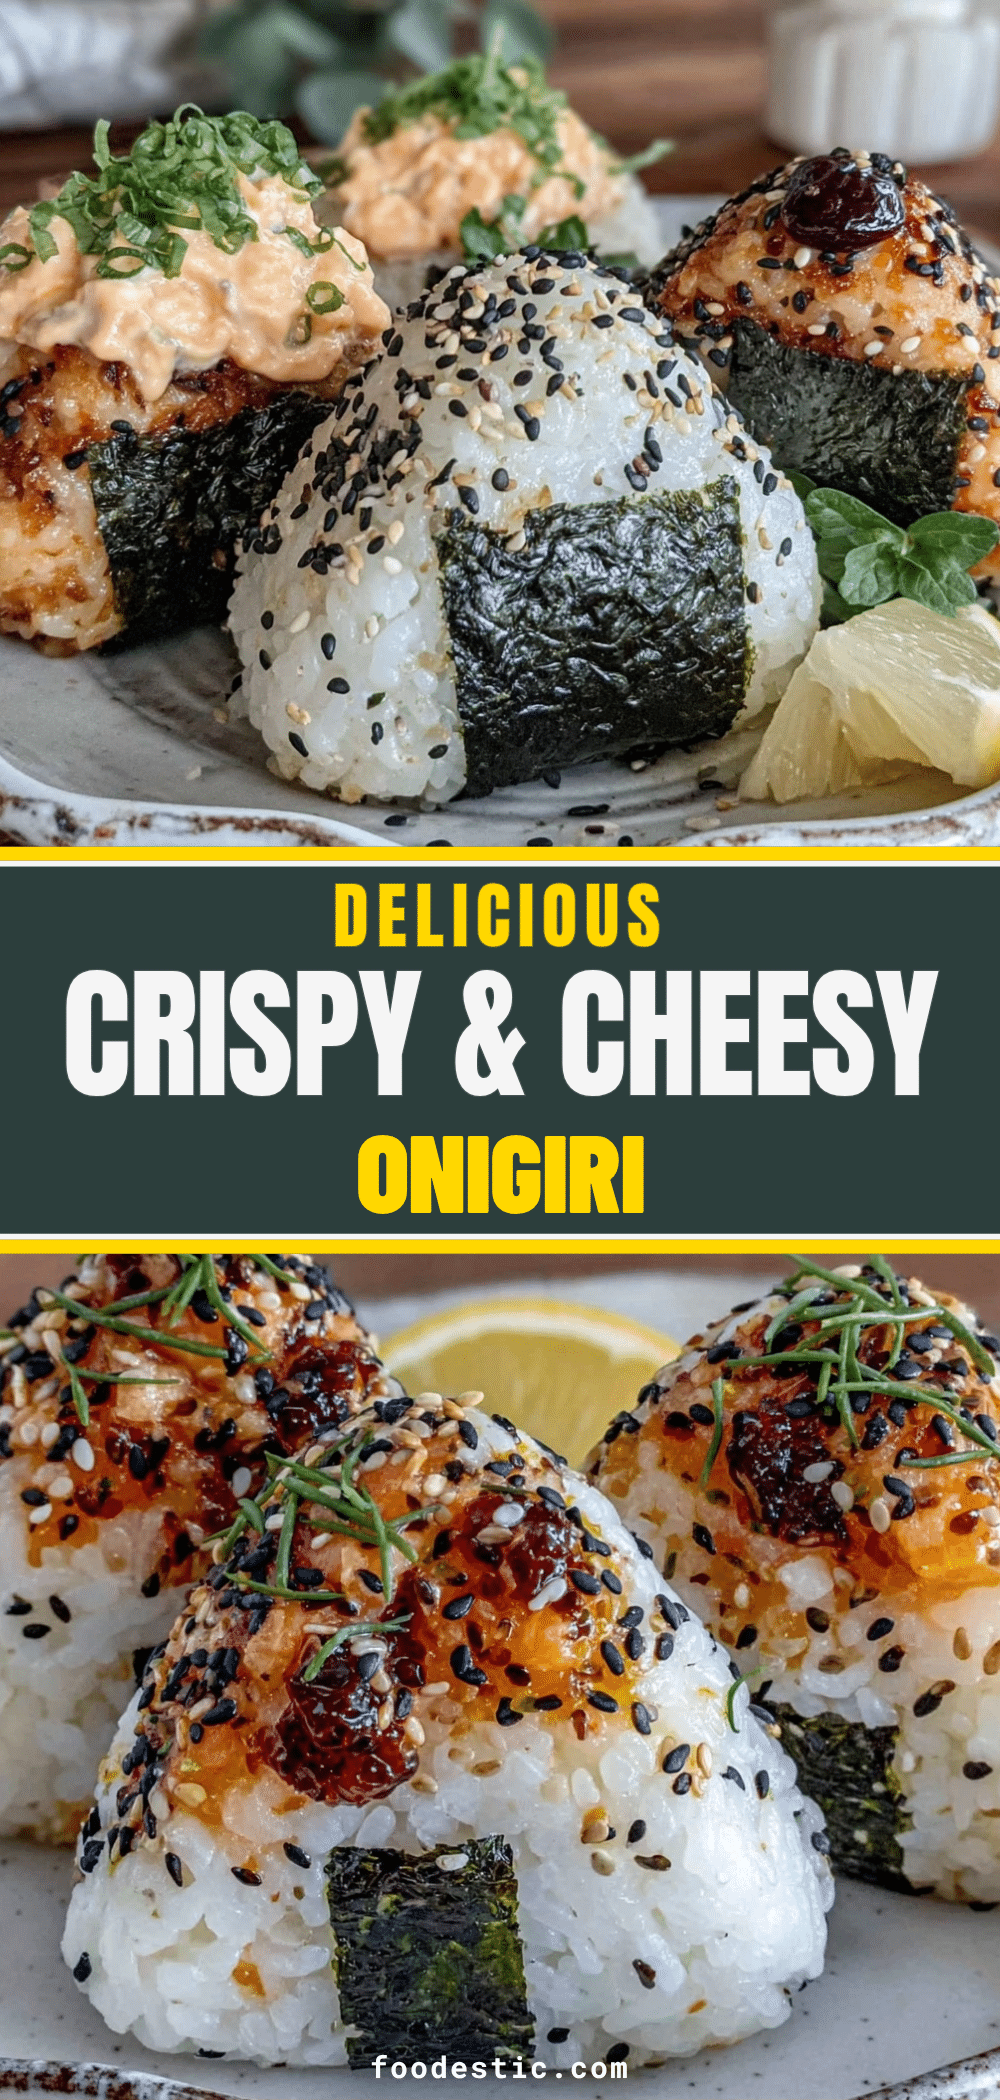

Crispy Cheesy Onigiri: 5 Easy Meal Prep Lunches
- Total Time: 1 hour
- Yield: 5 servings 1x
Description
Crispy, pan-fried Japanese rice balls stuffed with melted cheese, offering a perfect balance of crunchy exterior and gooey interior. Ideal for meal prep and lunchboxes.
Ingredients
- 2 cups uncooked Japonica (short-grain Japanese) rice
- 2.5 cups water
- 1 cup shredded cheese (mix of mozzarella and cheddar)
- 1 pack nori sheets (roasted seaweed)
- 2 tbsp soy sauce
- 1 tsp sesame oil
- 1 tbsp mayonnaise
- Flaky sea salt (optional)
- Oil for pan-frying
Instructions
- Rinse short-grain rice under cold water until clear. Cook according to rice cooker or stovetop instructions. Let sit covered for 10 minutes to steam.
- While rice is hot, transfer to a large bowl. Add soy sauce, sesame oil, and mayonnaise. Gently fold to coat grains without mashing. Let cool to room temperature.
- Cut cheese block into 1-inch cubes.
- Wet hands or wear plastic gloves. Take about 1/3 cup of rice, flatten in palm, place a cheese cube in center, and enclose completely.
- Shape the rice into a triangle by gently pressing thumbs into the sides.
- Repeat shaping for remaining rice and cheese. Place formed balls on parchment-lined plate.
- Heat a skillet over medium heat with a thin layer of oil. Fry rice balls for 2-3 minutes per side until golden brown and crispy. Press gently with a spatula.
- Cut nori sheets into strips. Wrap one strip around the middle of each onigiri. Secure with rice paste or toothpick if needed. Sprinkle with flaky sea salt.
Notes
Use short-grain Japanese rice for stickiness. Avoid pre-shredded cheese as anti-caking agents prevent smooth melting. Ensure rice is at room temperature before shaping to prevent sticking and burning. Do not overfill with cheese to prevent bursting. For best crispiness, wrap nori just before eating or store separately.
- Prep Time: 30 minutes
- Cook Time: 30 minutes
- Category: Main Course
- Cuisine: Japanese
Nutrition
- Serving Size: 1 onigiri
- Calories: 275
- Sugar: 1
- Sodium: 450
- Fat: 12
- Saturated Fat: 6
- Carbohydrates: 35
- Fiber: 1
- Protein: 8
Keywords: onigiri, crispy rice, meal prep, lunch ideas, Japanese food, cheese rice balls, easy lunch, portable lunch