Let’s face it, Sunday nights are usually a blur of decision fatigue. You stare into the fridge, hoping for inspiration, but all you see are leftover veggies and a sad container of sauce. I used to order takeout wings every single week. It was my guilty pleasure after a long week of work. But then I realized I was spending way too much money and eating something that tasted nothing like real food.
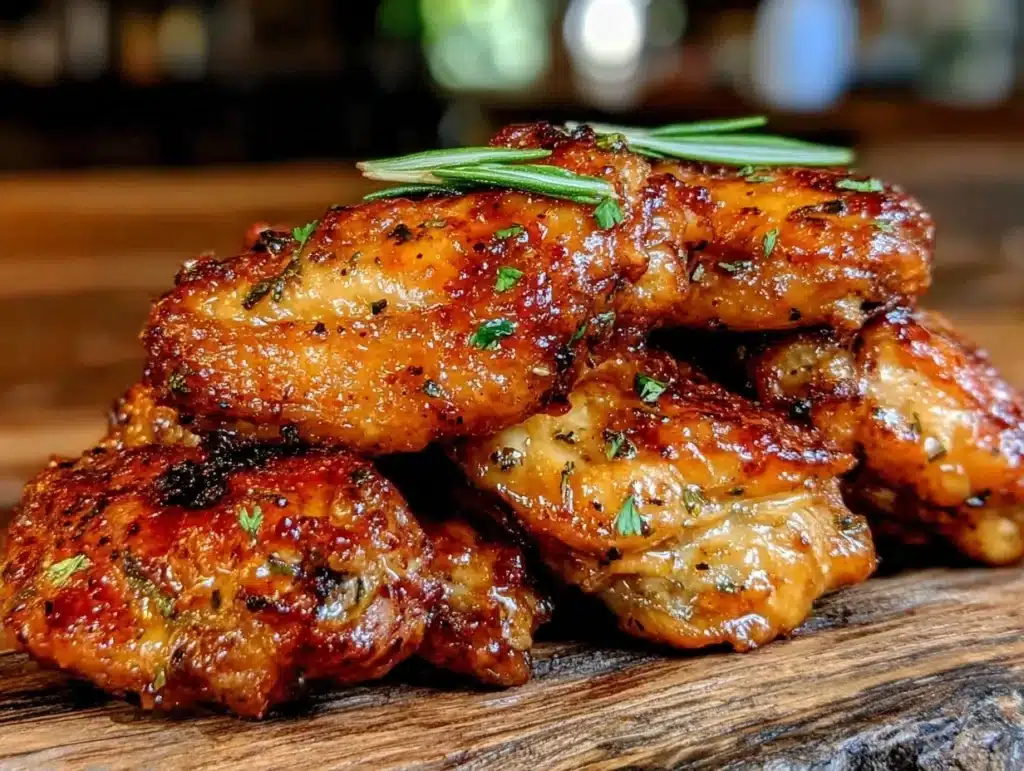
That changed the moment I started baking them in the oven with a specific trick. Now, these oven baked chicken wings are my secret weapon for meal prep. They don’t just survive the refrigerator; they thrive in it. I’ve tested this method dozens of times, and honestly, the texture is closer to fried than baked. The skin gets shatteringly crisp without needing a deep fryer.
What I love most is how they hold up when you reheat them. Most people think meal prep ruins the crunch of chicken wings. But with this method, they reheat like they were just made. You can bake a whole batch on Sunday, portion them out, and have a high-protein lunch ready for days. It’s not just convenient; it’s a game-changer for anyone trying to eat better without sacrificing flavor.
I’ve made these wings for lunch boxes, post-workout dinners, and even quick snacks when friends drop by. They are versatile, affordable, and surprisingly healthy if you skip the heavy sugary sauces. This isn’t just another chicken wing recipe. It’s a system for saving time and money while still eating delicious, satisfying food. Once you try these, you’ll never go back to soggy delivery wings again.
Why You’ll Love This Recipe
There is a specific magic to baking wings that most people miss. They usually end up rubbery or steamed instead of crispy. I spent years failing at this until I figured out the right balance of heat and airflow. Now, these wings are the backbone of my weekly meal prep routine. Here is why they deserve a spot in your rotation:
- Quick & Easy Prep: The actual hands-on time is minimal. Most of the work is just tossing wings in seasoning and putting them in the oven. You can have dinner ready in under an hour, including prep.
- Simple Ingredients: You don’t need a trip to a specialty store. Just chicken, a bit of oil, and pantry spices. I keep everything stocked year-round for this exact purpose.
- Perfect for Meal Prep: This is the main reason I make them. They store beautifully in the fridge for up to four days. They also freeze well if you want to prep even further ahead.
- Crowd-Pleaser: Even my picky eater husband loves them. Kids and adults alike can’t resist the crispy texture. They are great for potlucks or just a Tuesday night treat.
- Unbelievably Delicious: The flavor profile is customizable. You can go classic buffalo, tangy lemon pepper, or sweet honey garlic. The base recipe is always solid.
What makes this recipe different is the technique. I use a rack and a low-and-slow start to render the fat, followed by a high-heat finish to crisp the skin. This method ensures the meat stays juicy while the outside gets that restaurant-quality crunch. It’s comfort food that fits into a busy lifestyle. You get the satisfaction of a cheat meal with the discipline of meal prep.
I remember the first time I packed these for work. My coworkers smelled them in the breakroom and begged for the recipe. It turned a simple lunch into a highlight of my week. It’s the kind of dish that makes you feel organized and cared for, even on the busiest days. You aren’t just eating; you’re investing in your own convenience.
What Ingredients You Will Need
This recipe relies on high-quality basics to deliver bold flavor. You don’t need fancy sauces or obscure spices. The magic is in the technique and the ratio of ingredients. I’ve found that keeping the list short helps with consistency. Here is what you need to get started:
- Chicken Wings (3 lbs): I recommend using a mix of drumettes and flats. They cook evenly and are easy to eat. Look for wings that are fresh and not too watery.
- Baking Powder (1 tbsp): This is the secret ingredient. It raises the pH of the skin, helping it brown and crisp up. Make sure it is aluminum-free for the best taste.
- Kosher Salt (1 tsp): Sea salt works too, but kosher salt adheres better to the skin. It draws out moisture and seasons the meat deeply.
- Garlic Powder (1 tsp): Adds a savory depth without the burn of fresh garlic. I use a trusted brand like McCormick for consistency.
- Onion Powder (1 tsp): Complements the garlic and adds a subtle sweetness. It balances the savory notes perfectly.
- Smoked Paprika (1 tsp): This gives a nice color and a hint of smoke. It mimics the flavor of traditional frying without the oil.
- Black Pepper (1/2 tsp): Freshly cracked pepper adds a bit of heat and aroma. It wakes up the other spices.
- Avocado Oil (1 tbsp): I prefer avocado oil because it has a high smoke point. Olive oil can burn at high temperatures, so avoid it.
- Buffalo Sauce (Optional): If you want classic wings, use a vinegar-based buffalo sauce. Avoid thick, sugary sauces for meal prep.
For substitutions, you can use drumsticks if you prefer larger portions. They take a bit longer to cook, so adjust the time accordingly. If you are gluten-sensitive, this recipe is naturally gluten-free as long as you check your spice blends. Some pre-mixed spices contain wheat starch, so always read the label. I also like to add a pinch of cayenne for extra heat. It’s a small change that makes a big difference for spice lovers.
Equipment Needed
You don’t need fancy gadgets to make great wings. Standard kitchen tools work perfectly. The most important item is a wire rack. It allows air to circulate around the chicken, ensuring even cooking. Without a rack, the bottoms get soggy.
A baking sheet is essential. I use a rimmed sheet to catch any drips. This makes cleanup easier since you don’t have to scrub the pan later. If you don’t have a wire rack, you can use a cooling rack placed over the sheet. Just make sure it fits securely.
A large mixing bowl is helpful for tossing the wings. It keeps the mess contained. I also recommend using tongs. They give you better control than forks when handling hot chicken. A spray bottle with oil is optional but helpful for even coating.
For storage, invest in good glass containers. Plastic can stain from sauces and retain odors. Glass keeps the wings fresh longer and is easier to clean. I also use parchment paper for lining the pan if I’m lazy. It saves scrubbing time, though it might reduce crispiness slightly.
Preparation Method
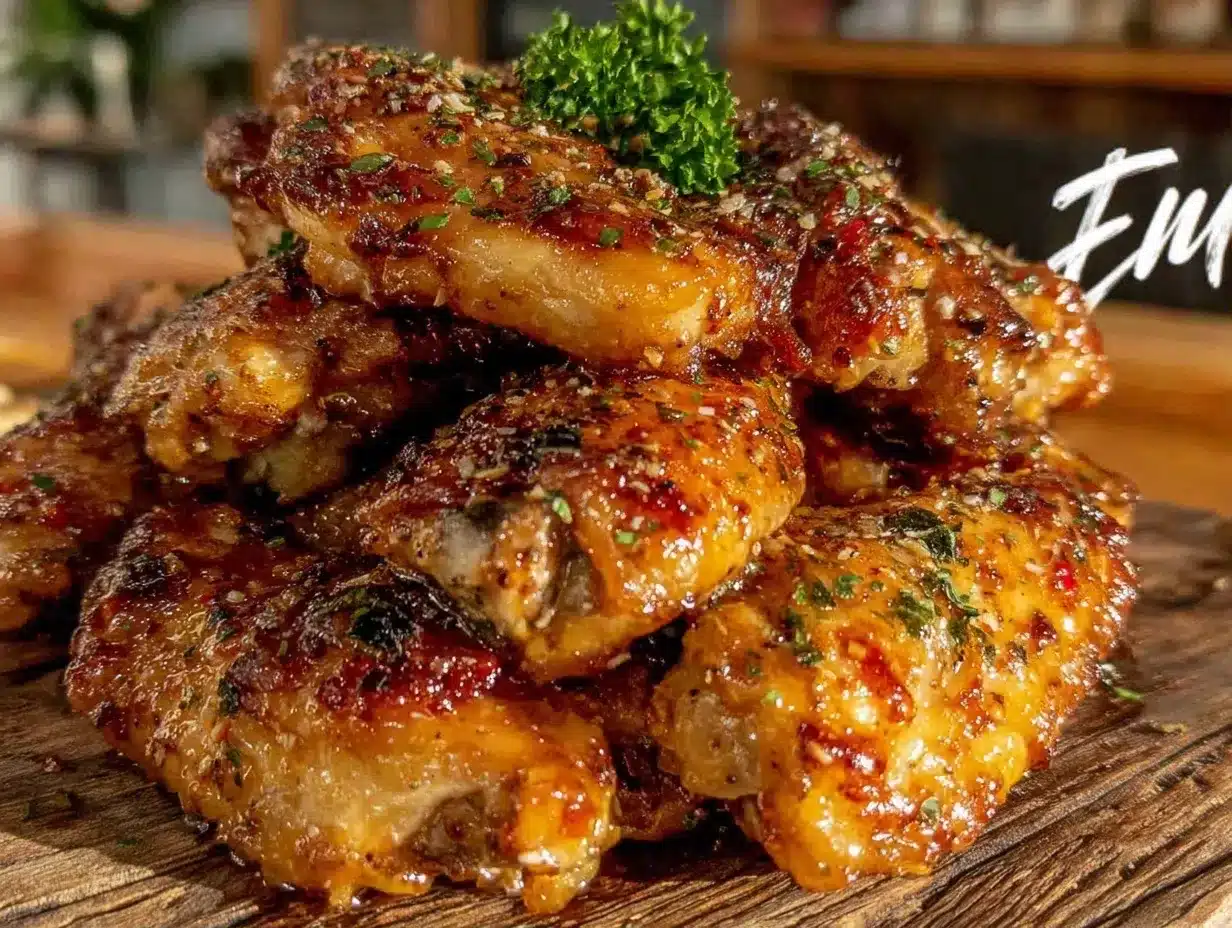
Getting these wings perfect requires a few specific steps. Follow them closely for the best results. The process is simple but requires patience.
- Prep the Wings: Start by patting the wings dry with paper towels. This is crucial. Moisture is the enemy of crispiness. Remove any excess fat or loose skin. (5 minutes)
- Season the Rack: Preheat your oven to 250°F (120°C). Place the wire rack on the baking sheet. Sprinkle a little baking powder on the rack to prevent sticking. (5 minutes)
- Toss in Dry Mix: In a large bowl, combine baking powder, salt, garlic powder, onion powder, paprika, and pepper. Add the wings and toss until fully coated. Each wing should have a light dusting. (5 minutes)
- Arrange on Rack: Place the wings on the rack in a single layer. Do not let them touch. Airflow is key for even crisping. (2 minutes)
- Low & Slow Bake: Put the wings in the oven. Bake for 40 minutes at 250°F. This renders out the fat and cooks the meat through gently. (40 minutes)
- Increase Heat: Raise the oven temperature to 425°F (220°C). Let the wings bake for another 20-25 minutes. Watch them closely to avoid burning. (25 minutes)
- Check Doneness: The internal temperature should reach 165°F (74°C). The skin should be golden brown and crispy. If needed, broil for 1-2 minutes for extra crunch. (2 minutes)
- Rest and Sauce: Let the wings rest for 5 minutes. This allows the juices to redistribute. Toss in your chosen sauce if desired. (5 minutes)
During the low-heat phase, the wings will look pale. Don’t panic. This is normal. The high-heat finish is what creates the color. If you see smoke, your oven might be too hot or the wings are too close to the element. Adjust accordingly.
Cooking Tips & Techniques
I’ve learned a lot from burning wings and dealing with soggy skins. Here are my best tips for success. First, never skip the drying step. Wet wings steam instead of bake. Use fresh paper towels and be thorough. Second, ensure your oven is fully preheated. An uneven oven leads to uneven cooking.
Another common mistake is overcrowding the pan. Wings need space. If they touch, they steam each other. Cook in batches if necessary. It’s worth the extra effort. Also, use a meat thermometer. Guessing doneness is risky. Overcooked wings are dry and tough.
For extra crispiness, let the seasoned wings sit in the fridge for an hour before baking. This dries out the skin further. It’s a small step that makes a huge difference. I also like to flip the wings halfway through the high-heat phase. This ensures even browning on all sides.
Timing is everything. Keep an eye on the oven during the last 10 minutes. Sugary sauces burn quickly, so add them only after the wings are done. If you are making multiple batches, keep the first batch warm in a low oven. This saves time and keeps everything hot.
Finally, clean your rack while it’s still warm. Baked-on fat is hard to remove. Soak it in warm soapy water if needed. Proper maintenance of your equipment ensures better results every time. These tips have saved me countless failed dinners.
Variations & Adaptations
One of the best things about this recipe is its flexibility. You can change the flavors to suit any mood. Here are some ideas:
- Classic Buffalo: Toss the baked wings in a mixture of hot sauce and melted butter. Add a dash of vinegar for tang. This is the crowd favorite.
- Honey Garlic: Mix honey, soy sauce, minced garlic, and ginger. Toss the wings in this glaze after baking. It’s sweet and savory.
- Lemon Pepper: Skip the dry rub and use fresh lemon juice and cracked black pepper. Add some zest for brightness. It’s light and refreshing.
- Spicy Sriracha: Mix sriracha with a little sugar and lime juice. This adds heat and acidity. Great for those who like a kick.
- BBQ Glaze: Use your favorite BBQ sauce. Brush it on lightly to avoid burning. It’s smoky and rich.
For dietary changes, you can use coconut aminos instead of soy sauce for a gluten-free option. If you are dairy-free, skip the butter in the buffalo sauce. Use olive oil instead. For low-carb diets, avoid sugary sauces. Stick to vinegar-based hot sauces or dry rubs.
I once tried making these in an air fryer. They came out fast but lacked the depth of flavor from the oven. The oven allows for better fat rendering. However, air fryers are great for quick single servings. I usually stick to the oven for meal prep batches. It’s more efficient for large quantities.
Serving & Storage Suggestions
These wings are best served warm. I like to pair them with celery sticks and blue cheese dip. The crunch of the celery balances the richness of the chicken. For a full meal, serve them with a side salad or roasted vegetables. They also go well with rice or quinoa for a protein-packed lunch.
For storage, let the wings cool completely before packing. Use airtight glass containers. They will last in the fridge for up to four days. If you want to freeze them, place them on a baking sheet first. Freeze until solid, then transfer to a bag. They last for up to three months.
To reheat, use the oven or an air fryer. Microwaving makes them soggy. Preheat your oven to 400°F (200°C). Heat the wings for 10-15 minutes until crispy and hot. This method preserves the texture. They reheat like they were just made.
I often meal prep these on Sundays. I portion them into containers with dipping sauces on the side. This keeps the skins crisp until you eat them. It makes lunch assembly a breeze during the week. You just grab, heat, and go. It’s the ultimate convenience food.
Flavors develop over time. The spices meld together in the fridge, making them taste even better on day three. Don’t be afraid to save a few for later in the week. They are consistently delicious. Just make sure to label your containers with dates. Freshness matters.
Nutritional Information & Benefits
Chicken wings are a great source of protein. They provide essential amino acids for muscle repair. This is ideal for active individuals or those looking to build lean mass. One serving of three wings contains about 20-25 grams of protein, depending on size.
The skin contains healthy fats, but it is calorie-dense. If you are watching your intake, you can remove the skin before eating. The meat itself is leaner. This recipe uses minimal oil, keeping the fat content moderate. It’s a balanced choice compared to fried alternatives.
For those with dietary restrictions, this recipe is naturally gluten-free. Just verify your spice blends. It is also dairy-free if you skip butter-based sauces. You can make it nut-free easily. Always check labels for allergens.
I find these wings satisfying without leaving me feeling sluggish. The protein keeps me full for hours. This helps prevent mid-afternoon snacking. It’s a practical way to meet daily protein goals. Plus, the flavor prevents meal fatigue. You don’t feel like you’re eating “diet” food.
Remember that nutritional values vary based on sauce and portion size. Use a food scale for accuracy. This recipe is a tool for healthy eating, not a restriction. Enjoy it as part of a balanced lifestyle. It’s about consistency, not perfection.
Conclusion
These oven baked chicken wings are more than just a snack. They are a solution for busy weeks. They save time, money, and stress. You get restaurant-quality food without the hassle. The meal prep aspect makes them invaluable for my weekly routine.
I encourage you to try different sauces and spices. Make it your own. The base recipe is a canvas for your creativity. Whether you like it spicy or mild, this method works. Don’t be afraid to experiment. That’s the fun of cooking.
I love these wings because they bring me joy and convenience. They remind me that healthy eating doesn’t have to be boring. It can be crispy, flavorful, and satisfying. I hope they become a staple in your kitchen too. Share your results with me in the comments.
Tag me on social media if you make them. I love seeing your creations. Let’s inspire each other to eat better. Thanks for reading and happy cooking! These wings will change your meal prep game.
Frequently Asked Questions
Can I use frozen wings for this recipe?
It is best to use fresh or thawed wings. Frozen wings release too much water, which prevents crisping. Thaw them completely in the fridge before preparing. Pat them dry thoroughly to remove excess moisture.
Why are my wings not crispy?
Moisture is usually the culprit. Ensure you dry the wings well before seasoning. Also, make sure they are not touching on the rack. Crowding causes steaming. Check your oven temperature to ensure it is accurate.
How do I store leftover sauce?
Store leftover sauce in a separate airtight container. It will last in the fridge for up to a week. Do not mix it with the wings until you are ready to eat. This keeps the wings crisp.
Can I make these in an air fryer?
Yes, you can. Cook at 400°F (200°C) for 20-25 minutes. Shake the basket halfway through. They cook faster in an air fryer. Keep an eye on them to avoid burning.
What dips go best with these wings?
Classic blue cheese or ranch dressing are popular choices. Celery and carrot sticks add crunch. For a lighter option, try a Greek yogurt-based dip. It adds protein and creaminess without heavy calories.
Pin This Recipe!
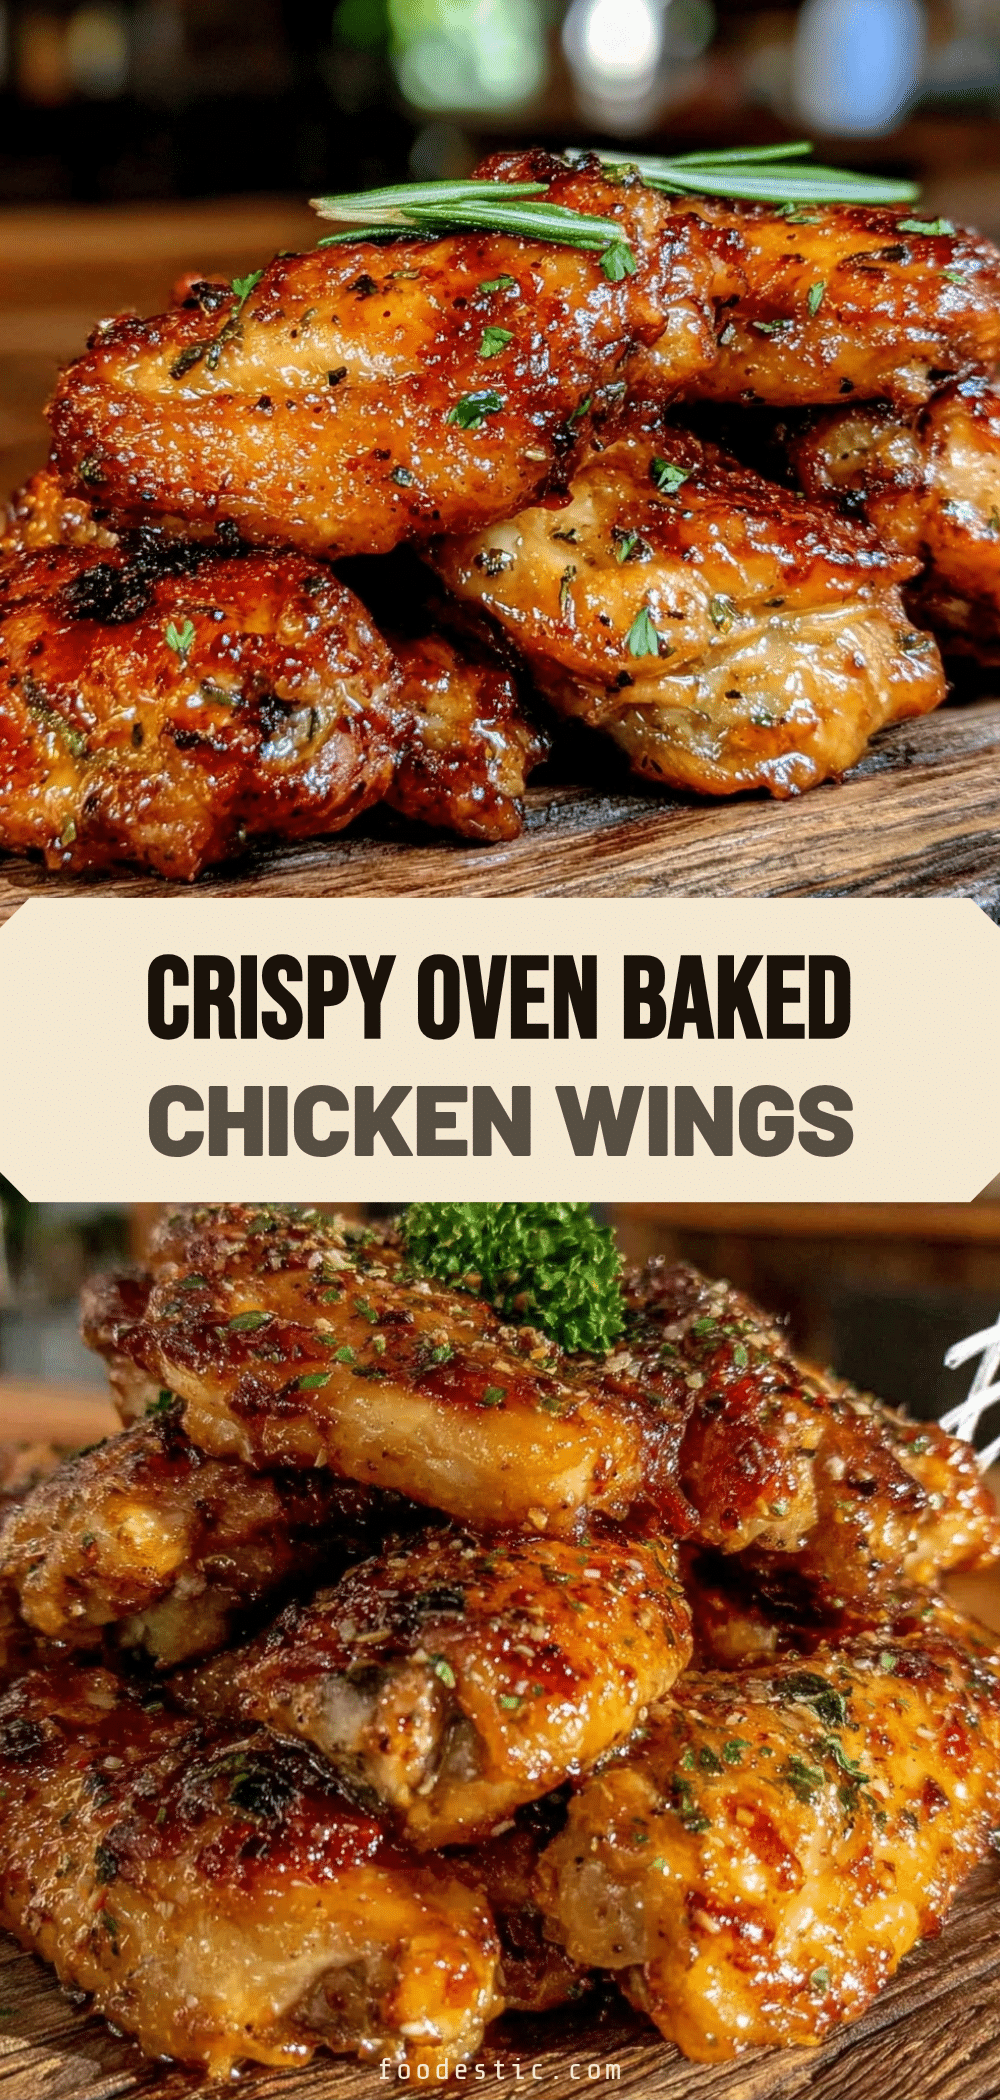

Oven Baked Chicken Wings: Meal Prep That Reheats Like Fresh
- Total Time: 80 minutes
- Yield: 4 servings 1x
Description
Crispy, low-and-slow baked chicken wings that are perfect for meal prep. This method ensures restaurant-quality crunch and juicy meat, reheating perfectly for high-protein lunches.
Ingredients
- 3 lbs Chicken Wings (drumettes and flats)
- 1 tbsp Baking Powder (aluminum-free)
- 1 tsp Kosher Salt
- 1 tsp Garlic Powder
- 1 tsp Onion Powder
- 1 tsp Smoked Paprika
- 1/2 tsp Black Pepper
- 1 tbsp Avocado Oil
- Buffalo Sauce (Optional)
Instructions
- Preheat oven to 250°F (120°C). Pat wings dry with paper towels to remove excess moisture.
- Place a wire rack on a rimmed baking sheet. Sprinkle a little baking powder on the rack to prevent sticking.
- In a large bowl, combine baking powder, salt, garlic powder, onion powder, paprika, and pepper.
- Add wings to the spice mixture and toss until fully coated with a light dusting.
- Arrange wings on the rack in a single layer, ensuring they do not touch for proper airflow.
- Bake at 250°F for 40 minutes to render fat and cook gently.
- Increase oven temperature to 425°F (220°C) and bake for another 20-25 minutes until skin is golden and crispy.
- Check that internal temperature reaches 165°F (74°C). Broil for 1-2 minutes if extra crunch is desired.
- Let wings rest for 5 minutes to redistribute juices.
- Toss in chosen sauce if desired and serve.
Notes
Ensure wings are completely dry before seasoning to maximize crispiness. Do not overcrowd the rack; cook in batches if necessary. For extra crispiness, let seasoned wings sit in the fridge for an hour before baking. Store in airtight glass containers for up to 4 days in the fridge or freeze for up to 3 months. Reheat in oven or air fryer to maintain texture.
- Prep Time: 15 minutes
- Cook Time: 65 minutes
- Category: Main Course
- Cuisine: American
Nutrition
- Serving Size: 3 wings per serving
- Calories: 350
- Sodium: 450
- Fat: 22
- Saturated Fat: 6
- Carbohydrates: 2
- Protein: 25
Keywords: chicken wings, meal prep, oven baked wings, crispy chicken, high protein, gluten free, keto friendly, easy dinner