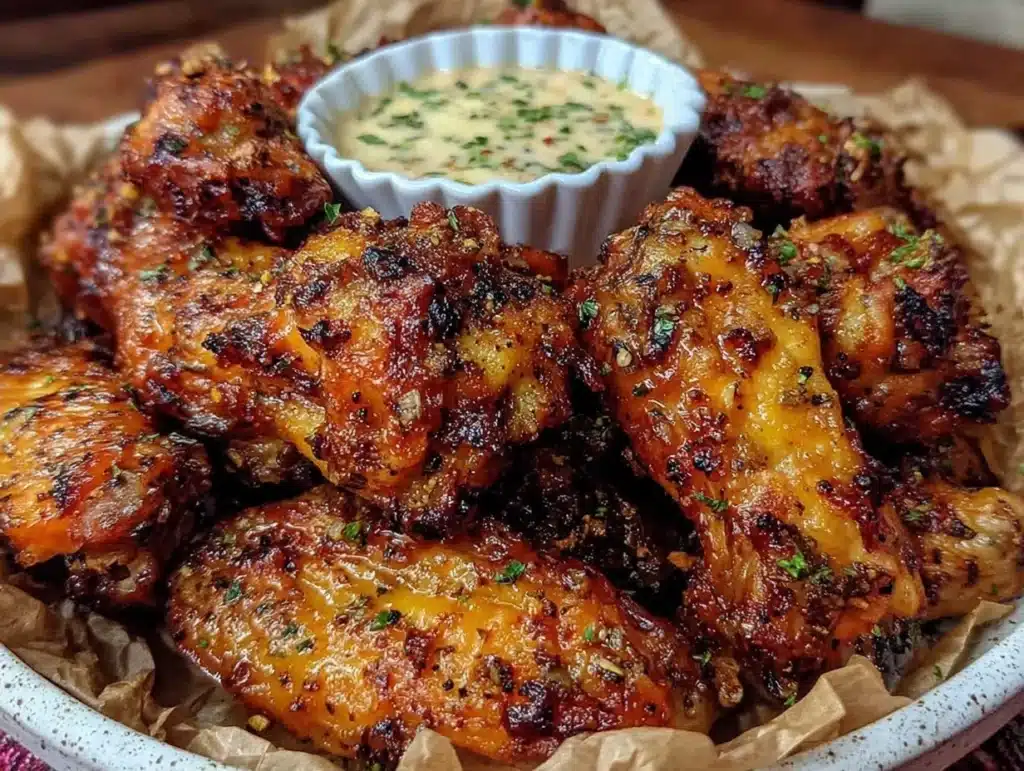
Let’s be honest for a second. The smell of deep-fried chicken wings hitting the air is undeniably addictive. But here is the hard truth: nobody actually wants to spend their Sunday afternoon standing over a pot of hot oil, worrying about splatters and cleanup. Not when you could be prepping the rest of your week.
I used to think baked wings were a compromise. You know the type—soggy skin, bland flavor, and a texture that felt more like “roasted” than “crispy.” I was wrong. After testing dozens of batches and tweaking my method over the last two years, I’ve found the holy grail of wing prep. It’s not just about dinner; it’s about creating a lunchbox staple that actually tastes exciting on Wednesday at 1 p.m.
This recipe for the best baked chicken wings (crispy) changes the game. By using a simple baking powder trick and a high-heat finish, you get that shatteringly crisp skin without the grease. I batch these every Sunday, toss them in my favorite sauce or keep them plain, and pack them for lunch all week long. They reheat beautifully, they don’t get soggy in the container, and they save me from the daily “what’s for lunch?” panic.
If you are looking for a high-protein, meal-prep friendly lunch that doesn’t taste like cardboard, this is it. These wings are versatile enough to be a party appetizer but practical enough to be your weekday fuel. Let’s get into how to make them perfectly crispy, every single time.
Why You’ll Love This Recipe for Meal Prep
There is a specific kind of magic that happens when you bake chicken wings instead of frying them. It’s not just about the health benefits, though cutting out the excess oil is a nice bonus. It’s about the texture and the convenience factor that makes this recipe a Sunday prep superstar.
- Crispy Without the Oil Bath: The secret lies in the baking powder coating. It raises the pH of the skin, allowing it to brown and crisp up in the dry heat of the oven. You get that fried-like crunch without the mess or the guilt. Honestly, it’s a game-changer for anyone trying to eat cleaner without sacrificing comfort food vibes.
- Perfect for Batch Cooking: These wings are designed to be made in large quantities. You can fit multiple racks in your oven, and because they bake evenly, you don’t have to babysit them. This means you can spend your Sunday morning prepping, put them in the oven, and have hours of your lunch sorted before you even sit down for lunch.
- Reheats Like a Dream: This is the most critical factor for meal prep. Most cooked chicken gets dry or rubbery when reheated. Baked wings, however, retain their moisture inside while keeping their skin crisp. Whether you microwave them for two minutes or pop them in a toaster oven, they still taste freshly made. No more sad, limp chicken for lunch.
- Versatile Flavor Profiles: You can make a huge batch of plain crispy wings and divide them into portions. Toss half in Buffalo sauce, half in BBQ, and keep a quarter plain with salt and pepper. This variety keeps your palate happy all week long and stops lunch boredom in its tracks.
- High Protein, Low Carb Friendly: Chicken wings are naturally gluten-free and low-carb. If you are tracking macros or just trying to eat more protein, these are a powerhouse. They keep you full for hours, stabilizing your blood sugar and preventing that mid-afternoon crash.
What makes this recipe different from the rest is the attention to detail in the drying process. Most people skip patting the wings dry, and that’s why they steam instead of crisp. By taking the extra ten minutes to dry them thoroughly and letting them air-dry in the fridge overnight (or for at least a few hours), you remove the surface moisture. This step is non-negotiable for achieving that restaurant-quality crunch at home.
It’s also about the emotional satisfaction of opening your lunchbox on a busy Tuesday and pulling out a container of golden, crispy wings. It feels like a treat, not a chore. It’s comfort food reimagined for the modern, busy lifestyle. You get the joy of eating something delicious without the stress of cooking every night.
What Ingredients You Will Need
This recipe relies on simple, wholesome ingredients to deliver bold flavor and satisfying texture without the fuss. You likely already have most of these in your pantry. The key is quality and the right chemical reaction between the salt and baking powder.
- Chicken Wings (2-3 lbs): Use whole wings or wingettes. I prefer whole wings for meal prep because they have more surface area for crisping and stay juicier. Look for fresh, organic wings if possible, as the flavor is significantly better. Avoid frozen wings if you can, as they release more water and can be harder to dry properly.
- Baking Powder (1 tbsp): This is the secret weapon. Crucial: It must be aluminum-free baking powder. Aluminum-free baking powder is what allows the skin to crisp up. If you use baking soda, it will taste metallic and soapy. I recommend Rumford or Clabber Girl for best texture.
- Kosher Salt (1 tsp): Kosher salt is essential because it penetrates the meat better than table salt and doesn’t have additives. It seasons the wing from the inside out. If you only have table salt, use half the amount, as it is much denser.
- Garlic Powder (1 tsp): Adds a savory depth that complements the chicken without adding moisture. Fresh garlic will burn in the high heat, so powder is the way to go.
- Onion Powder (1 tsp): Works in tandem with garlic to create a classic savory base. It adds a subtle sweetness that balances the saltiness.
- Black Pepper (1/2 tsp): Freshly cracked black pepper adds a little heat and aromatic complexity. Pre-ground pepper loses its potency quickly, so crack it fresh if you can.
- Optional Sauce: For the final toss, you can use your favorite hot sauce, BBQ sauce, or a honey-garlic glaze. Frank’s RedHot is a classic for Buffalo style, but don’t be afraid to experiment. For a meal prep lunch, I often keep them dry or lightly tossed in a vinegar-based sauce to prevent sogginess.
For the best results, ensure your wings are cold when you start. This helps the baking powder adhere better. If you are making these for a specific occasion, you can swap the seasonings for Cajun spice or ranch seasoning, but the base method remains the same. The simplicity of these ingredients allows the chicken flavor to shine through.
Equipment Needed
You don’t need fancy gadgets to make great wings. A few basic tools are all you need to get that perfect crisp.
- Rimmed Baking Sheet: Use a heavy-duty sheet pan. The weight helps distribute heat evenly. A lightweight pan might warp, leading to uneven cooking.
- Wire Rack: This is optional but highly recommended. Placing the wings on a wire rack allows air to circulate underneath them. This prevents the bottom from steaming in its own juices. If you don’t have a rack, you can place them directly on the sheet, but flip them halfway through.
- Paper Towels: You will need plenty of these to pat the wings dry. Moisture is the enemy of crispiness, so don’t skimp on this step.
- Large Mixing Bowl: For tossing the wings in the seasoning blend. A bowl is better than a bag because you can see exactly how evenly the coating is distributed.
- Tongs: Essential for flipping the wings and handling them while they are hot. Metal tongs are durable and easy to clean.
If you are short on space, you can bake them directly on the sheet, but just remember to flip them. I also recommend having a second sheet pan ready if you are baking a large batch, so you can rotate pans in the oven for even browning. A simple oven thermometer can also help ensure your oven is actually at the temperature you set, as many ovens run hot or cold.
Preparation Method
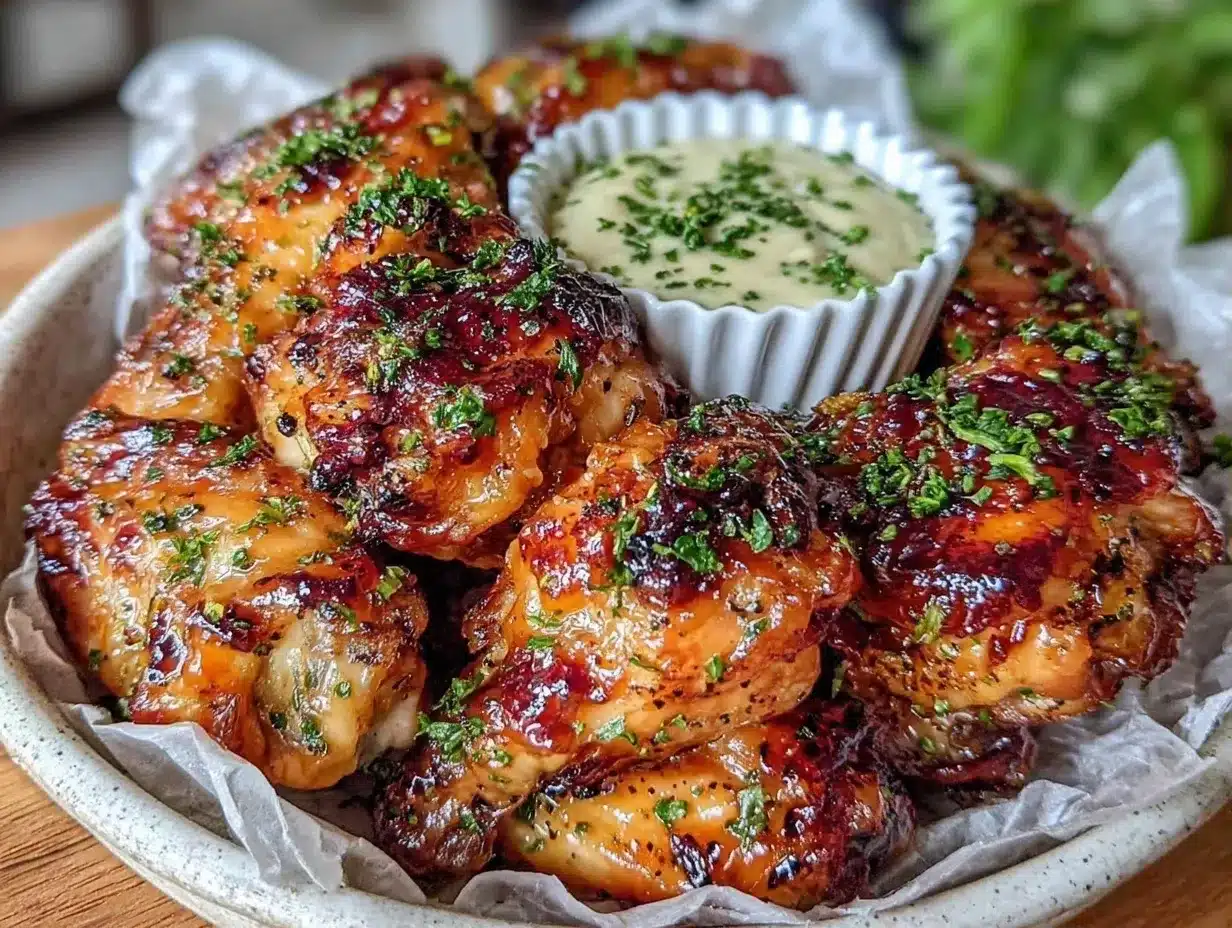
Getting these wings ready is a straightforward process, but the steps matter. Follow these instructions carefully to ensure maximum crispiness and juiciness.
- Prep the Wings (5 minutes): Start by taking your chicken wings out of the package. If they are whole wings, separate them at the joint into drumettes and flats. Discard the tips, or save them for homemade chicken stock. You want uniform pieces so they cook evenly.
- Dry Them Thoroughly (10 minutes): This is the most important step. Lay the wings out on a layer of paper towels. Pat them dry with more paper towels. You want them to feel almost sandpaper-dry to the touch. Remove any excess moisture. If you skip this, the wings will steam. Pro Tip: For even better results, place the dried wings on a wire rack and leave them uncovered in the fridge for 2-4 hours. This air-dries the skin further.
- Make the Seasoning Blend (2 minutes): In a large mixing bowl, combine 1 tablespoon of aluminum-free baking powder, 1 teaspoon of kosher salt, 1 teaspoon of garlic powder, 1 teaspoon of onion powder, and 1/2 teaspoon of black pepper. Whisk these together to ensure the baking powder is evenly distributed. Clumps of baking powder can leave bitter spots.
- Toss the Wings (5 minutes): Add the dried wings to the bowl. Toss them gently but thoroughly until every wing is coated in the seasoning mix. You want a thin, even layer of powder on each piece. Do not overmix, or the powder will fall off. If the mixture looks too thick, add a tiny splash of water or oil, but usually, the natural moisture is enough.
- Arrange on the Pan (2 minutes): Line your baking sheet with parchment paper or foil for easy cleanup. Place the wings on the sheet (or rack) in a single layer. Make sure they are not touching. Crowding the pan will cause them to steam instead of roast. If you have too many, bake in batches.
- Bake High and Fast (40-50 minutes): Preheat your oven to 425°F (220°C). Place the wings in the oven. Bake for 40 minutes. If you are using a rack, flip the wings halfway through (around the 20-minute mark) to ensure even browning. The skin should start to turn golden and crispy.
- The Broil Finish (2-3 minutes): After 40 minutes, check the wings. If they aren’t crispy enough, switch your oven to broil. Watch them closely! Broil for 2-3 minutes to crisp up the skin further. You want them to be golden brown, not burnt. Keep the door slightly ajar if your broiler is very powerful to prevent burning.
- Sauce or Serve (5 minutes): If you are serving them immediately, toss them in your desired sauce while they are hot. The heat helps the sauce adhere. If you are meal prepping, I recommend keeping them plain or lightly dusting with dry rub. Sauce can make them soggy in the fridge. Add sauce when you reheat or just before eating.
Trust the process. The initial drying and the high heat are what make these wings stand out. It might take a little extra time on Sunday, but the result is worth it. You will have crispy, delicious wings that are ready to go all week long.
Cooking Tips & Techniques
Even experienced cooks can mess up wings if they aren’t careful. Here are some professional techniques to ensure success.
Avoid the Steam Trap: Never overcrowd the pan. If wings touch, they steam each other. Give them space. If you have a small oven, bake in two batches. It’s better to have two batches of perfect wings than one batch of soggy ones.
The Baking Powder Myth: Many people think baking powder makes wings salty or soapy. It doesn’t, as long as you use aluminum-free. The baking powder breaks down the proteins in the skin, allowing it to crisp up like fried chicken. It is safe and effective.
Flip Midway: If you aren’t using a rack, flipping is crucial. The bottom wing will cook faster if it’s sitting directly on the hot metal. Flipping ensures even browning on all sides.
Watch the Broiler: Broilers are powerful. They can go from golden to black in seconds. Stay in the kitchen. Use the oven light to check on them rather than opening the door repeatedly, which lets heat escape.
Temperature Matters: Make sure your oven is fully preheated. Putting wings in a cold oven will result in rubbery skin. Use an oven thermometer to verify your temperature is accurate.
Variations & Adaptations
One of the best things about this base recipe is how easy it is to adapt. Here are a few ways to switch it up.
- Spicy Buffalo: Toss the hot wings in a mixture of Frank’s RedHot and melted butter. This is a classic for a reason. It’s tangy, spicy, and perfect for dipping in blue cheese dressing.
- Honey Garlic: Mix 1/4 cup honey, 2 cloves minced garlic (or 1 tsp garlic powder), and 1 tbsp soy sauce. Toss the wings in this glaze after baking. It’s sweet, savory, and sticky.
- Ranch Dust: After baking, toss the wings in a mixture of dried ranch seasoning and a little grated Parmesan cheese. It’s like a crunchy snack that doubles as a meal.
- Gluten-Free: This recipe is naturally gluten-free. Just ensure your baking powder and sauces are certified gluten-free. Most are, but always check labels.
- Vegan Option: While this recipe is for chicken, you can adapt the technique for cauliflower wings. Use the same seasoning blend and baking method for cauliflower florets. They crisp up similarly and absorb sauce well.
I personally love keeping a batch of plain wings and a batch of BBQ wings for lunch. The variety keeps things interesting. Don’t be afraid to experiment with different spice rubs like Cajun, lemon pepper, or chili lime.
Serving & Storage Suggestions
How you store and reheat these wings is just as important as how you cook them.
Storage: Let the wings cool completely before storing. Place them in an airtight container in the refrigerator. They will last for up to 4 days. If you sauced them, store them separately from the sauce if possible, or accept that they will be softer. For best texture, store plain wings and add sauce upon reheating.
Reheating: The microwave is the enemy of crispiness. Avoid it if you can. The best way to reheat is in an air fryer at 375°F for 3-4 minutes. This restores the crunch perfectly. If you don’t have an air fryer, use a toaster oven or conventional oven at 350°F for 10 minutes. This gentle heat warms the inside without drying out the skin.
Serving: Serve with celery sticks and carrot sticks. Classic dips include blue cheese, ranch, or honey mustard. For a healthy lunch, pair them with a side of quinoa or roasted vegetables. The wings provide the protein and flavor, while the sides add fiber and nutrients.
Freezing: You can freeze baked wings. Let them cool, then place them in a freezer-safe bag. They will last for 2-3 months. Thaw in the fridge overnight and reheat in the oven. Note that the texture may be slightly less crisp after freezing, but they will still be delicious.
Nutritional Information & Benefits
Chicken wings are a great source of high-quality protein. A typical serving of 3-4 wings contains about 20-25 grams of protein, which is essential for muscle repair and satiety. They also contain healthy fats, particularly if you leave the skin on, which provides flavor and keeps you full.
Compared to fried wings, baked wings have significantly fewer calories and less saturated fat. This makes them a smarter choice for those watching their weight or heart health. They are also naturally gluten-free, making them safe for people with celiac disease or gluten sensitivity.
From a wellness perspective, I love that this recipe allows me to control the sodium and ingredients. Store-bought wings often come with hidden preservatives and excessive sugar in the sauces. By making them at home, I know exactly what I’m eating. It’s a small step that makes a big difference in my overall diet.
Conclusion
Making the best baked chicken wings (crispy) is easier than you think, and the payoff is huge. Not only do you get a delicious, restaurant-quality meal, but you also save time and money by prepping in bulk. These wings are a game-changer for anyone who wants to eat well without spending hours in the kitchen every day.
I encourage you to try this recipe and make it your own. Experiment with different sauces and seasonings. Share your creations with friends and family. I’d love to hear how you customize this recipe for your own lunch routine. Leave a comment below with your favorite wing sauce combination!
Remember, an hour on Sunday can mean lunch handled all week. Give these wings a try, and you might never go back to frying again. Happy cooking!
Frequently Asked Questions
Can I use baking soda instead of baking powder?
No, do not use baking soda. Baking soda is much stronger and will leave a metallic, soapy taste in the wings. It also changes the pH too drastically, which can affect the texture negatively. Always use aluminum-free baking powder for the best results.
Why are my baked wings not crispy?
The most common reasons are insufficient drying of the wings and overcrowding the pan. Make sure you pat them very dry with paper towels and give them space on the baking sheet. Also, ensure your oven is fully preheated and consider using the broil function at the end for extra crispiness.
How do I store leftover wings?
Store leftover wings in an airtight container in the refrigerator for up to 4 days. For best texture, reheat them in an air fryer or oven rather than a microwave. If you sauced them, they may become softer over time, so consider storing plain wings and adding sauce when reheating.
Can I freeze baked chicken wings?
Yes, you can freeze baked wings. Let them cool completely, then place them in a freezer-safe bag or container. They will keep for 2-3 months. Thaw in the refrigerator overnight and reheat in the oven to restore crispiness.
What is the best sauce for baked wings?
It depends on your preference! Classic Buffalo sauce (hot sauce + butter) is a favorite. BBQ, honey garlic, and lemon pepper are also excellent choices. For meal prep, I recommend vinegar-based sauces or dry rubs, as they hold up better in the fridge without making the wings soggy.
Pin This Recipe!
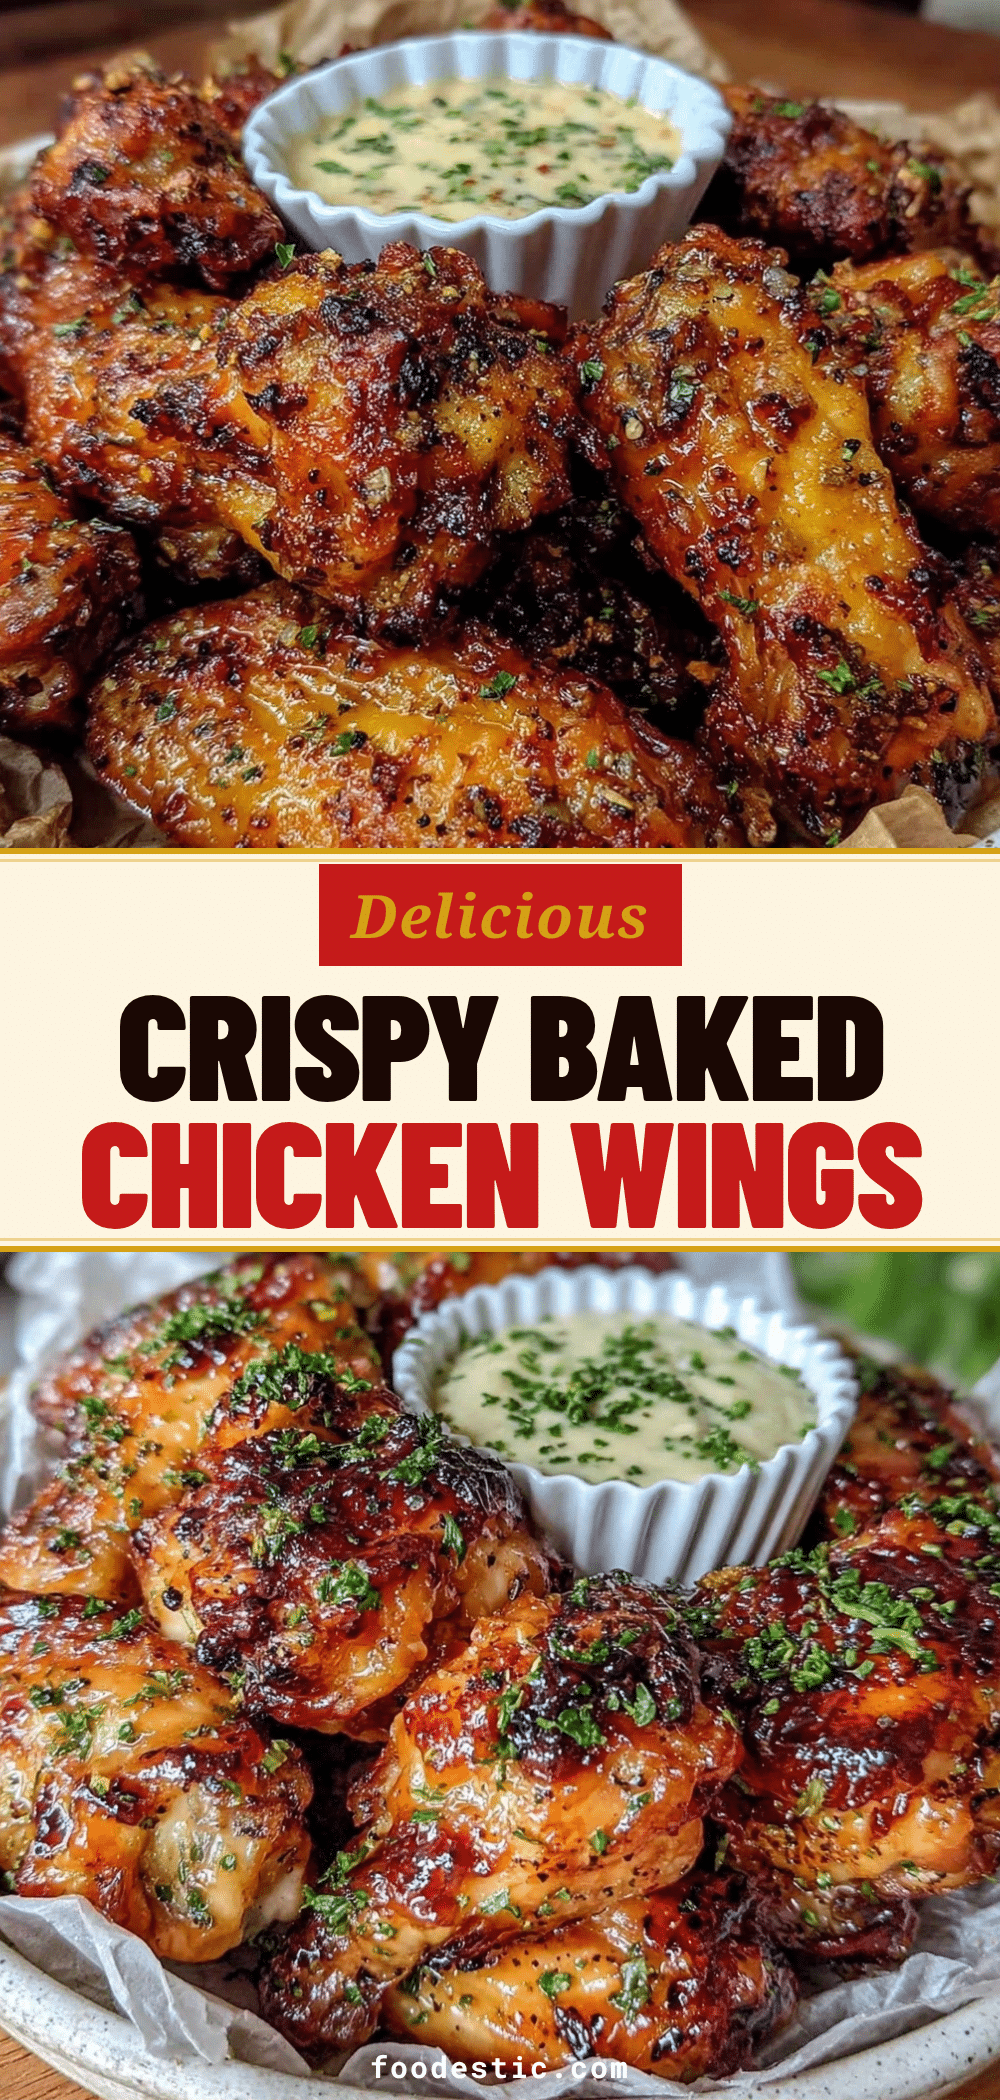

Baked Chicken Wings: Easy Crispy Meal Prep Lunches
- Total Time: 1 hour 7 minutes
- Yield: 4 servings 1x
Description
Achieve shatteringly crispy baked chicken wings without the grease using a baking powder trick and high-heat method. Perfect for meal prep, these high-protein, low-carb wings reheat beautifully and stay crisp all week long.
Ingredients
- 2–3 lbs chicken wings (whole wings or wingettes)
- 1 tbsp aluminum-free baking powder
- 1 tsp kosher salt
- 1 tsp garlic powder
- 1 tsp onion powder
- 1/2 tsp black pepper
- Optional: Buffalo sauce, BBQ sauce, or honey-garlic glaze for tossing
Instructions
- Separate whole wings at the joint into drumettes and flats, discarding tips.
- Pat wings thoroughly dry with paper towels until they feel sandpaper-dry. For best results, air-dry uncovered in the fridge for 2-4 hours.
- In a large mixing bowl, whisk together baking powder, kosher salt, garlic powder, onion powder, and black pepper.
- Add dried wings to the bowl and toss gently until evenly coated in the seasoning mix.
- Line a rimmed baking sheet with parchment or foil. Place wings in a single layer, ensuring they are not touching.
- Preheat oven to 425°F (220°C). Bake for 40 minutes, flipping halfway through if not using a wire rack.
- Switch oven to broil and broil for 2-3 minutes to crisp the skin further, watching closely to prevent burning.
- Toss with sauce while hot if serving immediately, or keep plain for meal prep to avoid sogginess.
Notes
Ensure you use aluminum-free baking powder to avoid a metallic taste. Do not overcrowd the pan as this causes steaming instead of crisping. For meal prep, store wings plain and add sauce upon reheating to maintain texture. Reheat in an air fryer or oven for best results.
- Prep Time: 22 minutes
- Cook Time: 45 minutes
- Category: Main Course
- Cuisine: American
Nutrition
- Serving Size: 3-4 wings per servin
- Calories: 250
- Sodium: 450
- Fat: 18
- Saturated Fat: 5
- Carbohydrates: 2
- Protein: 20
Keywords: baked chicken wings, crispy wings, meal prep, high protein, low carb, gluten-free, healthy lunch, chicken wing recipe