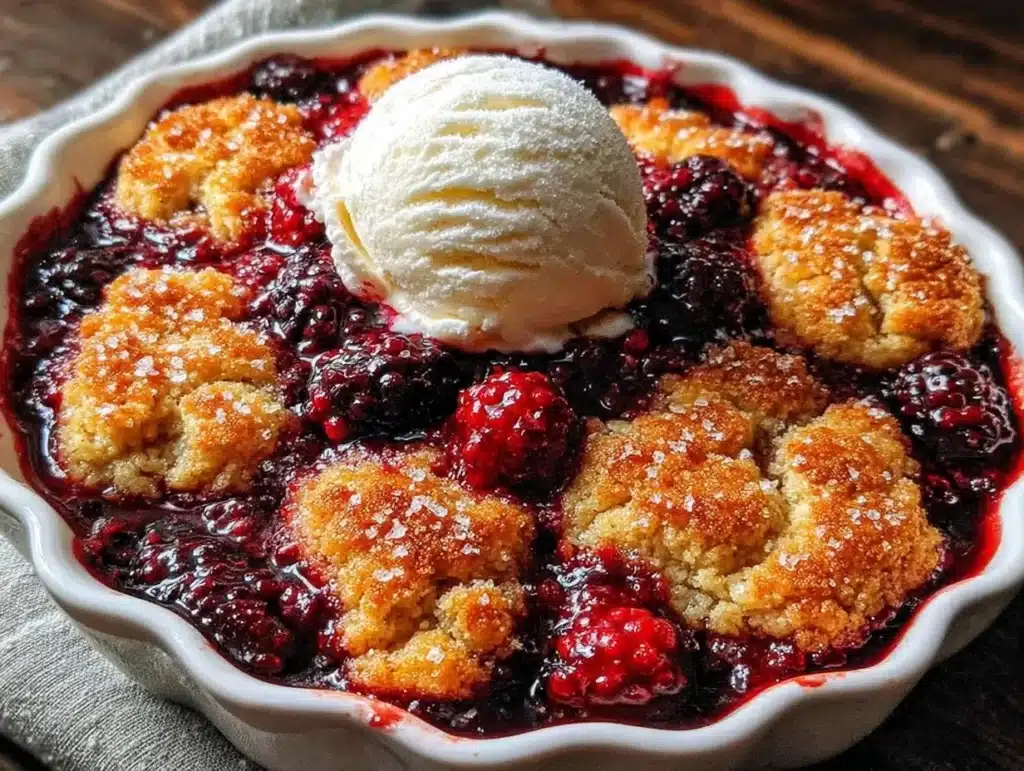
The smell of warm blackberries bubbling through a buttery, crisp topping is the kind of comfort that stops time. I remember standing in my aunt’s kitchen last summer, watching steam rise from a cast-iron skillet while the afternoon heat pressed against the windows. It wasn’t just dessert; it was the taste of patience rewarded. That’s exactly why I’ve perfected this Classic Blackberry Cobbler (Make-Ahead!) version for my own Sunday prep routine. Let’s face it, baking from scratch on a Tuesday night feels like a chore, but having this ready to reheat? That’s genius.
I used to think cobbler was strictly a weekend project. But after testing this recipe over a dozen times to ensure it holds up in the fridge, I realized something important. The flavors actually meld overnight, making the next day’s bite even deeper and more complex. As someone who plans lunches and dinners weeks in advance, I need recipes that don’t fall apart when life gets busy. This dish is sturdy, forgiving, and honestly, the best way to use up those overripe berries you bought on impulse.
Whether you are meal prepping for a busy week or just want a treat that waits for you, this recipe delivers. It’s not just about convenience; it’s about keeping that homemade soul in your diet without the daily stress. You know how it is—sometimes you just need the sweetness of a warm berry dessert without the hour of active standing at the stove. This approach lets you do the hard work once, then enjoy the results for days.
Why You’ll Love This Make-Ahead Version
After spending years testing fruit desserts in my own kitchen, I’ve learned that texture is everything. Many make-ahead recipes turn soggy or dry out in the fridge. Not this one. I developed this Classic Blackberry Cobbler (Make-Ahead!) specifically to maintain that crucial contrast between the tender fruit and the crunchy, golden crust. It’s not just another cobbler recipe; it’s your new reliable standby for whenever you need a win in the kitchen.
Here is why this specific method works so well for your weekly prep:
- Quick & Easy Prep: The assembly takes less than 20 minutes. You can mix the batter and layer the fruit while your coffee brews, leaving you plenty of time to tackle other chores.
- Simple Ingredients: You likely have everything in your pantry right now. Flour, sugar, butter, and blackberries. No exotic spices or hard-to-find items.
- Perfect for Meal Prep: This is designed to be baked, cooled, and stored. It reheats beautifully, making it ideal for breakfast treats or afternoon snacks throughout the week.
- Crowd-Pleaser: Kids love the sweetness, and adults appreciate the less-sugary profile compared to traditional pies. It’s always a hit at potlucks or family dinners.
- Unbelievably Delicious: The combination of tart blackberries and sweet, biscuit-like topping is next-level comfort food. It feels indulgent but is actually quite simple.
What makes this different from other versions is the technique. I use a slightly thicker batter that creates a craggy, cookie-like top rather than a flat cake. This structure holds up much better when refrigerated. Plus, the berries release their juices slowly, creating a natural syrup that soaks into the crust without making it mushy. It’s the kind of recipe that makes you close your eyes after the first bite. It’s comfort food reimagined for the modern, busy home cook.
What Ingredients You Will Need
This recipe relies on wholesome, simple ingredients to deliver bold flavor and satisfying texture. The quality of your blackberries matters most here, so try to source fresh, plump berries if possible. However, frozen berries work well in a pinch, though you may need to adjust the cooking time slightly. I’ve grouped these by function to help you organize your mise en place.
- For the Blackberry Filling:
- 4 cups fresh blackberries (or frozen, thawed but drained) – The star of the show. Look for berries that are dark and firm.
- 3/4 cup granulated sugar – Adjust based on how tart your berries are.
- 1 tablespoon lemon juice – Adds brightness and balances the sweetness.
- 1 teaspoon vanilla extract – Enhances the fruit flavor.
- 1/4 cup cornstarch – Thickens the juices so you don’t end up with a soupy mess.
- 1/2 teaspoon cinnamon – A warm spice that pairs perfectly with berries.
- For the Cobbler Topping:
- 1 1/2 cups all-purpose flour – I recommend King Arthur for consistent results.
- 1 tablespoon baking powder – Ensures the topping rises properly.
- 1/2 teaspoon salt – Balances the sweet flavors.
- 1/2 cup unsalted butter, melted – Adds richness and helps form the crisp crust.
- 3/4 cup milk – Whole milk works best for tenderness.
- 1/2 cup granulated sugar – For the sweet, crunchy top layer.
For the best texture, I always use small-curd cottage cheese alternatives in other recipes, but here, the butter and milk create the perfect biscuit base. If you need a gluten-free option, you can swap the flour for a 1-to-1 gluten-free blend, though the texture will be slightly denser. Also, consider using raw cane sugar for the topping to give it a deeper, molasses-like crunch that really shines after reheating.
Equipment Needed
You don’t need fancy gadgets for this. A large mixing bowl and a sturdy whisk are all you really need for the batter. For baking, a 9×9 inch square baking dish or a 9-inch round cake pan works perfectly. I prefer glass or ceramic dishes because they distribute heat evenly, which helps the bottom crisp up. If you have a cast-iron skillet, that’s even better for that rustic, crunchy edge.
A silicone spatula is helpful for folding the batter gently without overmixing. Also, have a cooling rack ready. This is crucial for make-ahead recipes because you need to cool it completely before covering it to prevent condensation, which leads to sogginess. A simple wire rack does the job. If you don’t have a baking dish of the right size, you can use a slightly larger one, but keep an eye on the baking time as it may cook faster.
Preparation Method
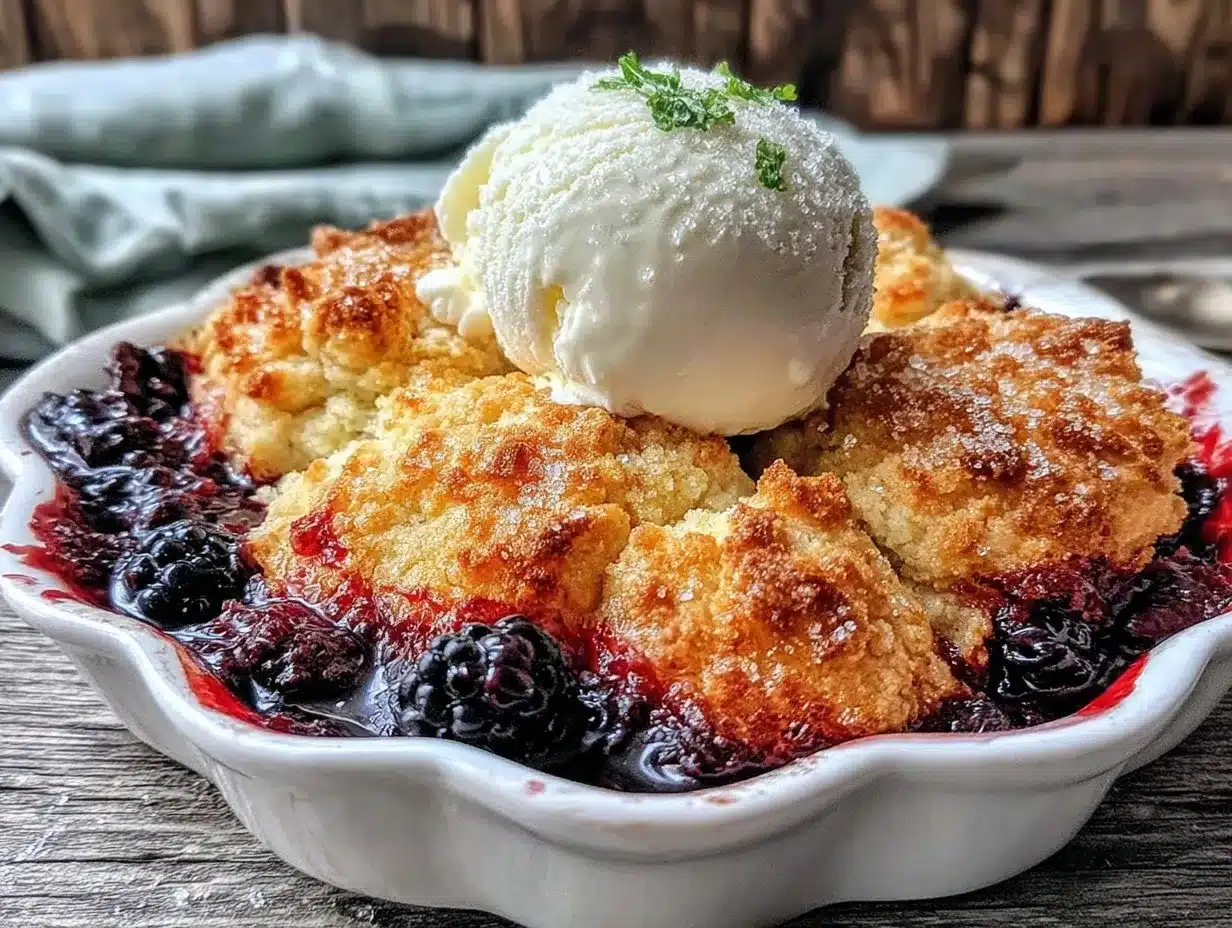
Let’s get this Classic Blackberry Cobbler (Make-Ahead!) ready for your week. The process is straightforward, but attention to detail ensures the best results.
- Prepare the Berries (5 minutes): In a large bowl, combine the blackberries, granulated sugar, lemon juice, vanilla, cinnamon, and cornstarch. Toss gently until the berries are evenly coated. The cornstarch will absorb the juices as they heat up. Set this aside while you make the topping.
- Mix the Dry Ingredients (2 minutes): In a separate medium bowl, whisk together the flour, baking powder, and salt. Make sure there are no lumps. This ensures an even rise in your topping.
- Combine Wet and Dry (3 minutes): Pour in the melted butter and milk. Stir with a wooden spoon or spatula just until combined. Do not overmix! The batter should look lumpy and thick. Overmixing leads to a tough, bread-like texture instead of a tender biscuit top.
- Assemble the Cobbler (2 minutes): Pour the blackberry mixture into your prepared baking dish. Spread it out evenly. Then, drop spoonfuls of the batter over the berries. You don’t need to cover every berry; the batter will spread and bake into a beautiful, uneven crust. This rustic look is part of the charm.
- Add the Crunchy Top (1 minute): Sprinkle the additional 1/2 cup of granulated sugar evenly over the batter. This creates that signature crunchy, caramelized top layer that makes cobbler so addictive.
- Bake (45-55 minutes): Preheat your oven to 375°F (190°C). Place the dish in the center rack and bake for 45 to 55 minutes. You’ll know it’s done when the topping is golden brown and the fruit filling is bubbling vigorously around the edges. If the top browns too quickly, tent it loosely with foil.
- Cool Completely (Critical Step): Remove from the oven and let it cool on a wire rack for at least 1-2 hours. This step is non-negotiable for make-ahead success. Cooling allows the filling to set properly. If you cut into it while hot, the filling will be runny.
Once cooled, cover tightly with plastic wrap or transfer portions to airtight containers. It will keep in the refrigerator for up to 4 days.
Common Mistakes to Avoid
One common error is underbaking. If the center looks wet, give it more time. Another is using frozen berries without thawing and draining them first. This adds too much water to the mix, making the topping soggy. If you must use frozen, thaw them and drain the excess liquid before measuring.
Cooking Tips & Techniques
From my experience, the secret to a great cobbler is managing the moisture. Blackberries can be watery, so the cornstarch is your best friend. If your berries are particularly juicy, add an extra teaspoon of cornstarch. Also, let the batter rest for 5 minutes after mixing before spooning it onto the berries. This allows the baking powder to activate, ensuring a lighter, airier topping.
I’ve learned the hard way that oven temperatures vary. Always check your cobbler 10 minutes before the timer goes off. Look for bubbles. If the top is done but the center isn’t bubbling, cover the edges with foil and bake for another 5-10 minutes. Multitasking is key here—you can chop vegetables or organize your pantry while it bakes, but keep an eye on the color.
For consistent results, use a kitchen thermometer if you’re unsure. The internal temperature of the filling should reach around 200°F (93°C) when the starch is fully cooked. This technique guarantees that the sauce is thick and glossy, not thin and watery.
Variations & Adaptations
This recipe is flexible. You can easily swap blackberries for raspberries, blueberries, or peaches. If using peaches, you might want to add a pinch of nutmeg for a warmer spice profile. For a gluten-free version, use a high-quality 1-to-1 gluten-free flour blend. Note that GF flour can absorb more liquid, so you might need a splash more milk.
If you want a dairy-free option, use coconut oil instead of butter and coconut milk instead of dairy milk. The flavor will be slightly coconutty, which pairs surprisingly well with blackberries. I also like to add a tablespoon of almond extract to the batter for a sophisticated twist. These adaptations make the recipe accessible to more dietary needs without sacrificing flavor.
Serving & Storage Suggestions
This cobbler reheats like it was just made. For the best texture, reheat individual portions in the microwave for 30-60 seconds, or warm a whole slice in a 350°F oven for 10 minutes. This restores the crispness of the topping. Serve it warm with a dollop of whipped cream or a scoop of vanilla ice cream. It pairs wonderfully with black coffee or herbal tea.
Store leftovers in an airtight container in the fridge for up to 4 days. You can also freeze it for up to 3 months. Wrap tightly in plastic and then foil. Thaw overnight in the fridge before reheating. The flavors develop over time, so day two often tastes even better than day one.
Nutritional Information & Benefits
Blackberries are rich in antioxidants and fiber, making this dessert a slightly healthier indulgence. Each serving contains approximately 350 calories, with a good balance of carbs and fats from the butter and sugar. It is not low-carb, but the fiber from the berries helps moderate blood sugar spikes. It’s a treat to be enjoyed in moderation, perfect for satisfying a sweet tooth without feeling too heavy.
Conclusion
This Classic Blackberry Cobbler (Make-Ahead!) is more than just a recipe; it’s a solution for busy weeks. It brings the warmth of homemade baking into your routine without the hassle. I hope you try it and find it as useful in your meal prep as it has been in mine. Customize it with your favorite spices or fruits, and make it your own. Please share your results in the comments below—I love hearing how you adapt it. Enjoy every bite!
Frequently Asked Questions
Can I use frozen blackberries for this recipe?
Yes, you can. However, thaw them first and drain the excess liquid to prevent a watery cobbler. You may need to add a teaspoon more cornstarch if the berries are very juicy.
How do I reheat the cobbler without making it soggy?
Reheat in a 350°F oven for 10-15 minutes to restore crispness. Microwaving is faster but can soften the topping. For best results, use the oven.
Can I make this recipe gluten-free?
Absolutely. Use a 1-to-1 gluten-free flour blend. The texture may be slightly denser, but the flavor will remain delicious.
How long does the cobbler last in the fridge?
It stays fresh for up to 4 days when stored in an airtight container. The flavors often improve after the first day.
Can I freeze the unbaked cobbler?
It’s best to bake it first. However, you can freeze the baked cobbler for up to 3 months. Thaw overnight before reheating.
Pin This Recipe!
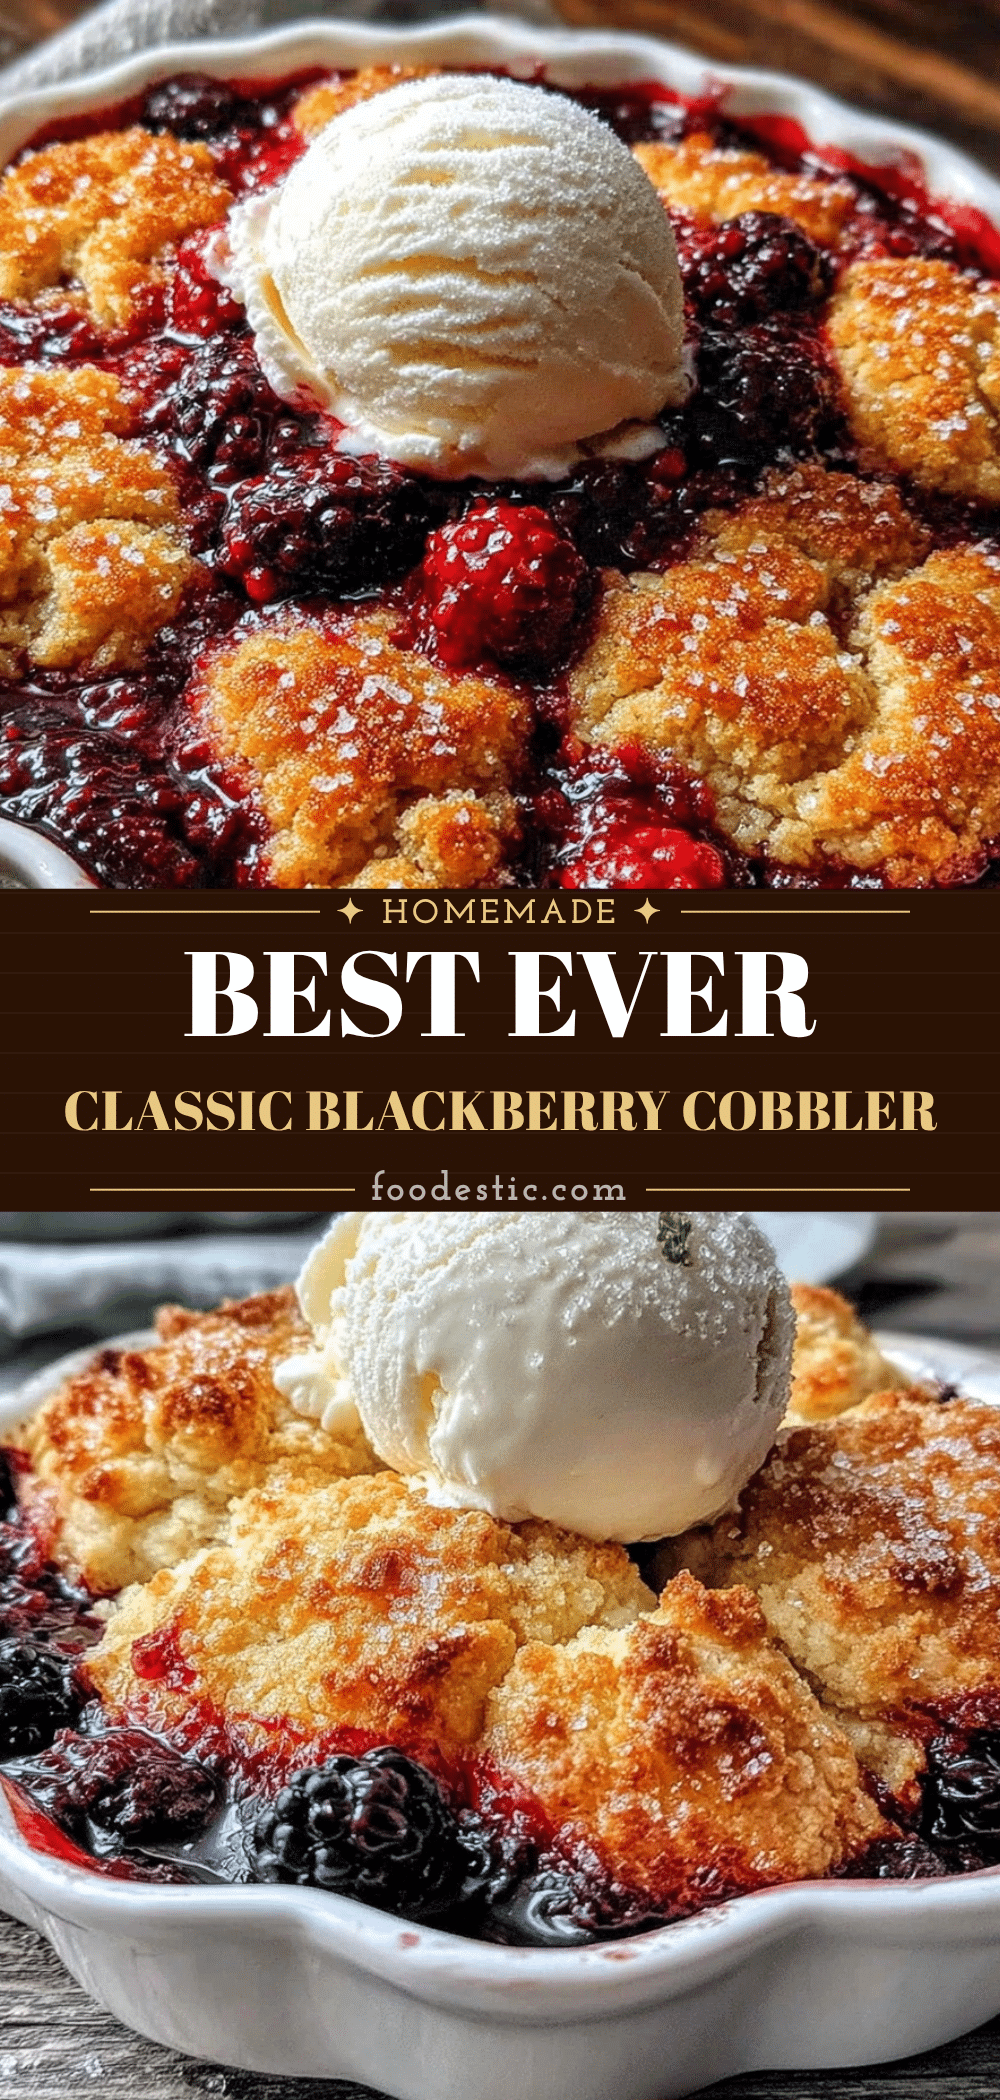
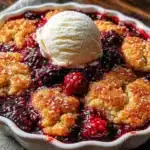
Classic Blackberry Cobbler: Make-Ahead Meal Prep
- Total Time: 70 minutes
- Yield: 8 servings 1x
Description
A sturdy, forgiving blackberry cobbler designed for meal prep, featuring a tender fruit filling and a crunchy, golden biscuit-like topping that holds up well in the fridge and reheats beautifully.
Ingredients
- 4 cups fresh blackberries (or frozen, thawed but drained)
- 3/4 cup granulated sugar (for filling)
- 1 tablespoon lemon juice
- 1 teaspoon vanilla extract
- 1/4 cup cornstarch
- 1/2 teaspoon cinnamon
- 1 1/2 cups all-purpose flour
- 1 tablespoon baking powder
- 1/2 teaspoon salt
- 1/2 cup unsalted butter, melted
- 3/4 cup milk
- 1/2 cup granulated sugar (for topping)
Instructions
- Preheat oven to 375°F (190°C).
- In a large bowl, combine blackberries, 3/4 cup sugar, lemon juice, vanilla, cinnamon, and cornstarch. Toss gently to coat and set aside.
- In a separate medium bowl, whisk together flour, baking powder, and salt.
- Pour melted butter and milk into the dry ingredients. Stir just until combined; batter should remain lumpy.
- Pour the blackberry mixture into a 9×9 inch square baking dish or 9-inch round cake pan.
- Drop spoonfuls of the batter over the berries.
- Sprinkle the remaining 1/2 cup granulated sugar evenly over the batter.
- Bake for 45-55 minutes until topping is golden brown and filling is bubbling vigorously.
- Cool completely on a wire rack for 1-2 hours before covering or serving.
Notes
Cooling completely is critical for make-ahead success to allow the filling to set. If using frozen berries, ensure they are thawed and drained to prevent a soggy topping. For a gluten-free version, substitute all-purpose flour with a 1-to-1 gluten-free blend. For dairy-free, use coconut oil and coconut milk.
- Prep Time: 20 minutes
- Cook Time: 50 minutes
- Category: Dessert
- Cuisine: American
Nutrition
- Serving Size: 1 slice
- Calories: 350
- Sugar: 42
- Sodium: 250
- Fat: 12
- Saturated Fat: 7
- Carbohydrates: 58
- Fiber: 4
- Protein: 4
Keywords: blackberry cobbler, make-ahead dessert, meal prep, berry dessert, comfort food, gluten-free option, dairy-free option