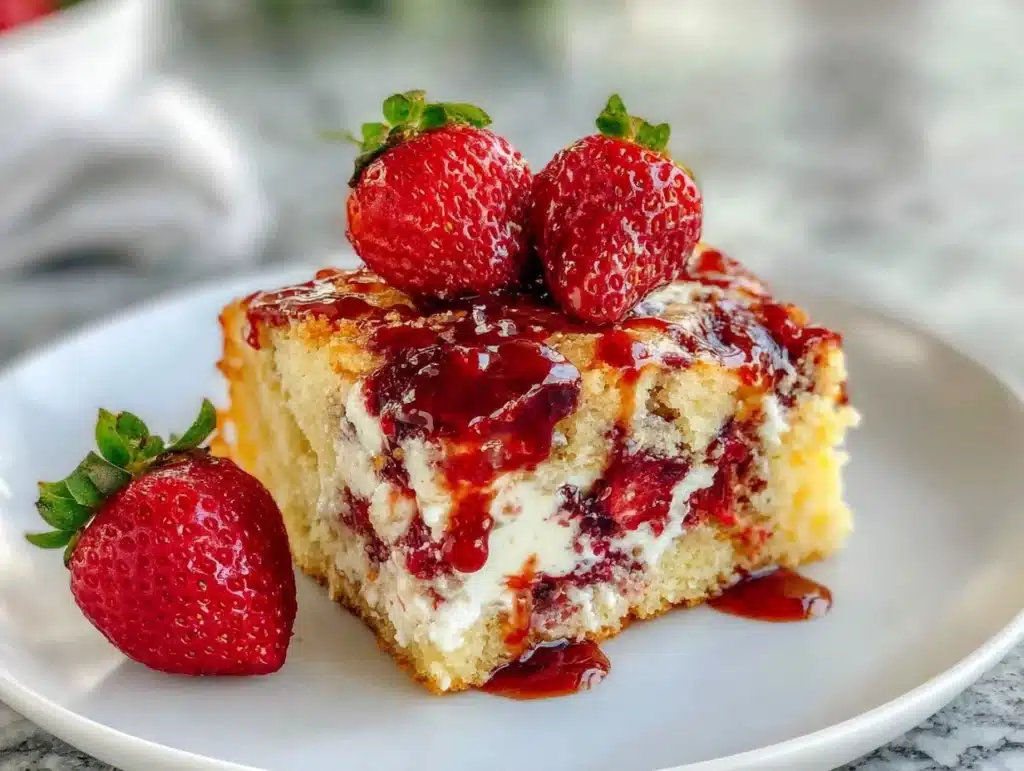
I still remember the panic rising in my chest. It was three years ago, and I was standing in a friend’s kitchen with a 9×13 pan that looked less like a dessert and more like a geological survey. The cake had sunk. It had cracked. It looked like the surface of the moon after an earthquake. I was mortified. I had planned to bring a fancy layered tart, but my oven ran hot, and things went sideways fast.
But then I tasted it. The crust was crispy, the middle was gooey, and the strawberries were bursting with flavor. It wasn’t ruined; it was just different. That “earthquake” texture became the star of the night. Guests loved the unpredictability of each bite. Since then, I’ve tested this Strawberry Earthquake Cake dozens of times to make sure it’s foolproof.
Now, this recipe is my go-to for any gathering. Whether it’s a church bake sale, a office party, or just a weekend hangout, it delivers. You don’t need to be a professional baker to make it work. It’s forgiving, it’s delicious, and honestly, it’s easier than most coffee cakes. Let’s face it, we’ve all been there—trying to impress with something that ends up looking like a disaster. This cake turns that disaster into a delight.
Why You’ll Love This Recipe
There is a specific kind of magic in a cake that defies traditional structure. This isn’t just another strawberry dessert that sits on a plate looking pretty but tastes like cardboard. This cake has soul. It has texture. It has that perfect balance of sweet and tart that keeps you coming back for more. I’ve shared this recipe with countless friends, and it never fails to get a second slice.
- Quick & Easy: You can have this in the oven in under 15 minutes of prep time. It’s perfect for those nights when you want something homemade but don’t want to spend hours in the kitchen.
- Simple Ingredients: You likely already have most of this in your pantry. Boxed cake mix, instant pudding, strawberries, and cream cheese. That’s it. No fancy trips to specialty stores.
- Perfect for Parties: It’s a pull-apart style cake, which makes serving a breeze. No fancy slicing required. Just grab a spatula and serve.
- Crowd-Pleaser: Kids love the sweetness, and adults appreciate the tangy cream cheese layer. It bridges the gap between a snack and a dessert.
- Unbelievably Delicious: The texture is what gets you. Crispy top, soft middle, gooey fruit pockets. It’s comfort food at its finest.
What makes this recipe stand out is the layering technique. Most people just dump everything in and hope for the best. I’ve found that keeping the layers distinct before baking ensures that “earthquake” effect happens evenly. It’s not just about the flavor; it’s about the experience of biting into that unexpected crunch and softness. It’s the kind of dessert that makes you close your eyes and smile. It’s nostalgic, like the cakes from your childhood, but with a modern twist that feels fresh and exciting.
What Ingredients You Will Need
This recipe relies on the power of pantry staples to create something that tastes like it came from a high-end bakery. The beauty here is in the simplicity. You don’t need exotic spices or hard-to-find fruits. The flavors are bold because they are allowed to shine without too much interference. I like to keep this recipe accessible because the last thing you want is to turn a fun baking session into a grocery shopping marathon.
- Yellow Cake Mix: I recommend using a standard box like Duncan Hines or Betty Crocker. Yellow cake provides a neutral, buttery base that lets the strawberries take center stage. Do not substitute with white cake unless you want a milder flavor, as yellow adds that classic nostalgic taste.
- Instant Vanilla Pudding Mix: This is the secret weapon. It thickens the batter and adds a creamy richness that regular cake mix lacks. Make sure it’s the instant kind, not the cook-and-serve variety. Jell-O brand works great here.
- Eggs: Large eggs, room temperature. These bind everything together. If you’re in a rush, let them sit in warm water for five minutes to speed things up.
- Vegetable Oil: Use a neutral oil. Canola or light olive oil works well. Butter can be used, but oil keeps the cake moist for longer, which is key for leftovers.
- Fresh Strawberries: This is non-negotiable. Fresh berries provide the juice and the pop of color. Frozen strawberries will make the cake soggy, so stick to fresh. Look for bright red, firm berries. If they’re too soft, they’ll turn to mush.
- Cream Cheese: Full-fat brick cream cheese, softened. Do not use the spreadable kind in a tub. It has too much air and water, which will throw off the texture. Kite Hill or Philadelphia are reliable choices.
- Sugar: Granulated white sugar for the cream cheese layer. It adds a slight crunch as it bakes into the top.
- Whipped Topping: Cool Whip or a homemade stabilized whipped cream. This is added after baking, so it stays light and airy.
I always buy my strawberries from the local market if I can. They tend to be sweeter and less watery than the ones in the grocery store plastic containers. If you’re buying pre-packaged, give them a sniff. They should smell sweet, not fermented. And for the cream cheese, let it sit on the counter for at least 30 minutes before you start. Cold cream cheese is a nightmare to mix and will leave lumps in your layer.
Equipment Needed
You don’t need a fancy kitchen to make this cake. A few basic tools will get you the best results. The most important item is a 9×13 inch baking dish. Glass dishes like Pyrex are great because they distribute heat evenly, but metal pans work too. If you use metal, you might need to reduce the oven temperature by 25 degrees to prevent the top from burning before the middle is cooked.
A large mixing bowl is essential. I prefer a bowl with a spout because it makes pouring the batter easier. A hand mixer or stand mixer will help you get that cream cheese layer smooth and lump-free. If you don’t have a mixer, a sturdy whisk and a lot of elbow grease will work, but it takes longer. A spatula is your best friend for spreading the layers. Get a rubber one; it scrapes the bowl clean and helps you spread the batter without tearing the cake underneath.
A knife for slicing the strawberries is needed. A serrated knife works best to avoid crushing the delicate fruit. Finally, a cooling rack is important. Letting the cake cool completely before adding the whipped topping is crucial. If you skip this step, your topping will melt into a soupy mess. I keep a basic wire rack on my counter for this exact purpose. It’s cheap, durable, and makes cleanup a breeze.
Preparation Method
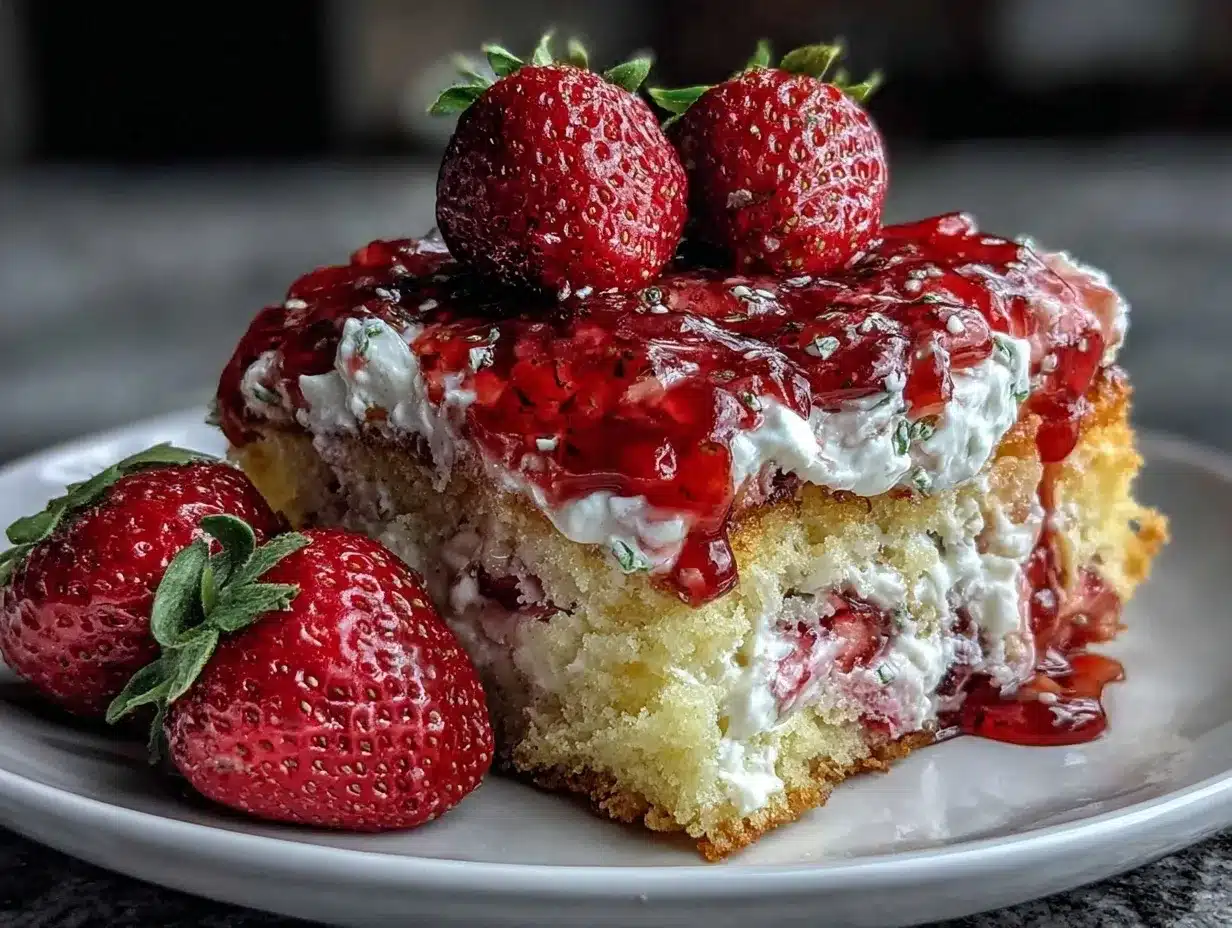
Let’s get into the nitty-gritty. This process is straightforward, but attention to detail makes all the difference. Preheat your oven to 350°F (175°C). Grease your 9×13 inch baking dish with non-stick spray or butter. This prevents sticking and ensures easy removal later.
- Prepare the Cake Batter: In a large bowl, combine the dry cake mix and the instant vanilla pudding mix. Whisk them together briefly to distribute the pudding powder evenly. This step is often skipped, but it prevents pockets of concentrated pudding flavor.
- Add Wet Ingredients: Crack the eggs into the dry mixture. Add the vegetable oil. Beat on medium speed for about 2 minutes. The batter should be thick but pourable. It will look denser than standard cake batter, which is correct. Don’t add extra liquid.
- Spread the Base: Pour half of the batter into the prepared baking dish. Use your spatula to spread it evenly. This will be the bottom crust. Smooth it out as best you can. It doesn’t need to be perfect, just even.
- Arrange the Strawberries: Wash and hull your strawberries. Slice them in half or quarters, depending on their size. Arrange them in a single layer over the batter. Try to keep them somewhat evenly distributed. You want juice to spread, but you don’t want massive clumps of fruit in one spot.
- Add the Cream Cheese Layer: In a separate bowl, beat the softened cream cheese and sugar until smooth and creamy. This should take about 1-2 minutes. Spoon this mixture over the strawberries. Use the spatula to spread it into an even layer. This layer will seal in the fruit and create that creamy texture.
- Top with Remaining Batter: Spoon the remaining cake batter over the cream cheese layer. Use the back of a spoon or a spatula to gently spread it. Be careful not to mix the layers together too much. You want them to remain distinct as they bake. The batter will sink and spread, creating the “earthquake” cracks.
- Bake: Place the dish in the preheated oven. Bake for 45-50 minutes. The top should be golden brown, and a toothpick inserted into the center (avoiding a strawberry pocket) should come out clean. If the top is browning too quickly, tent it with foil for the last 15 minutes.
- Cool Completely: Remove the cake from the oven and let it cool in the pan on a wire rack. This step takes time, so be patient. Letting it cool ensures the cream cheese layer sets and the structure stabilizes. This usually takes about 1-2 hours.
- Add Topping: Once completely cool, spread the whipped topping evenly over the cake. Slice into squares and serve.
One thing to watch out for is the baking time. Ovens vary wildly. If your cake looks done but the center is still jiggly, give it another 5-10 minutes. If it’s done but the top is dark, cover it with foil. The key is that the middle should be set, not liquid.
Cooking Tips & Techniques
I’ve learned a lot of hard lessons with this cake. The biggest mistake people make is rushing the cooling process. I once tried to slice it while it was still warm, and it fell apart completely. The structure needs time to set. So, patience is a virtue here. Also, make sure your strawberries are patted dry after washing. Excess water can make the bottom layer soggy.
Another tip is about the cream cheese. If you find lumps after mixing, don’t worry. Just spread it carefully. The lumps will melt slightly during baking, but you want it as smooth as possible for the best texture. If you’re using a stand mixer, use the paddle attachment, not the whisk. The whisk incorporates too much air, which can cause the cake to rise too much and then collapse.
Multitasking can help here. While the cake is baking, you can prep the whipped topping. Just make sure it’s chilled before spreading. Also, if you’re making this for a party, you can assemble it the night before. Just don’t add the whipped topping until you’re ready to serve. This keeps the topping fresh and fluffy.
Watch the edges of the cake. They tend to cook faster than the center. If you notice them getting too dark, rotate the pan halfway through baking. This ensures even browning. And finally, don’t skip the toothpick test. Visual cues are good, but the toothpick is the ultimate truth-teller.
Variations & Adaptations
While the classic strawberry version is my favorite, this recipe is a canvas for creativity. You can swap the strawberries for blueberries or raspberries. Just keep in mind that blueberries are denser, so you might want to chop them slightly smaller. Raspberries are delicate, so handle them with care to avoid crushing them.
For a chocolate twist, use a chocolate cake mix instead of yellow. It pairs surprisingly well with the cream cheese and strawberries. It’s like a strawberry cheesecake in cake form. You can also add a layer of chopped nuts, like pecans or walnuts, between the batter and the fruit. This adds a nice crunch and balances the sweetness.
If you’re looking for a lighter option, you can use a light cake mix and low-fat cream cheese. The texture won’t be quite as rich, but it’s still delicious. For a dairy-free version, use a dairy-free cake mix and coconut cream cheese. The flavor profile changes slightly, but it’s still a crowd-pleaser.
I once tried adding a layer of lemon curd under the strawberries for a citrus kick. It was a bit too tart for some, but I loved it. If you’re feeling adventurous, give it a try. Just start with a small amount and adjust to your taste. The beauty of this recipe is that it’s forgiving. You can’t really mess it up.
Serving & Storage Suggestions
This cake is best served at room temperature. Cold cake can mute the flavors, especially the strawberries. If you’re serving it for a party, cut it into squares about 2 inches by 2 inches. It’s the perfect bite-sized portion. Pair it with a cup of coffee or a glass of cold milk. The sweetness of the cake balances well with the bitterness of coffee.
For storage, cover the cake tightly with plastic wrap or aluminum foil. It can be kept in the refrigerator for up to 4 days. This is one of the reasons I love this recipe for meal prep. It holds up incredibly well in the fridge. In fact, many people say it tastes even better on day three or four, as the flavors have time to meld together. The “still good on day four” reputation is well-earned.
When reheating, avoid the microwave. It can make the cake soggy. If you need to warm a slice, put it in the oven at 300°F for 10 minutes. This restores the crispness of the top. If you’re freezing the cake, wrap it tightly in plastic and then foil. It can be frozen for up to 3 months. Thaw it in the refrigerator overnight before serving. Do not add the whipped topping before freezing, as it will separate and become watery.
Nutritional Information & Benefits
While this cake is definitely a treat, it’s not without its benefits. Strawberries are rich in vitamin C and antioxidants, which are good for your immune system and skin. The cream cheese provides calcium and protein, which can help keep you full. However, this cake is high in sugar and calories, so enjoy it in moderation.
Each slice contains approximately 350 calories, with 15g of fat and 45g of carbohydrates. It’s not a diet food, but it’s a balanced dessert in the sense that it has some nutritional value from the fruit and dairy. If you’re watching your sugar intake, consider reducing the sugar in the cream cheese layer by half. It will still be sweet enough due to the cake mix and strawberries.
For those with gluten sensitivities, you can use a gluten-free cake mix. Just make sure to check the pudding mix as well, as some brands contain gluten. This recipe can be adapted for various dietary needs, but the classic version is the most indulgent and satisfying.
Conclusion
This Strawberry Earthquake Cake is more than just a dessert. It’s a memory-maker. It’s the kind of dish that brings people together, whether it’s at a chaotic potluck or a quiet evening at home. I’ve made it so many times that I can do it in my sleep, but it never gets old. The texture, the flavor, the ease—it all comes together perfectly.
I encourage you to try this recipe. Don’t be afraid to experiment with different fruits or nuts. Make it your own. And when you do, I’d love to hear about it. Share your photos or comments below. Did you add nuts? Did you use a different cake mix? I’m always curious to see how others adapt this classic. Thank you for reading, and happy baking!
Frequently Asked Questions
Can I use frozen strawberries for this cake?
It’s not recommended. Frozen strawberries release a lot of water as they thaw, which can make the cake soggy and unevenly cooked. Fresh strawberries provide the best texture and flavor.
Why did my cake sink in the middle?
This can happen if the cake is underbaked or if the oven temperature is too high. Make sure to bake it for the full time and check with a toothpick. Also, avoid opening the oven door too often during baking, as this can cause temperature fluctuations.
Can I make this cake ahead of time?
Yes, you can assemble the cake the night before baking. Just add the whipped topping the next day before serving. This can save you time on the day of your event.
How long does this cake last in the fridge?
It stays fresh for up to 4 days in the refrigerator. Many people find that it tastes even better after a day or two as the flavors meld together.
Can I freeze this cake?
You can freeze the baked cake without the whipped topping. Wrap it tightly in plastic and foil. Thaw it in the refrigerator overnight and add the topping before serving. Do not freeze the cake with the topping.
Pin This Recipe!
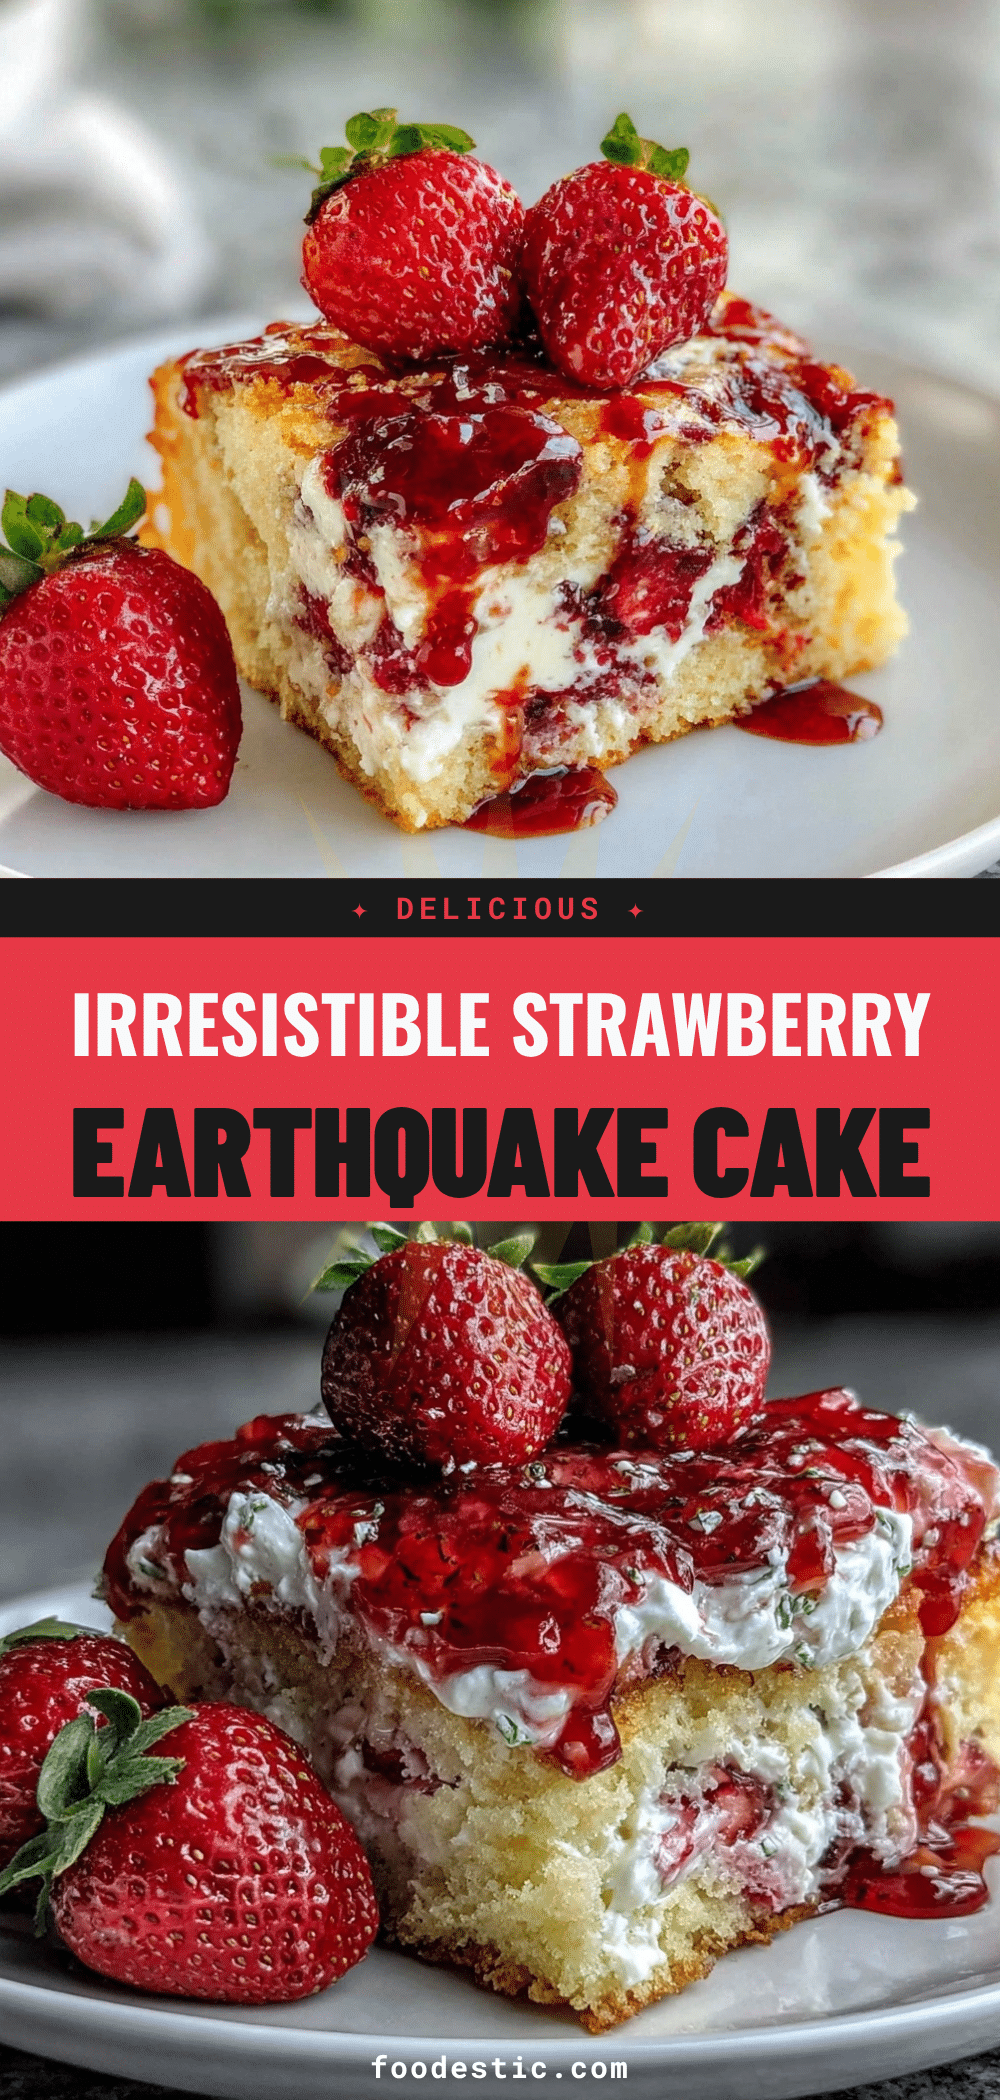
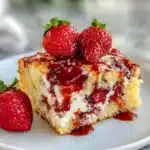
Strawberry Earthquake Cake
- Total Time: 1 hour 15 minutes
- Yield: 12 servings 1x
Description
A forgiving and delicious pull-apart cake featuring a crispy top, gooey middle, and fresh strawberries layered with a tangy cream cheese filling. It is easy to make, crowd-pleasing, and tastes even better on day four.
Ingredients
- 1 box (15.25 oz) yellow cake mix
- 1 package (3.4 oz) instant vanilla pudding mix
- 3 large eggs, room temperature
- 1/2 cup vegetable oil
- 1 pint fresh strawberries, hulled and sliced
- 8 oz full-fat brick cream cheese, softened
- 1/4 cup granulated white sugar
- 1 container (8 oz) whipped topping (e.g., Cool Whip), thawed
Instructions
- Preheat oven to 350°F (175°C) and grease a 9×13 inch baking dish.
- In a large bowl, whisk together the dry cake mix and instant vanilla pudding mix.
- Add eggs and vegetable oil to the dry ingredients. Beat on medium speed for 2 minutes until thick but pourable.
- Pour half of the batter into the prepared pan and spread evenly to form the base.
- Arrange sliced strawberries in a single layer over the batter.
- In a separate bowl, beat the softened cream cheese and sugar until smooth. Spread this mixture evenly over the strawberries.
- Spoon the remaining cake batter over the cream cheese layer, spreading gently to keep layers distinct.
- Bake for 45-50 minutes, or until the top is golden brown and a toothpick inserted into the center comes out clean. Tent with foil if browning too quickly.
- Cool the cake completely in the pan on a wire rack (about 1-2 hours).
- Spread whipped topping over the cooled cake. Slice into squares and serve.
Notes
Ensure strawberries are fresh, not frozen, to prevent sogginess. Let cream cheese soften completely to avoid lumps. Cool the cake entirely before adding whipped topping to prevent melting. The cake keeps well in the refrigerator for up to 4 days.
- Prep Time: 15 minutes
- Cook Time: 45-50 minutes
- Category: Dessert
- Cuisine: American
Nutrition
- Serving Size: 1 square (approx. 2x
- Calories: 350
- Sugar: 30
- Sodium: 350
- Fat: 15
- Saturated Fat: 6
- Carbohydrates: 45
- Fiber: 1
- Protein: 4
Keywords: strawberry cake, earthquake cake, pull-apart cake, cream cheese dessert, easy baking, party dessert, strawberry dessert