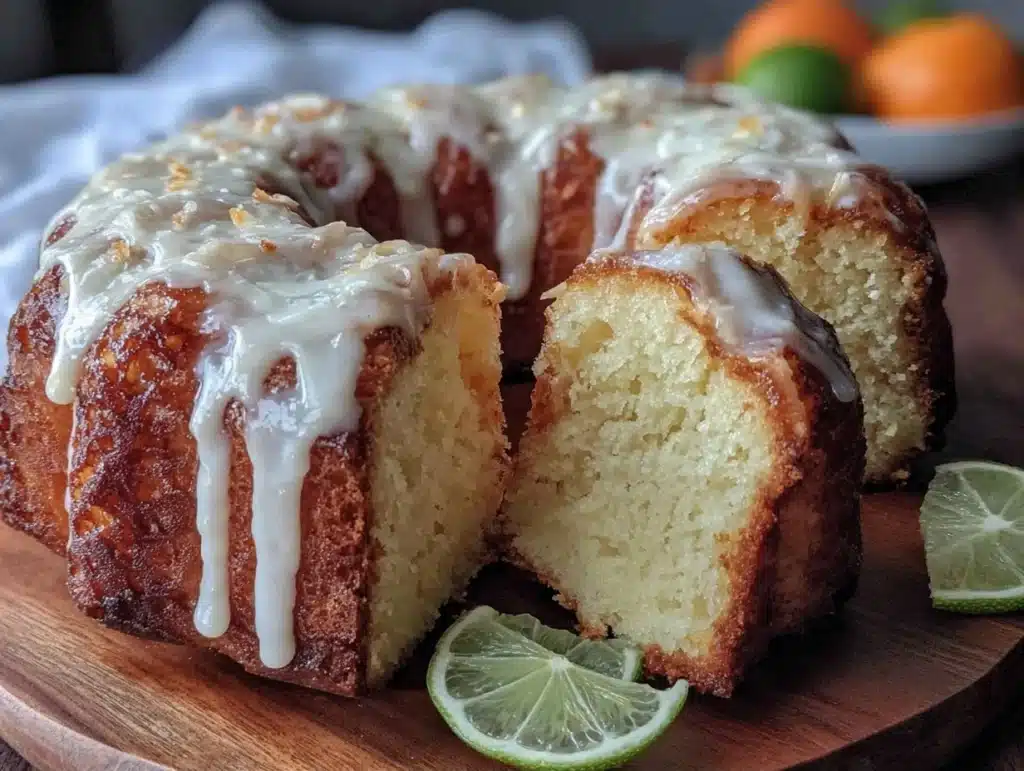
The smell of buttery vanilla and warm brown sugar hitting a hot oven is the kind of comfort that stops traffic. I remember standing in my aunt’s kitchen in Mississippi, watching her pull a golden loaf from the rack, the crust crackling softly as it cooled. She didn’t use fancy ingredients, just simple pantry staples and a whole lot of patience. That was the moment I knew pound cake wasn’t just dessert—it was a lifestyle. Honestly, if you’ve ever felt like your baking is too dry or too dense, you need to try this Moist Slap Ya Momma Pound Cake. It’s not called that for nothing; it’s the kind of cake that makes you exclaim in delight with every single bite.
I’ve tested this recipe over a dozen times, tweaking the moisture levels until it hit that perfect sweet spot between tender crumb and substantial structure. As someone who meal preps for the entire week, I realized this cake isn’t just for Sunday brunch. It’s the ultimate make-ahead treat. You bake it once, and it keeps you happy for days. Whether you’re a busy parent needing a quick breakfast on the go or someone who just wants a slice of nostalgia, this recipe delivers. It’s reliable, it’s delicious, and it’s surprisingly easy to batch for your weekly lunch prep.
What makes this Moist Slap Ya Momma Pound Cake special is how it bridges the gap between traditional Southern baking and modern convenience. It’s rich without being overwhelming, and moist without being soggy. I’ve found that using room temperature ingredients is non-negotiable here, but once you get that technique down, the rest is just waiting. This cake pairs beautifully with your morning coffee or serves as a sturdy base for afternoon snacks. It’s the kind of recipe that earns its place in your rotation because it just works, every single time.
Why You’ll Love This Recipe
After years of experimenting with different flours and fat ratios, I can confidently say this Moist Slap Ya Momma Pound Cake is the gold standard for home bakers who want consistent results. It’s not just about the taste, though that is incredible. It’s about the reliability. You know exactly what you’re getting every time you mix the batter. This recipe has been tested with various oven temperatures and altitudes, and it remains forgiving. That’s the kind of expertise you want in your kitchen arsenal—a recipe that doesn’t punish you for minor mistakes.
- Quick & Easy Prep: While it bakes for a while, the actual hands-on time is minimal. You can mix the batter in under 15 minutes, leaving the oven to do the heavy lifting. This is perfect for busy weeknights when you want something homemade but don’t have hours to spare.
- Simple Ingredients: You likely already have everything in your pantry. Flour, sugar, butter, eggs, and vanilla. No obscure flours or expensive specialty items. This keeps grocery trips short and stress levels low.
- Perfect for Meal Prep: Unlike delicate cupcakes or frosted layer cakes, this pound cake holds up beautifully in the fridge. It’s sturdy enough to pack in a lunchbox or slice for next week’s breakfasts. It actually gets better after a day or two as the flavors meld.
- Crowd-Pleaser: I’ve served this to picky eaters and gourmet critics alike, and the response is always the same. It’s universally loved. The texture is dense enough to feel satisfying but light enough to not weigh you down.
- Unbelievably Delicious: The crumb is tight yet tender, with a hint of vanilla that lingers. It’s comfort food at its finest, reminding you of simpler times without requiring complicated techniques.
What sets this apart from other pound cakes is the specific ratio of butter to flour, which creates that signature moistness. Many recipes dry out because they overbake or use too much flour. This formula balances the fat content perfectly to keep the cake lush. It’s the kind of cake that makes you close your eyes after the first bite, savoring the rich, buttery notes. It’s not just a recipe; it’s a memory maker, perfect for impressing guests or treating yourself during a stressful week.
What Ingredients You Will Need
This recipe relies on the fundamental building blocks of baking, but the quality and state of these ingredients matter more than you might think. The goal is to create a batter that emulsifies properly, trapping air bubbles that expand during baking for that tender crumb. Using high-quality butter and fresh eggs makes a noticeable difference in the final texture and flavor. I always recommend using unsalted butter so you can control the salt level, and room temperature ingredients are crucial for proper mixing.
- Unsalted Butter: 1 cup (2 sticks), softened to room temperature. I prefer Kerrygold for its rich flavor, but any high-quality European-style butter works well. Softened butter creams better with sugar, creating that airy texture.
- Granulated White Sugar: 1 ½ cups. This provides sweetness and helps with the browning of the crust. Do not substitute with brown sugar if you want the classic pale golden color and fine crumb.
- Eggs: 4 large eggs, room temperature. Cold eggs can cause the butter to seize, so let them sit out for 30 minutes before starting. This ensures a smooth, homogeneous batter.
- All-Purpose Flour: 3 cups, sifted. Sifting removes lumps and aerates the flour, leading to a lighter cake. Gold Medal or King Arthur are my go-to brands for consistent results.
- Baking Powder: 1 teaspoon. This provides a little lift, though pound cake is traditionally dense. It helps prevent the cake from becoming too brick-like.
- Salt: ½ teaspoon. Salt enhances the vanilla and butter flavors, balancing the sweetness. Don’t skip this step.
- Vanilla Extract: 2 teaspoons. Use pure vanilla extract, not imitation. The flavor is much more robust and aromatic.
- Sour Cream: ½ cup, room temperature. This is the secret weapon for moisture. It adds tang and tenderness, keeping the cake soft for days.
If you’re looking to substitute, you can use Greek yogurt instead of sour cream for a protein boost, though the texture will be slightly different. For a gluten-free option, use a 1:1 gluten-free flour blend, but note that the crumb may be more fragile. Always measure your flour correctly by spooning it into the cup and leveling it off, rather than scooping directly, which packs it down and leads to a dry cake.
Equipment Needed
You don’t need a fancy kitchen to make this Moist Slap Ya Momma Pound Cake, but having the right tools makes the process smoother. The most important item is a good quality 9×5-inch loaf pan. I recommend using a metal pan rather than glass or dark non-stick, as metal conducts heat more evenly. If you only have glass, reduce the oven temperature by 25 degrees Fahrenheit to prevent the crust from burning before the center is cooked.
A stand mixer or a hand mixer is highly recommended. While you can mix this by hand, it takes significant arm strength and time to cream the butter and sugar properly. Creaming incorporates air, which is vital for the cake’s structure. If you mix by hand, be prepared to whisk for at least 5-7 minutes. A large mixing bowl is essential, preferably one with a spout for easy pouring.
You’ll also need a cooling rack. Letting the cake cool in the pan for too long can cause it to steam and become soggy. A wire rack allows air to circulate underneath, keeping the bottom crust crisp. Finally, have parchment paper ready to line the bottom of your pan. This ensures easy removal and makes cleanup a breeze. Budget-friendly options like a basic hand mixer and standard metal loaf pans work perfectly fine; you don’t need expensive gadgets for great baking.
Preparation Method
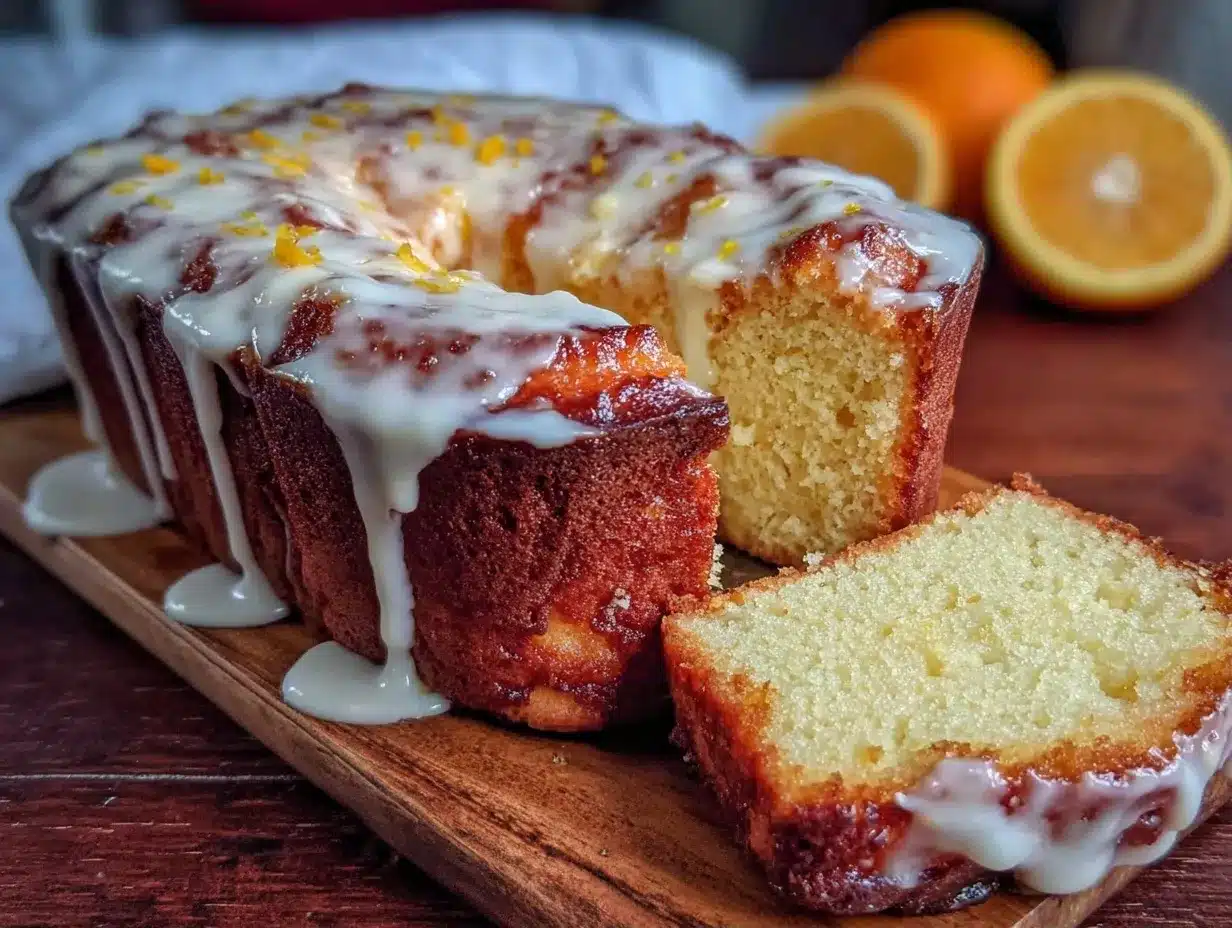
Preparation is key to a successful pound cake. Start by preheating your oven to 325°F (165°C). This lower temperature is crucial for a pound cake, allowing the center to cook through slowly without burning the exterior. While the oven heats, prepare your 9×5-inch loaf pan by greasing it thoroughly with butter or non-stick spray, and then lining the bottom with parchment paper. This step prevents sticking and ensures the cake slides out easily once cooled.
- Cream the Butter and Sugar: In a large bowl, beat the softened butter and granulated sugar together on medium-high speed. Do this for about 4-5 minutes until the mixture is pale yellow and fluffy. This step is non-negotiable; it creates the air pockets that give the cake its texture. Scrape down the sides of the bowl with a spatula to ensure even mixing.
- Add Eggs One at a Time: Add the eggs one by one, beating well after each addition. Wait until each egg is fully incorporated before adding the next. This prevents the batter from curdling. If it does curdle slightly, it’s okay, but adding them slowly helps maintain a smooth consistency. Add the vanilla extract here.
- Mix Dry Ingredients: In a separate medium bowl, whisk together the sifted flour, baking powder, and salt. This ensures the leavening agent is evenly distributed, preventing bitter spots in the final cake.
- Combine Wet and Dry: Reduce the mixer speed to low. Alternately add the dry ingredients and the sour cream to the butter mixture, beginning and ending with the dry ingredients. Mix just until combined. Overmixing at this stage can develop gluten, leading to a tough cake. Stop as soon as you no longer see streaks of flour.
- Pour and Smooth: Pour the batter into the prepared loaf pan. Use a spatula to smooth the top, making sure it’s even. This helps the cake bake uniformly and creates a nice, flat top for slicing.
- Bake: Place the pan in the center of the preheated oven. Bake for 60-70 minutes. Do not open the oven door for the first 45 minutes, as a drop in temperature can cause the cake to collapse. The cake is done when a toothpick inserted into the center comes out clean or with a few moist crumbs attached.
- Cool: Let the cake cool in the pan for 10 minutes, then transfer it to a wire rack to cool completely. This prevents the bottom from getting soggy from trapped steam.
If the top starts browning too quickly, loosely tent the pan with aluminum foil after the first 40 minutes. This is a common trick to ensure the center cooks without over-browning the crust. Always trust your toothpick test over the clock, as oven temperatures can vary.
Cooking Tips & Techniques
One of the biggest mistakes people make with pound cake is overmixing the batter once the flour is added. I learned this the hard way early in my baking journey. I was eager to get a smooth batter, so I mixed too long, and the result was a dense, tough loaf that was more like a biscuit. The key is to mix just until the ingredients are incorporated. The batter will be thick, which is normal. Don’t try to thin it out with extra milk or water.
Another critical tip is temperature control. Your butter, eggs, and sour cream must be at room temperature. If they’re cold, they won’t emulsify properly with the sugar, leading to a greasy or separated batter. I usually set my butter out the night before, or I can soften it quickly in the microwave for 10-second intervals. Just be careful not to melt it. Melted butter changes the texture entirely, making the cake greasy rather than tender.
Timing is also important. Pound cakes are dense, so they take longer to bake than lighter cakes. If you test it too early, you might get a gummy center. If you leave it too long, it dries out. Start checking at the 60-minute mark. The cake should pull away slightly from the sides of the pan when it’s done. If you’re baking multiple loaves, rotate the pans halfway through the baking time to ensure even browning. Multitasking here means keeping an eye on the oven and having your cooling racks ready to go.
Consistency is achieved by measuring your ingredients accurately. Use a kitchen scale for the most precise results, especially for the flour. If you’re using cups, spoon and level method is your friend. These small details make a huge difference in the final product. Remember, baking is chemistry, so pay attention to the state of your ingredients and the behavior of the batter.
Variations & Adaptations
While the classic vanilla version is a staple, this Moist Slap Ya Momma Pound Cake is a versatile canvas for different flavors. One of my favorite variations is adding lemon zest. The bright citrus flavor cuts through the richness of the butter and sugar, making it perfect for spring and summer. Just add the zest of one large lemon to the batter along with the vanilla extract.
For a chocolate twist, you can substitute ½ cup of the flour with unsweetened cocoa powder. This creates a rich chocolate pound cake that’s still moist and tender. You might need to add an extra tablespoon of sour cream to balance the dryness of the cocoa. This version is great for chocolate lovers who find traditional cupcakes too sweet.
If you want to add fruit, fold in 1 cup of fresh or frozen berries gently at the end. Blueberries or raspberries work beautifully. Be sure to toss them in a little flour before folding them in to prevent them from sinking to the bottom. This variation adds a burst of flavor and color, making it visually appealing for brunches.
For a dairy-free option, you can use coconut oil instead of butter, but the flavor will be noticeably different. You’ll need to ensure the coconut oil is solid but spreadable. Almond milk can replace the sour cream, though the cake may be slightly less moist. Always test small batches when adapting recipes to ensure the texture remains desirable. These variations allow you to keep the recipe fresh and exciting throughout the year.
Serving & Storage Suggestions
This Moist Slap Ya Momma Pound Cake is best served at room temperature, allowing the flavors to fully develop. A simple dusting of powdered sugar adds a touch of elegance for special occasions. It pairs wonderfully with a cup of hot coffee or tea in the morning, or as a sweet treat with afternoon tea. For a decadent twist, serve a slice with a dollop of whipped cream or a scoop of vanilla ice cream.
For meal prep, this cake is a champion. Once completely cooled, wrap it tightly in plastic wrap and then in aluminum foil. It can be stored at room temperature for up to 3 days. For longer storage, freeze it. Slice the cake before freezing so you can grab a single slice for your lunch or breakfast. It thaws quickly at room temperature or in the microwave for 30 seconds.
In the refrigerator, the cake will stay fresh for up to 5 days. However, refrigeration can sometimes dry out baked goods, so ensure it’s well-wrapped. The flavors actually meld and improve after a day or two, making it even better for meal prep. When reheating, use a low power setting to avoid drying it out. The texture remains soft and moist even after being stored and reheated, making it an ideal choice for weekly planning.
Nutritional Information & Benefits
While this Moist Slap Ya Momma Pound Cake is a treat, understanding its nutritional profile helps you plan your meals better. Each slice contains approximately 350 calories, with a good balance of carbohydrates and fats. The butter and eggs provide essential fats and protein, while the flour offers energy. It’s not a low-calorie snack, but it’s satisfying enough that a small slice is often sufficient.
The use of sour cream adds calcium and probiotics, which are beneficial for gut health. If you substitute with Greek yogurt, you increase the protein content significantly, making it a more balanced option for post-workout recovery or a filling breakfast. The recipe is not gluten-free, so those with celiac disease should use a certified gluten-free flour blend. It does contain dairy and eggs, so allergen substitutions are necessary for those with sensitivities.
From a wellness perspective, this cake is a comfort food that doesn’t leave you feeling guilty if enjoyed in moderation. It’s a reminder that food can be both nourishing and enjoyable. I often include it in my weekly meal prep to ensure I have a reliable, homemade option that doesn’t rely on processed snacks. It’s a way to indulge while still maintaining a structured eating plan.
Conclusion
Making this Moist Slap Ya Momma Pound Cake is a rewarding experience that pays off in every slice. It’s a recipe that combines tradition with practicality, perfect for anyone looking to streamline their baking routine without sacrificing flavor. Whether you’re using it as a base for your weekly meal prep or treating yourself to a weekend indulgence, this cake delivers consistent, delicious results. I hope it becomes a staple in your kitchen, just as it has in mine.
I encourage you to try this recipe and make it your own. Add your favorite extracts, fruits, or spices to customize it to your taste. Baking is a personal journey, and this formula is a great starting point. Please share your experiences in the comments below! I love hearing about your variations and how you incorporate this cake into your weekly routine. Don’t forget to share photos of your creations—I’d be thrilled to see your Moist Slap Ya Momma Pound Cake in action. Happy baking!
FAQs
Can I use salted butter instead of unsalted?
Yes, you can use salted butter, but you should reduce the added salt in the recipe to ¼ teaspoon to avoid over-salting the cake. Unsalted butter is preferred for better control over the sodium content.
Why did my pound cake crack on top?
A crack on top is normal for pound cakes and doesn’t affect the taste. It often happens if the oven temperature was slightly too high or if the batter was too full in the pan. The crack just means the cake rose quickly and set properly.
How do I store leftover pound cake?
Store leftover cake in an airtight container at room temperature for up to 3 days. For longer storage, wrap it tightly in plastic and foil and freeze it for up to 3 months. It can also be refrigerated for up to 5 days.
Can I make this cake in a bundt pan?
Yes, you can use a bundt pan. Adjust the baking time accordingly, as bundt pans often bake faster due to the increased surface area. Check for doneness about 10-15 minutes earlier than the loaf pan recipe suggests.
Is this cake suitable for meal prep?
Absolutely. This Moist Slap Ya Momma Pound Cake holds up well in the fridge and freezer. It’s sturdy enough to pack for lunches and maintains its moisture for several days, making it an excellent choice for weekly meal planning.
Pin This Recipe!
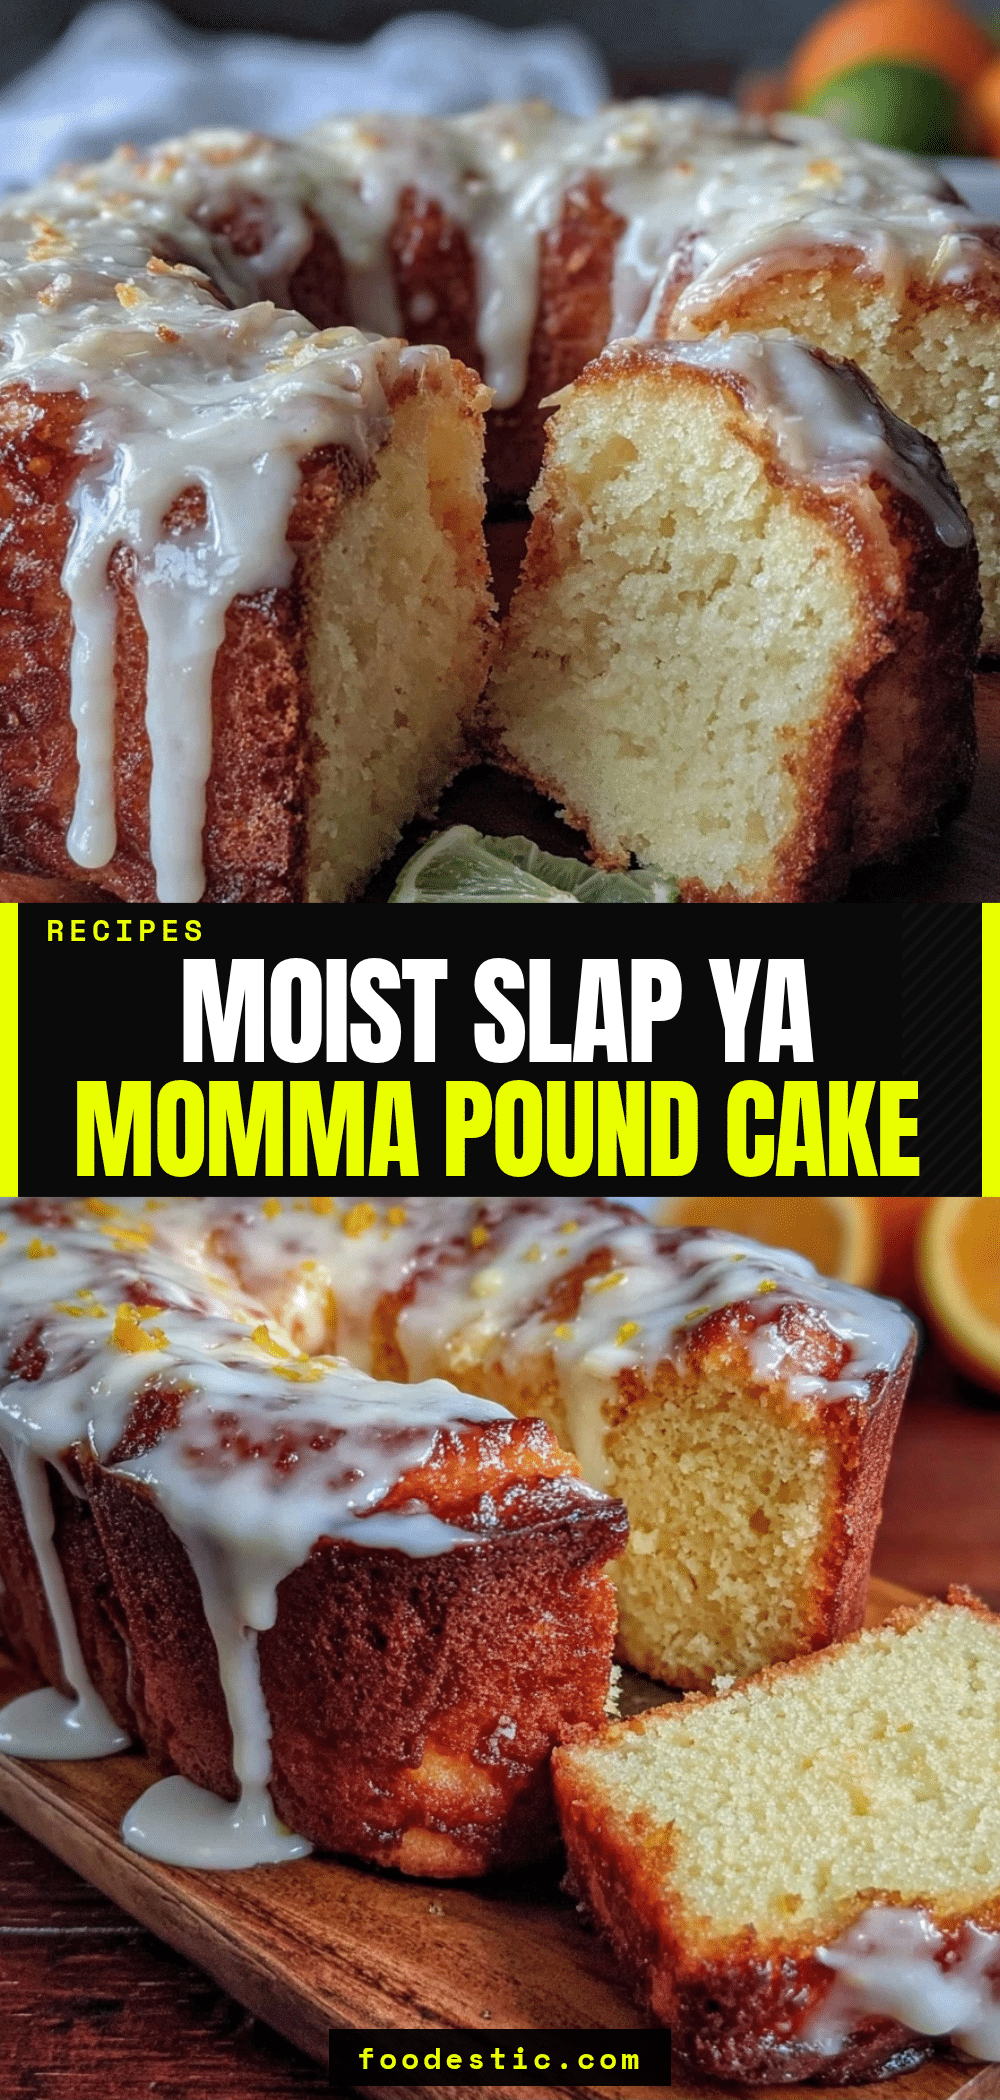
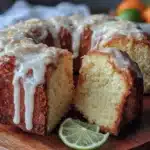
Moist Slap Ya Momma Pound Cake: Easy Meal Prep Formula
- Total Time: 1 hour 25 minutes
- Yield: 8 servings 1x
Description
A reliable, moist Southern-style pound cake that is perfect for meal prep. This recipe uses simple pantry staples and room temperature ingredients to create a tender crumb that stays fresh for days.
Ingredients
- 1 cup (2 sticks) unsalted butter, softened to room temperature
- 1 ½ cups granulated white sugar
- 4 large eggs, room temperature
- 3 cups all-purpose flour, sifted
- 1 teaspoon baking powder
- ½ teaspoon salt
- 2 teaspoons pure vanilla extract
- ½ cup sour cream, room temperature
Instructions
- Preheat oven to 325°F (165°C). Grease a 9×5-inch loaf pan and line the bottom with parchment paper.
- In a large bowl, beat the softened butter and granulated sugar on medium-high speed for 4-5 minutes until pale yellow and fluffy. Scrape down the sides of the bowl.
- Add eggs one at a time, beating well after each addition until fully incorporated. Add the vanilla extract.
- In a separate medium bowl, whisk together the sifted flour, baking powder, and salt.
- Reduce mixer speed to low. Alternately add the dry ingredients and sour cream to the butter mixture, beginning and ending with the dry ingredients. Mix just until combined.
- Pour batter into the prepared loaf pan and smooth the top with a spatula.
- Bake for 60-70 minutes. Do not open the oven door for the first 45 minutes. The cake is done when a toothpick inserted into the center comes out clean.
- If the top browns too quickly, loosely tent with aluminum foil after 40 minutes.
- Let the cake cool in the pan for 10 minutes, then transfer to a wire rack to cool completely.
Notes
Ensure all ingredients (butter, eggs, sour cream) are at room temperature for proper emulsification. Do not overmix the batter once flour is added to avoid a tough texture. Measure flour by spooning it into the cup and leveling off, rather than scooping directly. For gluten-free option, use a 1:1 gluten-free flour blend. Variations include adding lemon zest, cocoa powder, or fresh berries.
- Prep Time: 15 minutes
- Cook Time: 60-70 minutes
- Category: Dessert
- Cuisine: Southern
Nutrition
- Serving Size: 1 slice
- Calories: 350
- Sugar: 28
- Sodium: 250
- Fat: 18
- Saturated Fat: 11
- Carbohydrates: 42
- Fiber: 1
- Protein: 5
Keywords: pound cake, moist pound cake, meal prep dessert, southern baking, vanilla cake, easy baking, make ahead dessert