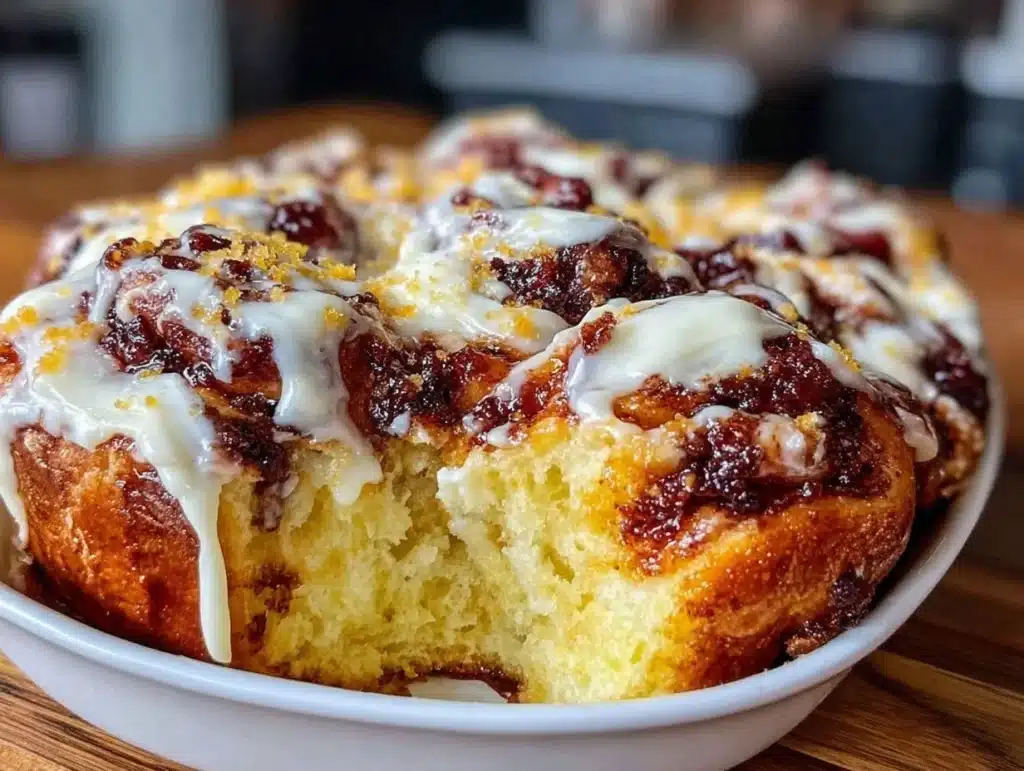
Let’s face it, I have a weakness for the smell of cinnamon and sugar hitting the air. It’s not just nostalgia; it’s pure comfort. I remember standing in line at Cinnabon back in 2008, watching that massive roll get frosted with that thick, white cream cheese glaze. I was broke, hungry, and completely obsessed. Fast forward to today, and while I still love the mall snack, making a copycat version at home makes so much more sense for my weekly routine.
This Copycat Cinnabon Cinnamon Roll Cake is my secret weapon for meal prep Sundays. I know what you’re thinking—cake for breakfast? Yes, please. I developed this recipe after trying dozens of “healthy” versions that tasted like dry cardboard. This one is different. It’s dense, moist, and tastes exactly like the real deal but in a form that actually works for my busy life.
As someone who spends hours planning meals to avoid takeout, I needed something that could survive the fridge. Honestly, most baked goods get sad after day two. This cake? It stays soft. It stays sweet. It stays good on day four. That’s why I’m sharing this with you. If you want that Cinnabon magic without the drive-thru price tag, this is your new best friend.
Why You’ll Love This Recipe
I’ve tested this recipe at least a dozen times to get the texture just right. The goal was always to mimic that pillowy softness of a traditional yeast roll, but in a cake format that’s easier to slice and pack. Here is why this specific version has become a staple in my kitchen:
- Meal Prep Champion: This isn’t just a dessert; it’s a breakfast solution. It holds up beautifully in the fridge for up to four days. You can slice it, wrap it, and grab it on your way out the door. No microwave needed, though it warms up nicely if you have thirty seconds.
- Simple Pantry Ingredients: You don’t need fancy baking supplies. I use common flour, brown sugar, and butter. If you have a basic kitchen, you have everything you need. No specialty yeast or hard-to-find spices.
- Perfect for Busy Mornings: I love that I can bake this on Sunday night. Monday through Thursday mornings become stress-free because I already have breakfast prepped. It’s great for parents, students, or anyone who hates rushing.
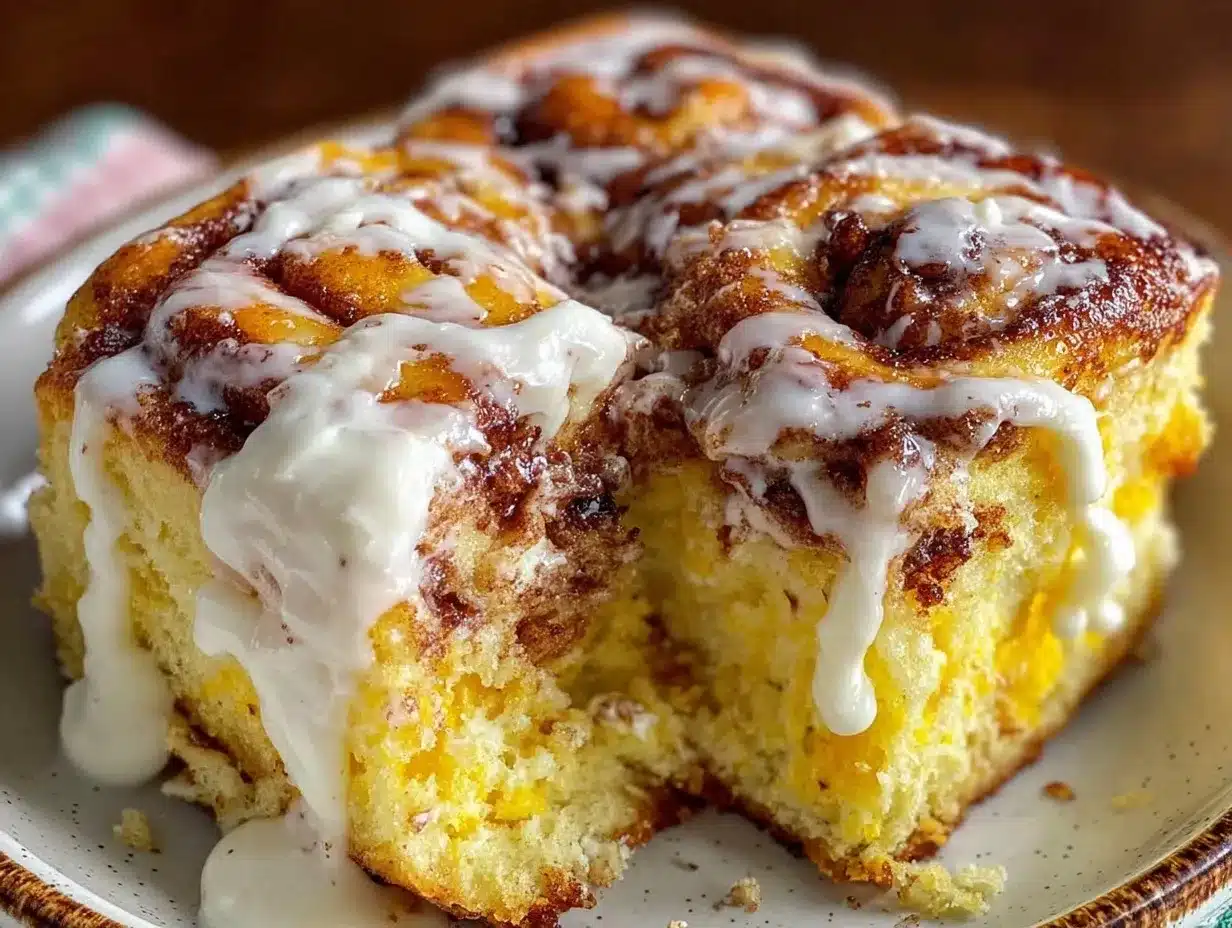
- Crowd-Pleaser Texture: The cake part is tender and crumbly, while the swirls are gooey and rich. It’s a textural dream. My kids ask for this more than pancakes, which is saying something.
- Unbelievably Delicious: The cream cheese frosting is the star. It’s tangy, sweet, and thick. It ties the whole thing together. It’s comfort food reimagined for the modern, busy schedule.
What makes this different from other cinnamon roll cakes is the ratio of dough to frosting. I adjusted the baking time to ensure the center stays moist. It’s not dry. It’s not dense like a brownie. It’s that perfect middle ground that reminds me of my childhood weekends. It’s the kind of recipe that makes you close your eyes after the first bite and smile.
What Ingredients You Will Need
This recipe relies on simple, wholesome ingredients to deliver bold flavor and satisfying texture without the fuss. I keep it straightforward because when you’re prepping meals, you don’t want to run to three different stores. Here is what you need to make this Copycat Cinnabon Cinnamon Roll Cake.
For the Cake Base
- All-purpose flour: 2 1/2 cups (315 grams). I use Gold Medal for its reliable protein content. You can substitute with a gluten-free blend if needed, though the texture might be slightly crumblier.
- Baking powder: 1 tablespoon. This gives the cake its lift. Don’t skip this, or it will be too dense.
- Salt: 1/2 teaspoon. Just a pinch to balance the sweetness.
- Unsalted butter: 1/2 cup (115 grams), softened. Room temperature butter creams better with sugar. I prefer unsalted so I can control the salt level.
- Granulated sugar: 1/2 cup (100 grams). This adds sweetness and helps create a tender crumb.
- Brown sugar: 1/2 cup (110 grams), packed. This adds moisture and a hint of molasses flavor, which is key for that deep cinnamon taste.
- Eggs: 2 large eggs, room temperature. This binds the ingredients together.
- Milk: 1 cup (240 ml). Whole milk works best for richness, but 2% is fine too. Dairy-free milk works in a pinch.
- Vanilla extract: 1 teaspoon. Pure vanilla makes a huge difference in aroma.
For the Cinnamon Swirls
- Butter: 1/2 cup (115 grams), melted. This creates the sticky layer that holds the cinnamon.
- Brown sugar: 1 cup (200 grams), packed. This is the main sweetener for the swirls.Cinnamon: 2 tablespoons. Use a good quality cinnamon like Saigon or Ceylon for a stronger punch. Cheap cinnamon tastes flat.
- Nutmeg: 1/4 teaspoon. Just a pinch adds warmth and complexity.
For the Cream Cheese Frosting
- Cream cheese: 4 ounces (115 grams), softened. Full-fat is non-negotiable here. Light cream cheese won’t whip up properly.
- Butter: 2 tablespoons (28 grams), softened. This helps with the spreadability.
- Powdered sugar: 1 cup (120 grams). Sift this to avoid lumps. You want it smooth and creamy.
- Milk: 1-2 tablespoons. Add this gradually to get the right consistency.
- Vanilla extract: 1/2 teaspoon.
Equipment Needed
You don’t need a lot of fancy gear to make this cake. A standard 9×13 inch baking dish is all you really need. I prefer glass Pyrex because it heats evenly, but metal pans work too. Just keep an eye on the edges so they don’t burn.
A large mixing bowl is essential for the batter. I use a stainless steel one because it’s heavy and doesn’t slide around. A hand mixer or stand mixer will save you some arm fatigue, but you can mix by hand if you have the patience. The key is to cream the butter and sugars until light and fluffy.
For the swirls, a small saucepan or microwave-safe bowl is good for melting the butter. A pastry brush helps spread the butter evenly over the dough. I also recommend a sharp knife or bench scraper for slicing the cake cleanly. Messy cuts make the presentation look sloppy, especially if you’re meal prepping for photos or sharing.
If you plan to make this often, consider investing in a good silicone spatula. They are durable and scrape the bowl clean, ensuring you get every bit of that delicious batter. Budget-friendly options are everywhere, so don’t overthink it. Just make sure your pans are clean and dry.
Preparation Method
Let’s get into the nitty-gritty of making this cake. This process is straightforward, but attention to detail makes all the difference. I’ll break it down step-by-step so you can follow along easily.
Step 1: Prep Your Pan and Oven (5 minutes)
Preheat your oven to 350°F (175°C). Grease a 9×13 inch baking dish with butter or non-stick spray. I like to dust it with a little flour after greasing to ensure nothing sticks. This is crucial because the frosting is sticky and you don’t want to fight for your slices later.
Step 2: Make the Dry Ingredients (2 minutes)
In a medium bowl, whisk together the flour, baking powder, and salt. Set this aside. It’s important to whisk these well to distribute the leavening agent evenly. This prevents any bitter baking powder pockets in the final cake.
Step 3: Cream the Butter and Sugars (3 minutes)
In a large bowl, beat the softened butter, granulated sugar, and brown sugar together. Use a hand mixer on medium speed. Beat for about 2-3 minutes until the mixture looks pale and fluffy. This step incorporates air, which helps the cake rise. If you rush this, the cake will be dense.
Step 4: Add Wet Ingredients (2 minutes)
Add the eggs one at a time, mixing well after each addition. Then stir in the vanilla extract. Mix until just combined. Don’t overmix here, or the cake might become tough. The mixture should look creamy and smooth.
Step 5: Combine Batter (2 minutes)
Add half of the dry ingredients to the wet mixture. Mix on low speed. Then add the milk, and mix again. Finally, add the remaining dry ingredients. Mix until the flour is just incorporated. The batter will be thick and sticky. This is normal. Do not add more flour.
Step 6: Prepare the Swirl Mixture (2 minutes)
In a small bowl, mix the melted butter, brown sugar, cinnamon, and nutmeg. It should look like wet sand. This mixture will be spread over the batter to create the cinnamon swirls.
Step 7: Assemble the Cake (5 minutes)
Spread the batter evenly into your prepared baking dish. Use a spatula to smooth the top. Then, spoon the cinnamon-sugar mixture over the batter. Use a knife to swirl the mixture into the batter. Make figure-eight motions to create nice swirls. Don’t over-mix; you want distinct layers.
Step 8: Bake (35-40 minutes)
Place the dish in the preheated oven. Bake for 35-40 minutes. The cake is done when a toothpick inserted into the center comes out clean or with a few moist crumbs. The top should be golden brown. If the edges are browning too fast, cover them with foil for the last 10 minutes.
Step 9: Cool Completely (30 minutes)
Let the cake cool in the pan for at least 30 minutes. This is critical. If you frost it while it’s hot, the frosting will melt and slide off. Patience pays off here. The cake needs to set so the frosting stays put.
Step 10: Make the Frosting (5 minutes)
While the cake cools, beat the softened cream cheese and butter until smooth. Add the powdered sugar and vanilla. Mix on low speed first to avoid a sugar cloud, then increase speed until fluffy. Add milk one tablespoon at a time until you reach a spreadable consistency.
Step 11: Frost and Serve
Spread the frosting over the cooled cake. Slice into squares. You can serve it immediately, or wrap it for meal prep.
Cooking Tips & Techniques
I’ve made a few mistakes along the way, so you don’t have to. First, don’t skip the room temperature ingredients. Cold butter won’t cream properly. Cold eggs can cause the batter to curdle. Take them out of the fridge an hour before you start.
Another common mistake is overmixing the batter. Once you add the flour, mix only until it disappears. Overworking gluten makes the cake tough. You want it tender and soft, like a roll, not chewy like bread.
When swirling the cinnamon mixture, don’t be too aggressive. Gentle figure-eights create beautiful marbling. If you stir too much, you’ll just get a cinnamon-colored cake with no swirls. Visual appeal matters, especially if you’re sharing on social media.
Timing is everything. If you live at a high altitude, you might need to adjust the baking powder or increase the liquid. Check your local altitude baking guidelines. Also, ovens vary. Start checking for doneness at 35 minutes. Every oven is different.
For consistent results, weigh your ingredients. Cups can be inaccurate, especially with flour. Sifting or packing flour changes the volume significantly. A kitchen scale ensures your ratios are perfect every time.
Variations & Adaptations
This recipe is versatile. You can tweak it to fit your dietary needs or taste preferences. Here are a few ideas I’ve tried:
- Gluten-Free Option: Use a 1-to-1 gluten-free flour blend. The texture might be slightly more crumbly, but it still tastes great. Add a bit more milk if the batter seems too thick.
- Dairy-Free: Swap the butter for coconut oil or a dairy-free butter alternative. Use almond or oat milk. For the frosting, use a dairy-free cream cheese block. It holds up surprisingly well.
- Lower Sugar: Reduce the sugar in the batter by 25%. The frosting will still be sweet, so the overall sweetness is balanced. Use a less sweet cinnamon if you prefer.
- Add-ins: Sprinkle chopped walnuts or pecans over the batter before adding the cinnamon swirl. It adds a nice crunch and nutty flavor.
- Maple Variation: Replace some of the brown sugar with maple syrup in the swirl mixture. It adds a distinct autumn flavor that pairs well with cinnamon.
I once tried adding apple chunks to the swirls. It was good, but it made the cake wetter. If you do this, reduce the milk in the batter slightly. Experimentation is part of the fun, but stick to the basics first.
Serving & Storage Suggestions
This cake is best served at room temperature. The frosting sets up nicely, and the flavors meld together. You can warm individual slices in the microwave for 10-15 seconds. It makes the frosting gooey and the cake soft.
For meal prep, let the cake cool completely. Then, slice it into squares. Wrap each square individually in plastic wrap or place them in an airtight container with parchment paper between layers. This prevents them from sticking together.
Store the cake in the refrigerator for up to four days. I’ve found that day three and four are actually the best. The flavors have had time to soak into the cake, making it even more moist. It’s still good on day four, honestly.
You can also freeze slices. Wrap them tightly in foil and plastic. They’ll last for up to two months. Thaw them in the fridge overnight or at room temperature for an hour. Reheat if you want them warm.
Pair this cake with a hot cup of coffee or tea. The bitterness of the coffee balances the sweetness of the cake. It’s a perfect breakfast combo. I also like it with a glass of cold milk for a nostalgic touch.
Nutritional Information & Benefits
While this is a treat, it’s made with real ingredients. Here is an estimated nutritional value per slice (assuming 12 slices):
- Calories: Approx. 350-400 kcal
- Carbohydrates: 50g
- Sugar: 30g
- Fat: 15g
- Protein: 4g
The cinnamon provides antioxidants and may help regulate blood sugar. The eggs add protein, which helps keep you full. While it’s not a health food, it’s a better option than processed pastries. It’s made from scratch, so you know exactly what’s in it.
For those watching sugar intake, you can reduce the frosting or use a sugar substitute. The cake itself is sweet enough on its own. It’s about balance. Enjoy it as a special breakfast or weekend treat.
Conclusion
This Copycat Cinnabon Cinnamon Roll Cake is more than just a recipe. It’s a solution for busy mornings. It’s a way to enjoy comfort food without the hassle. I love that I can make it once and have breakfast sorted for days. It’s reliable, delicious, and always a hit.
I encourage you to try it and make it your own. Add nuts, change the frosting, or adjust the sweetness. Cooking is personal. But start with this base, and you won’t be disappointed. It’s the kind of recipe that feels like a hug in food form.
Please share your results! I love seeing how you customize it. Leave a comment below with your tips or photos. Tag me on social media if you post it. I want to see your day-four slices. Thanks for reading, and happy baking!
FAQs
Can I freeze this cinnamon roll cake?
Yes, you can freeze individual slices for up to two months. Wrap them tightly in plastic and foil. Thaw in the fridge or at room temperature before eating.
Why is my cake dense?
You might have overmixed the batter or used too much flour. Measure your flour correctly (spoon and level) and mix only until combined. Also, ensure your baking powder is fresh.
Can I use self-rising flour?
If you use self-rising flour, omit the baking powder and salt in the recipe. Adjust the liquid slightly if needed, as self-rising flour behaves differently.
How do I keep the frosting from melting?
Make sure the cake is completely cool before frosting. Warm cake will melt the frosting. Also, keep the frosting chilled until you’re ready to spread it.
Can I make this in a bundt pan?
You can, but the baking time will change. Check for doneness earlier, around 25-30 minutes. The shape may affect how evenly it cooks, so keep an eye on it.
Pin This Recipe!
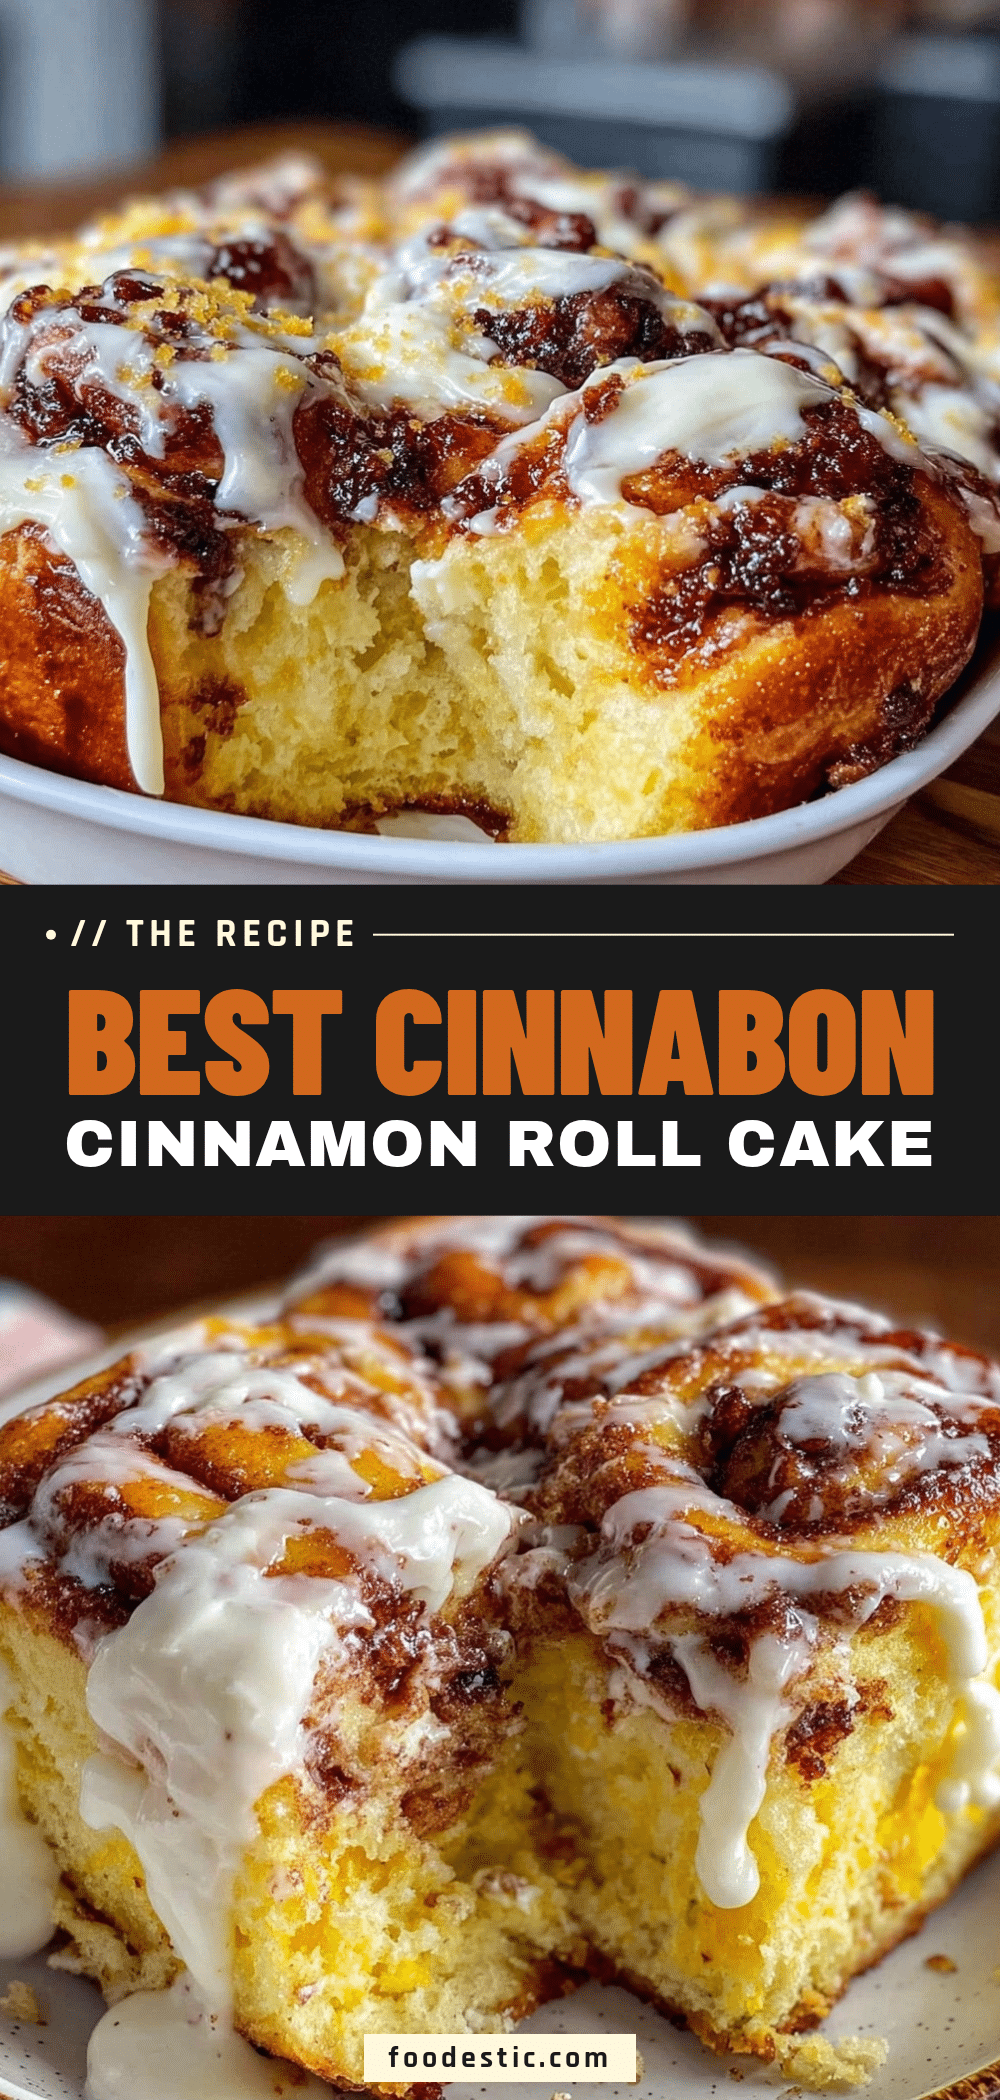

Cinnabon Cinnamon Roll Cake: Easy Meal Prep for 4 Days
- Total Time: 1 hour
- Yield: 12 servings 1x
Description
A copycat Cinnabon cinnamon roll cake that is dense, moist, and perfect for meal prep. This easy breakfast solution stays soft for up to four days and features a rich cream cheese frosting.
Ingredients
- 2 1/2 cups all-purpose flour
- 1 tablespoon baking powder
- 1/2 teaspoon salt
- 1/2 cup unsalted butter, softened
- 1/2 cup granulated sugar
- 1/2 cup brown sugar, packed
- 2 large eggs, room temperature
- 1 cup milk
- 1 teaspoon vanilla extract
- 1/2 cup butter, melted (for swirls)
- 1 cup brown sugar, packed (for swirls)
- 2 tablespoons cinnamon
- 1/4 teaspoon nutmeg
- 4 ounces cream cheese, softened (for frosting)
- 2 tablespoons butter, softened (for frosting)
- 1 cup powdered sugar
- 1–2 tablespoons milk (for frosting)
- 1/2 teaspoon vanilla extract (for frosting)
Instructions
- Preheat oven to 350°F (175°C). Grease a 9×13 inch baking dish and dust with flour.
- In a medium bowl, whisk together the flour, baking powder, and salt. Set aside.
- In a large bowl, beat the softened butter, granulated sugar, and brown sugar until pale and fluffy (2-3 minutes).
- Add eggs one at a time, mixing well after each addition. Stir in vanilla extract until combined.
- Add half of the dry ingredients to the wet mixture and mix on low. Add milk and mix again. Add remaining dry ingredients and mix until just incorporated.
- In a small bowl, mix melted butter, brown sugar, cinnamon, and nutmeg.
- Spread batter evenly into the prepared baking dish. Spoon the cinnamon-sugar mixture over the batter and swirl with a knife in figure-eight motions.
- Bake for 35-40 minutes, or until a toothpick inserted into the center comes out clean. Cover edges with foil if browning too fast.
- Let the cake cool completely in the pan for at least 30 minutes.
- While the cake cools, beat cream cheese and butter until smooth. Add powdered sugar, vanilla, and milk gradually until fluffy and spreadable.
- Spread frosting over the cooled cake. Slice into squares and serve.
Notes
Ensure all ingredients are at room temperature for best results. Do not overmix the batter to avoid a tough texture. The cake must be completely cool before frosting to prevent the frosting from melting. Store in the refrigerator for up to four days or freeze slices for up to two months.
- Prep Time: 20 minutes
- Cook Time: 40 minutes
- Category: Breakfast
- Cuisine: American
Nutrition
- Serving Size: 1 slice
- Calories: 375
- Sugar: 30
- Sodium: 250
- Fat: 15
- Saturated Fat: 8
- Carbohydrates: 50
- Fiber: 1
- Protein: 4
Keywords: cinnamon roll cake, meal prep breakfast, copycat cinnabon, cream cheese frosting, easy baking, breakfast for 4 days