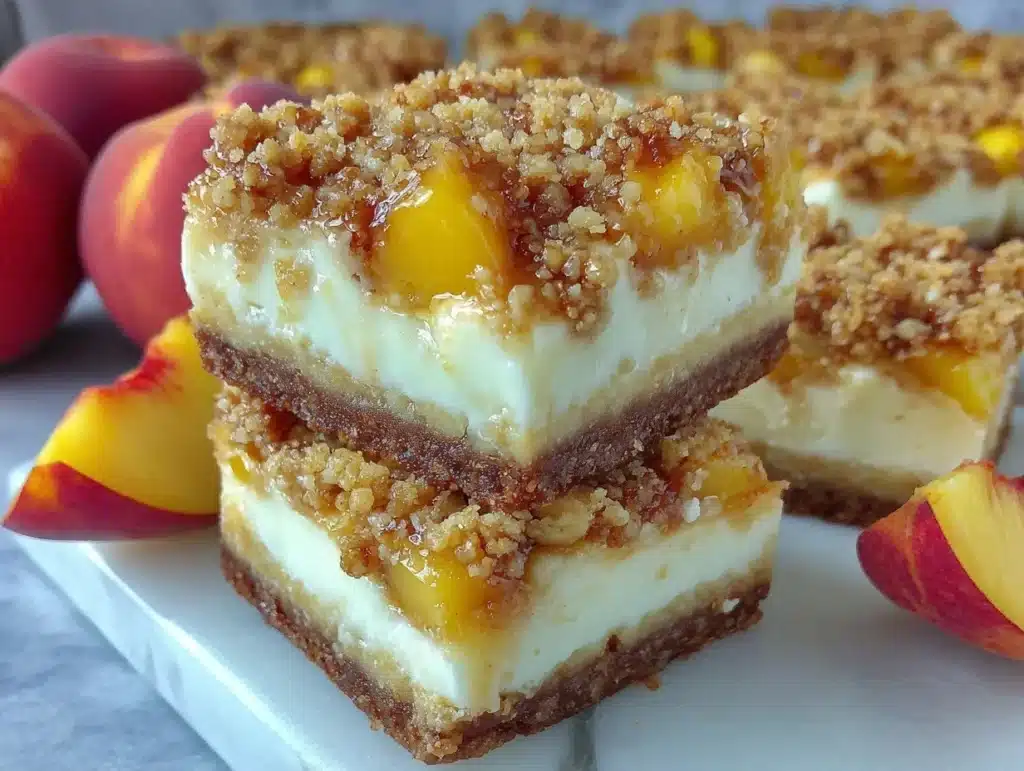
The smell of warm peaches baking with buttery crumble is the kind of comfort that makes you want to cancel your plans and stay in bed. I remember the first time I made these peach cobbler cheesecake bars, it was a humid Tuesday in July, and my kitchen felt like a sauna. I was trying to figure out how to use up those slightly overripe peaches from the farmers market before they went bad. Honestly, I didn’t expect much. I just wanted a quick dessert that wouldn’t require hours of standing over a hot stove.
But then I added the cream cheese layer. That simple twist changed everything. It turned a standard fruit crisp into something rich, tangy, and incredibly satisfying. I’ve tested this recipe at least a dozen times now, tweaking the crumble ratio and the sweetness level until it hit that perfect balance. As someone who meal preps for a busy week, I needed something that tasted homemade but could actually survive in the fridge for days. These bars do exactly that.
You know how some desserts taste great fresh out of the oven but turn into a soggy mess by Thursday? Not these. The structure holds up beautifully, making them the ultimate grab-and-go treat. Whether you are looking for a high-protein snack option or just a sweet pick-me-up during your afternoon slump, this recipe delivers. It’s not just a dessert; it’s a strategy for surviving the workweek with a smile. Let’s face it, we all need a little sweetness to get through the daily grind, and these bars make it easy.
Why You’ll Love This Recipe
There is a specific kind of magic that happens when you combine the rustic charm of a cobbler with the creamy richness of cheesecake. I’ve spent years experimenting with fruit bars, and this one stands out for reasons that go beyond just taste. First off, the texture is incredible. You get the crunch of the oat crumble, the smoothness of the cheesecake, and the juicy burst of the peaches in every single bite. It’s like three desserts in one, but way more practical for your schedule.
Here is why this recipe has become a staple in my weekly rotation:
- Quick & Easy Prep: You can have these in the oven in under 30 minutes. That is perfect for busy weeknights when you want something special but don’t have all day to bake.
- Simple Ingredients: You likely already have most of these items in your pantry. No need for a fancy grocery trip or expensive specialty ingredients. It uses basic staples like oats, flour, sugar, and cream cheese.
- Perfect for Meal Prep: This is the key reason I love them. They store incredibly well in airtight containers. I make a batch on Sunday, and they last all week. They don’t get soggy, and the flavors actually meld nicely over time.
- Crowd-Pleaser: Kids and adults alike are obsessed. The sweetness is balanced by the tang of the cream cheese, so it never feels too heavy or cloying. It’s a crowd-pleaser that works for potlucks, office snacks, or family dinners.
- Unbelievably Delicious: The combination of warm spices like cinnamon and nutmeg with the fresh peaches is next-level comfort food. It tastes like a hug in dessert form.
What makes this recipe different from the rest is the layering technique. Many bar recipes just dump everything in and hope for the best. Here, we build layers. The base is sturdy, the filling is dense and creamy, and the topping provides that essential crunch. It’s not just another version of a fruit bar—it’s my best version. It’s the kind of recipe that makes you close your eyes after the first bite and think, “Wow, I can’t believe this is healthy-ish.” It’s comfort food reimagined for the modern, busy lifestyle.
What Ingredients You Will Need
This recipe uses simple, wholesome ingredients to deliver bold flavor and satisfying texture without the fuss. I’ve found that using high-quality ingredients makes a huge difference, especially when you are only using a few of them. For the best results, I recommend using European-style butter for the crumble because of its higher fat content, which creates a richer, more tender crust. Also, look for firm, small-curd cottage cheese if you want to blend it into the filling for extra protein and creaminess, though standard cream cheese works fine too.
Here is what you will need to gather:
- For the Crust and Topping:
- All-purpose flour (1 cup) – Provides the structure for the bars.
- Old-fashioned rolled oats (1/2 cup) – Adds chewiness and heartiness to the crumble.
- Granulated sugar (1/3 cup) – Sweetens the base and topping.
- Brown sugar (1/3 cup) – Adds moisture and a hint of molasses flavor.
- Unsalted butter, softened (1/2 cup) – Binds the dry ingredients together.
- Cinnamon (1 tsp) – Essential for that cobbler warmth.
- Nutmeg (1/4 tsp) – A pinch of this adds depth you won’t notice but will miss if it’s gone.
- For the Cheesecake Layer:
- Full-fat cream cheese, softened (8 oz) – Use Philadelphia or a similar brand for the smoothest texture.
- Granulated sugar (1/2 cup) – Sweetens the creamy layer.
- Large egg, room temperature (1) – Helps set the cheesecake layer.
- Vanilla extract (1 tsp) – Enhances the overall flavor profile.
- Cornstarch (1 tbsp) – Prevents the cheesecake from cracking and keeps it firm.
- For the Peach Filling:
- Fresh peaches, peeled and sliced (3 large) – Fresh peaches are best in summer, but frozen work too.
- Granulated sugar (1/4 cup) – Draws out the juices from the peaches.
- Lemon juice (1 tbsp) – Adds brightness and prevents browning.
- Cornstarch (1 tbsp) – Thickens the peach juices so the bars aren’t runny.
If you are using frozen peaches, you don’t need to thaw them completely, but make sure to pat them dry slightly to avoid excess water. For a gluten-free option, you can swap the all-purpose flour with a 1:1 gluten-free flour blend. The oats must be certified gluten-free if you have celiac disease or a severe allergy. I also suggest using a mix of white and brown sugar for the topping to get that perfect golden-brown color.
Equipment Needed
You don’t need a fancy kitchen to make these bars, but having the right tools makes the process much smoother. The most important item is an 8×8 inch baking pan. A metal pan is ideal because it conducts heat evenly, ensuring the bottom crust cooks through without burning. Glass pans work too, but you might need to increase the baking time by 5-10 minutes. Line your pan with parchment paper, leaving an overhang on the sides. This is crucial for lifting the bars out later for clean slicing.
You will also need a medium mixing bowl for the crumble and a larger bowl for the cheesecake filling. An electric hand mixer or a stand mixer is helpful for beating the cream cheese until it is completely smooth. If you don’t have one, a sturdy whisk and a lot of elbow grease will work. A rubber spatula is essential for scraping down the sides of the bowl and spreading the layers evenly. Finally, a small saucepan or microwave-safe bowl is needed to cook down the peaches slightly before adding them to the bars. This step ensures the fruit is tender and the juices are thickened, preventing a soggy bottom.
Preparation Method
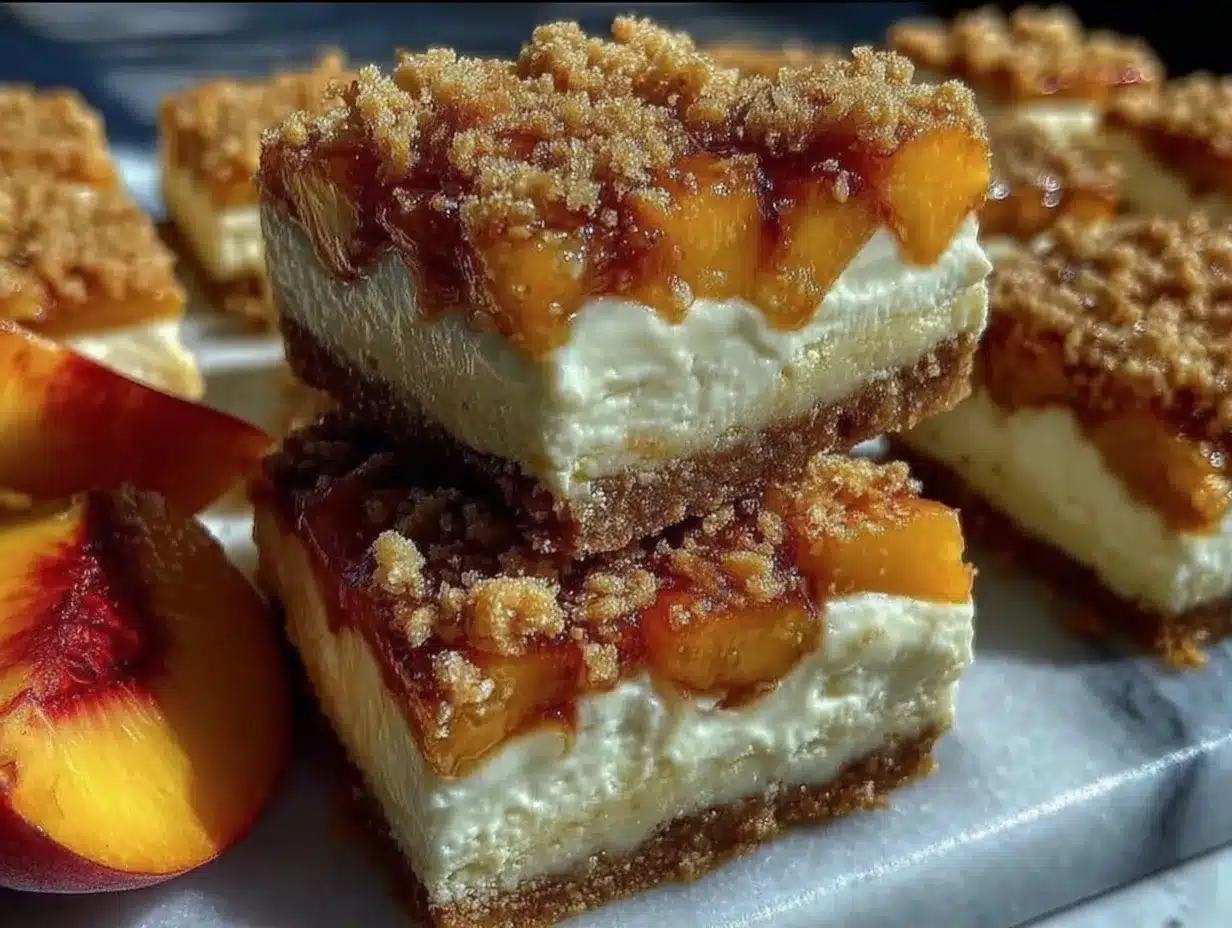
Let’s get into the nitty-gritty of making these bars. The process is straightforward, but attention to detail is key for the best texture.
- Preheat and Prep: Start by preheating your oven to 350°F (175°C). Line your 8×8 inch baking pan with parchment paper, ensuring the paper covers the bottom and hangs over the long sides. This will make it easy to lift the entire block of bars out once they are baked and cooled.
- Make the Crumble Base: In a medium bowl, combine the flour, rolled oats, granulated sugar, brown sugar, cinnamon, and nutmeg. Cut in the softened butter using a fork or your fingers until the mixture resembles coarse crumbs. Press about two-thirds of this mixture firmly into the bottom of the prepared pan. Use the bottom of a measuring cup to pack it down tightly. This forms the sturdy base of your bars.
- Prep the Peaches: While the oven heats, place the sliced peaches in a small saucepan. Add the 1/4 cup sugar, lemon juice, and 1 tablespoon of cornstarch. Cook over medium heat for about 5 minutes, stirring constantly, until the peaches release their juices and the mixture thickens slightly. Let this cool for a few minutes. This step prevents the fruit from releasing too much water during baking, which could make the bars soggy.
- Make the Cheesecake Filling: In a large bowl, beat the softened cream cheese and 1/2 cup sugar until smooth and creamy. Add the egg and vanilla extract, mixing just until combined. Do not overmix, as this can incorporate too much air and cause cracking. Stir in the 1 tablespoon of cornstarch. Spread this mixture evenly over the pressed crumble base.
- Assemble and Bake: Spoon the cooked peach mixture over the cheesecake layer, distributing it evenly. Take the remaining one-third of the crumble mixture and sprinkle it generously over the peaches. This creates the classic cobbler top. Bake for 40-45 minutes, or until the top is golden brown and the edges are bubbling. If the top starts browning too quickly, tent it with foil.
- Cool Completely: This is the hardest part, but also the most important. Let the bars cool in the pan on a wire rack for at least 1 hour. Then, refrigerate them for at least 4 hours, preferably overnight. This chilling time allows the cheesecake layer to set firmly, making clean cuts possible. Warm bars will be mushy and difficult to slice.
How do I know when the bars are done?
The center should be set, not jiggly. The edges should be pulling away slightly from the pan, and the crumble topping should be a deep golden brown. If you insert a toothpick into the cheesecake layer, it should come out mostly clean, with maybe a few moist crumbs sticking to it.
What if my peach mixture is too runny?
If the peaches didn’t thicken enough during the stovetop step, you can add an extra teaspoon of cornstarch to the mixture next time. Always cook the fruit down before adding it to the bars to ensure proper texture.
Cooking Tips & Techniques
Getting the texture right is all about managing moisture. One common mistake people make is using raw, sliced peaches directly on the crust. The water content in raw peaches is high, and it will seep into the bottom crust, making it soggy. That is why cooking the peaches down with sugar and cornstarch first is non-negotiable. It concentrates the flavor and removes excess liquid.
Another tip is to ensure your cream cheese is at room temperature. Cold cream cheese leads to lumps in the filling, which ruins the smooth texture we are aiming for. If you forget to take it out, you can microwave it in 10-second bursts until it is soft but not melted. Also, when pressing the crumble base, be generous. A thick, sturdy base supports the heavy cheesecake layer and prevents the bars from falling apart when you slice them.
I learned this the hard way after my first attempt, which looked more like a peach dump cake than a bar. Now, I always let the layers chill before cutting. It’s tempting to dig in while they are warm, but patience pays off. The flavors meld together beautifully after chilling, and the texture becomes firm and sliceable. Also, use a sharp, thin-bladed knife for cutting. Dip the knife in hot water and wipe it dry between each cut for clean, professional-looking slices.
Variations & Adaptations
While the classic peach version is my favorite, these bars are versatile enough to accommodate different tastes and dietary needs. Here are a few variations I’ve tried with great success.
- Blueberry Lemon Bars: Swap the peaches for fresh blueberries. Add a teaspoon of lemon zest to the cheesecake layer for a bright, citrusy flavor. The combination of blueberry and lemon is refreshing and perfect for spring.
- Strawberry Rhubarb Bars: Use a mix of strawberries and rhubarb for a tart-sweet balance. Cook the fruit down with a little extra sugar since rhubarb can be quite tart. This is a great way to use up garden rhubarb in early summer.
- Gluten-Free Option: Use a 1:1 gluten-free flour blend for the crumble. Ensure your oats are certified gluten-free. The texture will be slightly more delicate, so handle with care when slicing.
- Dairy-Free Version: Use vegan cream cheese and dairy-free butter for the crumble. The flavor will be slightly different, but still delicious. You might need to add an extra egg or a flax egg to help the cheesecake layer set.
- Protein Boost: I often add a scoop of vanilla protein powder to the cheesecake layer. It adds about 10 grams of protein per bar and doesn’t alter the taste too much. Just make sure to mix it well to avoid clumps.
These variations allow you to rotate flavors throughout the year, keeping your meal prep interesting. I usually stick to seasonal fruits, which ensures the best flavor and affordability.
Serving & Storage Suggestions
These bars are best served chilled. The cold temperature enhances the creaminess of the cheesecake and keeps the crumble crisp. I like to serve them with a dollop of whipped cream or a scoop of vanilla ice cream for a weekend treat. For a healthier option, a small sprinkle of powdered sugar is enough.
For storage, keep the bars in an airtight container in the refrigerator. They will stay fresh for up to 5 days. If you want to make them further in advance, you can freeze them. Wrap individual bars in plastic wrap and then place them in a freezer-safe bag. They will last for up to 3 months. To thaw, simply move them to the refrigerator the night before you want to eat them.
The flavors actually improve after the first day. The peach juices soak slightly into the crumble, and the cheesecake layer becomes even richer. This makes them perfect for meal prep, as you can make them on Sunday and enjoy them throughout the week. Just remember to keep them refrigerated to maintain food safety.
Nutritional Information & Benefits
Each bar contains approximately 350 calories, with 12g of fat, 50g of carbohydrates, and 6g of protein. These values are estimates and will vary based on the specific brands of ingredients used. The use of oats in the crust adds fiber, which helps with digestion and keeps you feeling full longer. Peaches are a good source of vitamins A and C, supporting immune health. The cream cheese provides calcium and protein, making these bars a more balanced dessert option than a standard cookie or cake.
For those watching their sugar intake, you can reduce the sugar in the crust and topping by 25% without significantly affecting the texture. The natural sweetness of the peaches helps compensate for the reduced sugar. These bars are not low-carb or keto-friendly due to the flour and sugar content, but they are a reasonable treat for a balanced diet.
Conclusion
These peach cobbler cheesecake bars are a game-changer for anyone who loves dessert but also loves meal prep. They are easy to make, delicious to eat, and perfect for packing in your lunchbox. I hope you try this recipe and find it as useful in your weekly routine as I have. Feel free to experiment with different fruits and flavors to make it your own.
If you make these bars, I would love to hear about them! Leave a comment below with your thoughts or share a photo on social media. Tag me so I can see your creations. Happy baking, and enjoy your week!
FAQs
Can I use frozen peaches for this recipe?
Yes, you can use frozen peaches. There is no need to thaw them completely. Just chop them into smaller pieces and cook them down with the sugar and cornstarch as directed. Be sure to drain any excess liquid after cooking to prevent a soggy crust.
How do I store these bars?
Store the bars in an airtight container in the refrigerator for up to 5 days. You can also freeze them for up to 3 months. Wrap individual bars in plastic wrap and place them in a freezer-safe bag for easy access.
Can I make these bars gluten-free?
Yes, simply swap the all-purpose flour with a 1:1 gluten-free flour blend. Ensure that your rolled oats are certified gluten-free if you have celiac disease or a severe allergy.
Why are my bars soggy?
Soggy bars usually result from excess moisture in the peach layer. Always cook the peaches down with cornstarch before adding them to the bars. This step thickens the juices and prevents them from seeping into the crust.
Can I use a different fruit?
Absolutely! You can substitute peaches with strawberries, blueberries, apples, or cherries. Adjust the cooking time and sugar amount based on the fruit’s natural sweetness and water content.
Pin This Recipe!
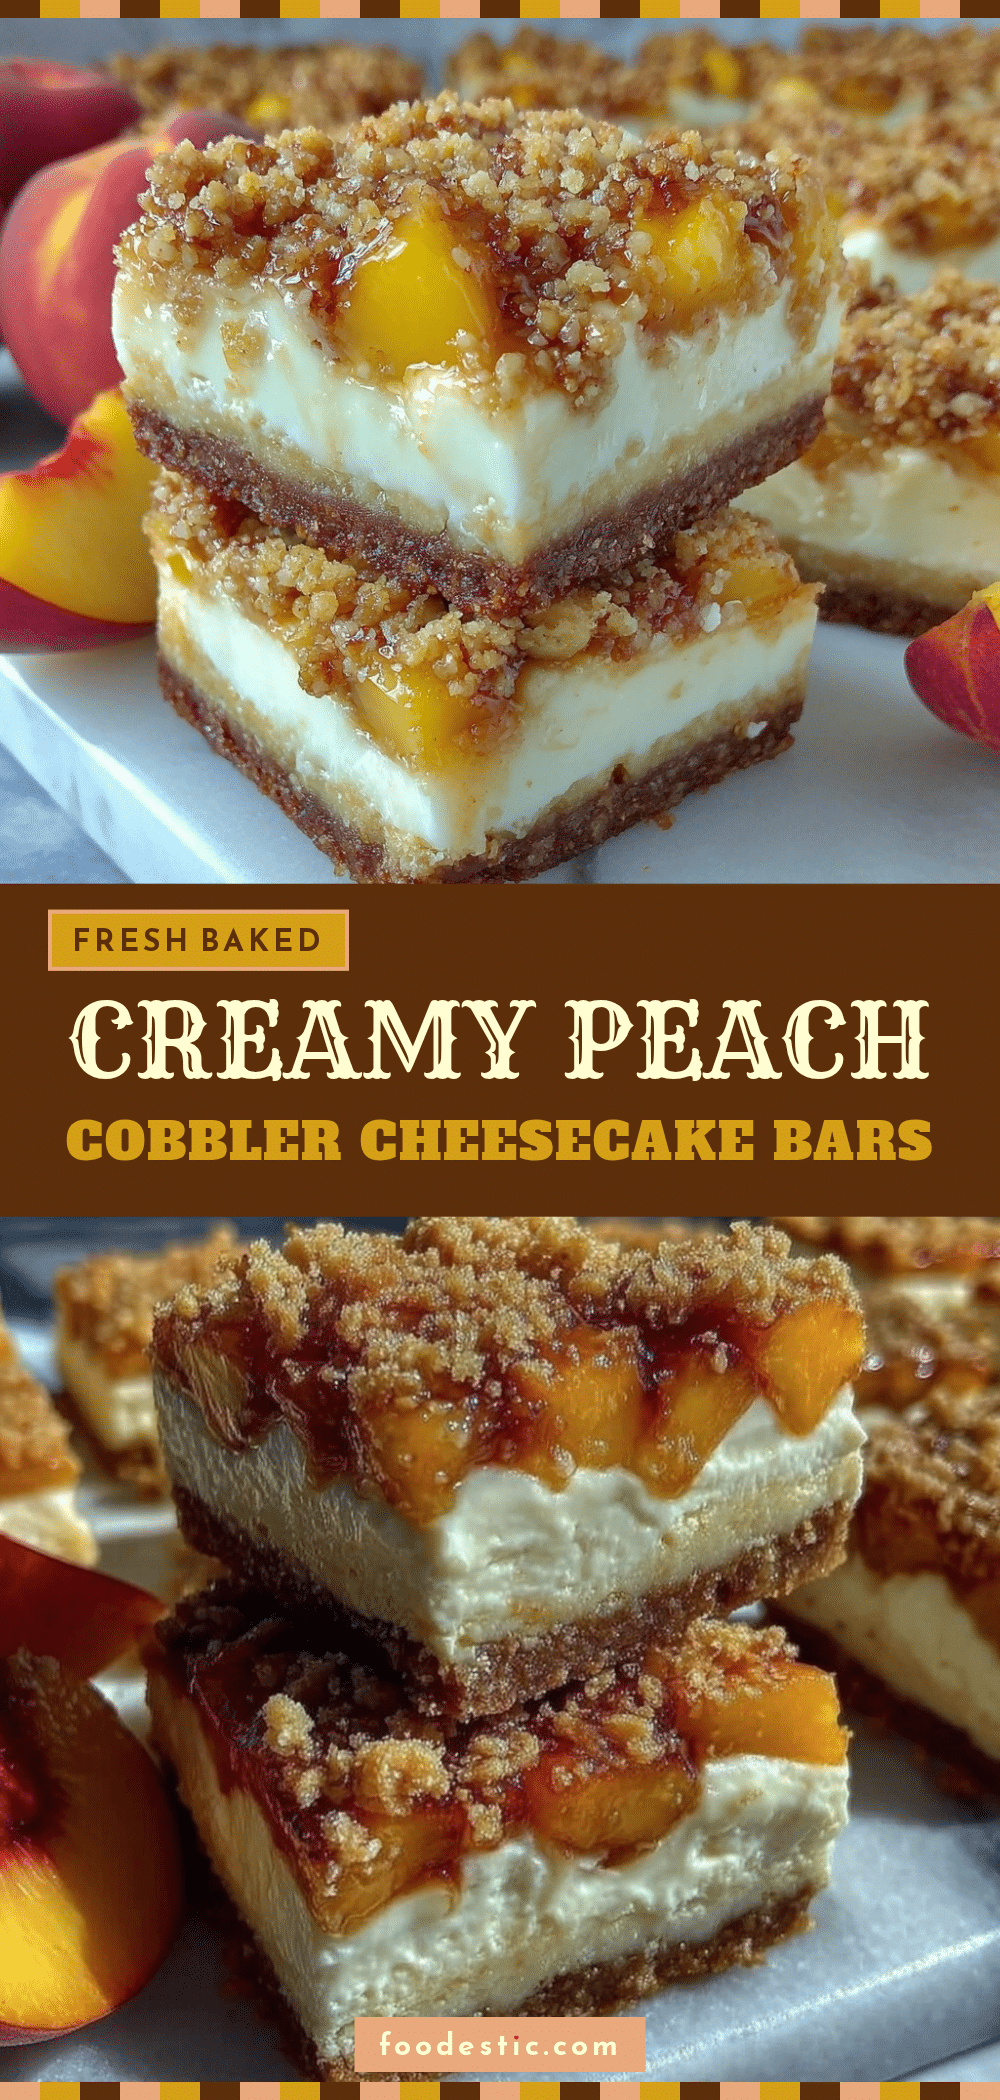

Peach Cobbler Cheesecake Bars: Easy Meal Prep Bars
- Total Time: 75 minutes
- Yield: 9 servings 1x
Description
These easy meal prep bars combine a buttery oat crumble base, a creamy cheesecake layer, and cooked peach filling. They are perfect for busy weeks, storing well in the fridge for days while maintaining their texture and flavor.
Ingredients
- 1 cup all-purpose flour
- 1/2 cup old-fashioned rolled oats
- 1/3 cup granulated sugar (for crust)
- 1/3 cup brown sugar
- 1/2 cup unsalted butter, softened
- 1 tsp cinnamon
- 1/4 tsp nutmeg
- 8 oz full-fat cream cheese, softened
- 1/2 cup granulated sugar (for filling)
- 1 large egg, room temperature
- 1 tsp vanilla extract
- 1 tbsp cornstarch (for filling)
- 3 large fresh peaches, peeled and sliced
- 1/4 cup granulated sugar (for peaches)
- 1 tbsp lemon juice
- 1 tbsp cornstarch (for peaches)
Instructions
- Preheat oven to 350°F (175°C). Line an 8×8 inch baking pan with parchment paper, leaving an overhang on the sides.
- In a medium bowl, combine flour, oats, 1/3 cup granulated sugar, brown sugar, cinnamon, and nutmeg. Cut in softened butter until the mixture resembles coarse crumbs.
- Press about two-thirds of the crumble mixture firmly into the bottom of the prepared pan to form the base.
- In a small saucepan, combine sliced peaches, 1/4 cup sugar, lemon juice, and 1 tbsp cornstarch. Cook over medium heat for 5 minutes, stirring constantly, until juices thicken. Let cool slightly.
- In a large bowl, beat cream cheese and 1/2 cup sugar until smooth. Add egg and vanilla, mixing just until combined. Stir in 1 tbsp cornstarch.
- Spread the cheesecake mixture evenly over the crumble base.
- Spoon the cooked peach mixture over the cheesecake layer. Sprinkle the remaining one-third of the crumble mixture over the peaches.
- Bake for 40-45 minutes, or until the top is golden brown and edges are bubbling. Tent with foil if browning too quickly.
- Cool completely in the pan on a wire rack for at least 1 hour.
- Refrigerate for at least 4 hours, preferably overnight, before slicing.
Notes
For best results, cook the peaches down before adding them to the bars to prevent a soggy crust. Ensure cream cheese is at room temperature for a smooth filling. Bars must be chilled completely before slicing for clean cuts. Can be stored in the refrigerator for up to 5 days or frozen for up to 3 months.
- Prep Time: 30 minutes
- Cook Time: 45 minutes
- Category: Dessert
- Cuisine: American
Nutrition
- Serving Size: 1 bar
- Calories: 350
- Sugar: 35
- Sodium: 150
- Fat: 12
- Saturated Fat: 7
- Carbohydrates: 50
- Fiber: 2
- Protein: 6
Keywords: peach cobbler, cheesecake bars, meal prep dessert, easy baking, summer dessert, gluten-free option, high protein snack