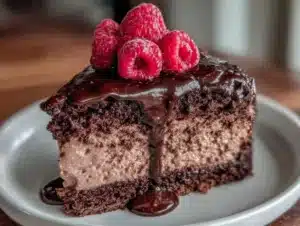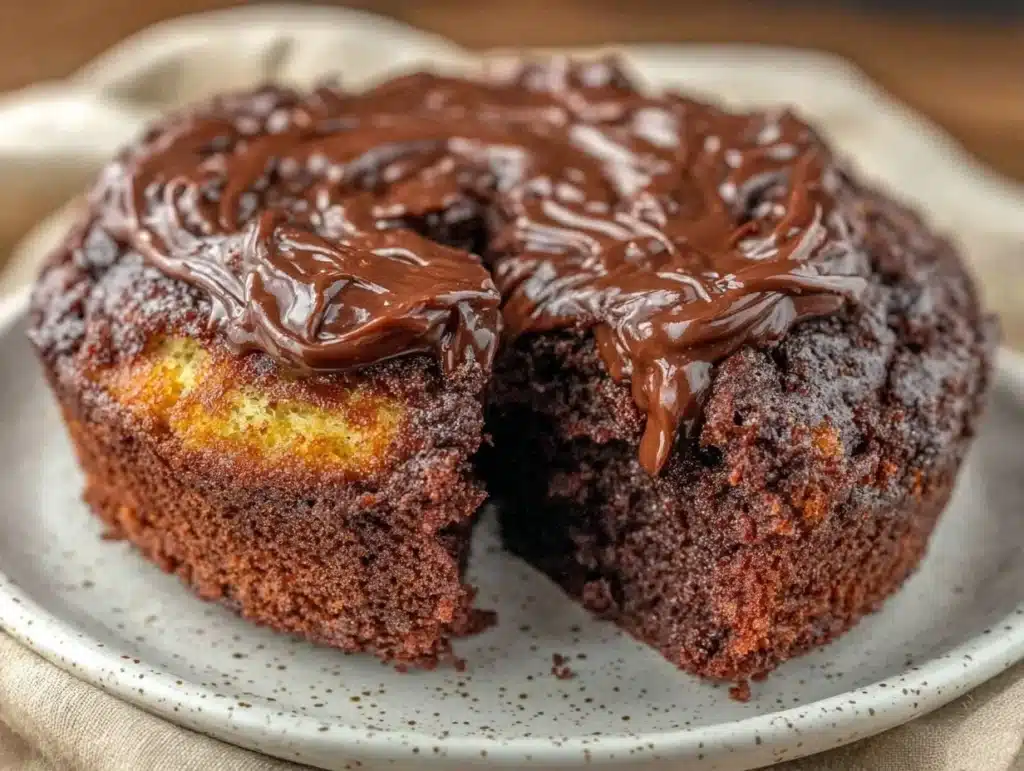
Let’s be honest for a second. The idea of baking a cake on a Sunday afternoon usually comes with a massive asterisk. You know the one. It’s the asterisk that says, “And then you’ll spend the next three days washing sticky bowls, scraping burnt sugar off pans, and wondering why you chose this over just buying a box mix.” I used to hate that asterisk. I’d bake once a year for birthdays, stress over humidity levels, and end up with a dry crumb that tasted like regret.
Then I started meal prepping my desserts. Honestly, it started as a desperate measure. I had a week of back-to-back meetings and zero energy for cooking dinner, let alone baking. I needed something sweet that wouldn’t crumble in my lunchbox or get squished in the fridge. That’s when I discovered the “Ultimate Moist Chocolate Cake” method. It’s not just a recipe; it’s a system. A system that keeps chocolate cake fresh, soft, and actually delicious for up to five days.
I’ve tested this recipe so many times that I can probably make it blindfolded. And I have. There’s a specific moment when you pull the cake out of the pan, and it’s still warm, smelling like rich cocoa and vanilla, and you realize you’ve just hacked the dessert game. This cake is dense enough to hold up in a Tupperware container but light enough to feel like a treat, not a chore. It’s the kind of cake you slice into cubes, pack into bento boxes, and enjoy throughout the week without it getting stale by Wednesday.
Most people think meal prep means boring, bland food. But this chocolate cake proves otherwise. It’s rich, fudgy, and holds its structure perfectly. Whether you’re a busy parent needing a quick afternoon snack for your kids or a professional who needs a reliable energy boost, this recipe fits. It’s not about perfection; it’s about practicality wrapped in pure chocolate joy. Let’s face it, life is busy. Your dessert routine shouldn’t be stressful.
Why You’ll Love This Recipe
After baking this cake over a dozen times, tweaking the flour ratios and testing different storage methods, I can confidently say this is the only chocolate cake you’ll ever need for your weekly routine. It’s not just good; it’s the kind that makes you close your eyes after the first bite. It’s comfort food reimagined—healthier, faster, but with the same soul-soothing satisfaction. Here is why this recipe stands out from the rest:
- Quick & Easy: Comes together in under 45 minutes, perfect for busy weeknights or last-minute cravings. You don’t need to wake up at 5 AM to prep this.
- Simple Ingredients: No fancy grocery trips needed; you likely already have everything in your kitchen. Flour, sugar, cocoa, eggs, and buttermilk. That’s it.
- Perfect for Meal Prep: Great for batching. This cake actually gets better after sitting in the fridge for 24 hours, allowing the flavors to meld.
- Crowd-Pleaser: Always gets rave reviews from kids and adults alike. Even people who claim they “don’t like cake” usually ask for seconds.
- Unbelievably Delicious: The texture and flavor combo is next-level comfort food. It’s moist, not greasy, and sweet, not cloying.
What makes this recipe different is the technique. We use hot coffee to bloom the cocoa powder. This isn’t just a gimmick; it intensifies the chocolate flavor without adding coffee taste. Plus, the buttermilk tenderizes the crumb, ensuring it stays soft for days. This isn’t just another version—it’s your best version. It’s designed for real life, where you need food that lasts.
What Ingredients You Will Need
This recipe uses simple, wholesome ingredients to deliver bold flavor and satisfying texture without the fuss. The magic here is in the balance of dry and wet ingredients, creating a batter that is easy to mix and impossible to mess up. Here is exactly what you need to gather:
- All-Purpose Flour: 2 cups (250g). This is your structure. Don’t substitute with almond flour unless you want a dense brick. I recommend King Arthur Flour for consistent protein content.
- Granulated Sugar: 1 ½ cups (300g). Yes, it’s sweet. But the cocoa balances it out. You can reduce to 1 cup if you prefer less sweet, but the texture suffers slightly.
- Cocoa Powder: ¾ cup (75g). Unsweetened natural cocoa powder is key. Dutch-processed cocoa works too, but you’ll need to adjust the baking soda. I use Ghirardelli for its rich, dark flavor.
- Baking Soda: 1 ½ teaspoons. This reacts with the buttermilk to create lift. Make sure it’s fresh, or your cake won’t rise.
- Salt: 1 teaspoon. Essential for enhancing chocolate flavor. Never skip this step.
- Eggs: 2 large eggs, room temperature. These bind the cake. Cold eggs can cause the batter to separate.
- Buttermilk: 1 cup (240ml). This is the secret to moisture. If you don’t have buttermilk, mix 1 cup milk with 1 tablespoon vinegar and let it sit for 5 minutes.
- Vegetable Oil: ½ cup (120ml). Oil keeps the cake moist longer than butter. Butter solidifies in the fridge; oil stays liquid.
- Vanilla Extract: 2 teaspoons. Pure vanilla, not imitation. It adds depth.
- Boiling Water or Hot Coffee: 1 cup (240ml). Hot coffee intensifies chocolate. Hot water works fine if you’re sensitive to caffeine.
For the frosting, keep it simple. You’ll need ½ cup butter, 2 cups powdered sugar, ⅓ cup cocoa, and a splash of milk. Keep ingredients at room temperature for a smooth blend. Avoid long paragraphs about food science here; just grab your stuff and start mixing.
Equipment Needed
You don’t need a fancy kitchen to make this cake. A few basic tools are all you need. Start with two 8-inch or 9-inch round cake pans. Line the bottoms with parchment paper for easy release. If you don’t have parchment, grease and flour the pans thoroughly. I use Wilton pans because they conduct heat evenly. Avoid dark non-stick pans if possible, as they can over-brown the edges.
You’ll need a large mixing bowl. A glass or stainless steel bowl is best because it doesn’t retain heat while you mix. A whisk is crucial for aerating the dry ingredients. I also recommend an electric hand mixer for the wet ingredients, though a strong arm and a spoon work too. For measuring, use a set of dry and liquid measuring cups. Level off your flour with a knife for accuracy.
If you’re storing slices, get a set of airtight containers. Plastic containers with snap lids are great for the fridge. For freezing, use heavy-duty freezer bags. A cake turntable is nice for frosting but not necessary. A simple offset spatula works fine. Keep your tools clean and dry before starting. Moisture is the enemy of a good crumb.
Preparation Method
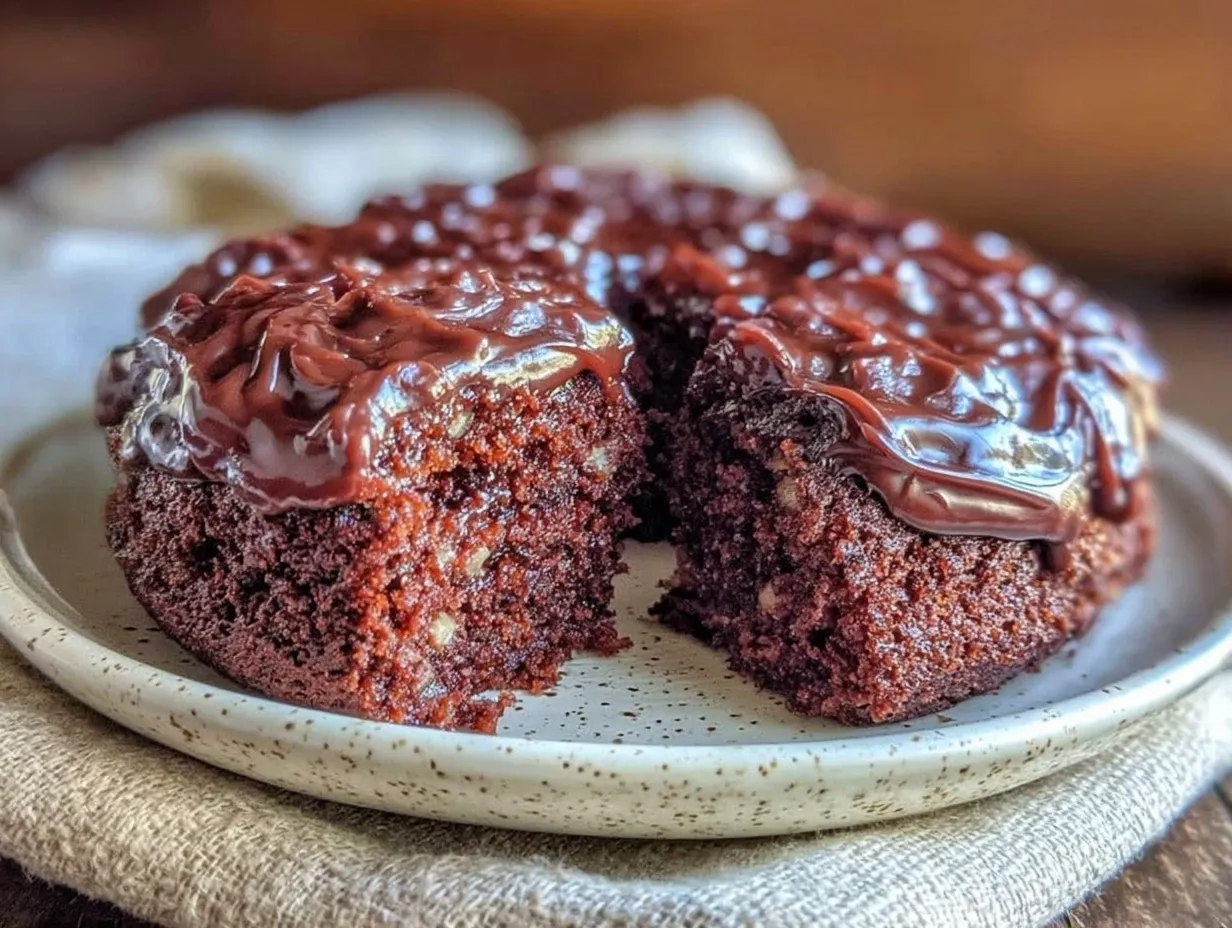
Let’s get this cake into the oven. This process is straightforward, but timing matters. Follow these steps closely for the best results.
- Preheat and Prep: Preheat your oven to 350°F (175°C). Grease your cake pans and line the bottoms with parchment paper. Dust with a little flour, tapping out the excess. This ensures the cake doesn’t stick. (Time: 5 minutes)
- Mix Dry Ingredients: In a large bowl, whisk together the flour, sugar, cocoa powder, baking soda, and salt. Whisking is important here. It removes lumps and distributes the leavening agent evenly. If you skip this, you might get bitter pockets of baking soda. (Time: 2 minutes)
- Add Wet Ingredients: Add the eggs, buttermilk, oil, and vanilla extract to the dry mixture. Beat on medium speed with an electric mixer for about 2 minutes. The batter will look thick and heavy. Don’t worry, it’s supposed to be. Scrape down the sides of the bowl to ensure everything is incorporated. (Time: 3 minutes)
- Stir in Hot Liquid: Carefully stir in the boiling water or hot coffee by hand. The batter will become very thin and watery. This is normal! Do not add more flour. The hot liquid blooms the cocoa and creates a tender crumb. Pour it in slowly to avoid splashing. (Time: 2 minutes)
- Pour and Bake: Divide the batter evenly between the prepared pans. Bake for 30-35 minutes. Check at 30 minutes. Insert a wooden toothpick into the center. If it comes out clean or with a few moist crumbs, it’s done. If it’s wet, bake for 2-3 more minutes. (Time: 35 minutes)
- Cool Completely: Let the cakes cool in the pans for 10 minutes. Then, turn them out onto a wire rack to cool completely. This is crucial. If you frost a warm cake, the frosting will melt and slide off. Patience pays off here. (Time: 1 hour)
- Frost and Store: Once cool, frost the cake. Spread a thin layer of frosting on top and sides. For meal prep, you can skip frosting individual slices and just frost the whole cake, then slice. This keeps the interior moist. Store in an airtight container. (Time: 10 minutes)
Watch the oven closely. Every oven is different. If the top browns too quickly, tent with foil. The cake should spring back when touched lightly. Trust your senses.
Cooking Tips & Techniques
I’ve made this cake so many times I’ve burned my eyebrows off a few times. Here are the lessons I learned so you don’t have to. First, never open the oven door while the cake is baking. The sudden drop in temperature can cause the cake to collapse. I know it’s tempting to peek, but resist. Wait until the timer goes off.
Second, room temperature ingredients are non-negotiable. Cold eggs and buttermilk can cause the oil to solidify, leading to a lumpy batter. Take your eggs and buttermilk out of the fridge 30 minutes before you start. If you forget, you can warm the eggs in a bowl of warm water for a few minutes.
Third, don’t overmix the batter after adding the flour. Overmixing develops gluten, which makes the cake tough. Mix until just combined. When you add the hot coffee, stir gently. You’re not trying to whip air into the batter; you’re just hydrating it.
Finally, let the cake cool completely before storing. Trapped heat creates condensation, which makes the cake soggy. If you’re in a hurry, you can speed up cooling by placing the racks in the freezer for 15 minutes. But don’t rush the frosting. A warm cake is a messy cake.
Variations & Adaptations
This recipe is flexible. Here are some ways to tweak it for your needs. For a gluten-free option, substitute the all-purpose flour with a 1:1 gluten-free baking blend. Bob’s Red Mill works well. Add an extra teaspoon of xanthan gum if your blend doesn’t include it.
For a dairy-free version, use almond milk or oat milk mixed with vinegar instead of buttermilk. Swap the butter in the frosting for coconut oil or a dairy-free butter alternative. The texture will be slightly different but still delicious.
Want a mocha flavor? Use hot coffee instead of water and add 1 teaspoon of instant espresso powder to the dry ingredients. It boosts the chocolate flavor without tasting like coffee. For a lighter version, reduce the sugar by ¼ cup. It won’t be as sweet, but the chocolate taste will shine through.
I once tried making this into cupcakes. They baked in 18-20 minutes. Just fill the liners ⅔ full. They are perfect for lunchbox portions. You can also add chocolate chips to the batter for extra gooeyness. Just fold them in gently at the end.
Serving & Storage Suggestions
This cake is best served at room temperature. Cold chocolate cake can taste waxy. Take your slices out of the fridge 20 minutes before eating. For storage, keep the cake in an airtight container in the refrigerator for up to 5 days. The cold helps it set, making it easier to slice cleanly.
For freezing, wrap individual slices in plastic wrap, then place them in a freezer bag. They will last for 3 months. Thaw overnight in the fridge. Do not thaw at room temperature, as condensation will make the cake wet.
Pair this cake with a hot cup of coffee or a glass of cold milk. It’s also great with a scoop of vanilla ice cream. The contrast of warm cake and cold ice cream is divine. For meal prep, cut the cake into cubes and store them in separate containers. This prevents cross-contamination and makes grabbing a snack easy.
The flavors develop over time. Day 1 is good. Day 2 is better. Day 3 is peak flavor. The cocoa settles into the crumb, making every bite richer. Don’t rush to eat it all on day one. Let it marinate in the fridge.
Nutritional Information & Benefits
Each slice contains approximately 350 calories. It has 12g of fat, 55g of carbohydrates, and 5g of protein. The cake is not low-carb, but it is satisfying. The buttermilk adds calcium and probiotics. The cocoa provides antioxidants. It’s a treat, so enjoy it mindfully.
For dietary considerations, this cake contains gluten, dairy, and eggs. It is not suitable for vegans or those with celiac disease unless modified. The high sugar content means it should be enjoyed in moderation. However, the fat from the oil provides sustained energy, preventing sugar crashes.
I view this cake as a planned indulgence. It’s part of my weekly routine, not a spontaneous mistake. Knowing it’s coming keeps me on track during the week. It’s a psychological win. You get to enjoy something delicious without guilt, because you planned for it.
Conclusion
This Ultimate Moist Chocolate Cake is more than just a dessert. It’s a solution. It solves the problem of dry, stressful baking and gives you a reliable, delicious treat for the whole week. I love this recipe because it respects my time and my taste buds. It’s easy to make, easy to store, and easy to eat.
Try it this Sunday. Bake it, pack it, and enjoy it throughout the week. Customize it to fit your dietary needs or flavor preferences. Share your results in the comments below. I love hearing how you adapt recipes. Tag me on social media if you post a picture. I want to see your meal prep wins.
Remember, life is too short for dry cake. Make this one. Your future self will thank you when you’re reaching for a slice of moist, chocolatey goodness on a busy Thursday afternoon. Happy baking!
Frequently Asked Questions
Can I make this cake ahead of time?
Yes, this is the best part. You can bake it 2-3 days in advance. Store it in an airtight container in the fridge. It actually tastes better after a day as the flavors meld together.
Why is my cake dense?
This usually happens if you overmix the batter or use too much flour. Make sure to spoon and level your flour, don’t scoop. Also, ensure your baking soda is fresh and not expired.
Can I use butter instead of oil?
You can, but the cake will be less moist in the fridge. Oil stays liquid at cold temperatures, keeping the cake soft. Butter solidifies, making the cake denser. If you use butter, melt it completely.
How do I store leftover cake?
Store it in an airtight container in the refrigerator for up to 5 days. For longer storage, wrap slices tightly in plastic wrap and freeze for up to 3 months.
Can I make this into cupcakes?
Absolutely. Fill liners ⅔ full and bake for 18-20 minutes. Check with a toothpick. They are perfect for individual portions and meal prep boxes.
Pin This Recipe!
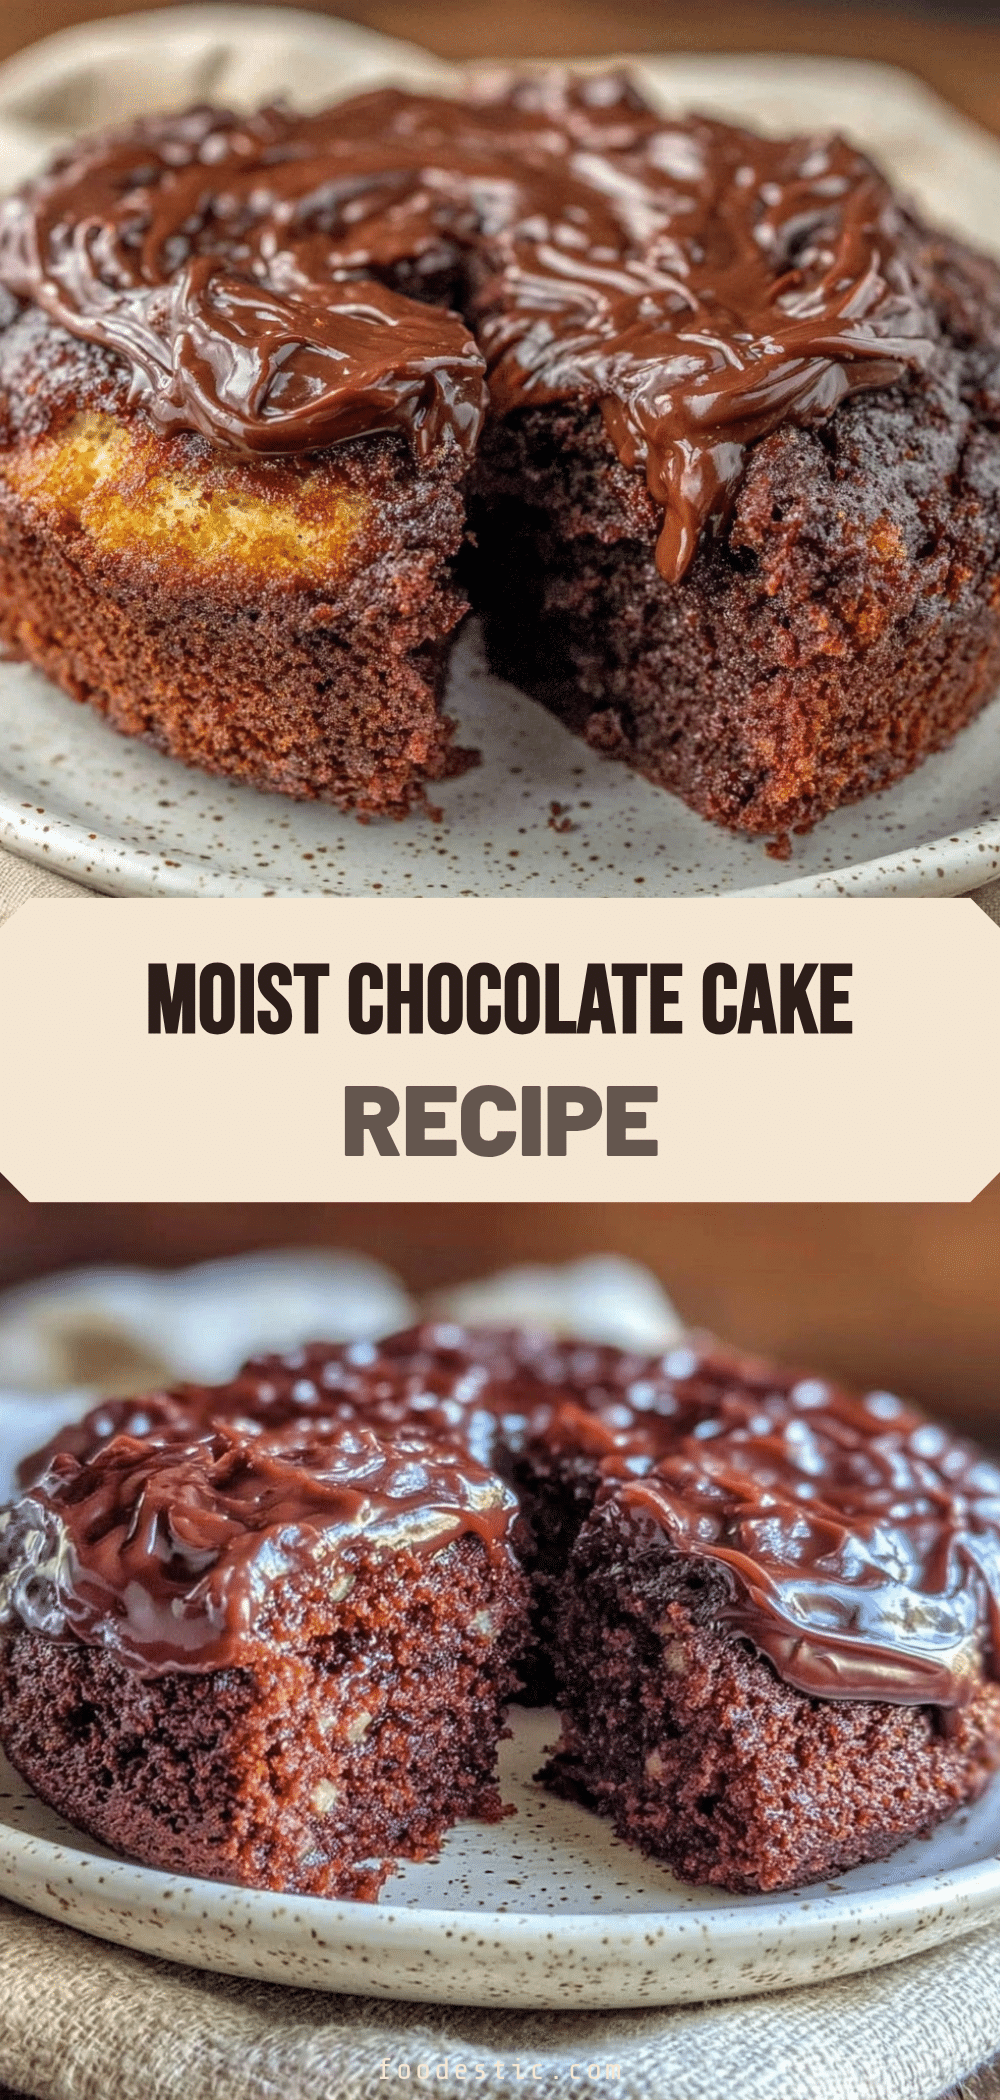

Ultimate Moist Chocolate Cake
- Total Time: 1 hour 50 minutes
- Yield: 12 servings 1x
Description
A rich, fudgy chocolate cake designed for meal prep that stays moist and delicious for up to five days. It uses simple ingredients and a hot coffee blooming technique for intense flavor.
Ingredients
- 2 cups (250g) All-Purpose Flour
- 1 ½ cups (300g) Granulated Sugar
- ¾ cup (75g) Unsweetened Cocoa Powder
- 1 ½ teaspoons Baking Soda
- 1 teaspoon Salt
- 2 large Eggs (room temperature)
- 1 cup (240ml) Buttermilk
- ½ cup (120ml) Vegetable Oil
- 2 teaspoons Vanilla Extract
- 1 cup (240ml) Boiling Water or Hot Coffee
- ½ cup Butter (for frosting)
- 2 cups Powdered Sugar (for frosting)
- ⅓ cup Cocoa Powder (for frosting)
- Splash of Milk (for frosting)
Instructions
- Preheat oven to 350°F (175°C). Grease two 8-inch or 9-inch round cake pans and line bottoms with parchment paper.
- In a large bowl, whisk together flour, sugar, cocoa powder, baking soda, and salt to remove lumps.
- Add eggs, buttermilk, oil, and vanilla extract to the dry mixture. Beat on medium speed with an electric mixer for about 2 minutes until combined.
- Carefully stir in boiling water or hot coffee by hand. The batter will become thin; do not add more flour.
- Divide batter evenly between prepared pans.
- Bake for 30-35 minutes, or until a wooden toothpick inserted into the center comes out clean.
- Let cakes cool in pans for 10 minutes, then turn out onto a wire rack to cool completely.
- Once cool, frost with buttercream made from butter, powdered sugar, cocoa, and milk.
- Store in an airtight container in the refrigerator for up to 5 days.
Notes
Use hot coffee to intensify chocolate flavor without tasting like coffee. Ensure ingredients are at room temperature to prevent separation. Do not overmix the batter after adding flour. Cool completely before frosting to prevent melting. The cake tastes better after sitting in the fridge for 24 hours.
- Prep Time: 15 minutes
- Cook Time: 35 minutes
- Category: Dessert
- Cuisine: American
Nutrition
- Serving Size: 1 slice
- Calories: 350
- Sugar: 40
- Sodium: 300
- Fat: 12
- Saturated Fat: 4
- Carbohydrates: 55
- Fiber: 2
- Protein: 5
Keywords: chocolate cake, meal prep, moist chocolate cake, easy baking, dessert, fudgy cake, make ahead dessert