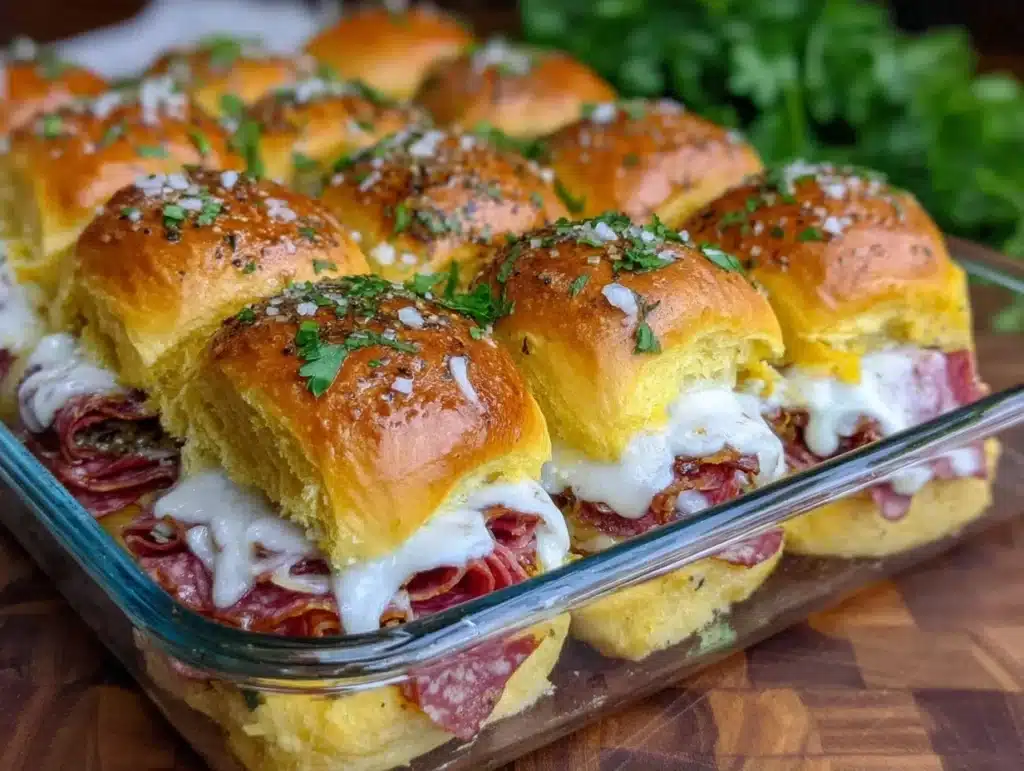
Let’s be honest, I have a love-hate relationship with Sunday meal prep. Some days, I feel like a super-organizer. Other days, I just want to order takeout and stare at the fridge. But every time I pull out a container of these Easy Italian Sliders, I remember exactly why I stick to the system. It’s not about perfect meal planning. It’s about having food that actually tastes good on a random Tuesday at 12:30 PM when you’re too tired to think.
I discovered this slider hack during a particularly chaotic semester in college. We were all living in a house with three kitchens, and someone always had the stove running. I needed something that could be made in bulk, packed tightly into containers, and eaten cold or warmed up without falling apart. I tried wrapping them in foil, which made the buns soggy. I tried using toothpicks, which were a pain to remove. Then I had a moment of genius: use the whole roll, slice it, but keep the bottom intact, and pack them in a way that the cheese melts just enough to hold everything together.
Now, years later, these sliders are the backbone of my weekly lunch rotation. They are savory, salty, and incredibly satisfying. You know that feeling when you open your Tupperware and the smell of mozzarella and pepperoni hits you? That’s the moment you realize you won. These Easy Italian Sliders are perfect for anyone who needs grab-and-go protein that doesn’t taste like sad desk salad. They are also incredibly versatile for parties, but I’m focusing on how they fit into your busy week.
As someone who has tested dozens of sandwich recipes for lunch, I can tell you that most fail the “next-day” test. The bread gets mushy. The veggies wilt. But not these. The buttery topping stays crisp if you pack it right, and the flavors actually get better after a night in the fridge. It’s like a warm hug in a container. Honestly, I’ve made these over a dozen times for work lunches, and my coworkers still ask for the recipe every single week. It’s become my go-to recommendation for anyone looking for a quick, tasty solution to the midday slump.
Why You’ll Love This Recipe
There are a few reasons why these sliders have earned a permanent spot in my meal prep routine. It’s not just about convenience; it’s about the balance of flavors and the ease of execution. Here is why you are going to love making these:
- Quick & Easy: The prep time is genuinely fast. You can have everything assembled in under 15 minutes. This is perfect for those evenings when you’re exhausted and just want to get dinner or lunch prep done and over with.
- Simple Ingredients: You likely already have most of these items in your kitchen. You need a roll of Hawaiian rolls, some cheese, pepperoni, and a few condiments. No fancy grocery trips needed.
- Perfect for Lunch Meal Prep: These sliders hold up beautifully in the fridge for up to four days. They are designed to be packed and ready before you even think about lunch. No more guessing what to eat at noon.
- Crowd-Pleaser: Whether you are making them for a game day party or just your own lunchbox, everyone loves them. The combination of hot capers, spicy pepperoni, and sweet rolls is a winning combo.
- Unbelievably Delicious: The texture is next-level. You get the softness of the bread, the gooeyness of the melted cheese, and the crunch of the toasted topping. It’s comfort food reimagined for the modern, busy lifestyle.
What makes this recipe different from the rest is the attention to detail in the assembly. Many recipes just throw cheese on bread. This one uses a specific butter mixture that ensures every bite is flavorful. Plus, the choice of Hawaiian rolls provides the perfect sweetness to balance the savory salami and provolone. It’s not just another version of an Italian sandwich; it’s your best version. It’s the kind of food that makes you close your eyes after the first bite and think, “Yes, this is it.”
What Ingredients You Will Need
This recipe uses simple, wholesome ingredients to deliver bold flavor and satisfying texture without the fuss. The magic here is in the quality of the cheese and the type of bread. I’ve tested this with various brands, and some definitely work better than others. Here is what you need to gather:
- Hawaiian Sweet Rolls: One 12-count pack. I recommend brands like King’s Hawaiian for the best texture. They stay soft but don’t fall apart. Avoid dense breads; you need that sweet, soft crumb.
- Provolone Cheese: 8 ounces, sliced. I prefer low-moisture provolone because it melts better without becoming greasy. If you can’t find it, mozzarella works, but provolone has that authentic Italian bite.
- Pepperoni Slices: 6 to 8 ounces. Look for thin-sliced, dry-cured pepperoni. It has more flavor than the thick, fatty kind. You want that spice to cut through the sweetness of the rolls.
- Salami: 4 ounces, sliced. Genoa salami is my go-to. It’s garlicky and savory. If you are watching sodium, you can skip this, but I don’t recommend it. The flavor depth is worth it.
- Hot Capers: 1/2 cup, drained. This is the secret ingredient. Yes, capers in a sandwich? Trust me. They add a briny punch that tastes like pizza toppings. If you hate capers, use sliced olives or banana peppers.
- Unsalted Butter: 1/2 cup, melted. This is for the topping. Using unsalted lets you control the salt level. If you only have salted butter, reduce the added salt in the seasoning.
- Dried Oregano: 1 teaspoon. Italian seasoning is fine too, but pure oregano gives a stronger herbal note.
- Garlic Powder: 1/2 teaspoon. Fresh garlic can burn, so powder is safer for the butter mixture.
- Parmesan Cheese: 1/4 cup, grated. Adds a salty, umami kick to the butter topping.
- Red Pepper Flakes: 1/2 teaspoon. Optional, but recommended if you like heat. It complements the pepperoni perfectly.
- Salt and Black Pepper: To taste. Just a pinch in the butter mix.
For the best results, I suggest buying pre-sliced cheese from the deli counter if you can. It melts more evenly than block cheese you slice yourself. Also, look for small-curd capers if you want a milder flavor, or large-curd if you want a bigger pop. In the summer, I sometimes swap the pepperoni for grilled chicken strips, but the classic version is unbeatable.
Equipment Needed
You don’t need much to make these sliders, which is part of the appeal. Here is what you’ll need:
- 9×13 Inch Baking Dish: A standard glass or ceramic dish works best. It allows the rolls to fit snugly so they steam slightly while baking, keeping them soft.
- Mixing Bowl: Small to medium size for whisking the butter mixture.
- Pastry Brush: Essential for spreading the butter evenly over the top. A silicone brush is easier to clean than bristle brushes.
- Chef’s Knife: For slicing the roll. Be careful to slice only halfway through.
- Aluminum Foil: To cover the dish while baking. This helps the cheese melt without burning the top.
If you don’t have a 9×13 dish, you can use two smaller 8×8 dishes, but you’ll need to adjust the baking time slightly. I’ve also used a sheet pan for larger batches, but the rolls tend to dry out faster. For budget-friendly options, any oven-safe dish will do. Just make sure it’s not too shallow, or the butter will evaporate too quickly.
Preparation Method
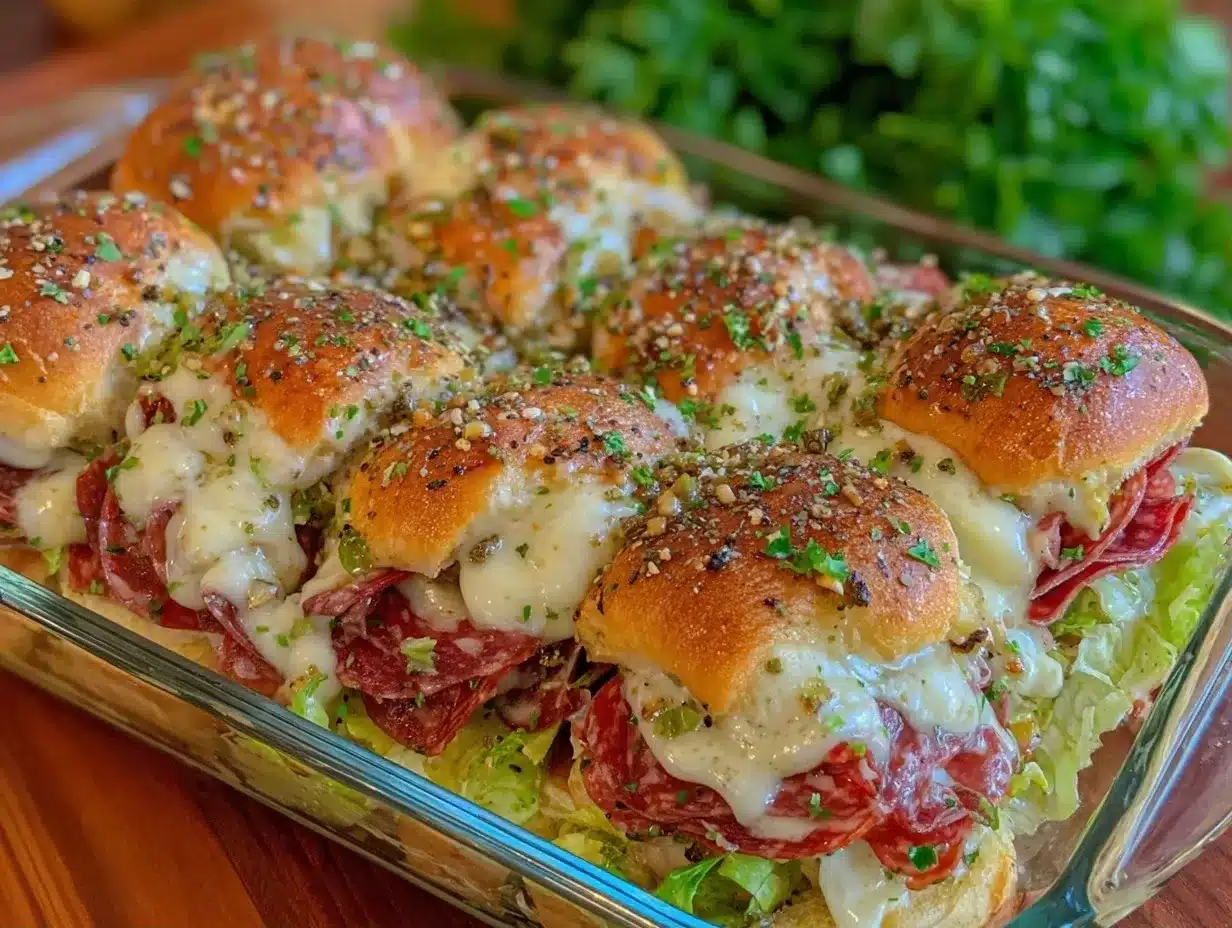
Getting these ready is straightforward, but there are a few tricks to ensure they come out perfect. Follow these steps carefully:
- Preheat and Prep: Preheat your oven to 350°F (175°C). Line your 9×13 baking dish with parchment paper or grease it lightly. This prevents sticking and makes cleanup a breeze.
- Prepare the Rolls: Open the package of Hawaiian rolls. Place the entire sheet of rolls into the baking dish, keeping them connected. Using a sharp serrated knife, slice horizontally through the middle of the rolls. Do not cut all the way through; you want the bottom layer to stay intact. This creates a “hinge” that keeps the sliders together during baking and packing.
- Layer the Cheese: Take the bottom half of the rolls and layer the provolone cheese slices evenly over them. You want full coverage to prevent the bread from getting soggy from the meats. Press the cheese down gently.
- Add the Meats: Layer the pepperoni and salami over the cheese. Don’t be shy with the meat; this is where the flavor is. If using capers, scatter them evenly over the meats. The capers should be distributed so every slider gets a few.
- Top It Off: Place the top half of the rolls back onto the meat layer. Gently press down to compress the layers. This helps the structure hold up when you slice them later.
- Mix the Butter Topping: In a small bowl, whisk together the melted butter, dried oregano, garlic powder, grated Parmesan, red pepper flakes, and a pinch of salt and pepper. The mixture should be smooth and fragrant.
- Brush the Top: Use your pastry brush to generously coat the top of the rolls with the butter mixture. Make sure to get into any crevices between the rolls. This is crucial for the flavor and the golden-brown finish.
- Bake Covered: Cover the dish tightly with aluminum foil. Bake for 15 minutes. The foil traps steam, which helps the cheese melt and the bread warm through without drying out.
- Bake Uncovered: Remove the foil and bake for another 5-10 minutes, or until the tops are golden brown and crispy. Keep an eye on them so they don’t burn.
- Cool and Slice: Let the sliders cool for 5 minutes. This allows the cheese to set slightly, making them easier to handle. Then, slice between the individual rolls. You can serve them whole or as individual sliders.
If you are meal prepping, let them cool completely before packing. Warm sliders create condensation in the container, which leads to soggy bread. Patience here pays off.
Cooking Tips & Techniques
I’ve made these sliders so many times that I’ve learned a few things the hard way. Here are some professional tips to ensure success:
- Don’t Skip the Cool Down: I know it’s tempting to eat them right out of the oven. But if you are packing them for lunch, let them cool. Warm food in a sealed container is a recipe for mush.
- Butter Temperature: Make sure your butter is melted but not hot. If it’s boiling, it might melt the cheese too quickly before it goes into the oven. Room temperature melted butter is ideal.
- Capier Placement: If you hate capers, don’t just omit them. Add something else briny, like artichoke hearts or sun-dried tomatoes. You need that acid to balance the fat.
- Baking Time Variance: Ovens vary. If your sliders are browning too fast, tent them with foil again. If they aren’t browning enough, broil for 1-2 minutes at the end. Watch them closely!
- Storage Strategy: If you are making these for the week, bake the whole batch. Then, slice them individually. Store them in a single layer in an airtight container. If you must stack them, put parchment paper between layers.
One personal failure I had was using too much butter. It made the bottom of the rolls greasy. Stick to the 1/2 cup measurement. It’s enough to flavor the top without soaking through.
Variations & Adaptations
These sliders are a canvas for your creativity. Here are a few ways to change them up:
- Spicy Italian: Add sliced jalapeños along with the capers. Use spicy salami instead of regular. This is great for those who like a kick.
- Veggie Lover: Swap the meats for roasted red peppers, spinach, and artichoke hearts. Use a vegan cheese if needed. The butter topping still works beautifully.
- Chicken Parmesan: Use shredded rotisserie chicken instead of pepperoni. Add marinara sauce drizzled on top before the butter. It tastes like a deconstructed chicken parm.
- Gluten-Free: Use gluten-free Hawaiian-style rolls. They are widely available now and hold up well. Just be careful not to over-bake them as they dry out faster.
- Breakfast Sliders: Add scrambled eggs and bacon. Use cheddar cheese instead of provolone. A great weekend brunch option.
I personally love the chicken parm variation for a change of pace. It feels lighter but still satisfies that Italian craving. Try swapping the capers for pickled red onions for a tangier twist.
Serving & Storage Suggestions
These sliders are best served warm, but they are excellent cold too. For lunch, pack them in a container with a side of arugula or a simple vinaigrette. The acidity of the greens cuts through the richness of the slider.
Storage: Store leftovers in an airtight container in the refrigerator for up to 4 days. They actually taste better on day two as the flavors meld.
Reheating: To reheat, wrap a slider in a damp paper towel and microwave for 30-60 seconds. This restores the softness. Alternatively, bake in the oven at 350°F for 10 minutes for a crispier top.
Freezing: You can freeze unbaked sliders. Assemble them, wrap the whole dish tightly in plastic and foil, and freeze. When ready to bake, let them thaw in the fridge overnight, then bake as directed, adding 5-10 minutes to the cooking time.
The flavors develop nicely over time. The cheese softens, and the bread absorbs the butter and meat juices. It’s a different texture than fresh out of the oven, but very comforting.
Nutritional Information & Benefits
While these are indulgent, they can fit into a balanced diet. Here is an estimated nutritional profile per slider (assuming 12 sliders per batch):
- Calories: ~250-300 kcal
- Protein: ~12g (from cheese and meat)
- Carbs: ~20g (from the sweet rolls)
- Fat: ~15g (from butter and cheese)
The provolone and salami provide good amounts of calcium and protein. The capers add sodium, so keep an eye on your total intake if you are salt-sensitive. For a lower-carb option, use low-carb rolls or lettuce wraps. I often balance these meals with a large green salad to add fiber and micronutrients.
From a wellness perspective, these sliders are a great way to get kids to eat more cheese and protein without realizing it. They are also a convenient way to ensure you have a substantial meal during a busy workday, preventing the afternoon energy crash.
Conclusion
These Easy Italian Sliders are more than just a recipe; they are a solution to the daily lunch dilemma. They are tasty, easy to make, and perfect for meal prepping. I hope you try them and find them as useful in your kitchen as they are in mine.
Feel free to customize them with your favorite ingredients. The beauty of this recipe is its flexibility. Whether you stick to the classic version or add your own twist, you are sure to enjoy them.
If you make these, I’d love to hear how you like them! Leave a comment below with your favorite variation. Share your meal prep tips with me too. Let’s help each other make lunchtime easier.
Here’s to good food and less stress. Happy prepping!
Frequently Asked Questions
Can I make these sliders ahead of time?
Yes! You can assemble them completely and refrigerate them for up to 24 hours before baking. Just add a few minutes to the baking time if they go in cold. This is perfect for making them the night before a party.
What kind of rolls work best?
Hawaiian rolls are the standard because of their sweetness and soft texture. However, you can use dinner rolls, brioche, or even focaccia. Just keep in mind that denser breads may require a longer baking time.
How do I prevent the sliders from getting soggy?
The key is to let them cool completely before storing them. Also, ensure you layer the cheese on the bottom to create a barrier between the bread and the moist meats. Avoid adding wet sauces like marinara unless you are eating them immediately.
Can I freeze the finished sliders?
Yes, you can freeze baked sliders. Let them cool, wrap them individually in plastic wrap, and place them in a freezer bag. They will last for up to 3 months. Reheat in the microwave or oven.
Are these sliders spicy?
They have a mild kick from the pepperoni and red pepper flakes, but they are not extremely spicy. If you want more heat, add more red pepper flakes or use spicy salami. If you prefer mild, omit the flakes and use mild salami.
Pin This Recipe!
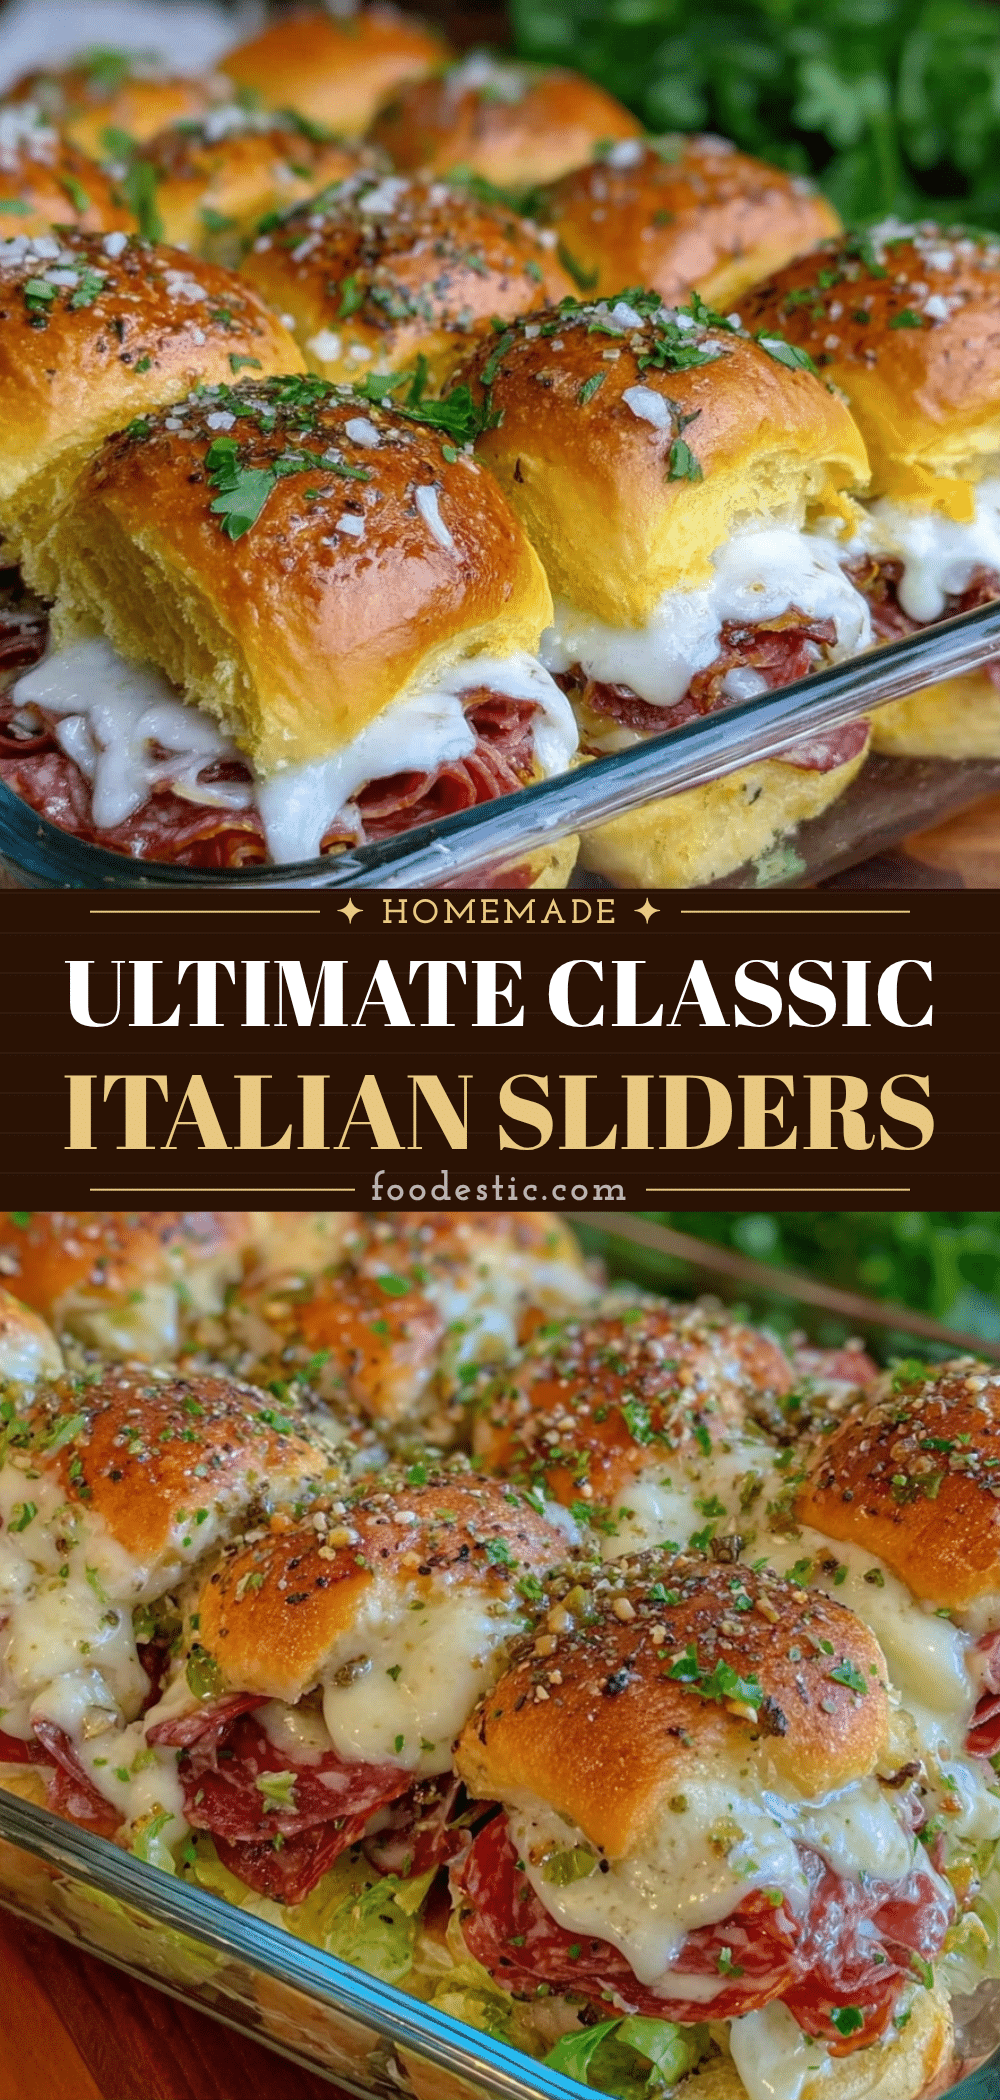

Easy Italian Sliders: 5-Min Prep for Lunch Meal Prep
- Total Time: 35-40 minutes
- Yield: 12 servings 1x
Description
These savory Italian sliders are perfect for meal prep, featuring Hawaiian rolls, provolone, pepperoni, salami, and hot capers, topped with a flavorful butter mixture. They hold up well in the fridge and taste great cold or reheated.
Ingredients
- 1 pack (12-count) Hawaiian Sweet Rolls
- 8 ounces Provolone Cheese, sliced
- 6 to 8 ounces Pepperoni Slices
- 4 ounces Salami, sliced
- 1/2 cup Hot Capers, drained
- 1/2 cup Unsalted Butter, melted
- 1 teaspoon Dried Oregano
- 1/2 teaspoon Garlic Powder
- 1/4 cup Parmesan Cheese, grated
- 1/2 teaspoon Red Pepper Flakes
- Salt and Black Pepper, to taste
Instructions
- Preheat oven to 350°F (175°C). Line a 9×13 inch baking dish with parchment paper or grease lightly.
- Place the entire sheet of Hawaiian rolls into the baking dish. Using a serrated knife, slice horizontally through the middle of the rolls, ensuring the bottom layer stays intact.
- Layer the provolone cheese slices evenly over the bottom half of the rolls.
- Layer the pepperoni and salami over the cheese. Scatter the hot capers evenly over the meats.
- Place the top half of the rolls back onto the meat layer and gently press down to compress.
- In a small bowl, whisk together the melted butter, dried oregano, garlic powder, grated Parmesan, red pepper flakes, and a pinch of salt and pepper.
- Use a pastry brush to generously coat the top of the rolls with the butter mixture, ensuring it gets into crevices.
- Cover the dish tightly with aluminum foil and bake for 15 minutes.
- Remove the foil and bake for another 5-10 minutes, or until the tops are golden brown and crispy.
- Let the sliders cool for 5 minutes to allow the cheese to set, then slice between the individual rolls.
Notes
Let sliders cool completely before packing for meal prep to prevent sogginess. Store in an airtight container in the refrigerator for up to 4 days. Can be frozen unbaked or baked.
- Prep Time: 15 minutes
- Cook Time: 20-25 minutes
- Category: Appetizer
- Cuisine: Italian
Nutrition
- Serving Size: 1 slider
- Calories: 275
- Sugar: 6
- Sodium: 650
- Fat: 15
- Saturated Fat: 8
- Carbohydrates: 20
- Fiber: 1
- Protein: 12
Keywords: Italian sliders, meal prep, lunch ideas, Hawaiian rolls, pepperoni, salami, capers, easy recipe, party food