There is a specific kind of magic that happens when you wrap a warm, gooey treat in foil and tuck it into the fridge overnight. It’s not just about convenience, though let’s be honest, convenience is the real MVP of weekday mornings. It’s about that quiet satisfaction of knowing your morning is already sorted before your feet even hit the floor. I remember the first time I tried to meal prep a breakfast that actually felt like a treat rather than a chore. It was a rainy Tuesday in November, and I was staring at a carton of overripe bananas that were begging to be used. I didn’t want another banana bread, and I certainly didn’t want oatmeal. I wanted something sweet, something nostalgic, but something that could survive the chaos of a work week.
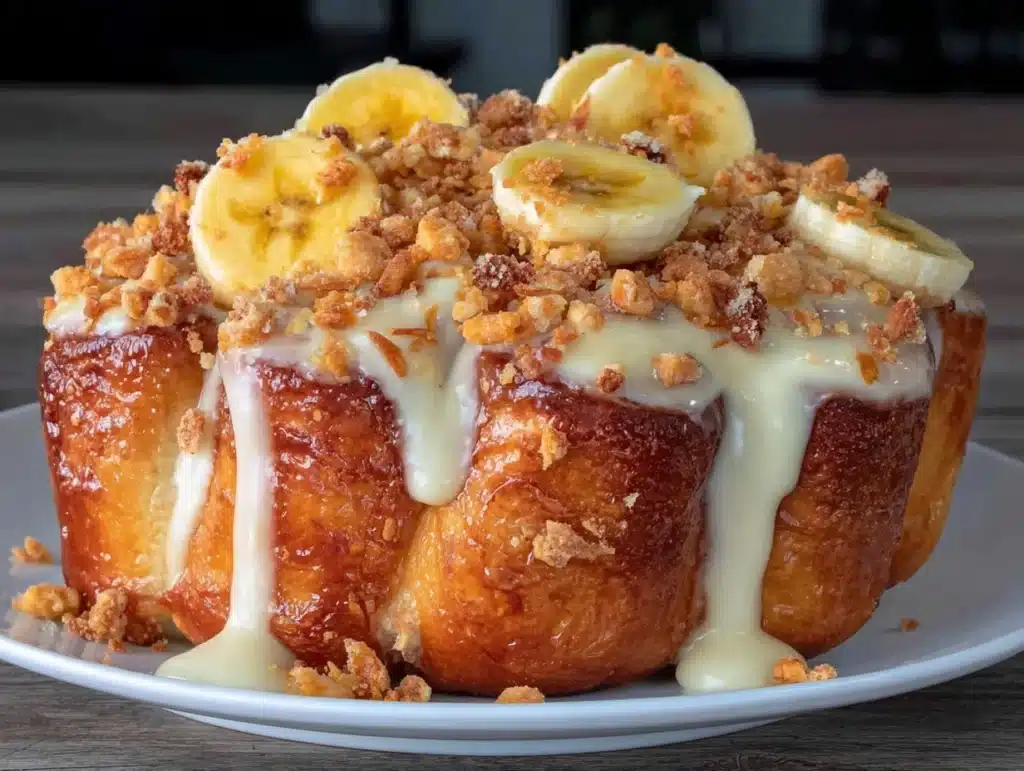
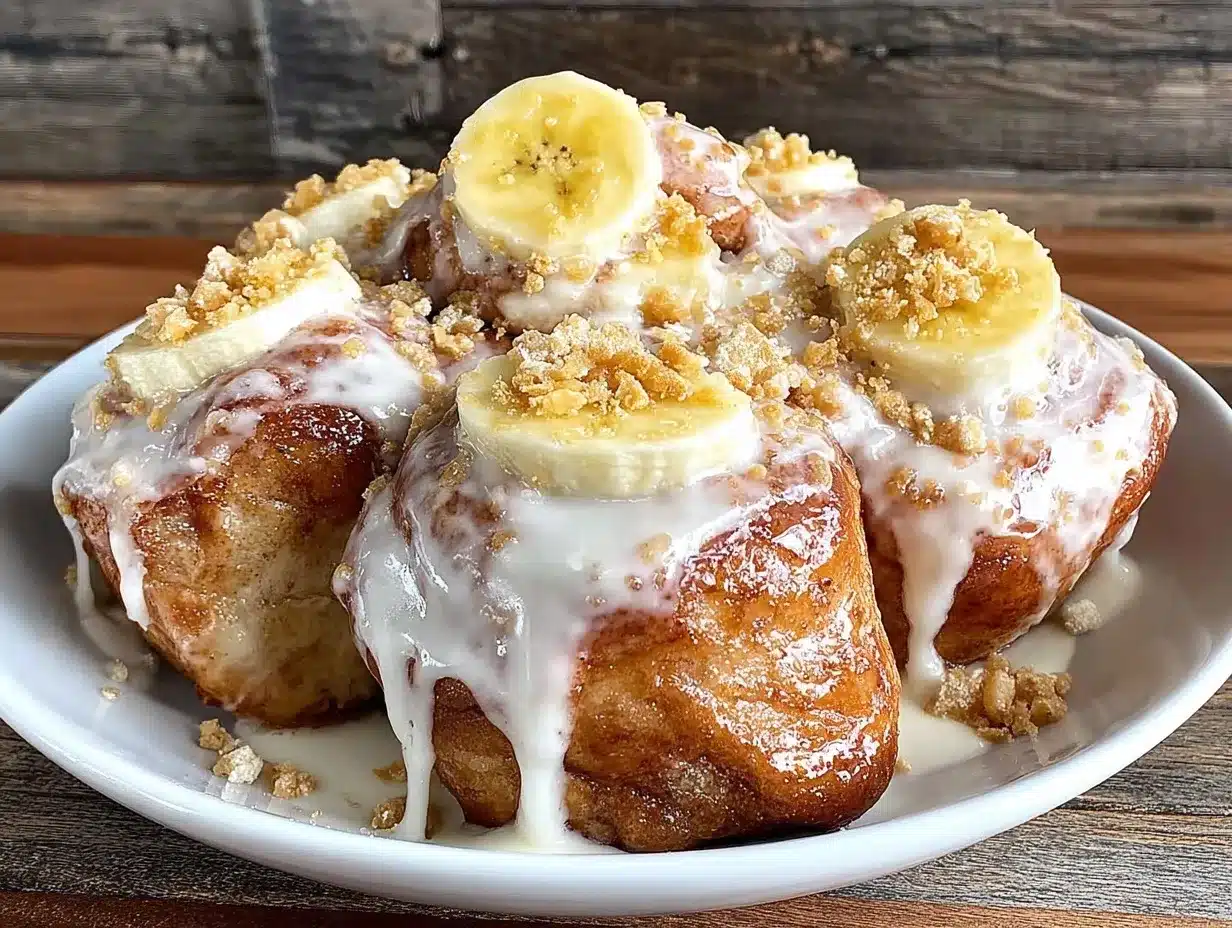
That’s when I had the idea for these Classic Banana Pudding Rolls. Honestly, they started as a bit of an experiment. I was trying to capture the essence of my grandmother’s famous banana pudding but in a handheld, portable format. The result? Flaky, buttery dough wrapped around a creamy, vanilla-infused banana filling. The best part? They don’t get soggy. They don’t fall apart. And here is the real kicker: they are still good on day four. I know, I know. Most baked goods are at their peak on day one and tragically stale by day two. These rolls defy that rule. The flavors actually meld together beautifully as they sit, making the third and fourth day surprisingly delicious.
If you are someone who dreads the morning rush, or if you just want to bring a show-stopping treat to the office potluck without the stress, this recipe is for you. I’ve tested this over a dozen times, adjusting the dough thickness and the filling ratio to get it just right. As a home cook who values organization as much as flavor, I can tell you that these rolls are a game-changer. They are the perfect balance of sweet and savory, creamy and crunchy, making them a standout in any lunchbox or breakfast spread. You’ll find yourself making a double batch just to keep them in the rotation.
Why You’ll Love This Recipe
Let’s face it, most make-ahead breakfasts feel like a compromise. You sacrifice flavor for convenience, or you spend hours in the kitchen only to have the result feel dry by noon. These Banana Pudding Rolls break that cycle. I’ve spent years tweaking dough recipes and filling combinations, and I can confidently say that this is the version that finally works. It’s not just a recipe; it’s a system for stress-free mornings. The secret lies in the way the dough is handled. We use a technique that ensures the butter stays cold until the very last moment, creating those flaky layers you see in high-end pastries, but with the comfort of a homemade cookie. It’s the kind of texture that makes you close your eyes after the first bite.
Here is why this recipe has become a staple in my weekly meal prep rotation:
- Quick & Easy Prep: While the dough needs a bit of chill time, the actual assembly is straightforward. You can have these in the oven in under an hour if you plan ahead. It’s perfect for busy weeknights when you want to set it and forget it.
- Simple Ingredients: You don’t need a specialty store run. Flour, butter, sugar, bananas, and vanilla are likely already in your kitchen. No fancy, hard-to-find ingredients means no last-minute grocery store panic.
- Perfect for Meal Prep: These are designed to be made in batches. Make a dozen on Sunday, and you have breakfast or lunch sorted for three or four days. They stack well in containers and don’t leak.
- Crowd-Pleaser: Whether it’s for your kids’ school lunches, your office coffee break, or a cozy weekend brunch, these get rave reviews. Even the pickiest eaters who usually turn their noses up at “healthy” alternatives can’t resist the classic banana pudding flavor.
- Unbelievably Delicious: The combination of the spiced banana filling and the buttery crust is next-level comfort food. It tastes like a hug in pastry form.
- Still Good on Day Four: This is the main event. Most pastries dry out, but the moisture from the banana filling keeps these rolls tender for days. They actually taste better after sitting for a day or two as the vanilla and cinnamon notes deepen.
What makes this recipe different from the rest is the balance. Too much banana, and it becomes mushy. Too little butter in the dough, and it’s dense. I’ve found the sweet spot where the structure holds up but the interior remains soft and creamy. It’s comfort food reimagined—easier to eat, easier to store, but with the same soul-soothing satisfaction as a bowl of pudding. It’s perfect for impressing guests without stress, or turning a simple meal into something memorable.
What Ingredients You Will Need
This recipe relies on simple, wholesome ingredients to deliver bold flavor and satisfying texture without the fuss. The beauty of banana pudding rolls is that they don’t require exotic spices or expensive cheeses. Everything you need is likely already in your pantry or fridge. The key is quality. Since there are so few ingredients, each one plays a starring role. I recommend using ripe bananas for natural sweetness and high-quality butter for the flakiest crust. If you are using store-bought dough, look for a brand with short ingredient lists to ensure the best texture.
- All-Purpose Flour (2 1/2 cups / 315g): This is the base of your dough. Don’t substitute with whole wheat unless you want a denser result. For the lightest pastry, spoon the flour into your measuring cup and level it off.
- Unsalted Butter (1 cup / 226g, cold and cubed): This is crucial. The cold butter creates steam pockets in the oven, which lifts the dough. I use Kerrygold or Organic Valley for their rich flavor and consistent water content.
- Granulated Sugar (1/2 cup / 100g): Adds sweetness and helps with browning. You can use brown sugar for a deeper, caramel-like flavor, but white sugar gives that classic pudding roll look.
- Ripe Bananas (3 large / approx. 1 1/2 cups mashed): Use bananas that are spotted or even black. The riper, the sweeter. This reduces the need for added sugar in the filling.
- Vanilla Extract (2 teaspoons): Use pure vanilla extract, not imitation. It makes a huge difference in the final flavor profile.
- Cinnamon (1 teaspoon): Adds warmth and complexity. It’s the signature spice of banana pudding.
- Cornstarch (1 tablespoon): This thickens the banana filling so it doesn’t leak out during baking. It ensures you get that creamy pudding center without the mess.
- Heavy Cream or Milk (2 tablespoons): Just enough to bind the filling and add moisture. Dairy-free milk works fine if needed.
- Pinch of Salt: Enhances the sweetness and balances the flavor.
- Egg Wash (1 egg beaten with 1 tbsp water): For that golden, shiny finish. Optional but recommended.
For the best results, make sure your butter is cold. If it gets too warm while you’re working, pop the bowl in the fridge for ten minutes. Also, look for firm, small-curd cottage cheese if you decide to add a protein boost to the filling, though it’s not strictly necessary for the classic version. In summer, you can add a splash of rum extract for an adult twist.
Equipment Needed
You don’t need a professional kitchen to make these rolls. A few basic tools will get you the best results. A large mixing bowl is essential for combining the dough. I prefer glass or stainless steel because they don’t retain heat, keeping the butter cold. A rolling pin is next on the list. A wooden one is traditional and gives you good tactile feedback, but a marble rolling pin is even better because it stays cool. If you don’t have either, a sturdy wine bottle can work in a pinch.
A baking sheet with parchment paper is non-negotiable. Parchment prevents sticking and ensures even browning. You’ll also need a pastry brush for the egg wash and a small saucepan or microwave-safe bowl for heating the banana filling slightly to make it easier to spread. A sharp knife or pizza cutter is helpful for slicing the rolls cleanly. Dull knives will squish the dough. For storage, airtight containers or heavy-duty freezer bags are best. If you’re making a large batch, having multiple baking sheets on rotation will save you time. Budget-friendly options like a simple wooden spoon and a standard 9×13 baking dish work perfectly fine. Just avoid non-stick sprays for the dough, as they can interfere with rising.
Preparation Method
Getting started is the easiest part, but patience is key. First, prepare your banana filling. In a small bowl, mash the ripe bananas until smooth. Stir in the cornstarch, cinnamon, vanilla extract, and a pinch of salt. If the mixture looks too dry, add the heavy cream or milk one teaspoon at a time until it reaches a thick, spreadable consistency. Set this aside. It should be at room temperature or slightly cooled before you assemble the rolls.
Next, make the dough. In a large bowl, whisk together the flour, sugar, and salt. Add the cold, cubed butter. Here is the trick: use your fingers, a pastry cutter, or a food processor to cut the butter into the flour until the mixture resembles coarse crumbs with some pea-sized pieces of butter remaining. Those big bits of butter are what create the flaky layers. Do not overmix. If the butter melts, the dough will be tough.
Now, add the liquid. Drizzle in ice water, one tablespoon at a time, mixing gently with a fork until the dough just starts to come together. It will look shaggy at first. Once it forms a ball, turn it out onto a lightly floured surface. Gently knead it just two or three times to bring it together. Overworking the dough develops gluten, which makes the pastry chewy instead of tender. Shape the dough into a rectangle about 1/2 inch thick. Wrap it in plastic wrap and refrigerate for at least 30 minutes. This step is crucial for easy rolling.
Once the dough is chilled, preheat your oven to 375°F (190°C). Line your baking sheets with parchment paper. Roll out the dough on a floured surface into a large rectangle, about 1/4 inch thick. Spread the banana filling evenly over the dough, leaving a 1-inch border at the edges. Starting from the long edge, tightly roll the dough up into a log. Use a sharp knife or pizza cutter to slice the log into 12 equal rolls. Place them cut-side up on the prepared baking sheets, leaving about 2 inches between each roll to allow for expansion.
Brush the tops with the egg wash for a golden finish. Bake for 20-25 minutes, or until the rolls are deep golden brown and the filling is bubbling slightly. If they start browning too quickly, cover them loosely with foil. Let them cool on the pan for 5 minutes before transferring to a wire rack. This allows the filling to set slightly. They are best served warm but are equally delicious at room temperature.
Cooking Tips & Techniques
I’ve made my fair share of mistakes with pastry, so you don’t have to. The biggest mistake people make is using warm butter. If your kitchen is hot, keep your butter in the fridge until the last second. Another common error is rolling the dough too thin. Aim for 1/4 inch; anything thinner and the rolls might burst open. When slicing the log, make sure your knife is sharp. Sawing back and forth will ruin the shape. Instead, use a gentle sawing motion or press down firmly and cleanly.
Timing is everything. Keep an eye on the oven around the 15-minute mark. Every oven is different. If your rolls are browning too fast, lower the temperature by 25°F and continue baking. If they are pale, give them a few more minutes. The internal temperature should reach about 200°F (93°C) for the dough to be fully cooked. Don’t skip the egg wash. It’s not just for looks; it helps the sugar adhere and gives that professional bakery shine. If you forget, the rolls will still taste great, but they won’t look as appetizing.
Multitasking is your friend here. While the dough is chilling, you can prep the bananas. While the rolls are baking, you can clean up. This recipe is forgiving, so if you’re running late, you can bake them for a few minutes less and finish them in the microwave in the morning. The texture will still be pleasant. Consistency comes with practice. Once you get the feel of the dough, you’ll be able to tell when it’s ready just by looking at it. Trust your instincts.
Variations & Adaptations
One of the best things about this recipe is how adaptable it is. You can tweak it to fit your dietary needs or taste preferences. For a gluten-free option, use a 1:1 gluten-free flour blend. Note that these bakes slightly differently, so keep an eye on them. For a dairy-free version, use vegan butter and almond milk. The texture will be slightly different, but the flavor remains incredible.
If you want to add some crunch, sprinkle chopped pecans or walnuts over the banana filling before rolling. The nuttiness pairs beautifully with the banana and cinnamon. For a chocolate twist, add a layer of chocolate chips or a drizzle of Nutella before rolling. It turns these into a dessert-like treat. You can also add a pinch of nutmeg or allspice to the filling for a warmer, spicier profile.
For a protein boost, mix a scoop of vanilla protein powder into the flour. You might need to add a little extra water to the dough. I’ve also tried adding a layer of cream cheese filling in the middle, which makes them even richer. If you are making these for kids, reduce the sugar in the dough and use less filling. They are naturally sweet enough. Feel free to experiment, but start with the classic recipe to get the technique down.
Serving & Storage Suggestions
These rolls are versatile. Serve them warm for breakfast with a cup of coffee. They are perfect for lunchboxes because they hold their shape well. For dinner, they make a great side dish or a light dessert. Pair them with a glass of cold milk or a latte. If you want to elevate the presentation, drizzle a simple glaze made from powdered sugar and milk over the cooled rolls.
Storage is where these rolls truly shine. Let them cool completely before storing. Place them in an airtight container at room temperature for up to 2 days. For longer storage, refrigerate them for up to 5 days. This is where the “still good on day four” magic happens. The flavors meld, and the texture becomes even more tender. You can also freeze them. Wrap individual rolls in plastic wrap and place them in a freezer bag. They last up to 3 months. To reheat, thaw overnight in the fridge and warm in the microwave for 30 seconds, or bake at 350°F for 10 minutes. They taste fresh out of the oven.
Nutritional Information & Benefits
While these are a treat, they can fit into a balanced diet. Bananas provide potassium and fiber, which are great for digestion and heart health. The whole wheat flour option adds more fiber and nutrients. Each roll contains approximately 250-300 calories, depending on the size and exact ingredients used. They are naturally gluten-free if you use GF flour, and can be made dairy-free. They do contain sugar, so enjoy in moderation. From a wellness perspective, I love that they offer a quick energy boost without the crash of refined sugar alone, thanks to the natural sugars and fiber in the bananas. They are a comforting way to start the day or refuel after a workout.
Conclusion
These Classic Banana Pudding Rolls are more than just a recipe; they are a solution for busy lives. They offer the comfort of homemade baking with the practicality of meal prep. Whether you are a parent packing lunches, a professional looking for office treats, or just someone who loves bananas, these rolls will become a staple. I encourage you to try them and make them your own. Add your favorite nuts, swap the sugar, or experiment with different fillings. The possibilities are endless.
I’d love to hear how you make them. Do you add nuts? Do you eat them warm or cold? Share your variations in the comments below. If you make this recipe, tag me on social media so I can see your creations. Happy baking, and remember, the best meals are the ones you can enjoy again and again.
Frequently Asked Questions
Can I use frozen bananas for this recipe?
Yes, you can, but you need to thaw them completely and drain any excess liquid first. Frozen bananas can be watery, which might make the filling too runny. Pat them dry with a paper towel before mashing.
How do I prevent the filling from leaking out?
The key is the cornstarch. Make sure you mix it thoroughly with the bananas to create a thick paste. Also, don’t overfill the rolls. Leave enough border to seal the edges properly when you roll them up.
Can I make the dough ahead of time?
Absolutely. You can make the dough and wrap it tightly in plastic wrap. It will keep in the fridge for up to 3 days or in the freezer for up to a month. Let it thaw in the fridge overnight before using.
What is the best way to reheat these rolls?
For the best texture, reheat them in the oven at 350°F for 10 minutes. This restores the flakiness. If you are in a rush, the microwave works for 30 seconds, but the crust may soften slightly.
Can I make these rolls smaller for kids?
Yes, simply cut the log into 24 smaller pieces instead of 12. Adjust the baking time slightly, checking them around 15 minutes. They are perfect for school lunches and portion control.
Pin This Recipe!
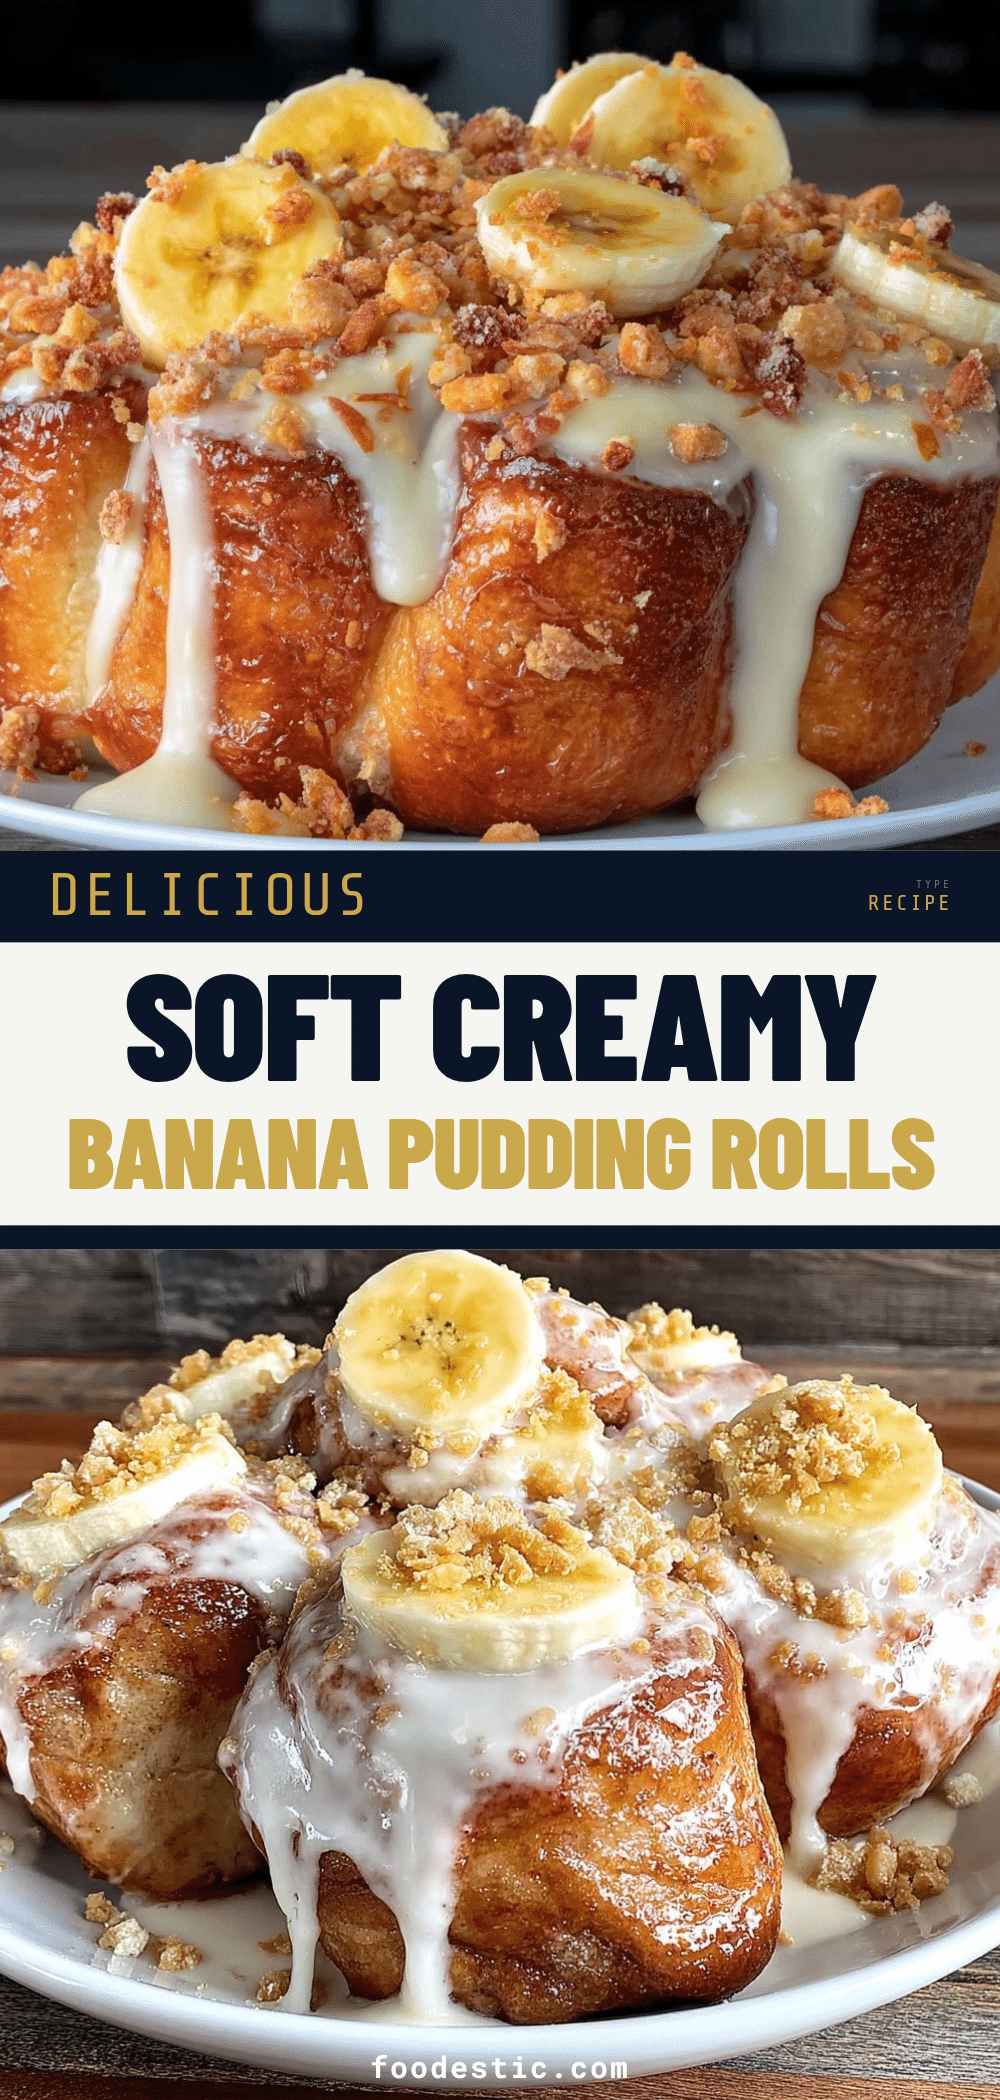

Classic Banana Pudding Rolls: Easy Make-Ahead Lunches
- Total Time: 1 hour 10 minutes
- Yield: 12 servings 1x
Description
Flaky, buttery pastry rolls filled with a creamy, vanilla-infused banana mixture. These make-ahead treats are perfect for breakfast or lunch and stay delicious for up to four days.
Ingredients
- 2 1/2 cups all-purpose flour
- 1 cup unsalted butter, cold and cubed
- 1/2 cup granulated sugar
- 3 large ripe bananas, mashed (approx. 1 1/2 cups)
- 2 teaspoons vanilla extract
- 1 teaspoon cinnamon
- 1 tablespoon cornstarch
- 2 tablespoons heavy cream or milk
- Pinch of salt
- 1 egg beaten with 1 tbsp water (for egg wash)
Instructions
- In a small bowl, mash the ripe bananas until smooth. Stir in cornstarch, cinnamon, vanilla extract, and a pinch of salt. Add heavy cream or milk if needed to reach a thick, spreadable consistency. Set aside.
- In a large bowl, whisk together flour, sugar, and salt. Add cold, cubed butter and cut it into the flour using fingers, a pastry cutter, or food processor until the mixture resembles coarse crumbs with pea-sized butter pieces.
- Drizzle in ice water, one tablespoon at a time, mixing gently until the dough just starts to come together. Turn out onto a lightly floured surface and knead gently 2-3 times.
- Shape the dough into a rectangle about 1/2 inch thick. Wrap in plastic wrap and refrigerate for at least 30 minutes.
- Preheat oven to 375°F (190°C). Line baking sheets with parchment paper.
- Roll out the chilled dough into a large rectangle about 1/4 inch thick. Spread the banana filling evenly over the dough, leaving a 1-inch border at the edges.
- Starting from the long edge, tightly roll the dough up into a log. Slice the log into 12 equal rolls using a sharp knife or pizza cutter.
- Place rolls cut-side up on prepared baking sheets, leaving 2 inches between each for expansion.
- Brush tops with egg wash. Bake for 20-25 minutes until deep golden brown and filling is bubbling slightly.
- Let cool on the pan for 5 minutes before transferring to a wire rack.
Notes
Ensure butter is cold to create flaky layers. Do not overmix the dough to avoid toughness. Rolls can be stored at room temperature for 2 days, refrigerated for 5 days, or frozen for 3 months. They taste best after sitting for a day or two as flavors meld.
- Prep Time: 45 minutes
- Cook Time: 25 minutes
- Category: Breakfast
- Cuisine: American
Nutrition
- Serving Size: 1 roll
- Calories: 275
- Sugar: 18
- Sodium: 120
- Fat: 14
- Saturated Fat: 8
- Carbohydrates: 35
- Fiber: 2
- Protein: 4
Keywords: banana pudding, make-ahead breakfast, meal prep, pastry, banana rolls, easy lunch, comfort food