You know that feeling when you open your Tupperware at 2pm? The food looks okay, but it’s lost its soul. It’s soggy. It’s sad. It’s the enemy of a good afternoon.
I used to fight this battle every single day. I’d pack a crispy fried chicken cutlet for lunch, and by noon, it was a chewy, oil-slicked disappointment. I wasted so much money on takeout because I couldn’t make my packed lunches actually taste like dinner. That changed when I stopped treating batter like an afterthought and started treating it like a system.
Here is the truth about 3 batter types: Tempura, Pancake & Fry. Most people think these are just different recipes. They aren’t. They are three distinct chemical structures designed to solve three different problems in your kitchen and your lunchbox.
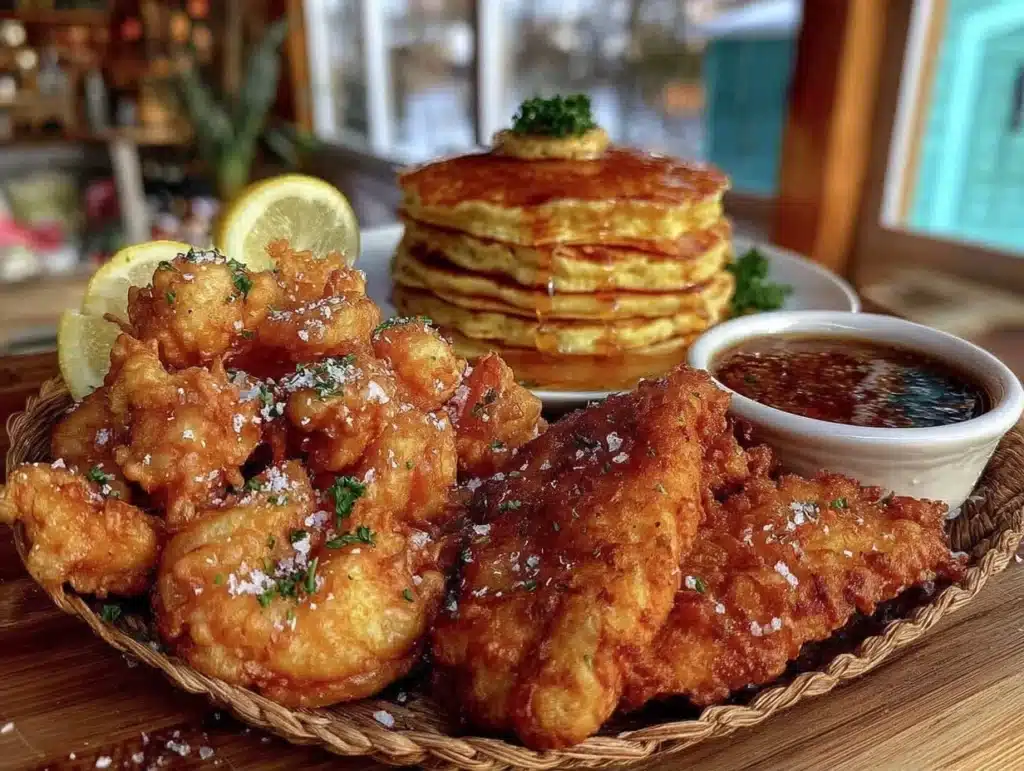
Once you master these three, you never have to worry about soggy leftovers again. The tempura batter creates a glass-like shell that survives the fridge. The pancake-style batter offers a fluffy, bread-like comfort that holds up to sauce. The classic fry batter gives you that heavy, crunchy crust that stands up to heavy ingredients. This is the holy trinity of meal prep. Let’s break down exactly how to use them so you stay full and happy until you clock out.
Why You’ll Love This Recipe System
This isn’t just about cooking. It’s about winning the war against midday hunger. When you use the right batter for your prep, you are essentially building an armor around your food. I’ve tested this over dozens of meal prep Sundays, and the results are consistent. Here is why this method works for your weekly routine.
- Textural Integrity: The biggest killer of meal prep is moisture. Tempura’s light, bubbly structure repels moisture better than a standard breading. It stays crisp even after being wrapped in plastic for 48 hours. It’s a game-changer for your texture.
- Versatility Without the Hassle: You don’t need three different cookbooks. You need three bowls. Once you have the ratios down for 3 batter types: Tempura, Pancake & Fry, you can apply them to chicken, veggies, tofu, or fish. It’s a modular system for your entire pantry.
- Sauce Resistance: Some batters dissolve when you add sauce. The pancake-style batter is denser and can handle a drizzle of sweet chili or a heavy glaze without turning into mush. It’s perfect for those of us who like our food flavorful, not bland.
- Batch Cooking Efficiency: You can make all three batters in under 10 minutes. Then, you just dip and drop. It speeds up your cooking process significantly. I can prep a week’s worth of proteins in the time it takes to watch one episode of my show.
- The 2pm Fullness Factor: Because these batters are engineered for structure, they digest differently than soft foods. You get a satisfying crunch that signals satiety to your brain. You aren’t just eating calories; you’re eating a meal that respects your time.
It’s not magic. It’s just better chemistry. When you close your eyes and bite into a piece of fried tofu that still has that snap, you realize you’ve been doing it wrong for years. This system fixes that. It turns your lunchbox from a chore into a highlight of your day. Honestly, it’s the best investment you can make in your weekly schedule.
What Ingredients You Will Need
To get this right, you need to understand that each batter has a specific job. The ingredients aren’t interchangeable. If you swap the flour in the tempura for the flour in the fry batter, you lose the effect. Here is what you need to keep in your pantry to master the 3 batter types: Tempura, Pancake & Fry.
For the Tempura Batter (The Crispy Shell)
This batter is all about air. We want it light, bubbly, and thin. The goal is a coating that shatters, not a heavy breading that sits on top of the food.
- Ice-Cold Carbonated Water: This is non-negotiable. The bubbles create the structure. Use sparkling water straight from the fridge. Warm soda water kills the lift. (Adds lift and crispness)
- Pastry Flour or Cake Flour: Low protein is key. All-purpose flour has too much gluten. If you use all-purpose, you’ll get a chewy, bread-like texture instead of a crispy shell. Look for a brand like King Arthur Pastry Flour.
- Beaten Egg Yolk: Just the yolk. The fat adds richness and helps the batter adhere. The white makes it too tough. Keep it cold.
- Cornstarch: A small amount helps with browning and adds to that delicate crispness. It prevents the batter from absorbing too much oil.
For the Pancake-Style Batter (The Fluffy Base)
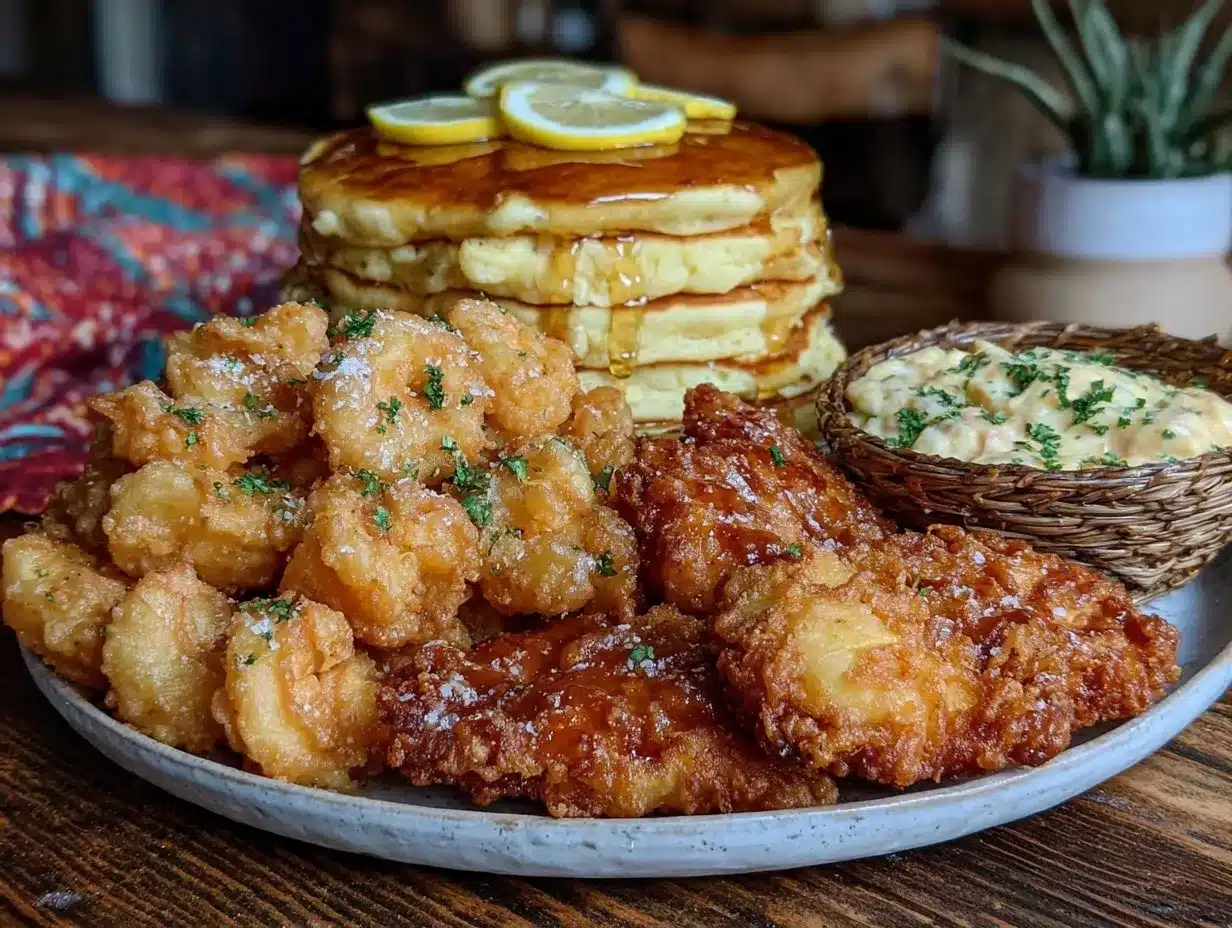
This is for when you want something that feels like a dumpling or a soft bun. It’s sturdy enough to hold sauce but soft enough to chew easily. Great for braised meats or saucy veggies.
- All-Purpose Flour: You need the protein here. It creates the gluten network that gives the batter its chew and structure. Don’t substitute with almond flour unless you want a very different result.
- Baking Powder: This is your leavening agent. It creates the rise. Make sure it’s fresh. Old baking powder means flat, dense pancakes.
- Milk or Buttermilk: Buttermilk adds tang and tenderness. If you don’t have it, regular milk works fine, but the acidity in buttermilk breaks down the flour slightly for a softer bite.
- Egg Whole: Unlike tempura, we use the whole egg here. It provides structure and richness. Room temperature eggs mix easier into this thicker batter.
For the Classic Fry Batter (The Heavy Crunch)
This is the standard for fried chicken or onion rings. It’s thicker, heavier, and designed to stick to wet surfaces. It creates a substantial crust that lasts.
- All-Purpose Flour: The backbone of this batter. It creates the main structure of the crust.
- Starch (Cornstarch or Potato Starch): This is the secret weapon. Mixing starch with flour creates a crust that is crispier and less greasy than flour alone. It also browns beautifully.
- Beer or Sparkling Water: Similar to tempura, the carbonation helps. But here, the batter is thicker, so the bubbles get trapped in a heavier matrix, creating a bubbly, textured crust.
- Spices: Salt, pepper, paprika, garlic powder. This batter is your canvas for flavor. Don’t be shy with the seasoning.
Equipment Needed
You don’t need fancy gadgets. You just need the right tools to keep things organized and safe. Here is what I use on my meal prep days.
- Deep Fryer or Heavy Dutch Oven: A Dutch oven is best for home cooks. It holds heat well. If you use a deep fryer, make sure it has a thermometer. Consistent oil temperature is everything.
- Wire Rack: Never put fried food on paper towels for meal prep. Paper towels trap steam. Steam makes food soggy. A wire rack allows air to circulate, keeping the crust crisp as it cools.
- Whisk and Spatula: You need a good whisk for the tempura to incorporate air. A spatula is better for folding the pancake batter to avoid overmixing.
- Instant-Read Thermometer: This is the most important tool. You need to know when your oil is at 350°F (175°C). Guessing leads to greasy food. Precision leads to crispy food.
- Small Bowls: Have three small bowls ready for your three batters. Label them if you have to. It saves time when you are dipping quickly.
I’ve ruined batches by using a thin saucepan that couldn’t handle the volume. Stick to heavy pots. It makes a huge difference in how evenly your food cooks.
Preparation Method
Let’s get into the nitty-gritty. This is where the magic happens. Follow these steps carefully. The order matters.
Step 1: Prep Your Protein and Vegetables
Cut everything into uniform sizes. If you are making chicken strips, make them all the same width. If you are doing cauliflower, make sure the florets are similar sizes. This ensures even cooking. Pat everything dry. Moisture is the enemy of adhesion. If your food is wet, the batter will slide off. Use paper towels and press hard. This step takes about 10 minutes.
Step 2: Make the Tempura Batter
Keep everything cold. In a small bowl, whisk the egg yolk with the cornstarch. In a separate large bowl, sift the pastry flour. Do not overmix the flour. Lumps are okay. Now, pour the ice-cold carbonated water into the flour. Gently stir with chopsticks or a fork. It should be lumpy and thin. Fold in the egg yolk mixture at the very last second. Do not whisk this batter. You want to keep the air bubbles intact. If you mix it too much, the gluten develops, and it becomes chewy. Use immediately. This takes 3 minutes.
Step 3: Make the Pancake Batter
In a medium bowl, whisk together the flour, baking powder, and a pinch of salt. In another bowl, mix the milk (or buttermilk) and the whole egg. Pour the wet ingredients into the dry. Stir gently. It’s okay if there are a few lumps. Overmixing makes the batter tough. Let it rest for 5 minutes. This allows the baking powder to activate and the flour to hydrate. The batter should be thick, like heavy cream. This takes 8 minutes total.
Step 4: Make the Classic Fry Batter
Whisk the flour, starch, and spices together in a large bowl. Make a well in the center. Pour in the beer or sparkling water gradually. Whisk until you have a smooth, thick paste. It should coat the back of a spoon heavily. If it’s too thin, add a little more flour. If it’s too thick, add a splash more liquid. This batter is forgiving, but consistency is key. It should look like cake batter but thicker. This takes 5 minutes.
Step 5: Heat the Oil
Fill your Dutch oven or fryer with enough oil to submerge your food. Heat it to 350°F (175°C). Use your thermometer. Check the temperature every few minutes. Oil cools down when you add food, so you want it to be slightly higher, maybe 360°F, to account for the drop. This takes 15-20 minutes.
Step 6: Dip and Fry
Dip your food into the batter. Let the excess drip off for a second. Gently lower it into the oil. Do not drop it from high up; splashing is dangerous. Fry in batches. Do not overcrowd the pot. If you overcrowd, the oil temperature drops, and the food absorbs oil instead of crisping. Fry until golden brown. This usually takes 3-5 minutes depending on the size. Flip once. Remove and place on the wire rack. This takes 20 minutes total.
Step 7: Cool Completely
Let the food cool completely on the wire rack before packing. This is crucial. If you pack it warm, the steam will condense inside the container and make the crust soggy. This takes 30 minutes. Patience pays off.
Cooking Tips & Techniques
I’ve made every mistake in the book so you don’t have to. Here is what I’ve learned about mastering the 3 batter types: Tempura, Pancake & Fry.
Keep the Tempura Cold: I cannot stress this enough. If your batter gets warm, it loses its crispness. Keep the bowl of batter in a larger bowl of ice water while you fry. It sounds extreme, but it works. I tried skipping this once, and the result was a dense, oily mess. Don’t make my mistake.
Don’t Overmix the Pancake Batter: When you mix the pancake batter, stop as soon as the flour is moistened. Lumps are your friend. If you mix it until smooth, the gluten develops, and you get rubbery pancakes instead of fluffy ones. It’s a common error, but an easy one to fix.
Test Your Oil Temperature: Before you dip your first piece of chicken, drop a tiny bit of batter into the oil. If it sizzles immediately and rises to the top, your oil is ready. If it sinks, it’s too cold. If it burns instantly, it’s too hot. This little test saves you from ruining a whole batch.
Double Dip for Extra Crunch: For the classic fry batter, try double dipping. Dip the food in the batter, let it sit for a minute, then dip it again. This creates a thicker, shaggier crust that stays crispy longer. It’s perfect for meal prep because it creates more surface area for air circulation.
Season Your Batter: Don’t just salt the food. Salt the batter. It adds flavor from the inside out. For the tempura, a little dash of sesame oil in the batter adds a nutty aroma that pairs well with Asian-style veggies.
Variations & Adaptations
Once you have the basics down, you can get creative. The 3 batter types: Tempura, Pancake & Fry framework is flexible. Here are some ways to adapt it.
Vegan Tempura: Skip the egg yolk in the tempura batter. Use just the flour and carbonated water. It works surprisingly well. The texture is slightly different, but still very crispy. Add a little vinegar to the water to help with browning.
Gluten-Free Pancake Batter: Swap the all-purpose flour for a 1:1 gluten-free flour blend. Add a teaspoon of xanthan gum if your blend doesn’t have it. This helps mimic the gluten structure. The result is a bit more delicate, but still holds up well.
Spicy Fry Batter: Add cayenne pepper, chili powder, and smoked paprika to the classic fry batter. It adds a kick that pairs perfectly with sweet dipping sauces. I love this with sweet potato fries or chicken wings.
Zucchini Tempura: Tempura is amazing with vegetables. Slice zucchini into rounds, dip in the tempura batter, and fry. It’s a great low-carb option for meal prep. The light batter lets the vegetable shine.
Savory Pancake Batter: Add grated cheese, chopped chives, or cooked bacon bits to the pancake batter. It turns it into a savory dumpling wrapper. Great for wrapping up leftover meats.
Serving & Storage Suggestions
How you store your food determines how it tastes on day three. Here is the protocol.
Cool Completely: As mentioned, always cool on a wire rack. Never cover food while it’s warm. This traps steam.
Airtight Containers: Use glass containers with tight-fitting lids. Plastic is fine, but glass doesn’t retain odors and is easier to clean. Line the bottom with a paper towel to absorb any excess moisture, but don’t cover the top of the food.
Reheating: Reheat in an air fryer or oven. Do not use the microwave. The microwave will make the batter soggy. Heat at 350°F for 5-7 minutes. This restores the crunch. If you must use the microwave, do it for 30 seconds and then finish in the toaster oven.
Freezing: These batters freeze well. Freeze the cooked food on a baking sheet first, then transfer to a freezer bag. They last up to 3 months. Reheat directly from frozen in the oven.
Serving Suggestions: Serve tempura with a tentsuyu dipping sauce. Serve pancake-style batters with a side of gravy or sweet chili sauce. Serve classic fry batters with ranch or ketchup. The variety keeps your meals interesting.
Nutritional Information & Benefits
Let’s talk about the nutrition. Fried food gets a bad rap, but it’s not all bad. It depends on what you fry and how you cook it.
Calories: Batter adds calories, mainly from carbs and fats. Tempura is the lightest option because the coating is thin. Classic fry batter is heavier. Pancake batter is in the middle.
Protein: The protein comes from your main ingredient. Chicken, tofu, or fish are great sources. The batter itself adds minimal protein.
Carbs: Tempura uses low-protein flour, which is lower in gluten but still has carbs. Pancake and fry batters use all-purpose flour, which is higher in carbs. If you are low-carb, stick to tempura or skip the batter and use almond flour for a keto-friendly crunch.
Fats: The fat comes from the oil. If you fry in a healthy oil like avocado oil or peanut oil, you get monounsaturated fats. Avoid reusing oil multiple times, as it breaks down and becomes unhealthy.
Fiber: If you fry vegetables, you get fiber. Cauliflower, zucchini, and broccoli are great choices. They add bulk and nutrients to your meal.
Allergens: These batters contain gluten, eggs, and dairy (in the pancake batter). Be mindful of these if you have allergies. The vegan tempura option is gluten-free if you use gluten-free flour.
Personal Wellness: I find that eating these batters helps me feel satisfied. The crunch and the richness trigger satiety signals. I don’t feel the need to snack later. It’s a balanced approach to comfort food.
Conclusion
Mastering the 3 batter types: Tempura, Pancake & Fry is a game-changer for your meal prep. It turns soggy, sad lunches into crispy, satisfying meals that keep you full until 2pm. You don’t need to be a chef. You just need to understand the chemistry of each batter.
Tempura gives you light, airy crispness. Pancake batter gives you fluffy, sauce-loving comfort. Classic fry batter gives you heavy, shattering crunch. Use them for different ingredients and different moods. Don’t be afraid to experiment. Add spices. Try new veggies. Make it your own.
I hope this guide helps you take control of your lunchbox. No more sad salads. No more soggy leftovers. Just crispy, delicious food that you can be proud of. Try this method this week. I bet you’ll notice a difference in your energy levels and your satisfaction. Let me know which batter is your favorite in the comments. Happy prepping!
Frequently Asked Questions
Can I reuse the oil for frying?
Yes, but only if it’s clean. Strain the oil through a coffee filter or cheesecloth to remove food particles. Store it in an airtight container in a cool, dark place. Reuse it 2-3 times max. If it smells off or looks dark, throw it out.
Why is my tempura batter not crispy?
It’s usually because the batter got warm or was overmixed. Keep the batter ice-cold and mix it minimally. Also, ensure your oil is at the correct temperature. If the oil is too cool, the batter absorbs oil instead of crisping.
Can I make the pancake batter ahead of time?
It’s best made fresh. The baking powder loses its potency over time. If you must prep ahead, mix the dry and wet ingredients separately and combine them just before frying. This preserves the leavening power.
What is the best oil for frying?
Avocado oil, peanut oil, and canola oil are great choices. They have high smoke points and neutral flavors. Avoid olive oil for deep frying as it has a lower smoke point and a strong flavor that might clash with the batter.
How do I store leftover batter?
Tempura batter should be used immediately. Pancake batter can be stored in the fridge for up to 24 hours. Classic fry batter can be stored for a few days. Discard any batter that smells sour or looks separated.
Pin This Recipe!
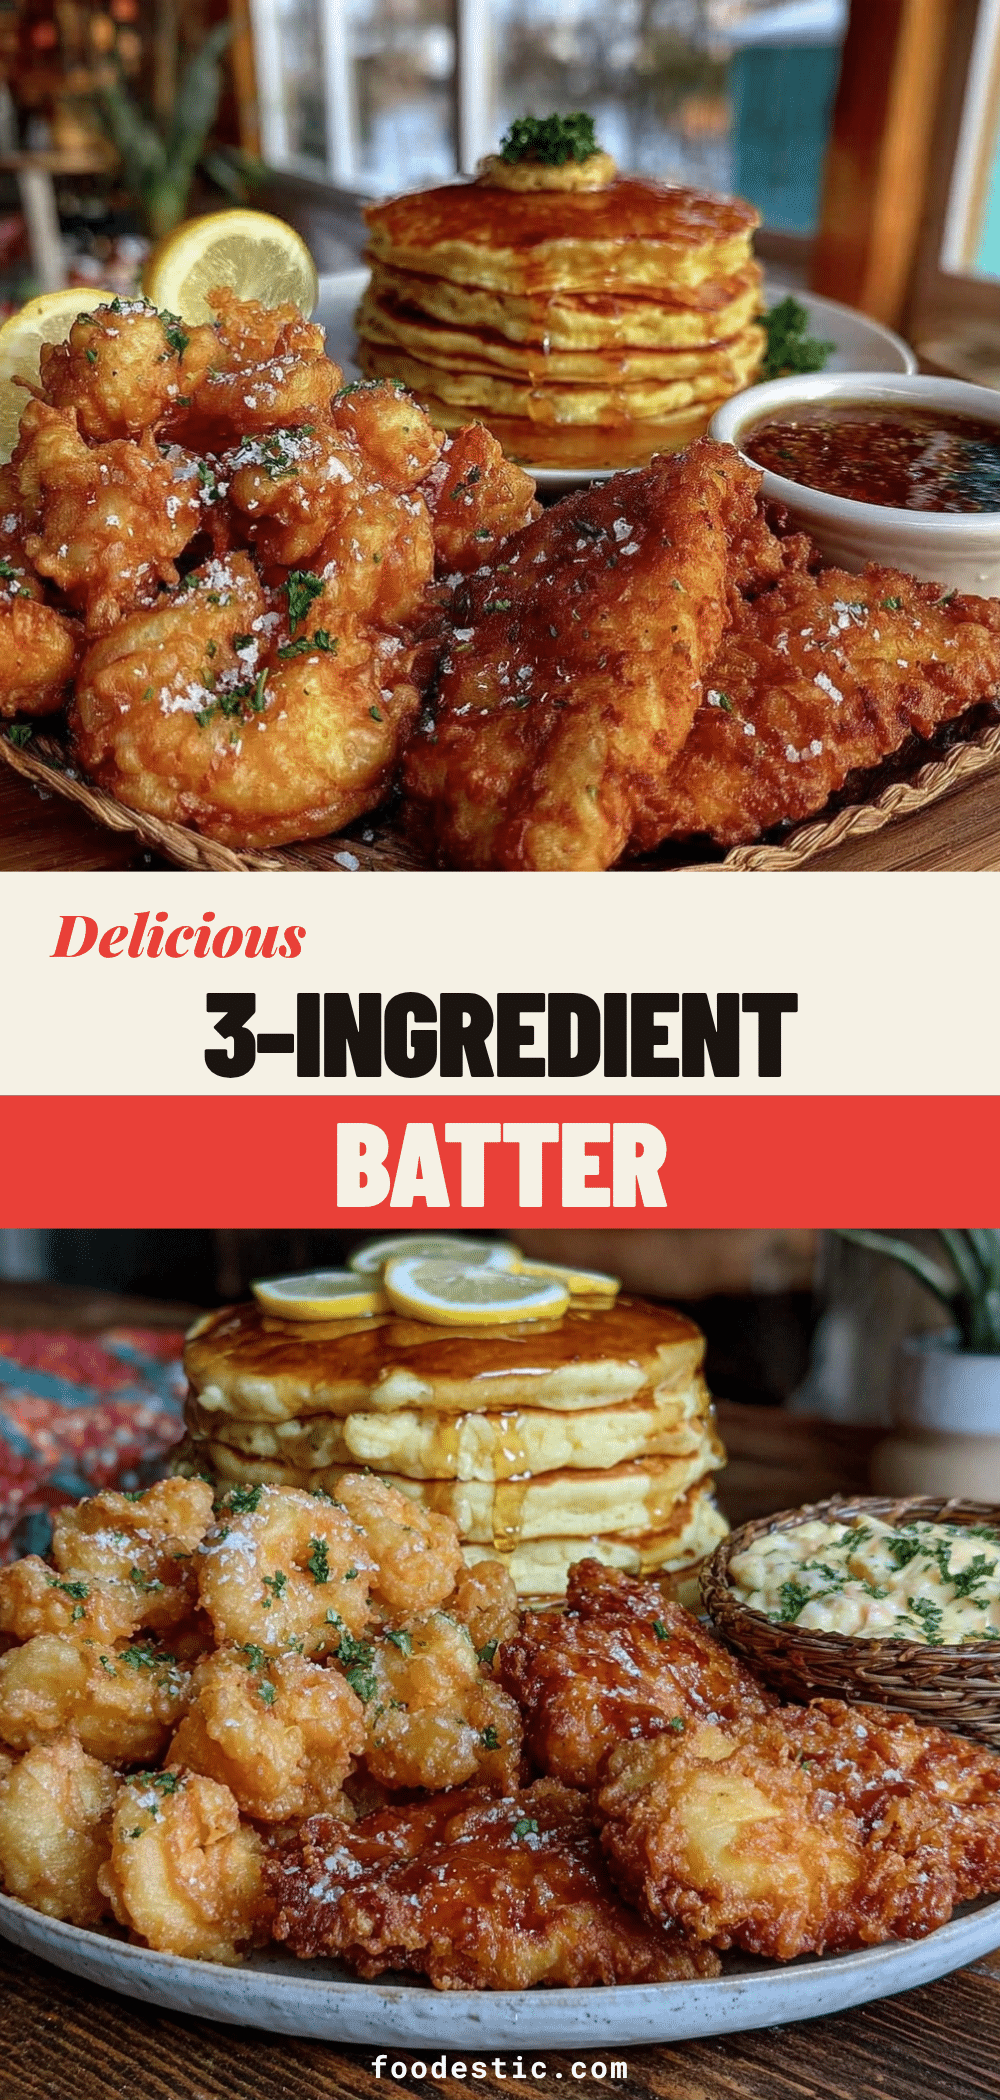

3 Batter Types: Tempura, Pancake & Fry: Easy Meal Prep
- Total Time: 45 minutes
- Yield: 4 servings
Description
Master three distinct batter systems—Tempura, Pancake, and Classic Fry—to create crispy, meal-prep-friendly fried foods that stay crunchy in the fridge and resist sogginess.
Ingredients
- Ice-Cold Carbonated Water (for Tempura)
- Pastry Flour or Cake Flour (for Tempura)
- Beaten Egg Yolk (for Tempura)
- Cornstarch (for Tempura)
- All-Purpose Flour (for Pancake and Fry)
- Baking Powder (for Pancake)
- Milk or Buttermilk (for Pancake)
- Whole Egg (for Pancake)
- Starch: Cornstarch or Potato Starch (for Fry)
- Beer or Sparkling Water (for Fry)
- Spices: Salt, Pepper, Paprika, Garlic Powder (for Fry)
Instructions
- Prep Protein and Vegetables: Cut ingredients into uniform sizes and pat them completely dry with paper towels to ensure batter adhesion.
- Make Tempura Batter: Whisk egg yolk with cornstarch. Sift pastry flour into a separate bowl. Pour ice-cold carbonated water into flour and gently stir until lumpy. Fold in yolk mixture at the last second. Do not overmix. Keep cold.
- Make Pancake Batter: Whisk flour, baking powder, and salt in one bowl. Mix milk/buttermilk and whole egg in another. Combine wet and dry ingredients gently, leaving lumps. Let rest for 5 minutes.
- Make Classic Fry Batter: Whisk flour, starch, and spices. Make a well and gradually whisk in beer or sparkling water until a thick, smooth paste forms.
- Heat Oil: Fill a Dutch oven or deep fryer with oil and heat to 350°F (175°C). Use a thermometer to maintain temperature.
- Dip and Fry: Dip food into batter, let excess drip off, and gently lower into hot oil. Fry in batches to avoid overcrowding. Fry until golden brown (3-5 minutes), flipping once.
- Cool Completely: Place fried items on a wire rack to cool completely before packing to prevent steam from making the crust soggy.
Notes
Keep tempura batter ice-cold to maintain crispness. Do not overmix pancake batter to avoid toughness. Test oil temperature with a small drop of batter before frying. Reheat leftovers in an air fryer or oven, not a microwave, to restore crunch.
- Prep Time: 25 minutes
- Cook Time: 20 minutes
- Category: Main Course
- Cuisine: Asian Fusion
Nutrition
- Serving Size: Varies by protein/ve
- Calories: 350
- Sugar: 2
- Sodium: 450
- Fat: 18
- Saturated Fat: 3
- Carbohydrates: 30
- Fiber: 2
- Protein: 12
Keywords: meal prep, tempura batter, pancake batter, fry batter, crispy chicken, fried tofu, lunch box, batch cooking, gluten-free options, vegan tempura