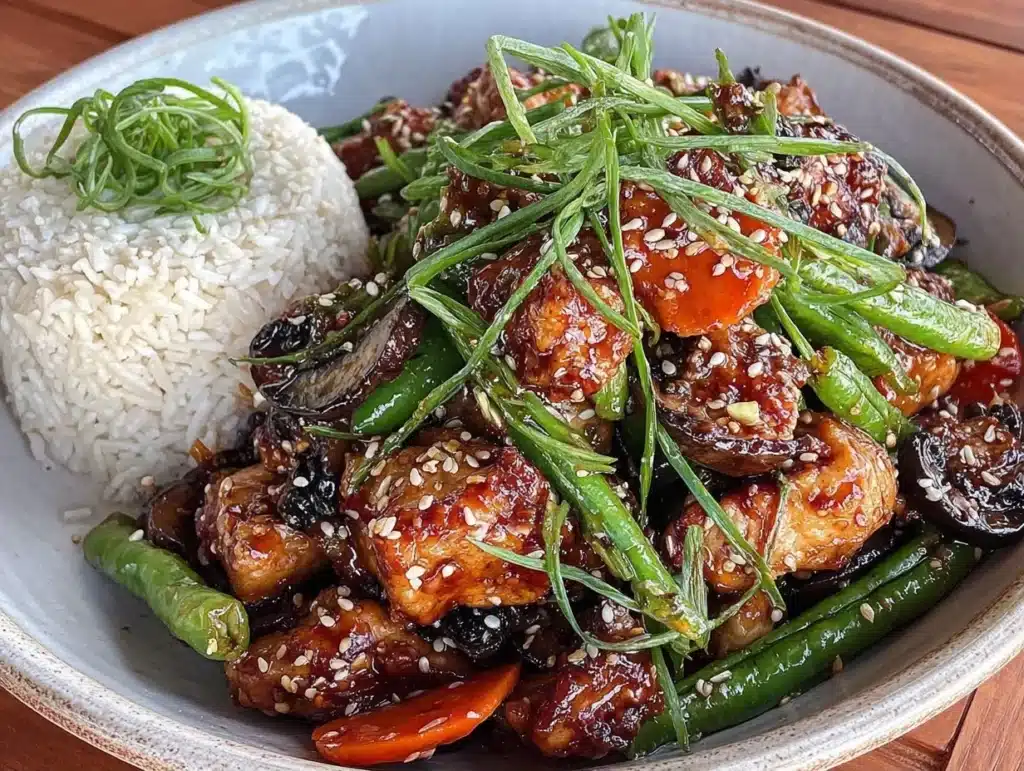
The smell of searing chicken and caramelizing soy sauce hits you before you even turn around. It’s not just dinner; it’s a smell that says “relax.” I first made this crispy teriyaki chicken stir-fry back in 2019. I was exhausted, broke, and standing in my kitchen in a fog.
My fridge was basically empty except for some sad-looking broccoli and two chicken breasts. I didn’t have time to wait for delivery. I needed food, fast. So I threw everything into a hot pan. The result? A sticky, crunchy, savory masterpiece that beat any takeout order I’d ever had.
Honestly, I’ve made this recipe over fifty times since then. It’s my go-to when I’m tired but still want something delicious. This isn’t just another stir-fry. It’s the kind of meal that saves your weeknight sanity. You get that craveable crunch without the grease. And the sauce? It’s sweet, salty, and perfectly balanced.
If you’re looking for a quick dinner that tastes like you spent hours in the kitchen, this is it. It’s perfect for busy parents, singles, or anyone who loves real restaurant-quality food at home. You’ll wonder why you ever ordered out. Let’s get cooking.
Why You’ll Love This Recipe
Let’s be real. Weeknights are hard. You come home tired, hungry, and you don’t want to deal with a complicated cooking process. That’s exactly why this crispy teriyaki chicken stir-fry has become a staple in my house. It checks every single box for a perfect easy dinner.
Here is why this recipe works so well for you:
* **Quick & Easy:** From start to finish, this takes about 20 minutes. That’s right. You can have dinner on the table before the pizza delivery guy even shows up. It’s perfect for those nights when you’re running on fumes.
* **Simple Ingredients:** You probably have most of this in your pantry right now. Soy sauce, cornstarch, ginger, garlic, and chicken. No weird sauces from a specialty store. Just real, simple food that tastes amazing.
* **Perfect for Meal Prep:** This dish reheats beautifully. I love making a big batch on Sunday and eating it for lunch during the week. The flavors actually get better the next day. It’s a lifesaver for busy workdays.
* **Crowd-Pleaser:** My kids, who usually pick at their food, ask for seconds of this. The sweet and savory flavor profile is a hit with adults and kids alike. It’s a guaranteed win at the dinner table.
* **Unbelievably Delicious:** The secret is in the coating. The cornstarch creates this incredible shatteringly crisp texture. When you bite into it, it’s crunchy on the outside and juicy on the inside. It’s comfort food that feels like a treat.
What makes this different from other stir-fries is the technique. Most people just toss raw chicken in sauce. That leads to soggy, bland meat. Here, we coat the chicken in cornstarch and sear it first. This locks in the juices and creates that essential crunch. It’s a small step that makes a huge difference.
I remember the first time I tried this method. I was skeptical. Would it really be that much better? One bite later, I was convinced. It’s not just food; it’s satisfaction. It’s the kind of meal that makes you close your eyes and sigh. It’s healthy enough to feel good about, but rich enough to feel indulgent. You get all the satisfaction of Chinese takeout without the heavy, greasy aftermath. Plus, it’s great for impressing guests without stressing in the kitchen.
What Ingredients You Will Need
This recipe relies on high-quality basics to deliver bold flavor. You don’t need fancy imports. You just need fresh chicken and good pantry staples. The magic happens in how you combine them. Here is what you need to gather before you start cooking.
* **Chicken Breasts (1.5 lbs / 680g):** Use boneless, skinless chicken breasts. Look for fresh ones that are plump and pink. Avoid any that smell sour or look slimy. I prefer buying organic when possible for better texture.
* **Cornstarch (½ cup / 60g):** This is the secret weapon. It creates that crispy crust. Use all-purpose cornstarch, not potato starch. It absorbs moisture better for frying.
* **Soy Sauce (¼ cup / 60ml):** Use low-sodium soy sauce to control the saltiness. Kikkoman is my go-to brand. It has a consistent flavor that works every time.
* **Brown Sugar (2 tbsp / 30g):** Adds depth and helps the sauce caramelize. Dark brown sugar is best for that molasses note.
* **Rice Vinegar (1 tbsp / 15ml):** Adds brightness to cut through the richness. Do not use white vinegar; it’s too harsh. Rice vinegar is mild and sweet.
* **Fresh Ginger (1 tbsp, minced):** Grate it yourself. Pre-minced ginger from a jar tastes metallic and flat. Fresh ginger adds a spicy, warm kick.
* **Garlic (3 cloves, minced):** Fresh garlic is non-negotiable. It provides the aromatic base for the entire dish.
* **Sesame Oil (1 tsp):** A little goes a long way. It adds that nutty aroma. Toasted sesame oil is essential here.
* **Vegetable Oil (2 tbsp):** For frying the chicken. Canola or avocado oil also work well. Avoid olive oil as it smokes at high heat.
* **Broccoli Florets (2 cups):** Fresh broccoli adds crunch and color. You can swap this for bell peppers or snap peas if you prefer.
* **Green Onions (2 stalks, sliced):** For garnish. They add a fresh, oniony pop at the end.
* **Sesame Seeds (1 tbsp):** For texture and presentation. Toasted sesame seeds look professional and taste nutty.
You can easily substitute ingredients if needed. Use chicken thighs instead of breasts for a juicier result. They take a bit longer to cook, so adjust your timing. For a gluten-free version, use tamari instead of soy sauce. If you don’t have rice vinegar, apple cider vinegar works in a pinch, though the flavor will be slightly tangier.
I always keep these staples on hand. It saves me a trip to the store when I’m in a rush. The quality of your ingredients matters. Fresh ginger and garlic make a huge difference in the final taste. Don’t skimp on them.
Equipment Needed
You don’t need a fancy kitchen to make this. A few basic tools are all you need to succeed. Here is what I recommend for the best results.
* **Large Wok or Skillet:** A 12-inch wok is ideal because it has high sides. This allows you to toss the chicken without making a mess. If you don’t have a wok, a large cast-iron skillet works perfectly. It holds heat well, which is crucial for crisping.
* **Sharp Knife:** You need a sharp chef’s knife to slice the chicken evenly. Dull knives slip and can be dangerous. A sharp knife ensures even cooking.
* **Cutting Board:** Use a sturdy board for chopping. I prefer wood or thick plastic. Keep it clean to avoid cross-contamination.
* **Mixing Bowls:** You’ll need small bowls for the sauce and a larger one for coating the chicken. Having everything prepped in bowls speeds up the cooking process.
* **Tongs:** Tongs are better than a spatula for stir-frying. They let you flip and toss the chicken easily. Metal tongs are durable and heat-resistant.
* **Measuring Spoons and Cups:** Precision matters in sauces. Use standard measuring tools to get the balance right. Too much soy sauce can make it too salty.
If you are on a budget, a standard non-stick pan works fine. Just make sure it’s large enough. Avoid small pans that crowd the chicken. Crowding leads to steaming, not frying. You want that crisp texture.
I’ve ruined dinners by using dull knives. It’s frustrating and slow. Invest in a good knife and keep it sharpened. It makes prep so much faster. Also, keep your wok or pan clean. Residue from previous meals can affect the flavor. A little maintenance goes a long way.
Preparation Method
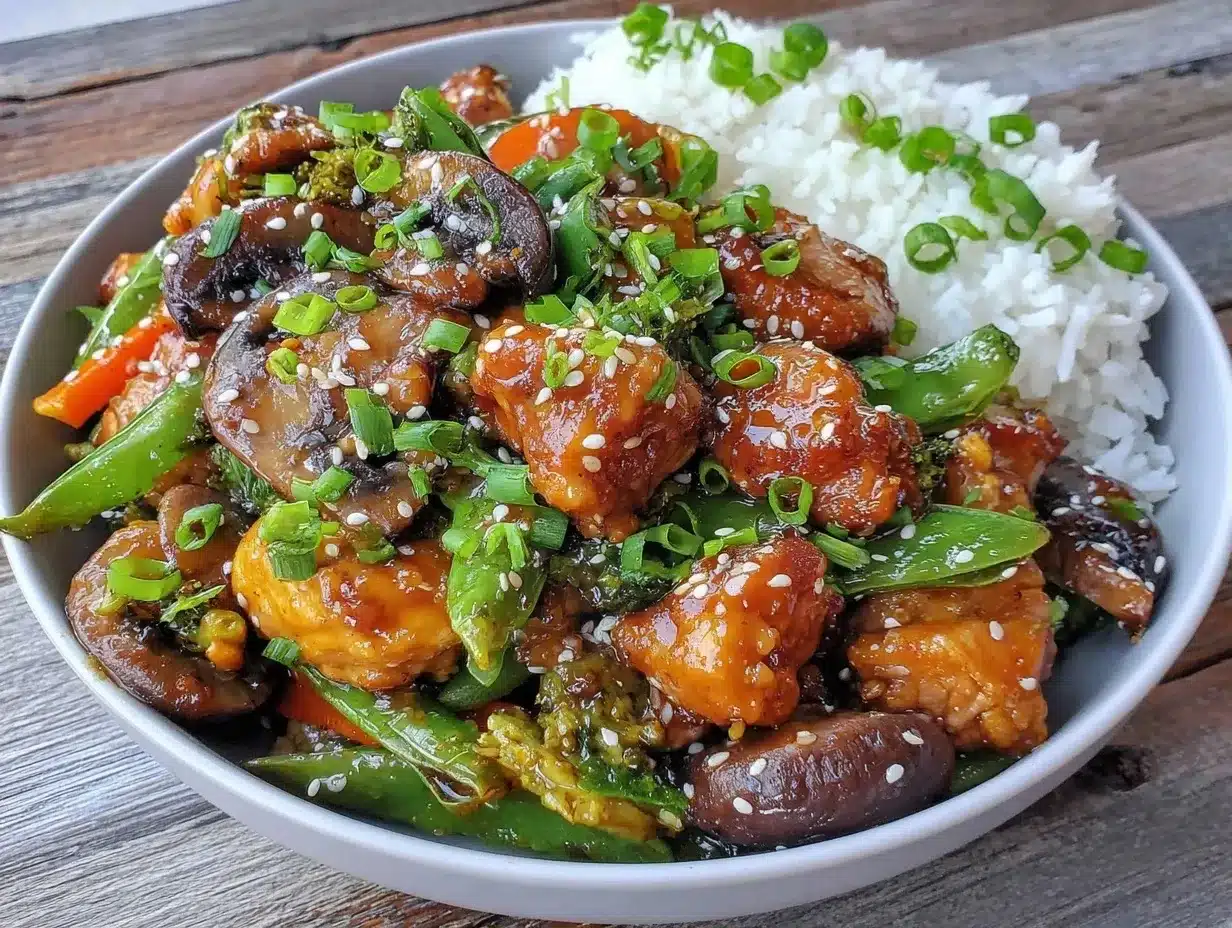
Ready to cook? Let’s break this down step-by-step. Follow these instructions closely for the best results.
1. **Prep the Chicken:** Pat the chicken breasts completely dry with paper towels. Moisture is the enemy of crispiness. Slice the chicken into 1-inch cubes. Place them in a large bowl. Sprinkle with salt and pepper.
2. **Coat the Chicken:** Add the cornstarch to the chicken. Toss until every piece is lightly coated. You want a thin layer, not a thick dough. This is key for the crunch.
3. **Make the Sauce:** In a small bowl, whisk together the soy sauce, brown sugar, rice vinegar, minced garlic, and minced ginger. Stir until the sugar dissolves. Set aside.
4. **Heat the Oil:** Place your wok or skillet over medium-high heat. Add the vegetable oil. Wait until the oil shimmers. It should be hot but not smoking.
5. **Fry the Chicken:** Add the chicken in a single layer. Do not overcrowd the pan. Cook for 3-4 minutes without moving it. Let it get golden brown. Flip and cook for another 2-3 minutes until crispy and cooked through. Remove and set aside.
6. **Cook the Vegetables:** In the same pan, add the broccoli. Stir-fry for 2 minutes. Add a splash of water if it looks dry. Cook until tender-crisp.
7. **Combine:** Return the chicken to the pan. Pour the sauce over everything. Toss quickly to coat. The sauce will thicken in about 30 seconds.
8. **Finish:** Remove from heat. Drizzle with sesame oil. Garnish with green onions and sesame seeds. Serve immediately over rice.
Watch the chicken closely while it fries. If it starts to burn, lower the heat. You want golden brown, not black. The sauce should coat the back of a spoon. If it’s too thin, cook it for another minute.
I often make mistakes by rushing the searing step. Patience pays off. Let the chicken develop a crust. Don’t move it around too much. This ensures even browning.
Cooking Tips & Techniques
Getting that perfect crisp takes a little practice. Here are some pro tips to help you succeed.
* **Dry the Chicken:** This is the most important step. Wet chicken steams instead of fries. Use paper towels to remove all moisture.
* **Hot Pan, Cold Oil:** Make sure your pan is hot before adding oil. This prevents sticking and helps with browning.
* **Don’t Crowd the Pan:** Cook in batches if necessary. Crowding lowers the temperature. This leads to soggy chicken.
* **Fresh Ginger:** Always use fresh ginger. It has a brighter flavor. Pre-minced jars lack that punch.
* **Toss, Don’t Stir:** Use a tossing motion. This ensures even cooking. Stirring can break the crispy coating.
I once tried to cook everything in one go. The result was a mushy mess. I learned my lesson. Batch cooking is worth the extra minute.
Another tip is to taste the sauce before adding it. Adjust sweetness or saltiness to your preference. Everyone’s palate is different.
Variations & Adaptations
This recipe is versatile. You can change it up based on what you have or like.
* **Spicy Version:** Add red pepper flakes or sriracha to the sauce. It adds a nice kick.
* **Veggie Heavy:** Add more vegetables like carrots, snap peas, or bell peppers. Make it a lighter meal.
* **Gluten-Free:** Use tamari instead of soy sauce. Check your cornstarch is gluten-free.
* **Low-Carb:** Skip the rice. Serve over cauliflower rice for a keto-friendly option.
* **Shrimp Swap:** Use shrimp instead of chicken. It cooks much faster. Reduce cooking time to 2 minutes.
I love adding mango chunks to the sauce for a tropical twist. It’s unexpected but delicious.
Serving & Storage Suggestions
Serve this hot over steamed jasmine rice. The sauce soaks into the rice perfectly. Add a side of edamame for extra protein.
Store leftovers in an airtight container in the fridge. They last up to 3 days. Reheat in a skillet to maintain crispiness. The microwave can make it soggy.
The flavors develop over time. It tastes even better the next day. It’s great for lunch boxes.
Nutritional Information & Benefits
This dish is balanced and nutritious. Chicken provides lean protein. Vegetables add fiber and vitamins. The sauce is moderate in sugar.
It’s a great option for muscle building. It’s also light enough for weight management. Just watch the portion size of the sauce.
I include this in my weekly rotation for its health benefits. It’s satisfying without being heavy.
Conclusion
This crispy teriyaki chicken stir-fry is a game-changer. It’s quick, easy, and delicious. You don’t need to order takeout anymore.
Try this recipe this week. Customize it to your taste. Share your results with me. I’d love to hear how it turned out.
Cooking should be fun, not stressful. This recipe makes it easy. Enjoy every bite.
FAQs
Can I use frozen chicken?
It’s best to use fresh chicken. Frozen chicken releases more water. This makes it harder to get crispy. Thaw it completely first.
What kind of rice goes best?
Jasmine rice is the classic choice. It’s fragrant and slightly sticky. Basmati rice also works well if you prefer it drier.
How do I make it spicier?
Add chili flakes or sriracha to the sauce. You can also add fresh jalapeños while cooking. Adjust to your heat level.
Can I meal prep this?
Yes, it reheats well. Store the chicken and sauce separately if possible. This keeps the chicken crispier. Reheat gently in a pan.
Is cornstarch necessary?
Yes, it creates the crispy texture. Flour doesn’t get as crunchy. Cornstarch is the key to that restaurant-style crunch.
Pin This Recipe!
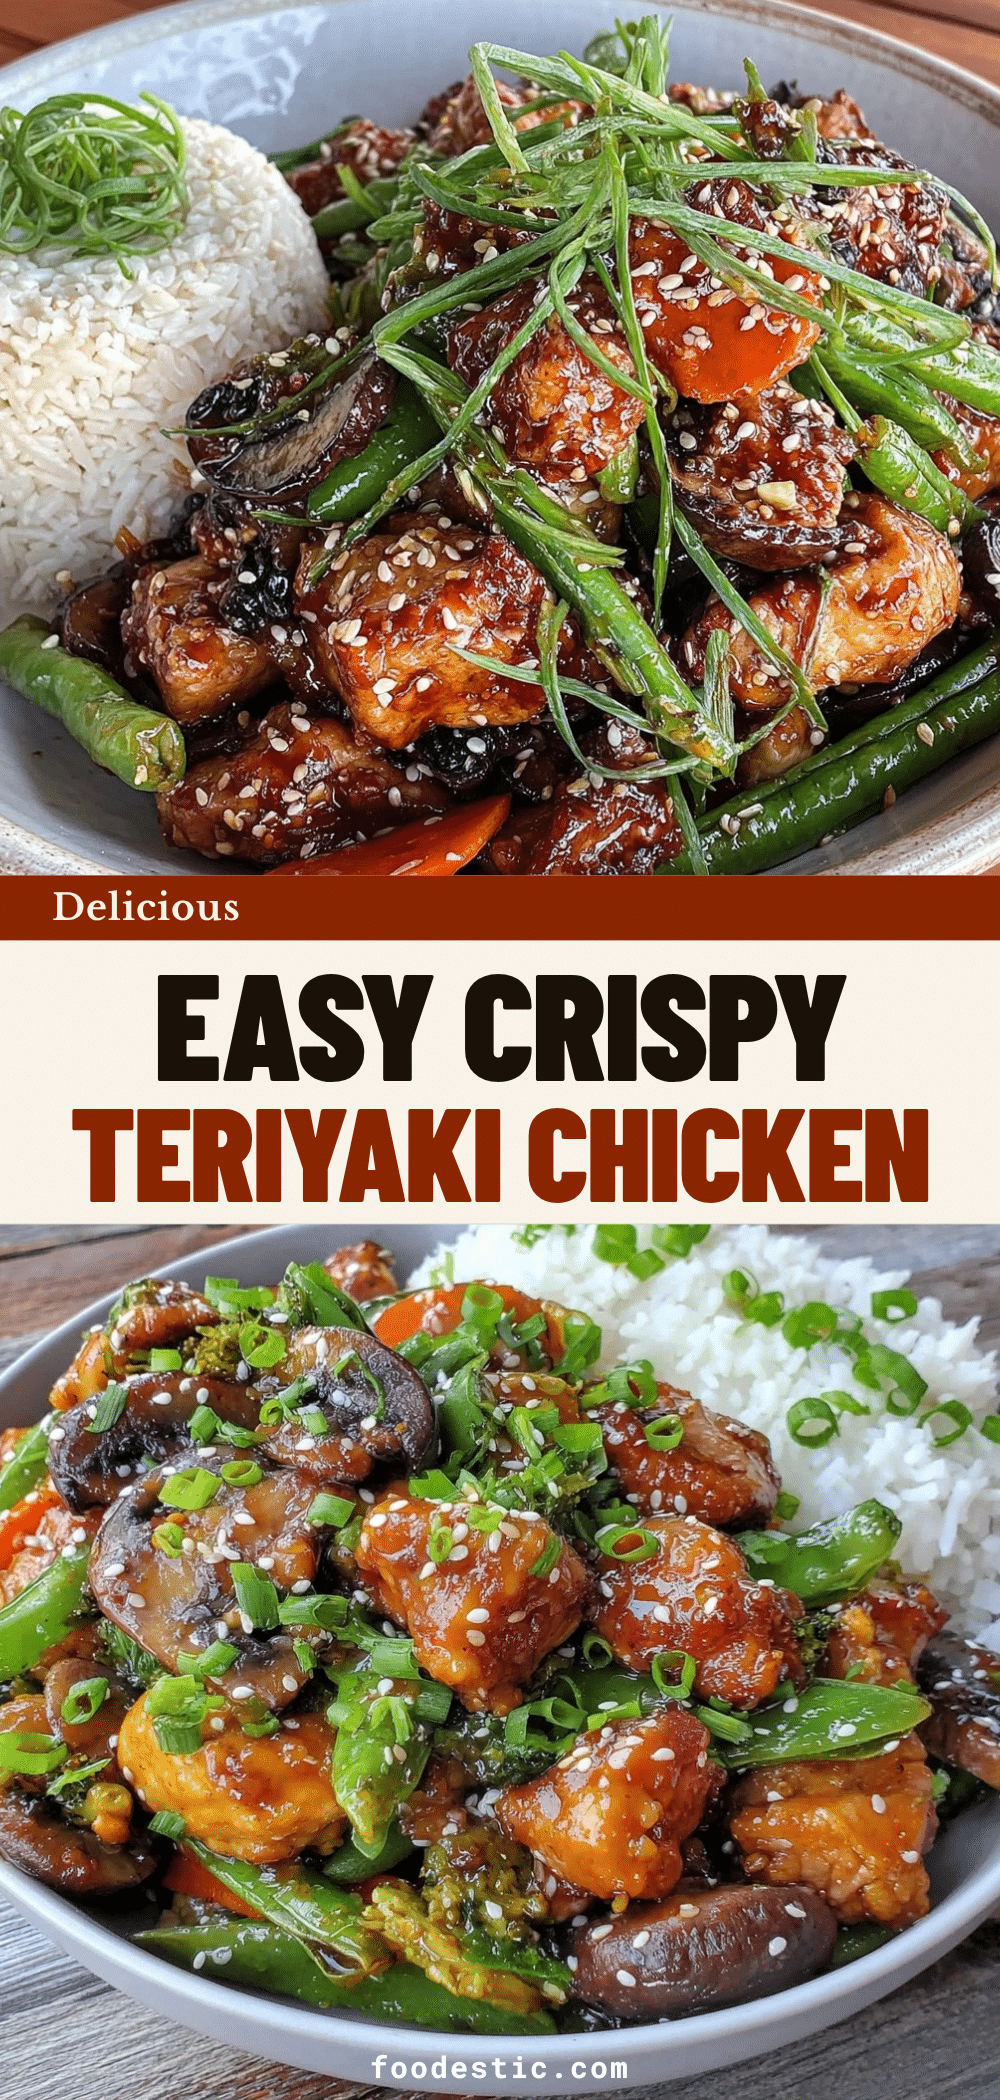
Crispy Teriyaki Chicken Stir-Fry: 20-Minute Easy Dinner
- Total Time: 20 minutes
- Yield: 4 servings 1x
Description
A quick, sticky, and crunchy teriyaki chicken stir-fry that tastes like restaurant takeout but is ready in just 20 minutes. Coated in cornstarch for maximum crispiness and tossed in a sweet and savory homemade sauce.
Ingredients
- 1.5 lbs boneless, skinless chicken breasts
- ½ cup cornstarch
- ¼ cup low-sodium soy sauce
- 2 tbsp brown sugar
- 1 tbsp rice vinegar
- 1 tbsp fresh ginger, minced
- 3 cloves garlic, minced
- 1 tsp toasted sesame oil
- 2 tbsp vegetable oil
- 2 cups broccoli florets
- 2 stalks green onions, sliced
- 1 tbsp toasted sesame seeds
- Salt and pepper to taste
Instructions
- Pat chicken breasts completely dry with paper towels and slice into 1-inch cubes. Place in a large bowl and season with salt and pepper.
- Add cornstarch to the chicken and toss until every piece is lightly coated in a thin layer.
- In a small bowl, whisk together soy sauce, brown sugar, rice vinegar, minced garlic, and minced ginger until the sugar dissolves.
- Heat vegetable oil in a large wok or skillet over medium-high heat until the oil shimmers.
- Add chicken in a single layer (cook in batches if necessary to avoid crowding). Cook for 3-4 minutes without moving to develop a golden crust, then flip and cook for another 2-3 minutes until crispy and cooked through. Remove and set aside.
- In the same pan, stir-fry broccoli for 2 minutes, adding a splash of water if dry, until tender-crisp.
- Return the chicken to the pan and pour the sauce over everything. Toss quickly to coat; the sauce will thicken in about 30 seconds.
- Remove from heat, drizzle with sesame oil, and garnish with green onions and sesame seeds. Serve immediately over rice.
Notes
Ensure chicken is completely dry before coating to achieve crispiness. Do not overcrowd the pan when frying chicken, as this causes steaming instead of crisping. For a gluten-free version, substitute soy sauce with tamari. The dish reheats well in a skillet to maintain texture.
- Prep Time: 10 minutes
- Cook Time: 10 minutes
- Category: Main Course
- Cuisine: Asian
Nutrition
- Serving Size: Serve over steamed j
- Calories: 450
- Sugar: 12
- Sodium: 800
- Fat: 18
- Saturated Fat: 3
- Carbohydrates: 35
- Fiber: 3
- Protein: 32
Keywords: teriyaki chicken, stir fry, quick dinner, crispy chicken, easy recipe, weeknight meals, meal prep, gluten-free option


