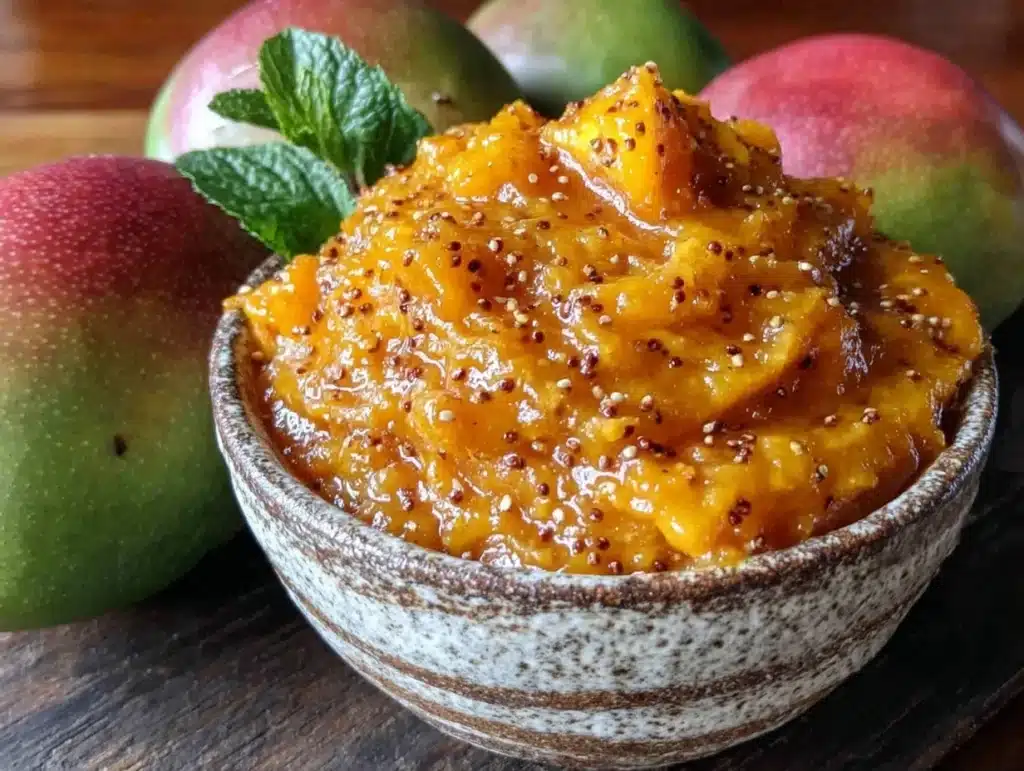
There is a specific moment when you take the first spoonful of perfectly balanced chutney, and your brain just stops. It’s not just sweet, and it’s not just spicy. It’s a whole mood. I remember the first time I truly understood this. It was three years ago, sitting on a sticky patio in July, trying to salvage a mediocre barbecue chicken dinner. I had leftover mangoes that were getting too soft to eat raw, and a jar of something I’d bought at a fancy market that tasted like sugar and regret. I decided to make my own homemade mango chutney instead.
I didn’t have a recipe. I just had a pan, some vinegar, and a desperate hope. The result was messy, slightly burnt at the edges, and absolutely magical. The tang of the lime cut through the heavy sweetness of the fruit, while the ginger added a warmth that lingered long after the meal was done. Since then, I’ve made this sweet and spicy mango chutney probably fifty times. It’s become a staple in my kitchen, right next to the olive oil and sea salt.
You know how some recipes feel like work? This one doesn’t. It feels like letting nature do the heavy lifting. You chop, you toss, you simmer, and you wait. The house smells like summer and spice, which is honestly the best kind of aromatherapy. I make this for holidays, for quick weeknight dinners with roast pork, and sometimes just to eat straight off the spoon with a piece of sharp cheddar. It’s versatile in a way that feels almost unfair to other condiments.
After testing this over a dozen times, I’ve figured out the exact ratio of sweet to heat that works for almost everyone. Some people like it fiery, others like it mild, but this base recipe strikes that perfect balance. It’s thick, glossy, and holds up well in the fridge for months. If you’re looking for a way to use up those overripe mangoes before they go bad, this is your answer. It turns potential waste into a jar of liquid gold that elevates any meal from ordinary to memorable.
Why You’ll Love This Sweet & Spicy Mango Chutney
Let’s be honest for a second. Store-bought chutneys are hit or miss. Sometimes they’re too syrupy, sometimes they taste like preservatives, and rarely do you get that fresh, bright kick of ginger or the real bite of chili. Making this homemade mango chutney allows you to control every single flavor note. It’s not just about convenience; it’s about quality. After years of tweaking this recipe, I can confidently say it’s the only version you’ll ever need to make again.
Here is why this specific recipe stands out from the crowd:
- Zero Waste Cooking: This is the perfect solution for those mangoes that are just a little too soft for smoothies but not quite bad yet. It saves money and reduces food waste, which is a win-win in my book.
- Under 30 Minutes of Active Time: You might think making jam or chutney takes all day. Not this one. You spend about 15 minutes chopping and stirring, and the rest is just simmering. It’s incredibly low-effort for high reward.
- A Flavor Profile That Pairs with Everything: Whether you are serving it with grilled salmon, a heavy cheese board, or even mixed into a yogurt dip, this chutney adapts. It adds depth to savory dishes and brightness to sweet ones.
- Customizable Heat Levels: Do you hate spice? Leave the seeds out. Love a burn? Keep the jalapeño seeds in. You are the boss of your own kitchen, and this recipe lets you dial in the heat exactly how you like it.
- Long Shelf Life: Because of the vinegar and sugar content, this chutney keeps for months in the fridge. It’s like making your own preserve without the complicated canning process.
What really makes this recipe different is the texture. I’ve tried blending it smooth, and it loses its character. Keeping those chunks of mango gives it a rustic, homemade feel that looks beautiful on a plate. It’s also the balance of acid and sugar that gets people talking. When you taste it, you’ll notice the lime juice brightening up the heavy sweetness, preventing it from being cloying. It’s comfort food in a jar, but with a sophisticated twist. It’s the kind of thing you make once and then spend the rest of the year trying to remember how you made it.
What Ingredients You Will Need
This recipe relies on simple, accessible ingredients that you probably already have in your pantry or can grab at any local grocery store. The magic here isn’t in exotic spices, but in how they interact with the fruit. We are looking for ripe mangoes that offer natural sweetness, balanced by the sharp tang of vinegar and the warmth of spices. I recommend using fresh ginger rather than powder, as it provides a much brighter, zesty kick that powder just can’t match.
- Ripe Mangoes (3 large): You want mangoes that yield slightly to pressure but aren’t mushy. Alphonso or Ataulfo mangoes are my top picks because they are less fibrous and sweeter. Look for fruit that smells fragrant at the stem end. If you can’t find fresh, high-quality frozen mango chunks work in a pinch, but fresh is best.
- Red Onion (1 medium): This adds a savory backbone to the chutney. I prefer red onion because it’s milder when raw and turns a beautiful translucent pink when cooked. If you only have yellow onion, use it, but red onion looks nicer and tastes less pungent.
- Fresh Ginger (1-inch piece): Peel and finely grate this. Fresh ginger is non-negotiable for that authentic zing. It also has anti-inflammatory properties, which is a nice little bonus.
- Jalapeño Pepper (1 small): This provides the heat. Remove the seeds and ribs if you want it mild, or keep them in if you want a serious kick. Make sure to wash your hands thoroughly after handling this, or wear gloves if you have sensitive skin.
- Apple Cider Vinegar (½ cup): I use Bragg’s organic apple cider vinegar because it has a nice fruity undertone that pairs well with mango. White vinegar is too harsh and lacks depth, so I don’t recommend it unless you’re in a dire emergency.
- Light Brown Sugar (½ cup): This adds moisture and a caramel-like depth. You can use white sugar if you prefer a cleaner sweetness, but brown sugar gives it that rich, jammy consistency we love.
- Lime Juice (2 limes): Freshly squeezed lime juice is essential. Bottled lime juice often has preservatives that alter the flavor. The acidity helps preserve the chutney and balances the sugar.
- Cumin Seeds (1 teaspoon): Toasting these lightly before adding them releases an earthy aroma that grounds the sweet fruit. It’s a subtle flavor that you’ll miss if it’s not there.
- Mustard Seeds (½ teaspoon): These add a tiny bit of crunch and a sharp, peppery note. They pop when they hit the hot oil, which is satisfying to watch.
- Sea Salt (½ teaspoon): To taste. Salt is crucial for bringing all the flavors together. Start with half a teaspoon and adjust after tasting.
- Red Chili Powder or Cayenne (¼ teaspoon): This is for color and a lingering heat. It’s optional but recommended for that classic chutney look and flavor profile.
One tip I’ve learned the hard way: don’t skip the salt. It seems counterintuitive in a sweet dish, but salt amplifies the fruitiness of the mango. Without it, the chutney tastes flat and one-dimensional. Also, ensure your mangoes are ripe. If they are underripe, the chutney will be too tart and lack the natural sugars needed to thicken properly.
Equipment Needed
You don’t need a fancy kitchen to make this chutney. A few basic tools will get you the best results. The most important piece of equipment is a heavy-bottomed saucepan or a Dutch oven. Thin pans can burn the sugar easily, leading to a bitter taste. A heavy bottom distributes heat evenly, allowing the chutney to simmer gently without scorching.
A sharp chef’s knife and a cutting board are essential for prepping the mangoes and onions. I find that a microplane grater is incredibly useful for the ginger. It breaks down the fibers better than chopping, ensuring you get ginger flavor in every bite without large chunks. If you don’t have a microplane, a fine grater works just as well.
You’ll also need a wooden spoon or a heat-resistant silicone spatula for stirring. Metal spoons can scratch non-stick coatings if you’re using them, so stick to wood or silicone. Finally, have your sterilized glass jars ready. You can reuse jam jars from the grocery store, just make sure they are thoroughly cleaned and dried. Having them ready before you start cooking saves you from rushing around when the chutney is done.
Preparation Method
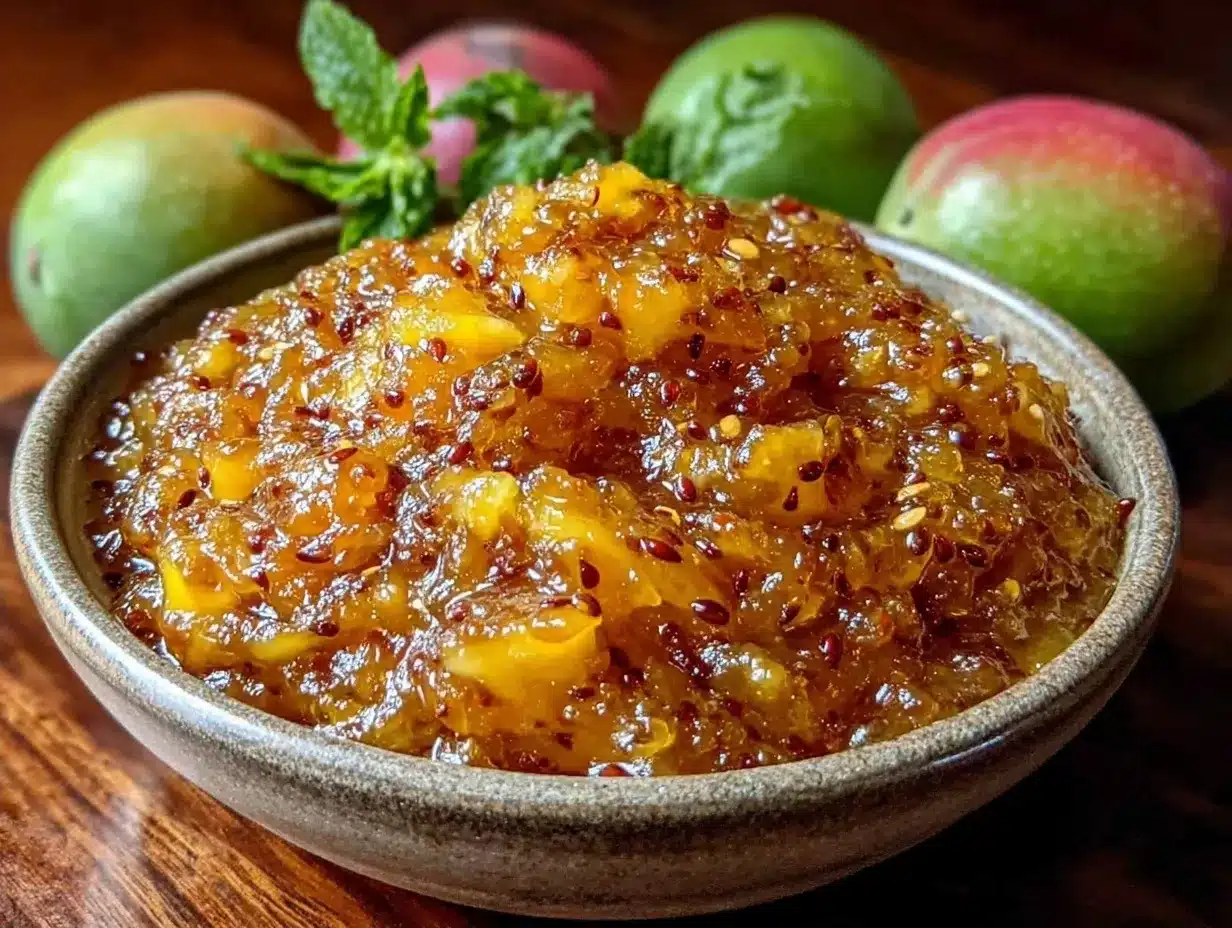
Making this homemade mango chutney is straightforward, but patience is key to getting the texture right. Here is how I do it, step by step.
- Prep the Mangoes: Start by washing your mangoes. Slice the flesh off the pit, trying to get as close to the skin as possible. Dice the mango flesh into ½-inch cubes. You want them small enough to cook down but large enough to retain some texture. Place them in a large bowl.
- Chop the Aromatics: Finely dice the red onion. Peel the ginger and grate it using a microplane. Finely mince the jalapeño. If you are sensitive to heat, remember to remove the seeds and white ribs. Set these aside.
- Toast the Spices: Heat a heavy-bottomed saucepan over medium heat. Add the cumin seeds and mustard seeds. Let them toast for about 30-60 seconds until they start to pop and smell fragrant. Be careful not to burn them, as burnt spices taste bitter.
- Sauté the Onions: Add the diced red onion to the pan with the toasted spices. Sauté for about 3-4 minutes until the onions become translucent and soft. This builds the flavor base. If the pan looks dry, add a tiny splash of water or oil, though the mango juice will release later.
- Add Ginger and Chili: Stir in the grated ginger and minced jalapeño. Cook for another minute. The aroma will fill your kitchen, which is a great sign. Add the red chili powder or cayenne now to bloom the spice in the heat.
- Combine Wet Ingredients: Add the diced mangoes to the pan. Pour in the apple cider vinegar, brown sugar, and freshly squeezed lime juice. Stir everything together until the sugar begins to dissolve. Taste the mixture at this stage. If it’s too tart, add a little more sugar. If it’s too sweet, add a splash more vinegar or lime juice.
- Simmer the Chutney: Bring the mixture to a gentle boil, then reduce the heat to low. Let it simmer uncovered for 20-25 minutes. Stir occasionally to prevent sticking, especially towards the end when the mixture thickens. The chutney is done when it has reduced by about one-third and has a jam-like consistency. It should coat the back of a spoon.
- Final Seasoning: Remove the pan from the heat. Stir in the sea salt. Let the chutney cool completely in the pan. As it cools, it will thicken further. Transfer the cooled chutney into sterilized glass jars.
A common mistake here is rushing the simmer. If you cook it too fast, the sugar might caramelize too quickly and burn, or the mangoes might not break down enough. Low and slow is the way to go. You want that glossy, deep amber color that looks professional.
Cooking Tips & Techniques
I’ve made plenty of errors in the kitchen, and some of them involved chutney. One time, I tried to speed up the process by using high heat. The result was a sticky, burnt mess that smelled like regret. Learning to trust the low simmer was a game-changer for me. Here are some tips to ensure your chutney turns out perfectly every time.
First, pay attention to the consistency. The chutney will continue to thicken as it cools. If you think it’s too runny while it’s still hot, it might be perfect once it’s in the jar. Conversely, if it looks like a thick paste while hot, it will turn into a brick in the fridge. Aim for a glossy, syrupy texture that flows slowly off the spoon.
Another tip is to taste as you go. Flavors change as they cook. The acidity of the vinegar might mellow out, or the sweetness might concentrate. Adjusting the salt and lime juice at the end ensures the balance is spot-on. Don’t be afraid to add more lime juice if the chutney tastes “heavy” or flat.
If you want a smoother chutney, you can blend half of it with an immersion blender before the final simmer. This creates a nice texture contrast with the remaining chunks. It’s a technique I use when making gifts, as it looks a bit more polished. However, I personally love the rustic look of the chunks, so I usually skip this step.
Also, consider the type of vinegar. Apple cider vinegar is my go-to, but you can experiment with white wine vinegar for a sharper taste, or balsamic vinegar for a deeper, darker flavor. Just remember that balsamic will change the color significantly, making it much darker.
Variations & Adaptations
One of the best things about this recipe is how adaptable it is. Once you master the base, you can play around with flavors to suit different occasions or dietary needs.
Spicy Kick Variation: If you love heat, swap the jalapeño for a serrano pepper or add a teaspoon of red pepper flakes. You can also add a pinch of black pepper for a different kind of warmth. This version pairs incredibly well with spicy curries or grilled meats.
Tropical Twist: Add a handful of chopped pineapple or coconut flakes to the simmering mixture. This enhances the tropical vibe and adds a different layer of sweetness. It’s great served with fish tacos or coconut-based curries.
Herbal Freshness: Stir in a tablespoon of fresh chopped cilantro or mint after you remove the chutney from the heat. This adds a fresh, herbaceous note that cuts through the richness. It’s a unique twist that works well with roasted vegetables.
Low-Sugar Option: If you are watching your sugar intake, you can reduce the brown sugar by half and use a natural sweetener like stevia or monk fruit. Note that sugar also acts as a preservative, so low-sugar versions may not keep as long in the fridge. Consume them within a few weeks.
Gluten-Free & Vegan: This recipe is naturally gluten-free and vegan. Just ensure your vinegar is gluten-free (most apple cider vinegars are) and that your sugar is processed without bone char if that’s a concern for you. It’s a safe and delicious option for most dietary restrictions.
Serving & Storage Suggestions
This homemade mango chutney is incredibly versatile. I love serving it alongside roasted pork chops, where the sweetness contrasts with the savory meat. It’s also fantastic on a cheese board, paired with sharp cheddar or goat cheese. Try mixing it into Greek yogurt for a quick and flavorful dip for veggies or crackers.
For storage, let the chutney cool completely before transferring it to jars. Use clean, sterilized glass jars with airtight lids. Store it in the refrigerator, where it will keep for up to 3 months. The flavors actually improve after a few days, allowing them to meld together.
If you want to keep it longer, you can freeze it. Portion it into smaller containers or ice cube trays for easy use later. Frozen chutney is perfect for adding to smoothies or cooking sauces. Just thaw it in the fridge overnight before using.
When you open a jar, you’ll notice the aroma is intense and inviting. Use a clean spoon every time to prevent contamination. This will help maintain its quality and safety for as long as possible. It’s a small effort that pays off in flavor and convenience.
Nutritional Information & Benefits
While chutney is a treat, it does offer some nutritional benefits. Mangoes are rich in Vitamin C and Vitamin A, which support immune health and vision. The ginger has anti-inflammatory properties that can aid digestion, and the apple cider vinegar may help regulate blood sugar levels.
However, it does contain added sugar, so moderation is key. A typical serving is about 2 tablespoons, which provides roughly 30-40 calories. It’s a condiment, not a main course, so enjoy it as a flavorful accent to your meals. For those with specific dietary needs, always check the labels of your ingredients, especially the vinegar and sugar, to ensure they align with your health goals.
I personally enjoy this chutney as part of a balanced meal. It adds complexity to simple dishes without needing heavy sauces. It’s a way to enjoy the flavors of summer year-round, packed with fruit and spices that support overall wellness.
Conclusion
Making this homemade mango chutney is one of the most rewarding kitchen experiences you can have. It’s simple, forgiving, and results in a product that tastes far better than anything you can buy at the store. I hope this recipe becomes a staple in your home, just as it has in mine. Whether you’re using it to save overripe fruit or to impress guests at a dinner party, it’s sure to be a hit.
Feel free to adjust the spice level and sweetness to match your preferences. Cooking is about experimentation, and this recipe is a perfect canvas for your creativity. I’d love to hear how you use it. Do you put it on cheese? Mix it into dips? Let me know in the comments below. Happy cooking!
Frequently Asked Questions
Can I use canned mangoes for this chutney?
Yes, you can use canned mangoes, but make sure to drain them well. Fresh mangoes provide a better texture and fresher flavor, but canned works in a pinch. Just be aware that canned mangoes might be softer, so they will cook down faster.
How spicy is this chutney?
The heat level is mild to medium by default. It depends on the jalapeño and whether you keep the seeds. If you want it milder, remove all seeds and ribs from the pepper. For extra heat, add more jalapeño or a pinch of cayenne.
Do I need to can this chutney?
Not necessarily. If you plan to eat it within a few months, storing it in the refrigerator is sufficient. The vinegar and sugar act as preservatives. If you want to store it at room temperature for longer, you can use a water bath canning method, but refrigeration is easier and safer for most home cooks.
Can I make this chutney ahead of time?
Absolutely. In fact, it tastes even better after a day or two in the fridge. You can make it up to two weeks in advance for parties or holidays. Just keep it in an airtight container in the refrigerator.
What if my chutney is too thin?
If it’s too thin, continue to simmer it on low heat. Stir frequently to prevent burning. You can also add a teaspoon of cornstarch mixed with water to thicken it quickly, but simmering is the best way to concentrate the flavors naturally.
Pin This Recipe!
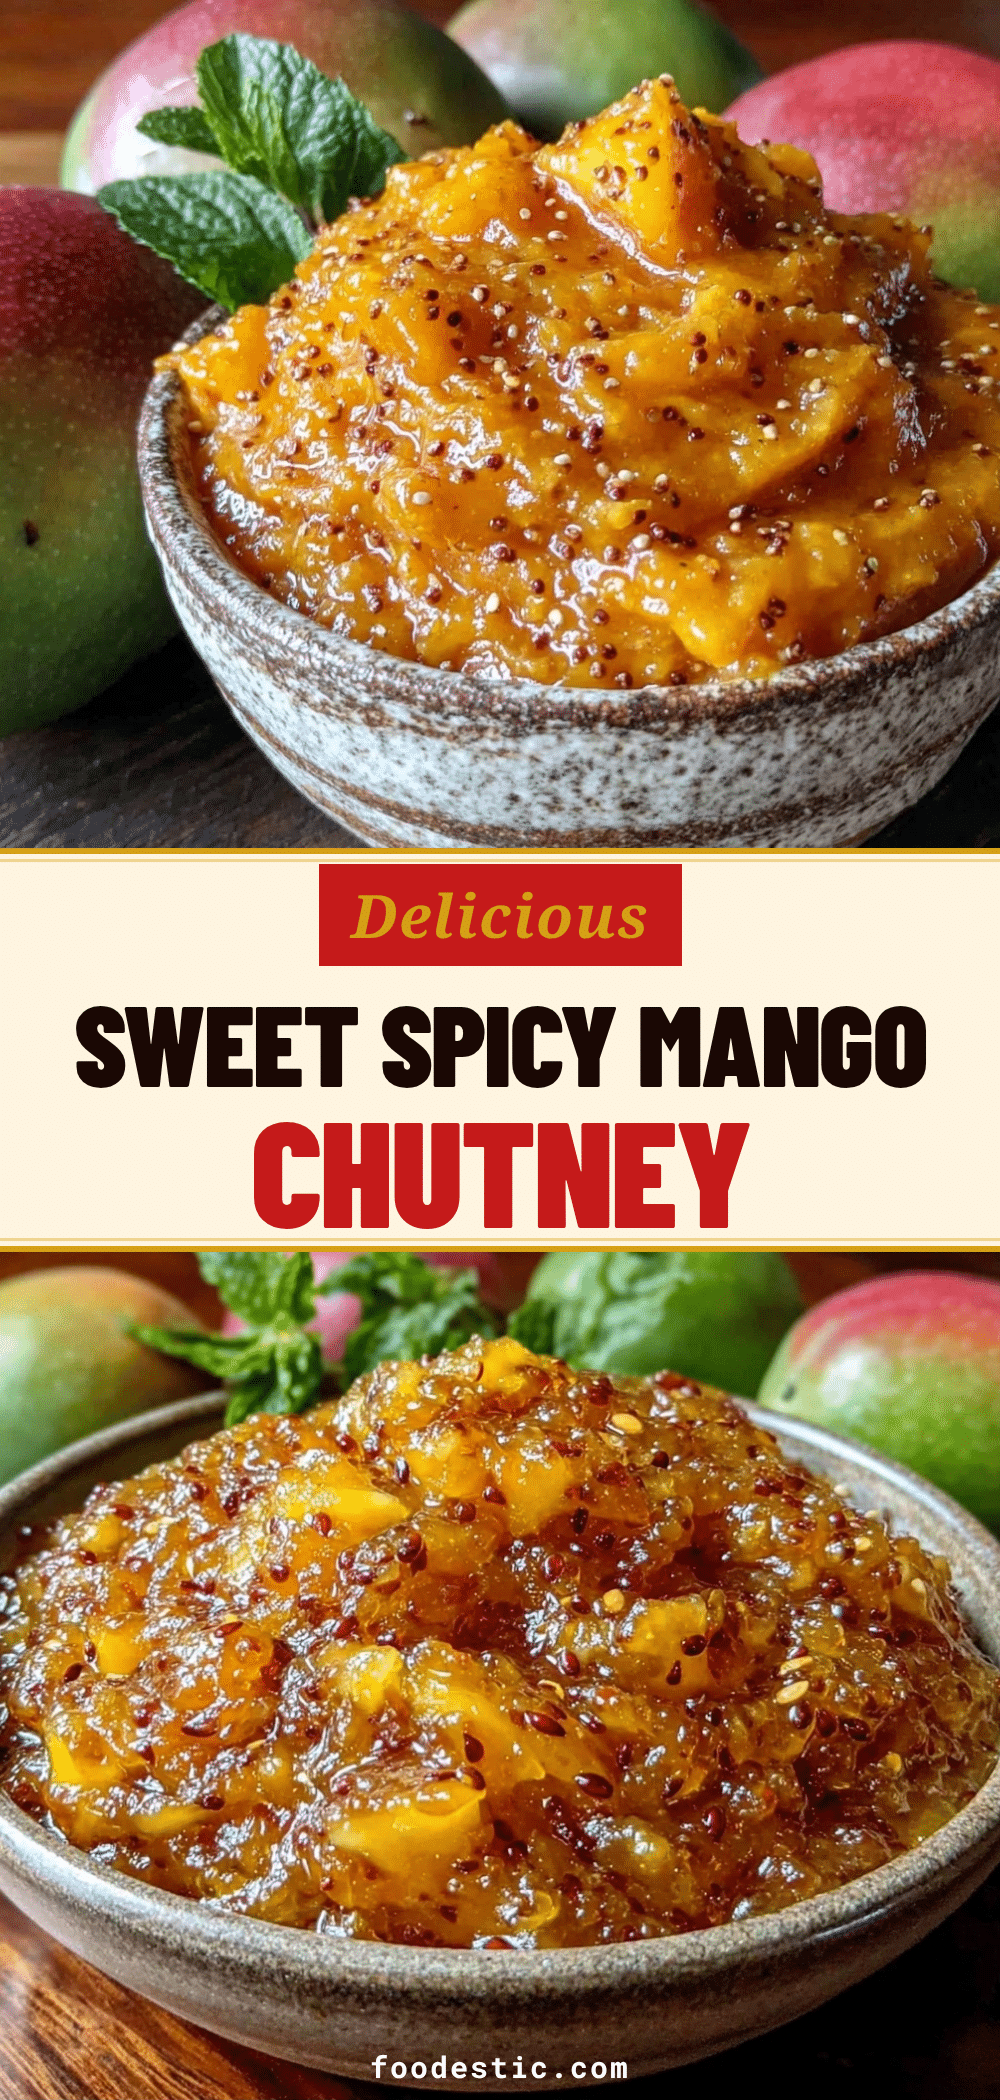

Homemade Mango Chutney: Best Sweet & Spicy Recipe
- Total Time: 40 minutes
- Yield: Makes approximately 2 cups 1x
Description
A versatile, homemade sweet and spicy mango chutney that balances tangy lime, fresh ginger, and customizable heat. Perfect for using overripe mangoes, this recipe is low-effort, gluten-free, and vegan-friendly.
Ingredients
- 3 large ripe mangoes (Alphonso or Ataulfo preferred), diced into ½-inch cubes
- 1 medium red onion, finely diced
- 1-inch piece fresh ginger, peeled and finely grated
- 1 small jalapeño pepper, finely minced (seeds removed for mild heat)
- ½ cup apple cider vinegar
- ½ cup light brown sugar
- Juice of 2 limes (freshly squeezed)
- 1 teaspoon cumin seeds
- ½ teaspoon mustard seeds
- ½ teaspoon sea salt (adjust to taste)
- ¼ teaspoon red chili powder or cayenne pepper
Instructions
- Wash mangoes, slice flesh off the pit, and dice into ½-inch cubes. Place in a large bowl.
- Finely dice the red onion. Peel and grate the ginger using a microplane. Mince the jalapeño.
- Heat a heavy-bottomed saucepan over medium heat. Add cumin and mustard seeds, toasting for 30-60 seconds until fragrant and popping. Do not burn.
- Add diced red onion to the pan with the toasted spices. Sauté for 3-4 minutes until translucent and soft.
- Stir in the grated ginger and minced jalapeño. Cook for 1 minute. Add red chili powder or cayenne and cook briefly to bloom the spice.
- Add the diced mangoes, apple cider vinegar, brown sugar, and lime juice to the pan. Stir until sugar begins to dissolve.
- Bring the mixture to a gentle boil, then reduce heat to low. Simmer uncovered for 20-25 minutes, stirring occasionally, until reduced by one-third and jam-like.
- Remove from heat and stir in sea salt. Let cool completely in the pan as it will thicken further.
- Transfer the cooled chutney into sterilized glass jars.
Notes
Ensure mangoes are ripe for natural sweetness and proper thickening. Do not skip the salt as it amplifies fruitiness. The chutney will thicken significantly as it cools. For a smoother texture, blend half before the final simmer. Store in the refrigerator for up to 3 months.
- Prep Time: 15 minutes
- Cook Time: 25 minutes
- Category: Condiments
- Cuisine: Indian-inspired
Nutrition
- Serving Size: 2 tablespoons
- Calories: 35
- Sugar: 8
- Sodium: 100
- Carbohydrates: 9
- Fiber: 1
Keywords: mango chutney, homemade chutney, sweet and spicy, vegan recipe, gluten-free, condiment, preserve, overripe mangoes, ginger chutney