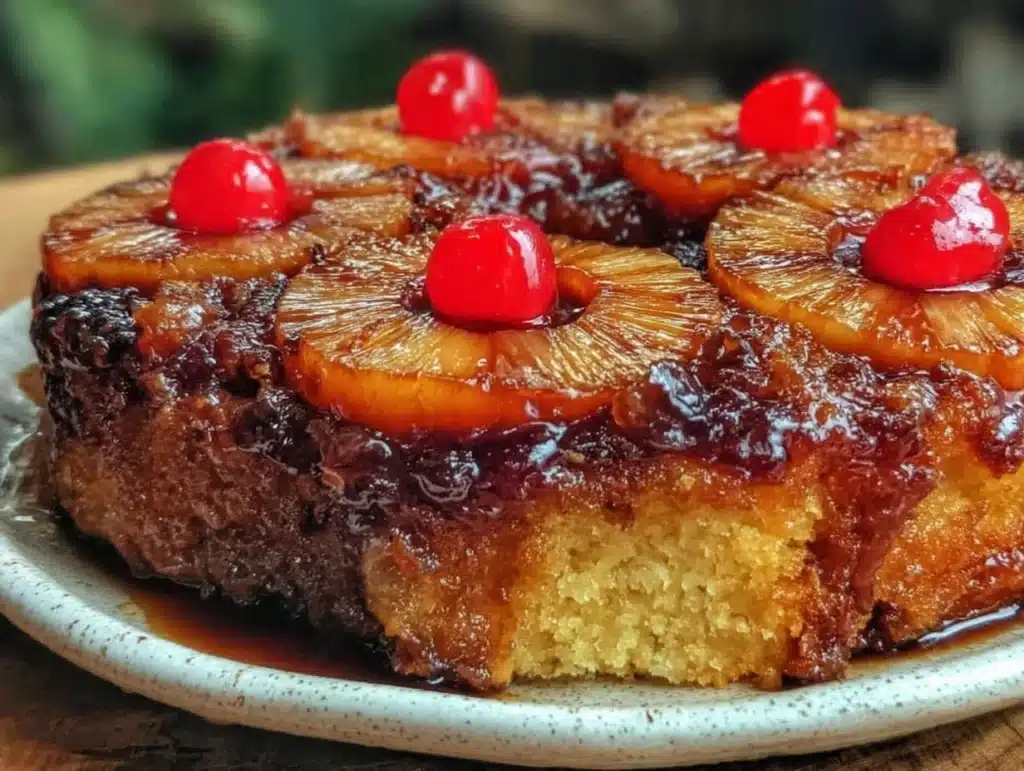
The moment I flipped that cake onto the platter, the room went silent. It wasn’t just a dessert; it was a golden, caramelized masterpiece that smelled like summer vacations and childhood Sunday mornings. Honestly, I’ve made hundreds of cakes in my life, but this one? This one stops you in your tracks. You know that feeling when you take the first bite and your eyes just close? That’s what happens with this best pineapple upside down cake. It’s rich, it’s tangy, and it’s got that perfect chewy edge from the caramel sauce.
I first stumbled on this recipe during a particularly stressful week of meal prep. I needed something that felt indulgent but could actually survive in the fridge for days. Most desserts turn into sad, soggy messes by Thursday, but not this cake. In fact, it gets better. The flavors meld, the caramel softens slightly, and by day four, it’s practically perfect. I realized then that this wasn’t just a weekend treat; it was a meal prep hero disguised as a fancy dessert. If you’re looking for a sweet finish to your weekly plan that doesn’t disappoint, you’re in the right place.
Let’s face it, baking can be intimidating. But this recipe is forgiving. I’ve tested it over a dozen times, tweaking the butter ratio and the pineapple placement, to get it just right. It’s not just about the taste; it’s about the confidence you get when you know exactly how it will turn out. Whether you’re feeding a crowd or just treating yourself after a long week of lunches, this cake delivers. It’s the kind of dessert that makes people ask for the recipe immediately, and then you smile because you already know it’s going to be your new go-to.
Why You’ll Love This Recipe
There are a million reasons to bake this, but let’s be real: it’s the convenience and the flavor combo that keeps you coming back. I’ve spent years perfecting my meal prep system, and this cake fits right in. It’s not just another cake; it’s a strategic move for your dessert game. Here is why this version stands out from the rest:
- Quick & Easy: You can have this in the oven in under 45 minutes. That’s it. No complicated techniques, no hours of waiting. Perfect for when you need a sweet fix on a busy Tuesday.
- Simple Ingredients: You probably have most of this in your pantry right now. Flour, sugar, butter, pineapple, cherries. No fancy grocery runs needed. It’s accessible cooking at its best.
- Perfect for Meal Prep: This is the key. Most cakes dry out in the fridge. This one stays moist for up to five days. It’s still good on day four, and honestly, day three is my favorite because the flavors have settled.
- Crowd-Pleaser: Kids love the sweetness, and adults appreciate the balance of tart pineapple and rich caramel. It’s universally loved, which makes it great for potlucks or family dinners.
- Unbelievably Delicious: The texture is moist but firm enough to hold its shape when sliced. The caramel sauce isn’t just a topping; it’s baked into the cake, creating a sticky, sweet layer that coats every bite.
What makes this recipe different? It’s the attention to detail in the caramel layer. Too many recipes use canned pie filling, which can be too runny or artificial. I use real pineapple rings and a brown sugar butter base that creates a deep, toffee-like flavor. It’s not just a dessert; it’s an experience. I remember making this for a neighbor who was going through a tough time. She said the smell alone made her feel better. That’s the power of this cake. It’s comfort food reimagined for the modern, busy home cook. It’s healthier in the sense that you’re using real fruit, and it’s faster than any bakery version. Plus, it’s a great way to use up those ripe pineapples you bought on sale.
What Ingredients You Will Need
This recipe relies on high-quality, simple ingredients to create a complex flavor profile. The beauty of this cake is that it doesn’t need a long list of exotic spices or hard-to-find items. Everything plays a specific role in creating that signature moist texture and sweet-tart balance. Here is what you’ll need to gather:
- Unsalted Butter (1 cup / 226g): I recommend using a high-quality European-style butter for the best flavor. You’ll need half for the caramel base and half for the batter. Softened butter is crucial for emulsifying the sugar properly.
- Dark Brown Sugar (1 cup / 200g): This is non-negotiable for the caramel layer. The molasses content gives it that deep, rich color and flavor. Light brown sugar works, but dark is better for that toffee note.
- Pineapple Rings (8 oz / 225g): Use canned pineapple rings in juice, not syrup. The juice adds a subtle sweetness without being cloying. Pat them dry thoroughly before placing them in the pan to prevent a soggy bottom.
- Maraschino Cherries (8 cherries): These go in the center of each pineapple ring. They add a pop of color and a classic flavor contrast. If you can’t find maraschino, fresh cranberries or dried cherries work well too.
- All-Purpose Flour (1 ½ cups / 190g): Standard flour works perfectly here. Sift it to ensure there are no lumps in your batter. Cake flour can be used for an even softer texture, but it’s not necessary.
- Granulated Sugar (1 cup / 200g): This sweetens the cake batter. Be precise with your measurements here to keep the balance right.
- Eggs (2 large): Room temperature eggs are important. They help the batter rise and create a tender crumb. Cold eggs can cause the butter to seize up.
- Milk (½ cup / 120ml): Whole milk is best for richness. Buttermilk can be used for a tangier flavor, which complements the pineapple nicely.
- Baking Powder (1 tsp) & Salt (½ tsp): These leavening agents and flavor enhancers are essential for structure.
- Vanilla Extract (1 tsp): Use pure vanilla, not imitation. It ties all the sweet flavors together.
For the best results, I always check the expiration dates on my baking powder and ensure my pineapple rings are not overlapping too much. If you’re using fresh pineapple, you’ll need to cook it down slightly to remove excess moisture, but canned is so much easier for meal prep. I’ve tried both, and the canned version is more consistent for weekly baking.
Which Pan Should I Use?
You absolutely need a 9-inch round cake pan. Cast iron is traditional, but a heavy-gauge aluminum or non-stick pan works just as well. The key is that it must be oven-safe if you’re using a cast iron skillet. Avoid glass pans if you can, as they can sometimes cause the bottom to burn due to uneven heat distribution.
Equipment Needed
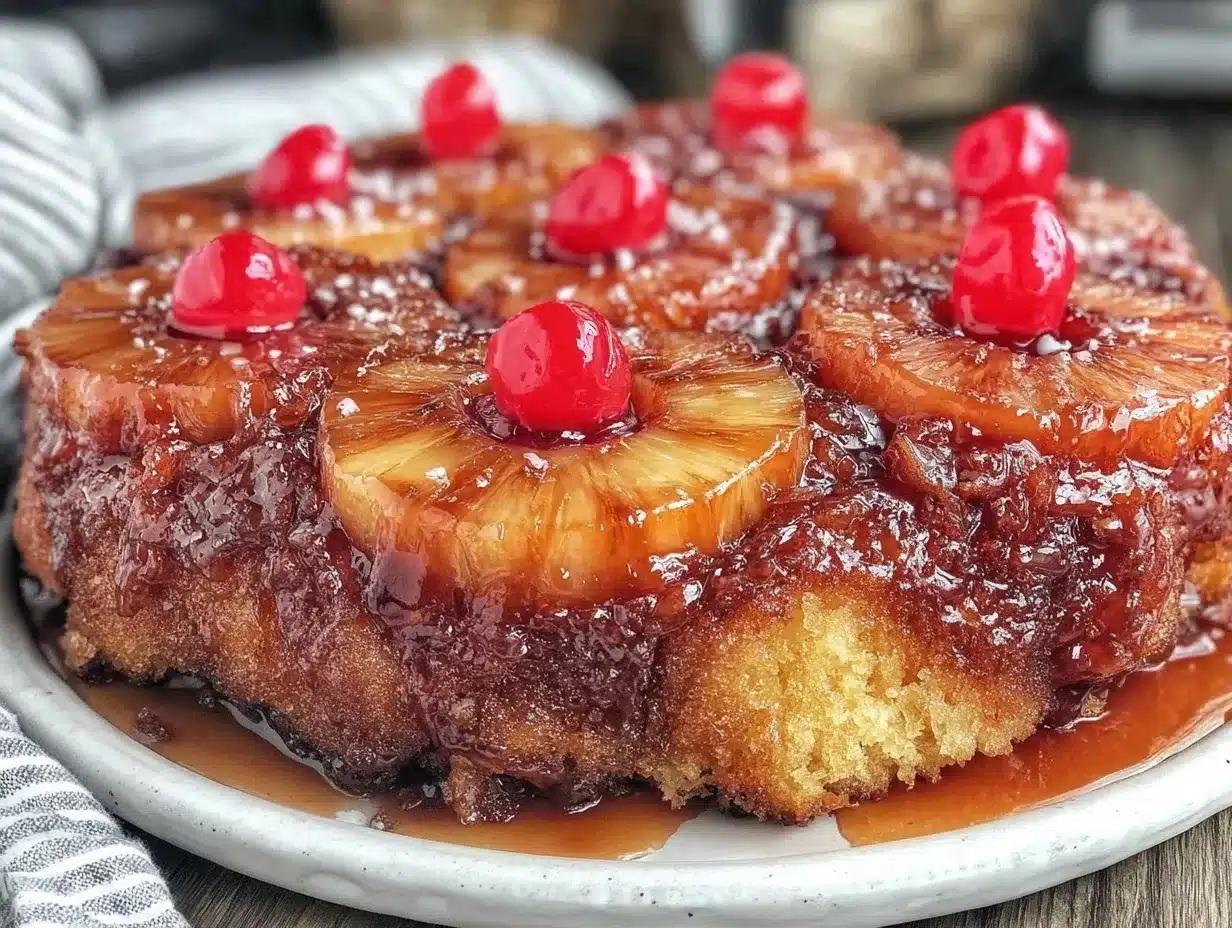
You don’t need a fancy kitchen to make this cake. Just a few basic tools will get you there. Here is what you’ll need:
- 9-Inch Round Cake Pan: As mentioned, this is the most critical piece of equipment. Make sure it’s in good condition without any chips or scratches.
- Mixer: A hand mixer or stand mixer makes creaming the butter and sugar much easier. Doing it by hand is possible but takes a bit more elbow grease.
- Mixing Bowls: You’ll need two bowls, one for wet ingredients and one for dry.
- Measuring Cups and Spoons: Accuracy is key in baking. Use standard US cups and metric spoons for precision.
- Spatula: A rubber spatula is great for scraping down the sides of the bowl and folding in the flour gently.
- Wire Rack: Essential for cooling the cake evenly. If you don’t have one, a clean plate works in a pinch.
I’ve learned the hard way that cheap pans can warp in the oven, leading to uneven baking. Invest in a decent pan, and it will last for years. Also, make sure your pan is clean and dry before adding the butter mixture to ensure the caramel sticks properly.
Preparation Method
Let’s get into the nitty-gritty. This process is straightforward, but timing matters. Here is how you make the best pineapple upside down cake:
- Preheat and Prep: Preheat your oven to 350°F (175°C). Grease your 9-inch round cake pan lightly with butter. This helps the caramel adhere and prevents sticking.
- Make the Caramel Base: In a small saucepan over medium heat, combine the softened butter and brown sugar. Stir constantly until the butter melts and the sugar dissolves, creating a smooth, bubbling sauce. This takes about 3-5 minutes. Pour this mixture into the prepared cake pan, spreading it evenly to cover the bottom.
- Arrange the Pineapple: Place the pineapple rings in a single layer on top of the caramel. Press them down gently so they adhere to the sauce. Place a cherry in the center of each ring. This step is crucial for the presentation, so take your time here.
- Mix the Batter: In a large bowl, cream the remaining softened butter and granulated sugar until light and fluffy. This usually takes 3-4 minutes. Add the eggs one at a time, beating well after each addition. Stir in the vanilla extract.
- Combine Dry Ingredients: In a separate bowl, whisk together the flour, baking powder, and salt. Gradually add the dry ingredients to the wet mixture, alternating with the milk. Start and end with the dry ingredients. Mix just until combined. Do not overmix, or the cake will be tough.
- Pour and Bake: Pour the batter evenly over the pineapple rings. Smooth the top with a spatula. Bake for 45-50 minutes, or until a toothpick inserted into the center comes out clean. The top should be golden brown.
- Cool and Flip: Let the cake cool in the pan for 10 minutes. This is critical. If you flip it too soon, it might fall apart. If you wait too long, the caramel might harden and stick. After 10 minutes, place a serving plate over the pan and carefully invert it. Lift the pan off gently. If some pineapple sticks, just pick it off and place it back on top.
I’ve made the mistake of flipping it too early before, and let me tell you, it’s a sticky mess. Patience pays off here. The 10-minute cool-down period allows the structure to set just enough to hold its shape.
Cooking Tips & Techniques
Baking is science, but it’s also art. Here are some tips to ensure your cake turns out perfectly every time:
- Room Temperature Ingredients: Ensure your butter, eggs, and milk are at room temperature. This helps them emulsify properly, creating a smooth batter that bakes evenly.
- Don’t Skip the Cooling Step: As mentioned, the 10-minute cool-down is vital. Use this time to clean up your kitchen or prep your serving plate.
- Check for Doneness: Ovens vary. Start checking at 40 minutes. If the top is browning too quickly, cover it loosely with aluminum foil.
- Pineapple Dryness: If your pineapple rings are wet, pat them dry with paper towels. Excess moisture can make the caramel runny and prevent it from setting into a nice glaze.
- Overmixing Warning: When adding the flour, mix only until you no longer see streaks of white. Overmixing develops gluten, which leads to a dense, chewy cake instead of a tender one.
I once added too much baking powder and the cake rose too much and then collapsed. It taught me to measure my leavening agents carefully. Also, always use a fresh toothpick for testing. A dirty toothpick can give you a false negative.
Variations & Adaptations
While the classic version is timeless, there are ways to tweak this recipe to suit your tastes or dietary needs:
- Gluten-Free Option: Substitute the all-purpose flour with a 1:1 gluten-free baking blend. Ensure your baking powder is also gluten-free. The texture might be slightly more crumbly, but it will still be delicious.
- Dairy-Free: Use dairy-free butter and almond milk. The result is surprisingly moist, and the caramel flavor remains intact.
- Coconut Twist: Add ½ cup of shredded coconut to the batter. It pairs beautifully with the pineapple and adds a nice texture.
- Rum Soak: For an adult version, brush the warm cake with a little dark rum after flipping. It adds a sophisticated depth of flavor.
- Seasonal Fruit: In the winter, you can substitute pineapple with peaches or nectarines. Just make sure to slice them thinly and arrange them neatly.
I tried the coconut version once for a tropical-themed party, and it was a huge hit. The shredded coconut toasted slightly in the oven, adding a nutty flavor that complemented the sweetness. It’s a simple change that makes the recipe feel new.
Serving & Storage Suggestions
This cake is best served at room temperature, but it’s also delicious slightly warm. If you’re serving it for a dinner party, I recommend making it the day before. It stores beautifully in the refrigerator.
- Storage: Cover the cake tightly with plastic wrap or store it in an airtight container. It will keep in the fridge for up to 5 days. Honestly, it’s still good on day four, and the flavors have melded nicely.
- Reheating: If you prefer warm cake, microwave a slice for 10-15 seconds. This softens the caramel and makes the cake feel fresh out of the oven.
- Serving Ideas: Serve with a dollop of whipped cream or a scoop of vanilla ice cream. The contrast of hot cake and cold cream is heavenly. It also pairs well with a cup of black coffee or a strong tea.
- Freezing: You can freeze this cake! Wrap individual slices tightly in plastic wrap and then in aluminum foil. It will keep for up to 3 months. Thaw in the refrigerator overnight before serving.
I often bake this on Sunday and slice it throughout the week. It’s a great way to have a ready-made dessert for unexpected guests or just to satisfy a craving without the effort. The fact that it holds up so well in the fridge is a game-changer for busy weeks.
Nutritional Information & Benefits
While this is a dessert, it does have some nutritional perks. Pineapple is a good source of vitamin C and manganese, which are important for immune health and bone strength. The cherries add antioxidants. However, this cake is still high in sugar and calories, so enjoy it in moderation.
One slice contains approximately 350 calories, with 15g of fat and 50g of carbohydrates. It’s not a health food, but it’s a treat that you can feel good about sharing. If you’re watching your sugar intake, you can reduce the granulated sugar in the batter by ¼ cup, though the caramel layer will be less sweet. I find that the natural sweetness of the pineapple balances it out well.
For those with gluten sensitivities, the gluten-free version is a great option, but check all labels to ensure no cross-contamination. Overall, this cake is a balanced indulgence. It’s a way to enjoy a classic dessert without feeling completely guilty, especially if you pair it with a healthy lifestyle.
Conclusion
This best pineapple upside down cake is more than just a recipe; it’s a solution for your weekly dessert needs. It’s easy to make, delicious to eat, and perfect for meal prep. I hope you try it and find it as much of a staple in your kitchen as it is in mine. Don’t be afraid to experiment with the variations to make it your own.
Remember, the key to success is patience and quality ingredients. Take your time with the caramel layer, and don’t rush the cooling process. I’d love to hear how it turns out for you. Leave a comment below with your favorite variation or a photo of your creation. Happy baking, and enjoy every sticky, sweet bite!
Frequently Asked Questions
Can I make this cake ahead of time?
Yes! This cake is actually better the next day. You can bake it up to 5 days in advance and store it in the refrigerator. It maintains its moisture and flavor exceptionally well.
Why did my cake stick to the pan?
This usually happens if the cake is flipped too early or if the caramel wasn’t spread evenly. Make sure to let it cool for exactly 10 minutes before inverting. Also, ensure your pan is clean and dry before adding the butter mixture.
Can I use fresh pineapple instead of canned?
You can, but you’ll need to slice it thinly and cook it briefly to remove excess moisture. Canned rings are more convenient and consistent for this recipe, especially for meal prep.
How do I reheat leftover cake?
Microwave a slice for 10-15 seconds to warm it up. This softens the caramel and makes the cake feel fresh. You can also serve it cold straight from the fridge.
Is there a gluten-free version?
Yes, simply substitute the all-purpose flour with a 1:1 gluten-free baking blend. Ensure your baking powder is also gluten-free. The texture will be slightly different but still delicious.
Pin This Recipe!
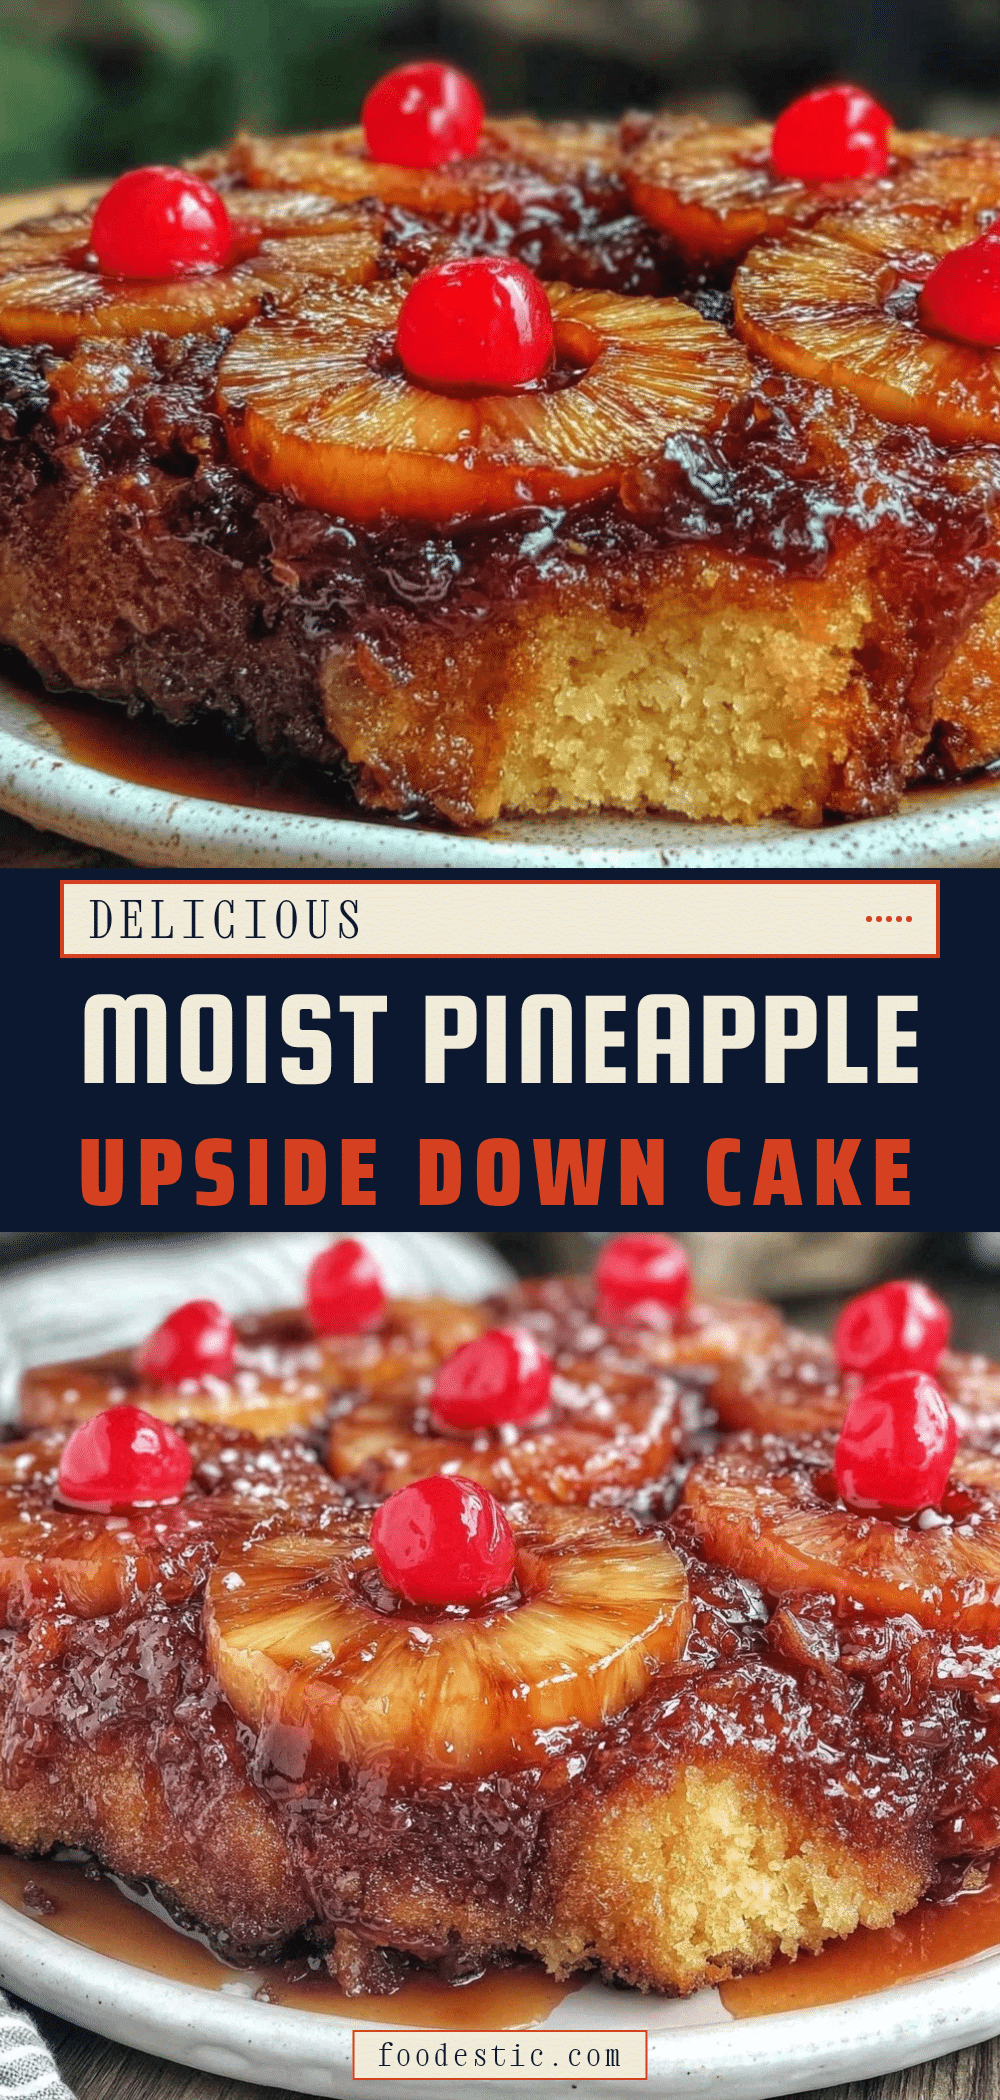

Best Pineapple Upside Down Cake: 5-Day Meal Prep Dessert
- Total Time: 1 hour
- Yield: 8 servings 1x
Description
A rich, tangy, and caramelized pineapple upside down cake that stays moist for up to five days, making it the perfect meal prep dessert for busy weeks.
Ingredients
- 1 cup (226g) unsalted butter, divided
- 1 cup (200g) dark brown sugar
- 8 oz (225g) canned pineapple rings in juice
- 8 maraschino cherries
- 1 ½ cups (190g) all-purpose flour
- 1 cup (200g) granulated sugar
- 2 large eggs, room temperature
- ½ cup (120ml) whole milk
- 1 tsp baking powder
- ½ tsp salt
- 1 tsp vanilla extract
Instructions
- Preheat oven to 350°F (175°C) and lightly grease a 9-inch round cake pan.
- In a small saucepan over medium heat, melt ½ cup butter with brown sugar until smooth and bubbling (3-5 minutes). Pour into the prepared pan and spread evenly.
- Arrange pineapple rings in a single layer on the caramel and place a cherry in the center of each ring.
- In a large bowl, cream the remaining ½ cup softened butter and granulated sugar until light and fluffy (3-4 minutes).
- Add eggs one at a time, beating well after each addition, then stir in vanilla extract.
- In a separate bowl, whisk together flour, baking powder, and salt. Gradually add to the wet mixture, alternating with milk, starting and ending with dry ingredients. Mix just until combined.
- Pour batter evenly over the pineapple rings and smooth the top.
- Bake for 45-50 minutes or until a toothpick inserted into the center comes out clean.
- Let the cake cool in the pan for exactly 10 minutes.
- Place a serving plate over the pan and carefully invert. Lift the pan off gently and replace any stuck pineapple pieces.
Notes
Ensure ingredients are at room temperature for best emulsification. Do not overmix the batter to avoid a tough texture. Pat pineapple rings dry before placing in the pan to prevent a soggy bottom. Let the cake cool for exactly 10 minutes before flipping to ensure it holds its shape.
- Prep Time: 15 minutes
- Cook Time: 45 minutes
- Category: Dessert
- Cuisine: American
Nutrition
- Serving Size: 1 slice
- Calories: 350
- Sugar: 40
- Sodium: 250
- Fat: 15
- Saturated Fat: 9
- Carbohydrates: 50
- Fiber: 1
- Protein: 4
Keywords: pineapple upside down cake, meal prep dessert, easy baking, caramel cake, pineapple dessert, gluten-free option