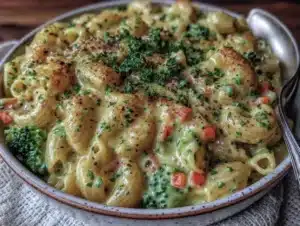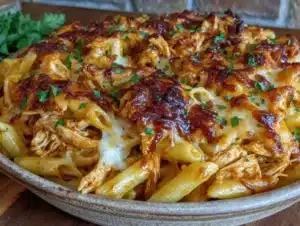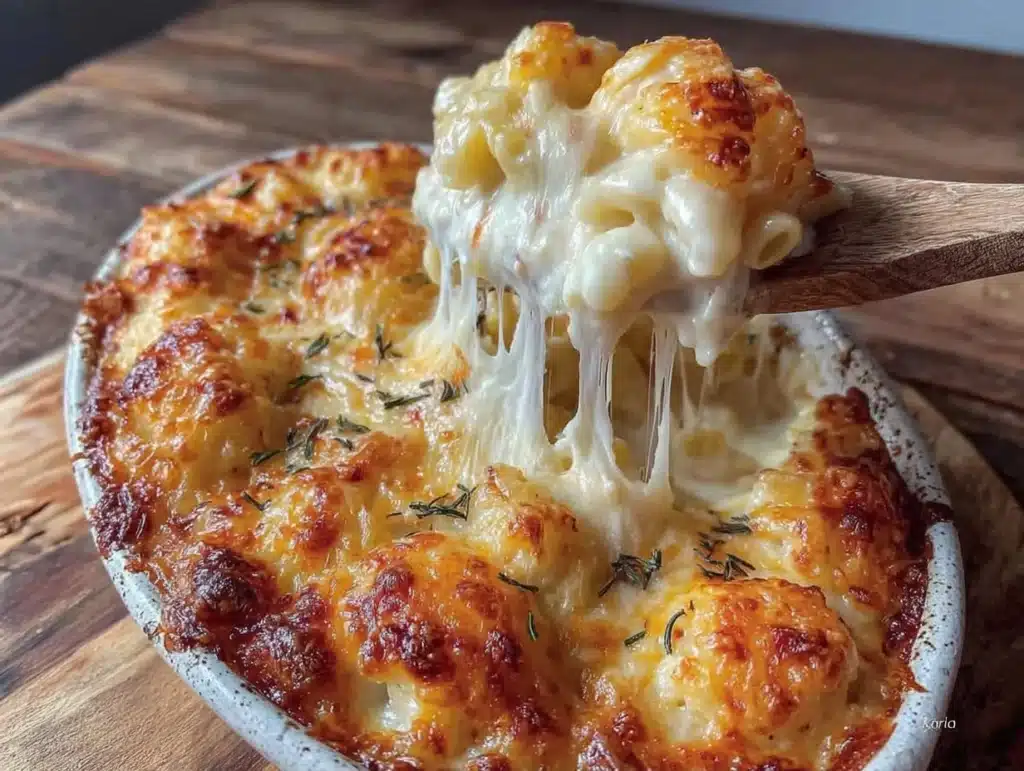
I still remember the first time I tried to meal prep mac and cheese. It was a disaster. I pulled the container out of the fridge on Wednesday, and it looked like a solid block of orange plastic. The noodles were mushy, the sauce had separated into oil and powder, and honestly, it tasted like regret. I almost gave up on the idea of making lunch ahead of time. But you know what? I refused to let a cheesy pasta dish defeat me. After testing this recipe over a dozen times, I finally cracked the code.
This isn’t just any old comfort food recipe. This is the Best Macaroni and Cheese Recipe designed specifically for people who need their lunches to stay good for days. I’m talking about pasta that is still firm, sauce that is creamy, and a topping that doesn’t turn into a soggy mess by the middle of the week. If you’ve ever thrown away sad, dried-out leftovers, this post is for you. Let’s face it, we all want convenience without sacrificing flavor.
I developed this recipe while juggling a full-time job and trying to eat healthier. I needed something that felt indulgent but could be prepped on Sunday and eaten throughout the week. The secret isn’t in fancy ingredients; it’s in the technique. By cooking the pasta slightly under and assembling the dish just before baking, we create a texture that holds up. This Best Macaroni and Cheese Recipe is my go-to for batch cooking. It’s reliable, it’s delicious, and it actually works when you need it most.
Why You’ll Love This Recipe
There are a million mac and cheese recipes out there. So why should you trust this one? Because I’ve tested it in my own kitchen, for my own family, and for my own meal prep containers. I’ve learned what works and what doesn’t through trial and error. This recipe is built for real life, not just for a perfect photo on a Sunday afternoon. Here is why this version stands out from the crowd.
- Meal Prep Champion: Most baked pastas turn into a brick in the fridge. This one stays loose and creamy. It is still crisp on Wednesday, not soggy. The structure of the sauce is designed to withstand refrigeration and reheating without breaking.
- Simple Ingredients: You don’t need a chemistry degree or a trip to a specialty store. You likely have most of these items in your kitchen right now. It uses standard pantry staples and basic cheeses that are easy to find.
- Texture Perfection: The key is par-boiling the pasta. This prevents it from absorbing too much sauce later. The result is a bite that has some chew, not a mushy paste. It feels fresh even on day four.
- Crowd-Pleaser Status: Kids love the cheesy flavor, and adults appreciate the homemade quality over boxed versions. It’s a versatile dish that fits into busy weeknight dinners or Sunday batch cooking sessions.
- Customizable Base: While this recipe is fantastic on its own, it serves as a perfect canvas. You can add vegetables, different proteins, or spices to suit your taste. It adapts to your lifestyle.
What makes this Best Macaroni and Cheese Recipe different is the attention to detail in the cooking process. I’ve added tips on how to handle the roux and how to choose the right cheese blend. It’s not just about mixing ingredients; it’s about understanding how they interact. This approach ensures that every spoonful is consistent. It’s comfort food that respects your time and your lunchbox.
What Ingredients You Will Need
To make this work, you need quality components that play well together. The foundation is a classic roux-based cheese sauce, but the choice of cheese matters more than you might think. Some cheeses melt beautifully, while others grain out when heated. I’ve selected ingredients that balance flavor, meltability, and structural integrity for meal prep.
- Elbow Macaroni: Use about 1 pound (450g) of dried elbow macaroni. The shape holds sauce well. I prefer a sturdy pasta that won’t break down during the second bake. Look for brands made from hard durum wheat for better texture retention.
- Unsalted Butter: You will need 1/2 cup (113g) of unsalted butter. This forms the base of the roux. Using unsalted allows you to control the sodium level, which is important when storing food for several days.
- All-Purpose Flour: 1/2 cup (60g) of flour is needed to thicken the sauce. This creates the roux that binds the fat and liquid together. Whisking it smoothly is crucial to avoid lumps.
- Whole Milk: 4 cups (960ml) of whole milk provides richness and creaminess. You can use 2% if you prefer, but whole milk helps the sauce stay smooth when reheated. Room temperature milk blends easier.
- Heavy Cream: 1 cup (240ml) of heavy cream adds extra stability to the sauce. This helps prevent separation during the reheating process. It’s a small addition that makes a big difference in texture.
- Sharp Cheddar Cheese: 3 cups (about 340g) of freshly shredded sharp cheddar. Freshly shredded is non-negotiable. Pre-shredded cheese contains anti-caking agents that prevent smooth melting. Buy a block and grate it yourself.
- Gruyère Cheese: 1 cup (about 100g) of grated Gruyère. This Swiss cheese adds a nutty, complex flavor that elevates the dish. It also melts beautifully without becoming stringy.
- Monterey Jack Cheese: 1 cup (about 113g) of shredded Monterey Jack. This cheese is known for its mild flavor and excellent meltability. It helps create that gooey, stretchy texture we all love.
- Dijon Mustard: 1 tablespoon of Dijon mustard. This might seem odd, but it cuts through the richness of the cheese. It adds a subtle depth of flavor that balances the dish.
- Garlic Powder: 1 teaspoon of garlic powder. Fresh garlic can burn in the oven, so powder is safer for baking. It adds a savory background note.
- Smoked Paprika: 1/2 teaspoon of smoked paprika. This gives a hint of smokiness that mimics a baked topping. It adds complexity without overwhelming the cheese flavor.
- Salt and Black Pepper: To taste. Remember that cheeses are already salty, so start with less salt and adjust after tasting.
- Panko Breadcrumbs: 1/2 cup of panko breadcrumbs for the topping. Panko stays crispier than regular breadcrumbs. This is essential for the “still crisp on Wednesday” goal.
- Melted Butter: 2 tablespoons of melted butter to toss with the panko. This ensures the topping browns evenly and stays crunchy.
I recommend using a microplane for grating your cheese. It creates fluffy shreds that melt faster and more evenly. For the breadcrumbs, I sometimes toast them lightly in a pan with a little butter before adding them to the dish. This step guarantees they stay crunchy even after sitting in the fridge overnight.
Equipment Needed
You don’t need a lot of fancy gadgets to make this Best Macaroni and Cheese Recipe, but having the right tools makes the process smoother. Here is what you will need to gather before you start cooking.
- Large Pot: A 6-quart or larger pot for boiling the pasta. You need enough water for the macaroni to move around freely. This prevents sticking and ensures even cooking.
- Colander: A sturdy colander to drain the pasta. Make sure it fits in your sink and has small holes to keep the macaroni from slipping through.
- Large Dutch Oven or Heavy-Bottomed Saucepan: This is crucial for making the sauce. A heavy bottom prevents scorching. A 4-quart size works well for this amount of sauce.
- Whisk: A good quality silicone or metal whisk. You need this to break up lumps in the roux and keep the sauce smooth. A fork won’t do the job here.
- Microplane Grater: As mentioned earlier, this is the best tool for shredding cheese. It creates fine shreds that melt instantly. It’s worth the investment if you cook with cheese often.
- Measuring Cups and Spoons: For accuracy. Cooking is chemistry, especially when dealing with emulsions like cheese sauce. Precise measurements help ensure consistency.
- Meal Prep Containers:
- Baking Dish: A 9×13 inch baking dish for assembling the casserole. Glass or ceramic works well. It should be deep enough to hold the pasta and sauce without overflowing.
If you don’t have a Dutch oven, a large skillet can work for the sauce, but you’ll need to transfer it to a baking dish. I’ve found that non-stick pans can sometimes leave a residue on the roux, so stainless steel or enameled cast iron is preferred. Clean your equipment well between steps to avoid cross-contamination.
Preparation Method
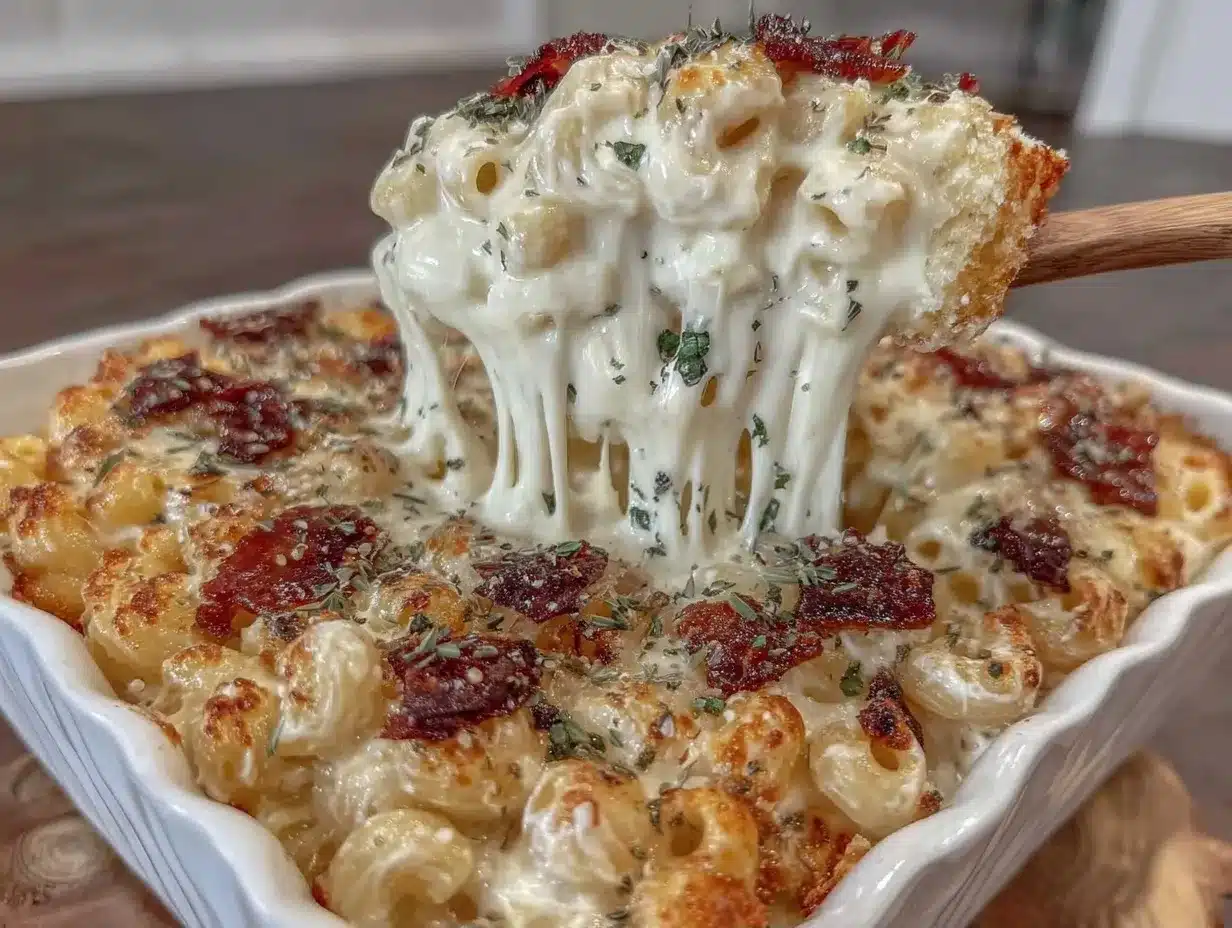
Let’s get into the nitty-gritty of making this Best Macaroni and Cheese Recipe. The process is straightforward, but timing is everything. We want to build layers of flavor and texture that will hold up over time. Follow these steps carefully for the best results.
- Boil the Pasta (10 minutes): Bring a large pot of salted water to a rolling boil. Add the elbow macaroni. Cook it for 2 minutes less than the package directions call for. We want it al dente, firm to the bite. This is critical because the pasta will cook more in the oven. Drain the pasta immediately and rinse it with cold water to stop the cooking process. Toss with a tiny bit of oil to prevent sticking. Set aside.
- Make the Roux (5 minutes): In your Dutch oven or saucepan, melt the 1/2 cup of butter over medium heat. Once melted and foamy, sprinkle in the flour. Whisk constantly for about 2 minutes. You want a golden blonde color. Do not let it brown too much, or it will taste nutty and bitter. The mixture should look like wet sand.
- Add the Liquids (5 minutes): Slowly pour in the milk while whisking vigorously. It’s important to add it gradually to avoid lumps. Once all the milk is in, add the heavy cream. Continue to whisk and cook until the mixture thickens enough to coat the back of a spoon. This should take about 5-7 minutes. Do not let it boil over.
- Incorporate Cheese (3 minutes): Remove the pan from the heat. This is a key step to prevent the sauce from breaking. Stir in the Dijon mustard, garlic powder, and smoked paprika. Then, add the shredded cheeses one cup at a time. Stir until each cup is fully melted before adding the next. The residual heat will melt the cheese smoothly. Season with salt and pepper to taste.
- Combine Pasta and Sauce (2 minutes): Add the cooked and drained macaroni to the cheese sauce. Stir gently to coat every noodle. The mixture should look glossy and thick. If it seems too thick, add a splash of milk. If too thin, let it sit for a minute to thicken further.
- Prepare the Topping (2 minutes): In a small bowl, mix the panko breadcrumbs with the 2 tablespoons of melted butter. Stir until the crumbs are evenly coated and look like wet sand. This ensures they toast evenly in the oven.
- Assemble the Casserole (5 minutes): Preheat your oven to 375°F (190°C). Pour the macaroni and cheese mixture into your 9×13 baking dish. Spread it out evenly. Sprinkle the buttered panko breadcrumbs over the top. Press them down lightly so they adhere to the sauce.
- Bake (20 minutes): Place the dish in the oven. Bake for 20 minutes, or until the topping is golden brown and the sauce is bubbling around the edges. If you want a darker crust, broil for the last 1-2 minutes, but watch it closely so it doesn’t burn.
- Cool and Portion (15 minutes): Let the casserole cool for at least 15 minutes before cutting or portioning. This allows the sauce to set slightly. This step is vital for meal prep. It prevents the pasta from becoming mushy when you scoop it into containers. Divide into your meal prep containers once completely cool.
When you portion the pasta, leave a little space in the container for air circulation. This helps it cool faster and prevents condensation from making the top soggy. Store the containers in the fridge immediately. This Best Macaroni and Cheese Recipe is now ready for the week ahead.
Cooking Tips & Techniques
I’ve made my fair share of mistakes in the kitchen, and some of them were cheesy disasters. Here are some tips I’ve learned along the way to help you succeed with this recipe.
Don’t Skip the Cold Rinse: Rinsing the pasta after boiling is non-negotiable for meal prep. It stops the cooking process and removes excess starch. If you don’t do this, the pasta will continue to cook in the residual heat and become mushy by Wednesday.
Grate Your Own Cheese: I cannot stress this enough. Pre-shredded cheese is coated in cellulose, which prevents clumping in the bag but creates a grainy sauce. Freshly grated cheese melts smoothly and creates a creamy emulsion. It takes an extra ten minutes, but it is worth it.
Control the Heat: When making the roux, keep the heat at medium. If it’s too high, the flour will burn. If it’s too low, the sauce won’t thicken properly. You want a steady, gentle simmer. Whisking constantly is your best friend here.
Remove from Heat for Cheese: Adding cheese to a boiling sauce can cause the oils to separate. Always remove the pan from the burner before adding the cheese. The residual heat is enough to melt it smoothly. This simple trick saves your sauce.
Toast the Breadcrumbs: While tossing panko with butter works, toasting them lightly in a pan first adds an extra layer of crunch. It ensures they stay crisp even after sitting in the fridge. I do this every time now.
Cool Completely Before Storing: Putting hot food in the fridge raises the temperature of your refrigerator and can spoil other foods. It also creates steam, which leads to sogginess. Let the mac and cheese cool to room temperature before covering and refrigerating.
Variations & Adaptations
One of the best things about this Best Macaroni and Cheese Recipe is how adaptable it is. You can tweak it to fit your dietary needs or taste preferences without losing the core structure.
Vegetable Boost: Add steamed broccoli florets or sautéed spinach to the pasta before baking. The greens add color and nutrients. Broccoli pairs especially well with the sharp cheddar flavor. Just make sure to squeeze out excess water from the vegetables first.
Protein Additions: For a heartier meal, stir in cooked bacon bits, grilled chicken strips, or sautéed sausage. These add savory depth and make the dish more filling. They also hold up well in the fridge.
Gluten-Free Option: Use gluten-free elbow macaroni. Be sure to check the package instructions, as GF pasta often cooks faster or requires different water ratios. Use gluten-free breadcrumbs for the topping. The sauce technique remains the same.
Dairy-Free Twist: Swap the butter and milk for dairy-free alternatives. Use a high-quality vegan butter and a plain, unsweetened plant-based milk. There are many vegan cheese brands that melt well, though the flavor will be different. Nutritional yeast can add a cheesy flavor note.
Spicy Kick: Add diced jalapeños or a dash of cayenne pepper to the sauce. This balances the richness with heat. It’s a great option if you like your lunch with a bit of a zing.
I once tried adding caramelized onions to this recipe. It was delicious, but the onions released moisture that made the sauce runny. If you want to add onions, make sure they are completely dry and caramelized before mixing them in.
Serving & Storage Suggestions
This Best Macaroni and Cheese Recipe is designed for longevity. Here is how to keep it tasting fresh all week long.
Storage: Store the cooled mac and cheese in airtight glass containers in the refrigerator. It will stay fresh for up to 5 days. Make sure the lids are sealed tightly to prevent the pasta from drying out.
Reheating: The best way to reheat is in the microwave. Place a portion in a microwave-safe bowl. Add a splash of milk or water before heating. This helps restore the creaminess. Heat in 30-second intervals, stirring in between, until warm. You can also reheat it in the oven at 350°F for 15-20 minutes, covered with foil.
Serving: Serve it hot, straight from the container. It pairs well with a simple green salad or steamed vegetables. A crisp apple or some carrot sticks add a fresh crunch to balance the rich pasta.
Freezing: You can freeze this mac and cheese, but the texture may change slightly. The pasta might become softer upon thawing. If you freeze it, do so for up to 3 months. Thaw in the fridge overnight before reheating. Add extra liquid when reheating to compensate for absorption.
Flavor Development: Like many casseroles, this dish often tastes better on the second or third day. The flavors meld together, and the pasta absorbs the sauce more fully. Don’t be surprised if Wednesday’s lunch is your favorite.
Nutritional Information & Benefits
While this is a comfort food, it can be part of a balanced diet. Here is a general overview of the nutritional profile per serving (assuming 8 servings).
Each serving contains approximately 600 calories. The dish is rich in protein from the cheese and milk, providing about 25 grams per serving. It also offers calcium, which is essential for bone health. The butter and cream contribute to the fat content, making it satiating. If you are watching your sodium, be mindful of the cheese choice, as some brands are saltier than others.
For a lighter version, you can reduce the amount of butter and use lower-fat milk. However, this may affect the creaminess. The recipe is naturally gluten-free if you use GF pasta, making it accessible for those with sensitivities. It is not low-carb, so pair it with non-starchy vegetables to balance the meal.
I enjoy this recipe as a weekly treat. It provides comfort and satisfaction without leaving me feeling sluggish. The balance of carbs and protein helps sustain energy levels throughout the workday. It’s a practical choice for busy people who need reliable fuel.
Conclusion
Creating a meal prep-friendly mac and cheese was always going to be a challenge, but this Best Macaroni and Cheese Recipe proves it’s possible. You get the creamy, cheesy comfort you crave, without the soggy, mushy disappointment that usually comes with leftovers. It’s still crisp on Wednesday, not soggy, and it tastes just as good as when you first made it.
I hope you try this recipe and find it to be a staple in your weekly rotation. Feel free to add your own twists, whether it’s extra veggies or a different cheese blend. Cooking is about experimentation, and this recipe is a great base for that. I’d love to hear how you customize it. Leave a comment below and let me know your favorite addition.
Share this recipe with a friend who needs some lunch inspiration. Let’s make meal prep less stressful and more delicious together. Happy cooking, and enjoy every cheesy bite!
Frequently Asked Questions
Can I use fresh pasta for this recipe?
Fresh pasta cooks much faster and has a higher moisture content. It is not recommended for this meal prep recipe as it will turn to mush very quickly. Stick to dried elbow macaroni for the best texture retention.
Why did my cheese sauce break?
This usually happens if the sauce is too hot when you add the cheese. Always remove the pan from the heat before stirring in the cheese. Also, avoid using pre-shredded cheese, as the anti-caking agents can cause separation.
How do I prevent the pasta from getting dry in the fridge?
Make sure the pasta is fully coated in the sauce before storing. Also, add a splash of milk when reheating to restore moisture. Storing in airtight containers is also crucial to prevent air exposure.
Can I make this recipe in a slow cooker?
Yes, you can. After combining the pasta and sauce, transfer to a slow cooker. Cook on low for 2 hours. Stir occasionally. This method works well, but the texture may be slightly softer. The topping should be added in the last 30 minutes.
Is this recipe suitable for freezing?
Yes, it can be frozen for up to 3 months. However, the pasta may become softer upon thawing. Thaw in the refrigerator overnight and reheat with added liquid to improve the texture.
Pin This Recipe!
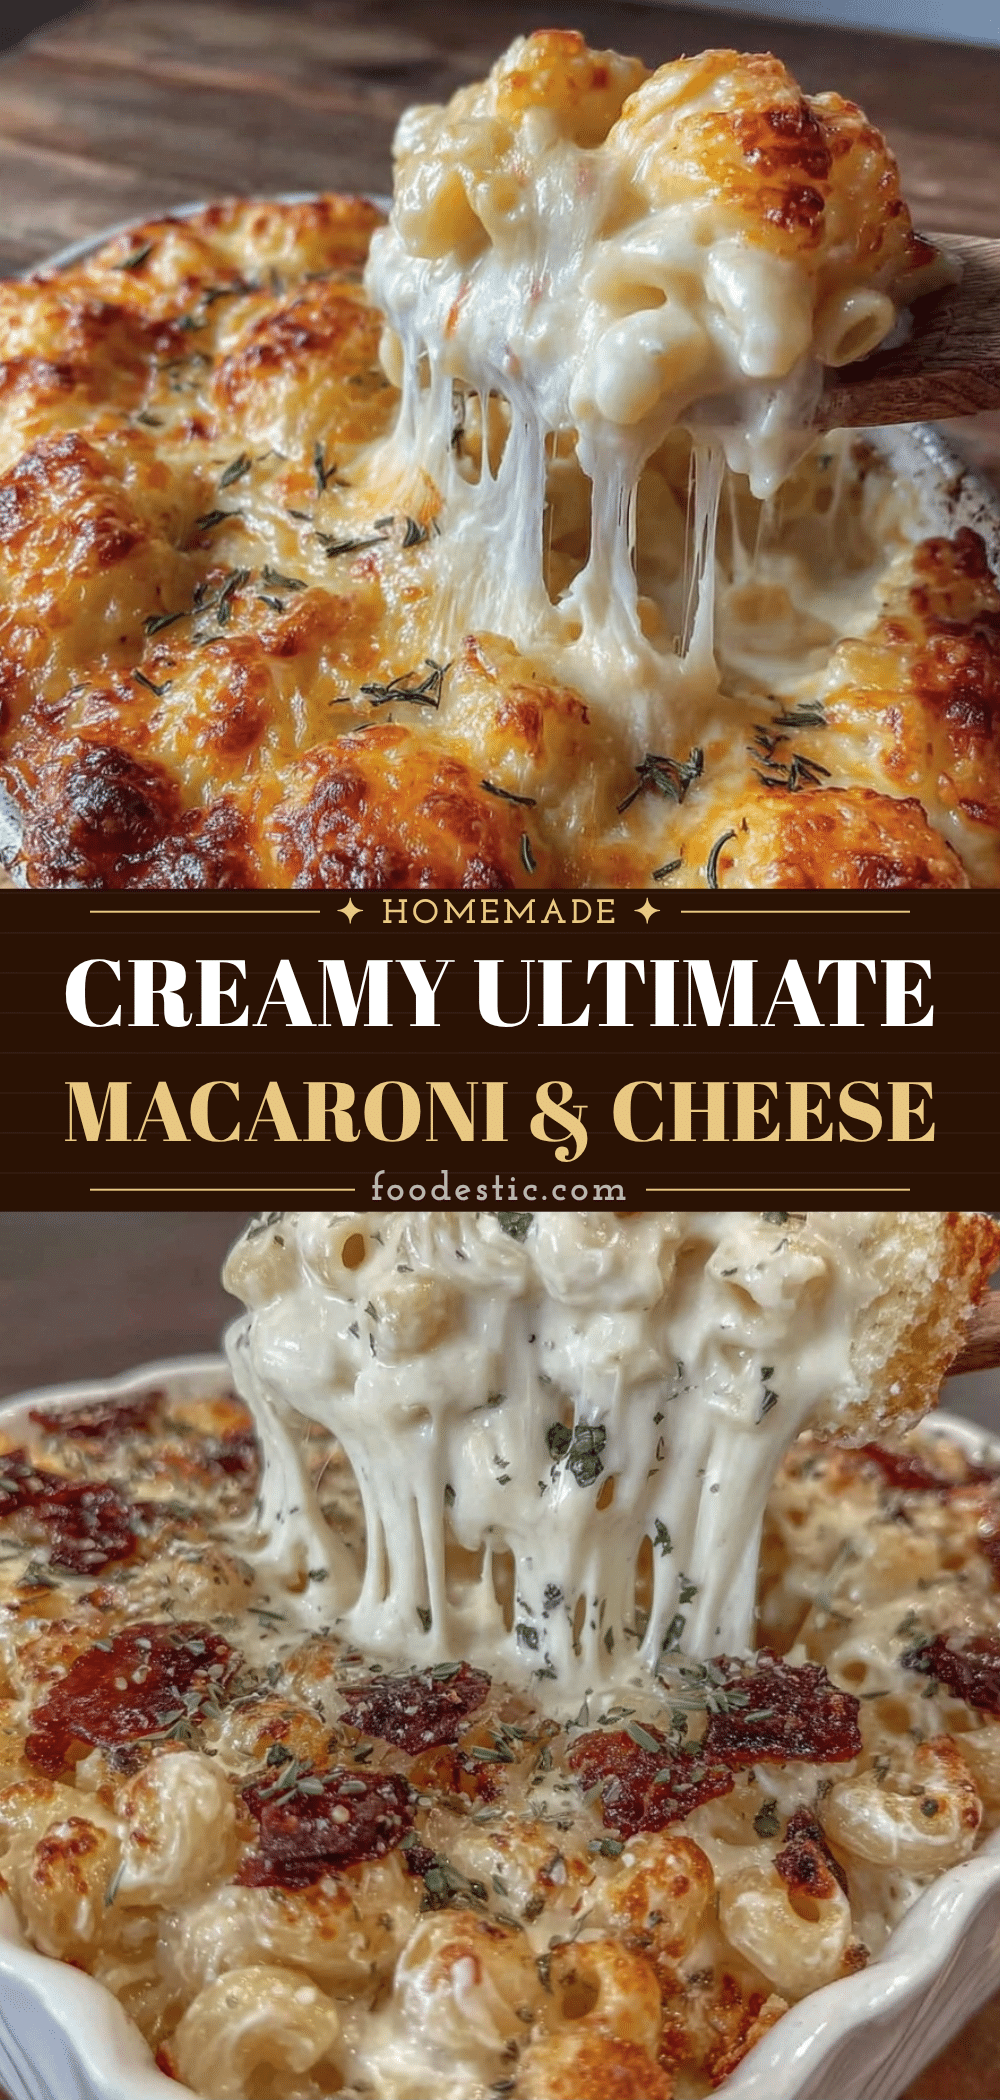

Best Macaroni and Cheese Recipe: Meal Prep That Stays Crisp
- Total Time: 50 minutes
- Yield: 8 servings 1x
Description
A meal-prep friendly macaroni and cheese recipe designed to stay creamy and crisp for days. This dish uses a specific technique of par-boiling pasta and a robust cheese sauce to prevent sogginess, making it perfect for weekly batch cooking.
Ingredients
- 1 pound (450g) dried elbow macaroni
- 1/2 cup (113g) unsalted butter
- 1/2 cup (60g) all-purpose flour
- 4 cups (960ml) whole milk
- 1 cup (240ml) heavy cream
- 3 cups (340g) freshly shredded sharp cheddar cheese
- 1 cup (100g) grated Gruyère cheese
- 1 cup (113g) shredded Monterey Jack cheese
- 1 tablespoon Dijon mustard
- 1 teaspoon garlic powder
- 1/2 teaspoon smoked paprika
- Salt and black pepper to taste
- 1/2 cup panko breadcrumbs
- 2 tablespoons melted butter
Instructions
- Boil a large pot of salted water. Add elbow macaroni and cook for 2 minutes less than package directions. Drain immediately, rinse with cold water to stop cooking, toss with a tiny bit of oil, and set aside.
- In a Dutch oven or heavy-bottomed saucepan, melt 1/2 cup butter over medium heat. Sprinkle in flour and whisk constantly for 2 minutes until golden blonde and resembling wet sand.
- Slowly pour in milk while whisking vigorously to avoid lumps. Add heavy cream. Continue whisking and cook until the mixture thickens enough to coat the back of a spoon (5-7 minutes). Do not let it boil over.
- Remove the pan from the heat. Stir in Dijon mustard, garlic powder, and smoked paprika. Add shredded cheeses one cup at a time, stirring until fully melted before adding the next. Season with salt and pepper.
- Add the cooked macaroni to the cheese sauce and stir gently to coat every noodle. Adjust consistency with a splash of milk if too thick.
- In a small bowl, mix panko breadcrumbs with 2 tablespoons melted butter until evenly coated.
- Preheat oven to 375°F (190°C). Pour macaroni and cheese mixture into a 9×13 inch baking dish. Sprinkle buttered panko breadcrumbs over the top and press lightly.
- Bake for 20 minutes until topping is golden brown and sauce is bubbling. Optionally broil for 1-2 minutes for a darker crust.
- Let casserole cool for at least 15 minutes to allow sauce to set. Portion into airtight glass containers once completely cool.
Notes
Rinsing the pasta after boiling is crucial to stop the cooking process and remove excess starch. Always grate your own cheese to avoid anti-caking agents that prevent smooth melting. Remove the pan from heat before adding cheese to prevent separation. Cool completely before storing to prevent condensation and sogginess.
- Prep Time: 30 minutes
- Cook Time: 20 minutes
- Category: Main Course
- Cuisine: American
Nutrition
- Serving Size: 1/8 of the casserole
- Calories: 600
- Sugar: 8
- Sodium: 800
- Fat: 35
- Saturated Fat: 20
- Carbohydrates: 45
- Fiber: 2
- Protein: 25
Keywords: macaroni and cheese, meal prep, batch cooking, comfort food, cheesy pasta, make ahead lunch, crispy mac and cheese