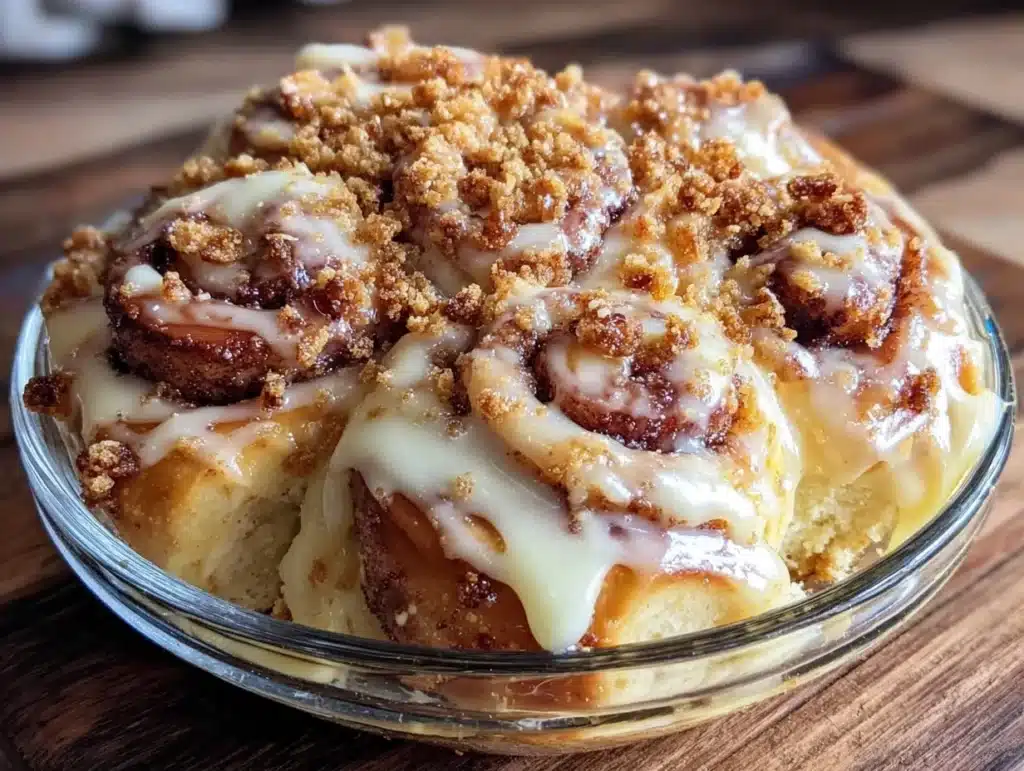
There is a specific kind of magic that happens when you mix warm cookie butter with flaky, yeast-risen dough. Honestly, it feels like cheating. I remember the first time I attempted this during a chaotic Sunday meal prep session, I was skeptical. I had a stack of leftover cinnamon roll dough and a jar of Biscoff spread that was begging to be used. You know how it is when you have random ingredients staring at you from the pantry? That was me.
I decided to roll them up, bake them, and then freeze them. The result was not just a breakfast treat, but a surprisingly robust lunch option for the days ahead. These aren’t your standard, sugary breakfast-only rolls. They are dense enough to satisfy a midday hunger pangs but sweet enough to feel like a dessert. I’ve tested this recipe over a dozen times, tweaking the ratios of the swirl and the proofing time to get that perfect texture. It’s the lunch formula that works with whatever you’ve got, especially when you want something comforting without the fuss.
Let’s face it, midweek lunches can get dreary. You’re tired of salads and cold sandwiches. These Biscoff cinnamon rolls offer a warm, spiced, creamy contrast that actually makes you look forward to opening your lunchbox. They travel well, reheat beautifully, and keep you full for hours. If you are someone who plans ahead to avoid the 3 PM crash, this is your new best friend. It’s comfort food reimagined for the busy professional who still wants to enjoy their meals.
Why You’ll Love This Recipe
After spending years perfecting my meal prep system, I can tell you that not all make-ahead recipes are created equal. Some turn soggy. Some lose their flavor. But this Biscoff cinnamon roll recipe stands out because it holds its structure and actually improves in flavor after a day or two in the fridge. I’ve shared this with my office crew, and let me tell you, the comments have been nothing but rave reviews. It’s the kind of recipe that makes you close your eyes after the first bite of the warmed-up roll.
- Quick & Easy Prep: While the dough requires rising time, the actual assembly is straightforward. You can prep these on Sunday and have your lunches ready for the entire week without spending hours in the kitchen.
- Simple Ingredients: You likely already have most of this in your kitchen. Flour, sugar, yeast, butter, and that crucial jar of cookie butter. No fancy grocery trips needed for obscure spices.
- Perfect for Meal Prep: These are designed to be frozen and reheated. They don’t dry out like some pastries do. They stay soft and chewy, which is essential for a lunch that sits in a container until noon.
- Crowd-Pleaser: The combination of cinnamon and Biscoff is universally loved. Even people who aren’t huge fans of sweet breakfast foods usually give these a try and come back for seconds.
- Unbelievably Delicious: The texture is next-level comfort food. The exterior gets slightly crisp, while the interior remains pillowy soft, soaked in that caramelized cookie butter swirl.
What makes this different from the rest is the focus on longevity. Most cinnamon roll recipes are meant to be eaten warm, right out of the oven. This one is engineered for the week ahead. It’s healthier in the sense that it’s less processed than store-bought pastries, faster than making bread from scratch every morning, but with the same soul-soothing satisfaction. It turns a simple meal into something memorable without any stress.
What Ingredients You Will Need
This recipe uses simple, wholesome ingredients to deliver bold flavor and satisfying texture without the fuss. The key here is quality. Since there are only a few components, each one plays a huge role in the final taste. I recommend using high-quality active dry yeast and fresh milk for the best rise. For the Biscoff element, I always stick to Lotus Biscoff Spread because it has the perfect consistency and spice profile. Look for firm, small-curd cottage cheese if you want to add protein to the dough, but traditional butter works too for a richer taste.
- All-Purpose Flour (2 1/4 cups / 280g): The foundation of the dough. Don’t substitute with whole wheat unless you want a denser roll, as this recipe relies on the lightness of AP flour.
- Active Dry Yeast (1 packet / 2 1/4 tsp): Essential for the rise. Make sure it’s not expired, or your rolls will be flat. I prefer Fleischmann’s for reliability.
- Warm Milk (1 cup / 240ml): Helps activate the yeast and adds moisture. It should be around 110°F (43°C)—warm to the touch but not hot.
- Granulated Sugar (1/4 cup / 50g): Feeds the yeast and adds a hint of sweetness to the dough itself.
- Unsalted Butter (4 tbsp / 60g): Melted and cooled slightly. Adds richness and tenderness to the crumb.
- Egg (1 large): Room temperature. Helps bind the dough and adds structure.
- Salt (1 tsp): Balances the sweetness and strengthens the gluten structure.
- Biscoff Cookie Butter Spread (1/2 cup / 120g): The star of the show. Make sure it’s well-stirred before using.
- Brown Sugar (1/2 cup / 100g): For the swirl. Adds a caramel-like depth.
- Ground Cinnamon (2 tsp): Don’t skimp on this. It’s the aromatic backbone of the roll.
- Heavy Cream or Milk (for brushing): Optional, but helps the sugar stick and adds a soft crust.
For substitutions, you can use almond flour for a gluten-free option, though the texture will be more crumbly. Swap dairy milk with oat milk if needed, but note that the rise might be slightly less vigorous. I’ve tried coconut yogurt in the dough, and it works, but the flavor changes slightly. Stick to the basics for the most authentic result.
What Equipment Do I Need?
You don’t need a lot of fancy gadgets to make this. A large mixing bowl is essential for combining the dough. A stand mixer with a dough hook is helpful, but you can easily do this by hand if you have the arm strength. I personally use my stand mixer to save time and ensure consistent kneading.
A 9×13 inch baking dish is standard for this batch size. If you don’t have one, a large cast-iron skillet works well too. A pastry brush is useful for applying any egg wash or cream. For storage, airtight containers or heavy-duty freezer bags are a must. I recommend keeping a dedicated set of containers for your meal prep to avoid washing them every day. A sharp knife or dental floss is great for slicing the rolls cleanly before baking or reheating.
Preparation Method
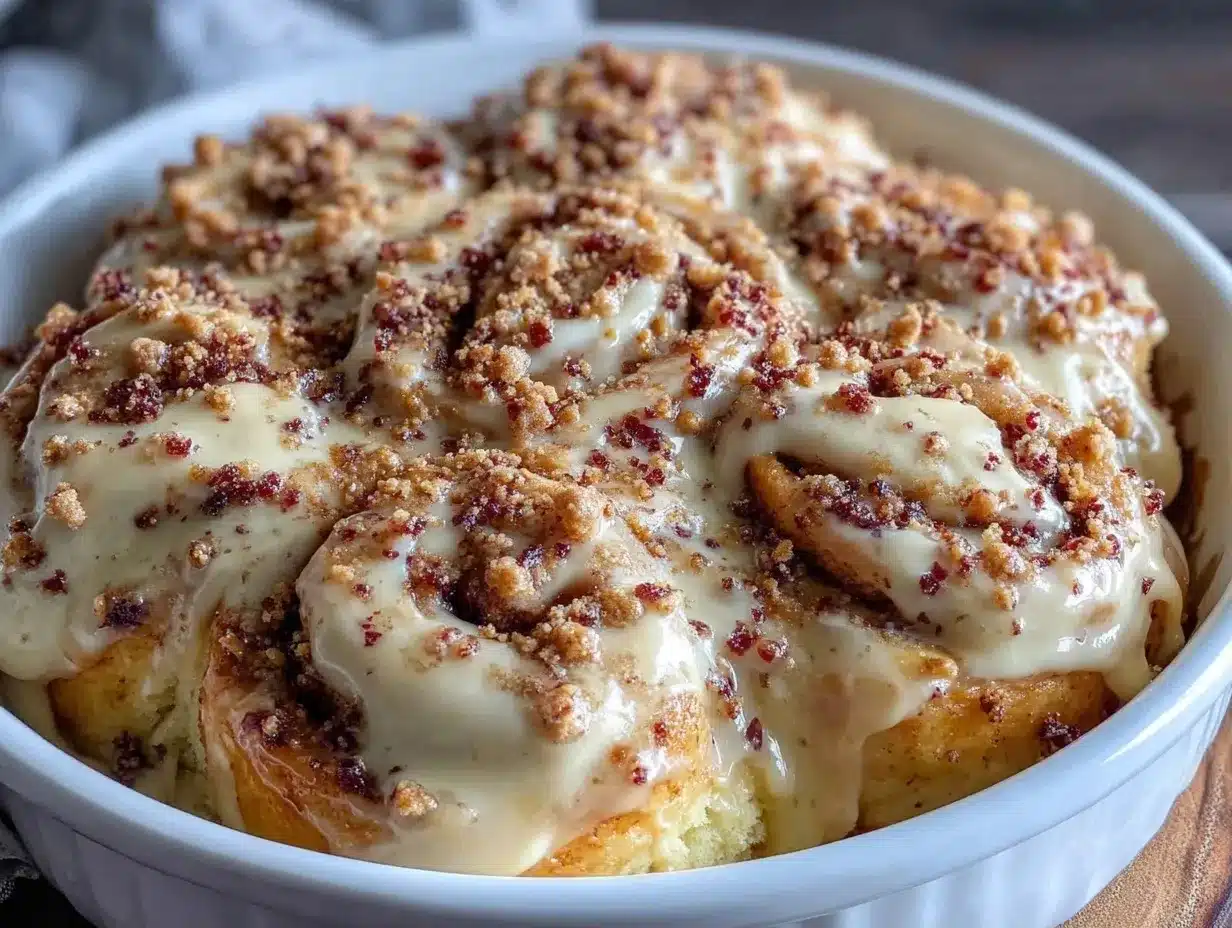
Getting these rolls right is all about patience with the dough and precision with the swirl. Here is how I break it down for a successful week of lunches.
- Activate the Yeast: In a small bowl, combine the warm milk, sugar, and yeast. Let it sit for 5-10 minutes until it becomes foamy. This step is crucial. If it doesn’t foam, your yeast is dead, and you need to start over. Trust me, I’ve learned this the hard way.
- Mix the Dough: In a large bowl, whisk together the flour and salt. Add the melted butter, egg, and the activated yeast mixture. Mix until a shaggy dough forms. If using a mixer, switch to the dough hook and knead for 5-7 minutes on medium speed. The dough should be smooth and elastic, pulling away from the sides of the bowl.
- First Rise: Lightly grease a clean bowl with oil. Place the dough inside, cover it with plastic wrap or a damp towel, and let it rise in a warm spot for 1-1.5 hours, or until doubled in size. This usually takes about an hour in my kitchen.
- Prepare the Swirl: While the dough rises, mix the brown sugar and cinnamon in a small bowl. In a separate small saucepan, gently warm the Biscoff spread with a tablespoon of butter to make it easier to spread. It should be soft, not hot.
- Shape the Rolls: Punch down the risen dough and transfer it to a lightly floured surface. Roll it out into a large rectangle, about 12×16 inches. Spread the Biscoff mixture evenly over the dough, leaving a small border at the edges. Sprinkle the cinnamon-sugar mixture generously over the Biscoff layer.
- Roll and Slice: Starting from the long edge, tightly roll the dough into a log. Use a sharp serrated knife to slice the log into 9-12 even rolls. Place them seam-side down in your greased 9×13 inch baking dish. Leave a little space between them if you want distinct rolls, or push them together for pull-apart style.
- Second Rise: Cover the dish again and let the rolls rise for another 30-45 minutes. They should look puffy and jiggly. This is the final proof before baking.
- Bake: Preheat your oven to 350°F (175°C). Bake the rolls for 25-30 minutes, or until they are golden brown on top. If they start browning too quickly, tent them with foil. Let them cool in the pan for 10 minutes before removing.
For meal prep, let them cool completely before freezing. This prevents condensation from making them soggy. Wrap each roll individually in plastic wrap, then place them in a freezer bag. They will keep for up to 3 months.
How to Get the Best Results
One common mistake is over-kneading the dough. Stop when it’s smooth and elastic. Overworking it can make the rolls tough. Another tip is to ensure your kitchen is warm for the rising stages. Yeast loves warmth. If your kitchen is cold, put the dough in the oven with just the light on for a warm spot.
When rolling the dough, keep it even. If one end is thicker, the rolls will bake unevenly. Use a ruler if you have to! Also, don’t skip the second rise. This is what gives you that light, airy texture. If you bake them immediately after shaping, they will be dense. Patience pays off here.
I also recommend using dental floss to slice the rolls if you don’t have a sharp knife. It cuts through the dough cleanly without squishing the layers. It’s a game-changer for presentation.
Can I Make These Different?
Absolutely. Here are a few variations I’ve tried that work well for different dietary needs or taste preferences.
- Gluten-Free Option: Use a 1:1 gluten-free flour blend. Note that GF dough doesn’t rise the same way, so the rolls will be denser. Add an extra egg to help bind them.
- Vegan Version: Use plant-based milk and butter. Replace the egg with a flax egg (1 tbsp ground flaxseed mixed with 3 tbsp water). The Biscoff spread is naturally vegan, which is great.
- Lower Sugar: Reduce the brown sugar in the swirl by half and use a sugar-free Biscoff alternative if you can find one. You can also add a pinch of nutmeg for extra flavor without sugar.
- Chocolate Twist: Add a layer of chocolate chips or cocoa powder to the swirl. This makes it feel like a dessert roll, which is perfect for a treat lunch.
My personal favorite variation is adding a thin layer of cream cheese to the swirl. It adds a tangy contrast to the sweet Biscoff and makes the roll feel more substantial.
How to Serve and Store
For the best lunch experience, store these in the refrigerator or freezer. When you’re ready to eat, remove one roll from the freezer and microwave it for 30-60 seconds. It should be warm and soft. If you’re eating it cold, it still tastes great, but the Biscoff flavor is more pronounced when warm.
Pair these with a hot coffee or a glass of cold milk for a classic combo. They also go well with a side of fresh fruit or yogurt if you want a balanced meal. The flavors develop over time, so they actually taste better on day two or three after the spices have melded together.
For storage, keep them in an airtight container at room temperature for up to 2 days. For longer storage, freeze them. They will last up to 3 months in the freezer. Just make sure to wrap them well to prevent freezer burn.
Is This Healthy?
While these are definitely a treat, they can fit into a balanced diet. The flour provides carbs for energy, and the egg adds protein. If you use the cottage cheese variation, you can boost the protein content significantly. One roll contains approximately 300-350 calories, depending on size. They are not low-carb, but they are a better alternative to store-bought pastries because you control the ingredients. I enjoy them as a special lunch treat rather than an everyday staple.
Conclusion
These Biscoff cinnamon rolls are more than just a recipe; they are a solution for midweek hunger. They are easy to make, delicious to eat, and perfect for meal prep. I hope you try this formula and find it as useful as I do. Feel free to customize it to your taste, whether that’s adding chocolate or going vegan. Let me know how you like them in the comments below!
Frequently Asked Questions
Can I use instant yeast instead of active dry yeast?
Yes, you can. You can mix instant yeast directly into the flour without activating it in milk first. The rising time might be slightly shorter, so keep an eye on the dough.
Why are my rolls dense?
This usually happens if the yeast was dead or if the dough didn’t rise enough. Make sure your milk is warm but not hot, and allow enough time for the dough to double in size.
Can I freeze the unbaked rolls?
Yes! After shaping, freeze the rolls on a baking sheet until solid, then transfer to a bag. When ready to bake, let them thaw and rise at room temperature before baking.
How do I reheat them without drying them out?
Wrap the roll in a damp paper towel and microwave for 30 seconds. This adds moisture back into the dough. Alternatively, bake them in a 350°F oven for 10 minutes.
Can I make these ahead for breakfast?
Absolutely. You can prepare them the night before, let them rise in the fridge overnight, and bake them in the morning. This is a great time-saver for busy weekdays.
Pin This Recipe!
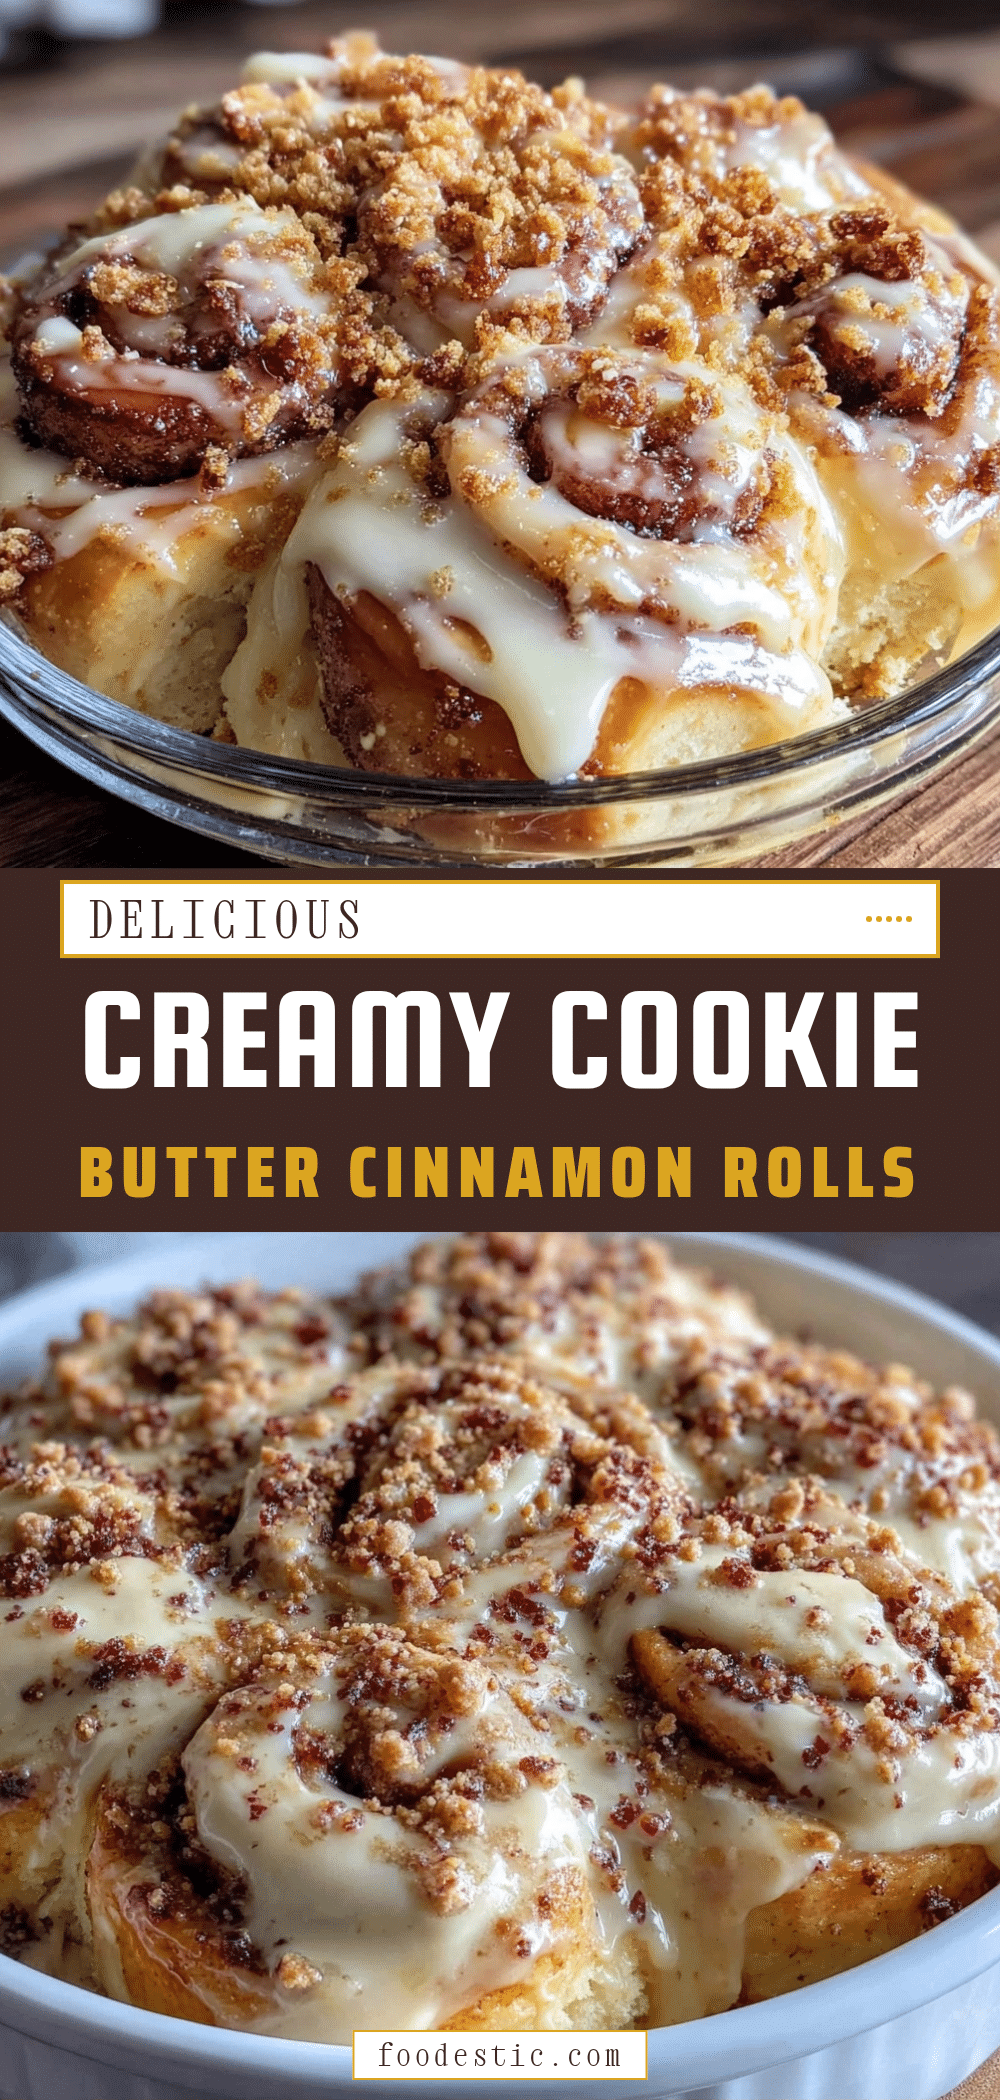

Biscoff Cinnamon Rolls: 5-Step Make-Ahead Lunch Formula
- Total Time: 1 hour 45 minutes
- Yield: 9-12 servings 1x
Description
These Biscoff cinnamon rolls are a perfect make-ahead lunch option that combines warm cookie butter with flaky, yeast-risen dough. They are designed to be frozen and reheated, offering a comforting, spiced, and creamy treat that travels well and stays soft for days.
Ingredients
- 2 1/4 cups (280g) All-Purpose Flour
- 1 packet (2 1/4 tsp) Active Dry Yeast
- 1 cup (240ml) Warm Milk
- 1/4 cup (50g) Granulated Sugar
- 4 tbsp (60g) Unsalted Butter, melted and cooled
- 1 large Egg, room temperature
- 1 tsp Salt
- 1/2 cup (120g) Biscoff Cookie Butter Spread
- 1/2 cup (100g) Brown Sugar
- 2 tsp Ground Cinnamon
- Heavy Cream or Milk (for brushing)
Instructions
- Activate the yeast by combining warm milk, sugar, and yeast in a small bowl. Let sit for 5-10 minutes until foamy.
- In a large bowl, whisk together flour and salt. Add melted butter, egg, and activated yeast mixture. Mix until a shaggy dough forms. Knead for 5-7 minutes until smooth and elastic.
- Place dough in a greased bowl, cover, and let rise in a warm spot for 1-1.5 hours until doubled in size.
- While dough rises, mix brown sugar and cinnamon. Gently warm Biscoff spread with a tablespoon of butter to make it spreadable.
- Punch down risen dough and roll out into a 12×16 inch rectangle on a floured surface.
- Spread Biscoff mixture evenly over the dough, leaving a border. Sprinkle cinnamon-sugar mixture generously over the Biscoff layer.
- Tightly roll the dough into a log from the long edge. Slice into 9-12 even rolls using a sharp knife or dental floss.
- Place rolls seam-side down in a greased 9×13 inch baking dish. Cover and let rise for another 30-45 minutes until puffy.
- Preheat oven to 350°F (175°C). Bake rolls for 25-30 minutes until golden brown. Tent with foil if browning too quickly.
- Cool in the pan for 10 minutes before removing. Cool completely before freezing for meal prep.
Notes
For meal prep, let rolls cool completely before freezing to prevent condensation. Wrap individually in plastic wrap and store in freezer bags for up to 3 months. To reheat, microwave for 30-60 seconds or bake at 350°F for 10 minutes. Ensure kitchen is warm during rising stages for best results. Do not over-knead the dough.
- Prep Time: 30 minutes
- Cook Time: 30 minutes
- Category: Breakfast
- Cuisine: American
Nutrition
- Serving Size: 1 roll
- Calories: 325
- Sugar: 22
- Sodium: 350
- Fat: 12
- Saturated Fat: 5
- Carbohydrates: 48
- Fiber: 2
- Protein: 6
Keywords: Biscoff, cinnamon rolls, meal prep, make-ahead lunch, cookie butter, yeast dough, comfort food, lunchbox ideas


