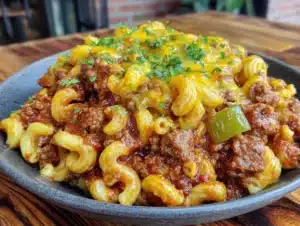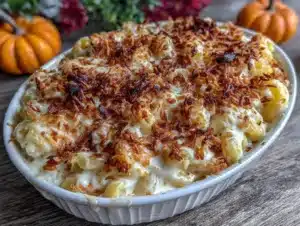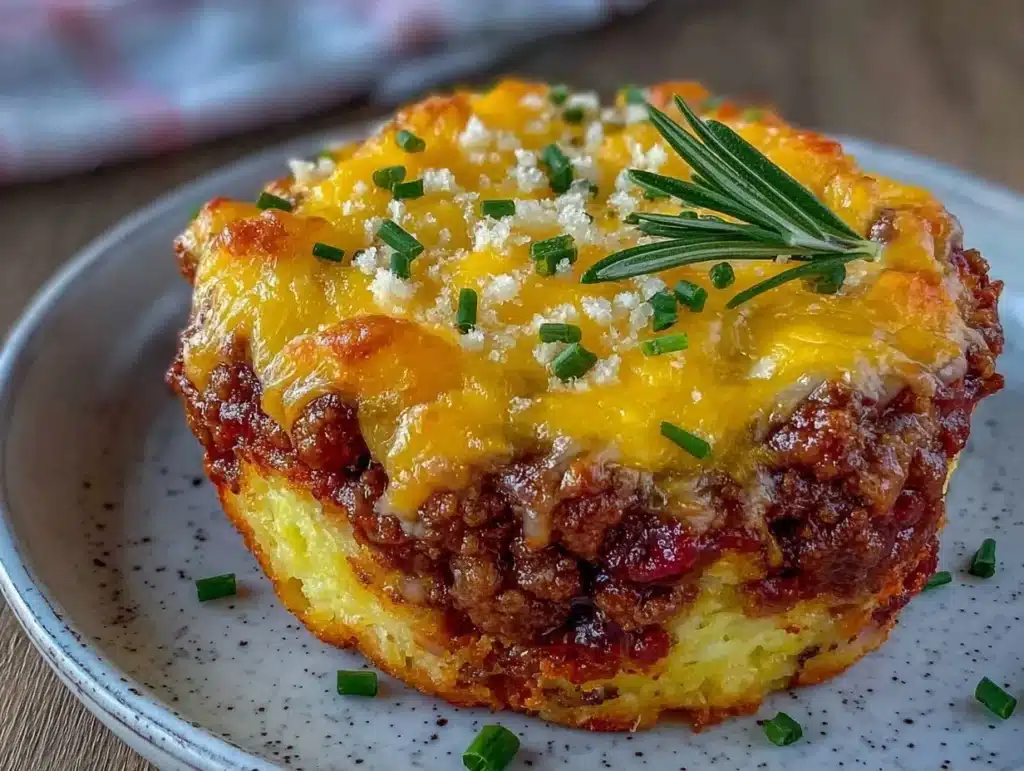
The smell of browning beef mixed with melted sharp cheddar is enough to make anyone stop what they are doing and stare at the oven. I remember the first time I made this burger bake, I was exhausted after a long week of work and grocery shopping. I didn’t have the energy to flip patties or grill anything outside. Honestly, I just wanted something hearty and comforting without the fuss. That night, I threw together a simple casserole using leftover ingredients. It turned out so good that my family begged me to make it again the very next day. Now, it is a staple in my weekly meal prep rotation.
This recipe is perfect for busy parents or anyone who loves the classic taste of a cheeseburger but wants to save time. You know how it goes, some nights you just want dinner to practically make itself. This burger bake with cheddar cheese delivers on flavor, texture, and ease. It tastes like a high-quality pub meal but requires minimal active cooking time. I have tested this recipe over a dozen times to get the ratios just right. As someone who preps meals for the whole week, I need dishes that hold up well in the fridge. This one does exactly that.
What makes this dish special is how the flavors meld together during the bake. The beef stays juicy, the cheese gets golden and bubbly, and the base absorbs all those savory juices. It is not just another version of a casserole; it is my best version of a comfort food classic. I use a specific blend of cheeses to ensure you get that stretchy, gooey pull in every bite. It is the kind of meal that makes you close your eyes after the first bite. It is comfort food reimagined—satisfying, fast, but with the same soul-soothing satisfaction you crave on a cold evening.
I also love that this burger bake reheats like it was just made. You know how some leftovers turn soggy or dry out after a day in the fridge? This one stays moist and flavorful. I pack it for lunch on Tuesday and it tastes as good as when I first baked it. If you are looking for a reliable dish that feeds a crowd or gives you several meals in one go, this is it. It is versatile enough for potlucks but simple enough for a quiet Tuesday night. Let’s face it, we all need a win in the kitchen sometimes. This recipe guarantees one.
Why You’ll Love This Recipe
There are a few reasons why this burger bake has earned a permanent spot in my recipe box. First, it is incredibly quick to assemble. You spend about ten minutes browning the meat and chopping veggies, then the oven does the rest. It is perfect for busy weeknights when you want to sit down and relax. I have found that having a system for meal prep makes all the difference. This dish fits right into that system.
Here are the standout benefits that make this recipe a winner:
- Quick & Easy: Comes together in under 45 minutes, perfect for busy weeknights or last-minute cravings. You can have dinner on the table before you know it.
- Simple Ingredients: No fancy grocery trips needed. You likely already have ground beef, cheddar cheese, and basic spices in your kitchen right now.
- Perfect for Meal Prep: Great for Sunday prep sessions. It stores beautifully and reheats evenly, making your weekday lunches stress-free.
- Crowd-Pleaser: Always gets rave reviews from kids and adults alike. Even picky eaters usually find something they like in this mix.
- Unbelievably Delicious: The texture and flavor combo is next-level comfort food. The contrast between the savory beef and the creamy cheese is unmatched.
What makes this recipe different from the rest is the attention to detail in the cheese choice. I recommend using a block of sharp cheddar that you grate yourself. Pre-shredded cheese often contains anti-caking agents that prevent it from melting smoothly. By grating it fresh, you get that silky, uniform melt that coats every bite. It is a small step that makes a huge difference in the final texture.
I also add a touch of sweetness with caramelized onions or a dash of brown sugar in the beef mix. This balances the saltiness of the cheese and beef beautifully. It is not just good—it is the kind of meal that reminds you of a cozy diner visit. It is healthier than eating out because you control the ingredients, but it still feels like a treat. Perfect for impressing guests without stress, or turning a simple meal into something memorable.
What Ingredients You Will Need
This recipe uses simple, wholesome ingredients to deliver bold flavor and satisfying texture without the fuss. Most of these items are pantry staples or common fridge items. You do not need to hunt for hard-to-find products. The beauty of this burger bake is its accessibility. You can adjust the ingredients based on what you have on hand. Here is what you will need to get started.
For the meat base:
- Ground Beef: 1.5 pounds (about 680 grams). I prefer 80/20 fat ratio for juiciness. Leaner beef can dry out during baking.
- Yellow Onion: 1 medium, finely diced. This adds a foundational sweetness to the savory beef.
- Garlic: 3 cloves, minced. Fresh garlic is a must for that aromatic depth.
- Worcestershire Sauce: 1 tablespoon. This umami booster adds complexity without overpowering.
- Yellow Mustard: 1 teaspoon. A classic burger ingredient that ties the flavor profile together.
For the cheese and topping:
- Sharp Cheddar Cheese: 2 cups, freshly grated. Sharp cheddar has more flavor than mild. I recommend brands like Cabot or Sargento for consistent quality.
- Mozzarella Cheese: 1 cup, shredded. This adds the stretchy, gooey texture we all love.
- Breadcrumbs: ½ cup, panko or regular. Panko gives a nicer crunch on top.
- Butter: 2 tablespoons, melted. Used to toss with breadcrumbs for a golden crust.
For the optional mix-ins:
- Green Bell Pepper: 1 small, diced. Adds a fresh crunch and color contrast.
- Tomatoes: 2 medium, sliced or diced. Adds juiciness, but pat them dry to avoid a soggy bake.
- Pickles: ¼ cup, chopped dill pickles. For that authentic burger shop taste.
I suggest looking for firm, small-curd cottage cheese if you want to add protein, though it is optional. For seasonal variations, in summer, swap in fresh corn kernels instead of bell peppers. You can also use almond flour for a gluten-free option if you swap the breadcrumbs. If you need a dairy-free option, use vegan cheddar shreds, though the melt may differ slightly. Keep this section scannable so you can grab your ingredients quickly. Avoid long paragraphs—this is just your shopping list.
Equipment Needed
You do not need a lot of fancy gadgets to make this burger bake. A standard 9×13 inch baking dish is all you really need. I use a ceramic dish because it heats evenly and keeps the food warm longer. Glass works too, but you might need to adjust baking time slightly. Make sure your dish is large enough to hold all the ingredients without overflowing.
A large skillet or frying pan is essential for browning the beef. I prefer cast iron because it retains heat well and gives a nice sear on the meat. If you do not have one, a non-stick skillet works perfectly fine. Just make sure it is large enough to cook the meat in a single layer. This helps the beef brown properly instead of steaming in its own juices.
A wooden spoon or silicone spatula is helpful for stirring the meat and onions. You will also need a grater for the cheese. I use a microplane or box grater for fine shreds that melt quickly. If you are buying pre-shredded cheese, skip the bag and buy a block. It saves money and improves the final texture significantly.
For serving, a sharp chef’s knife is useful for slicing the bake into neat squares. A large serving spoon helps scoop out generous portions. Keep your tools clean and organized while you cook. This makes the process feel less chaotic. Budget-friendly options like basic stainless steel pans work just as well as expensive ones. The key is using what you have with confidence.
Preparation Method
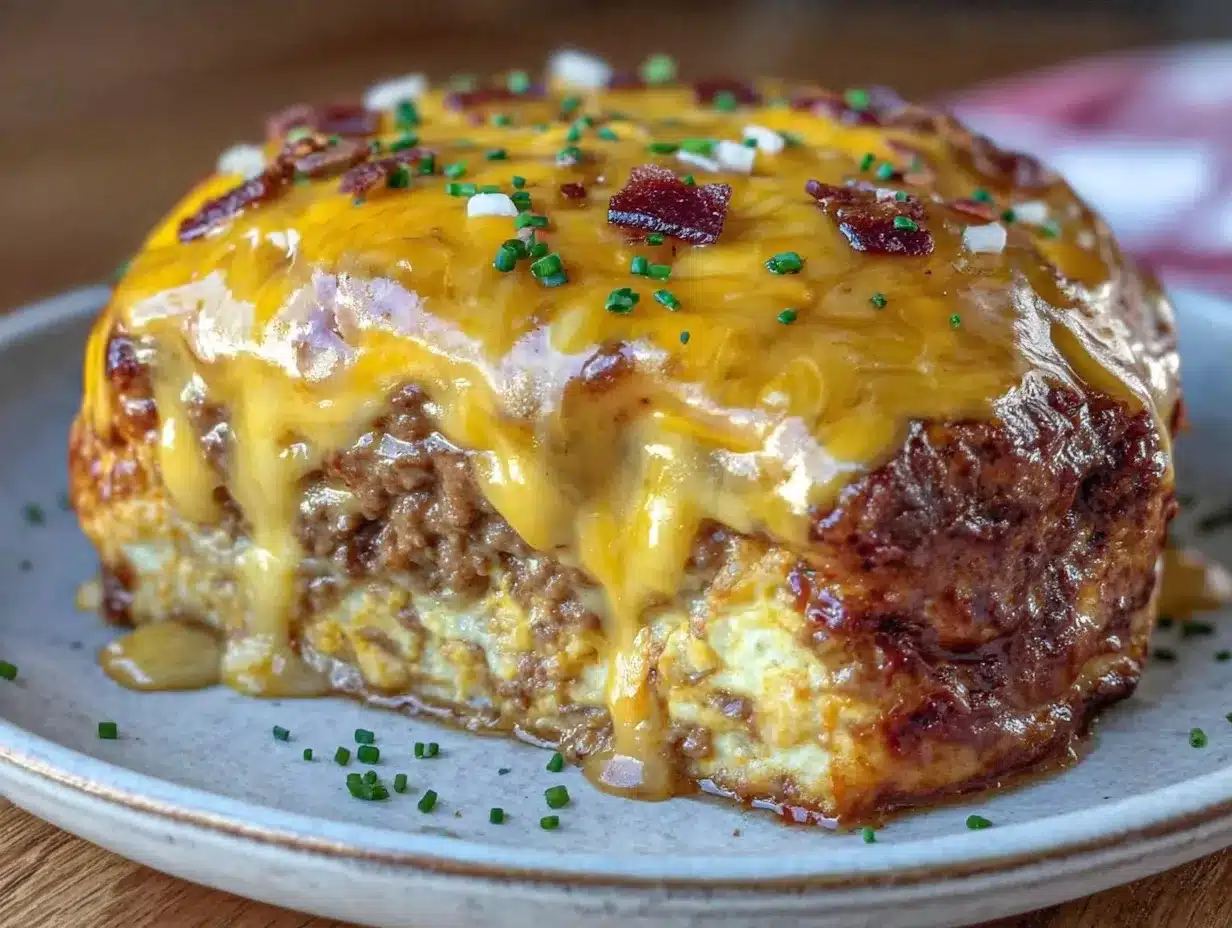
Let’s get cooking. This process is straightforward and forgiving. Follow these steps to create a delicious meal that will have your family asking for seconds.
- Preheat and Prep: Start by preheating your oven to 375°F (190°C). Grease your 9×13 inch baking dish with butter or cooking spray. This prevents sticking and makes cleanup easier. Take about 5 minutes for this step.
- Sauté the Aromatics: Heat the large skillet over medium heat. Add the diced onion and a splash of oil. Cook for 3-4 minutes until the onions are soft and translucent. Add the minced garlic and cook for another 30 seconds until fragrant. Do not burn the garlic, or it will taste bitter.
- Brown the Beef: Add the ground beef to the skillet. Break it up with your wooden spoon as it cooks. Cook for 5-7 minutes until no pink remains. Drain any excess fat if there is a lot, but leave a little for flavor. This step usually takes about 7 minutes.
- Season the Meat: Stir in the Worcestershire sauce, mustard, salt, and pepper. Mix well to distribute the seasonings evenly. Taste a small piece to check the seasoning. Adjust if needed. The mixture should smell savory and rich.
- Assemble the Base: Spread the seasoned beef mixture evenly into the bottom of the prepared baking dish. Press it down gently to create a flat layer. This ensures even cooking and makes slicing easier later.
- Add the Cheeses: Sprinkle the grated sharp cheddar and mozzarella evenly over the beef layer. If you are using tomatoes or pickles, add them now. Distribute them carefully so every slice gets some.
- Prepare the Topping: In a small bowl, mix the breadcrumbs with the melted butter. Sprinkle this mixture evenly over the cheese. This creates a crunchy contrast to the soft, cheesy interior. It adds a nice textural element.
- Bake: Place the dish in the preheated oven. Bake for 20-25 minutes. You are looking for the cheese to be fully melted and bubbly, and the topping to be golden brown. Keep an eye on it after 15 minutes to prevent burning.
- Rest and Serve: Remove the bake from the oven and let it rest for 5-10 minutes. This allows the layers to set, making it easier to cut into squares. Slice and serve warm.
If the topping starts browning too quickly, cover the dish loosely with foil. This protects the crumbs while the cheese finishes melting. The final product should look golden and inviting. The smell will fill your kitchen and make everyone hungry.
Cooking Tips & Techniques
I have learned a few tricks along the way to make this burger bake even better. One common mistake is using lean beef. I cannot stress this enough—use 80/20 ground beef. The fat keeps the meat moist during the baking process. Lean beef tends to dry out and become crumbly. If you only have lean beef, add a tablespoon of olive oil to the mix.
Another tip is to not overcrowd the skillet when browning the meat. Cook in batches if necessary. This ensures proper browning and develops flavor through the Maillard reaction. Steamed meat lacks that deep, savory taste. I also like to add a pinch of smoked paprika to the beef. It adds a subtle smokiness that mimics grilled burgers.
Timing is everything. Do not skip the resting period after baking. If you cut into it immediately, the layers might slide apart. Letting it rest allows the cheeses to firm up slightly and the juices to redistribute. This makes for cleaner slices and a better presentation.
Multitasking is key here. While the bake is in the oven, you can prepare a simple green salad or slice some fresh tomatoes. This way, dinner is ready to serve the moment you take the bake out of the oven. Consistency comes from practice. Try this recipe a few times to get a feel for your oven’s quirks. Some ovens run hot, so keep an eye on the browning.
Variations & Adaptations
This recipe is very flexible. You can adapt it to fit your dietary needs or taste preferences. Here are a few variations I have tried with success.
- Gluten-Free: Swap the regular breadcrumbs for gluten-free panko or crushed gluten-free crackers. Ensure your Worcestershire sauce is certified gluten-free, as some brands contain wheat.
- Low-Carb: Omit the breadcrumbs entirely. You can add chopped nuts or seeds for crunch, or just enjoy the cheesy top. Serve with cauliflower rice on the side.
- Vegetarian: Replace the ground beef with a plant-based ground meat alternative. Cook it according to package instructions. The spices and cheese will still provide plenty of flavor.
- Spicy Kick: Add diced jalapeños to the beef mixture. Use pepper jack cheese instead of mozzarella for extra heat. This is great for those who like a little fire in their food.
- Taco Style: Season the beef with taco seasoning instead of mustard and Worcestershire. Top with salsa and sour cream after baking. It is a fun fusion twist.
I personally love adding caramelized onions to the mix. It adds a sweet depth that pairs beautifully with the sharp cheddar. You can also swap the cheddar for gouda or gruyere for a more sophisticated flavor profile. These small changes keep the recipe fresh and exciting.
Serving & Storage Suggestions
This burger bake is best served warm. I recommend pairing it with a crisp green salad to balance the richness. A light vinaigrette works well. You can also serve it with pickles on the side for an authentic burger shop experience.
For storage, let the bake cool completely before covering it. Store it in an airtight container in the refrigerator for up to 4 days. It reheats beautifully in the microwave or oven. To reheat in the oven, wrap the dish in foil and warm at 350°F for 15-20 minutes. This prevents the cheese from drying out.
In the freezer, this bake can last for up to 3 months. Wrap individual portions tightly in plastic wrap and aluminum foil. Thaw in the fridge overnight before reheating. The flavors actually develop over time, making it even tastier on day two. I often make a double batch for this reason. It saves time during the busy workweek.
Nutritional Information & Benefits
This burger bake is a hearty source of protein and calcium. Ground beef provides iron and zinc, which are essential for energy and immune function. Cheddar cheese adds calcium and vitamin B12. However, it is also high in saturated fat and sodium, so enjoy it in moderation.
For those watching their weight, you can use leaner beef and reduce the cheese amount. The recipe is naturally gluten-free if you use GF breadcrumbs. It is also nut-free, making it safe for most schools or work environments. I always remind my clients that balance is key. This dish is a treat, not a daily staple.
From a wellness perspective, I love that it is satisfying. It keeps you full for hours, preventing late-night snacking. The combination of protein and fat helps stabilize blood sugar levels. It is a practical choice for busy lifestyles.
Conclusion
This burger bake with cheddar cheese is a game-changer for weeknight dinners. It is easy, delicious, and perfect for meal prep. I hope you give it a try and see why it is my favorite. Feel free to customize it with your favorite toppings. Add some avocado or bacon if you want to indulge.
I love this recipe because it brings comfort and convenience together. It reminds me of simpler times, but with a modern twist. Please share your results in the comments below. I love hearing how you adapt the recipe. Tag me on social media if you make it. Let’s inspire each other in the kitchen. Happy cooking!
FAQs
Can I freeze the burger bake?
Yes, you can freeze it. Wrap individual portions tightly in plastic wrap and foil. It will last for up to 3 months in the freezer. Thaw in the fridge before reheating.
What cheese is best for this recipe?
Sharp cheddar is best for flavor. Mozzarella adds the stretchy texture. You can use a blend of both for the perfect balance. Avoid pre-shredded cheese for better melting.
Can I use turkey instead of beef?
Yes, ground turkey works well. Just make sure to add a bit of oil or broth to keep it moist. Turkey is leaner, so it may not be as juicy as beef.
How do I prevent the bake from being too greasy?
Drain the excess fat from the beef after browning. Use leaner beef if you prefer less fat. You can also blot the meat with paper towels before assembling the bake.
Can I make this in a slow cooker?
It is not ideal for a slow cooker. The breadcrumbs may get soggy. The oven method provides the best texture and browning. Stick to the oven for best results.
Pin This Recipe!
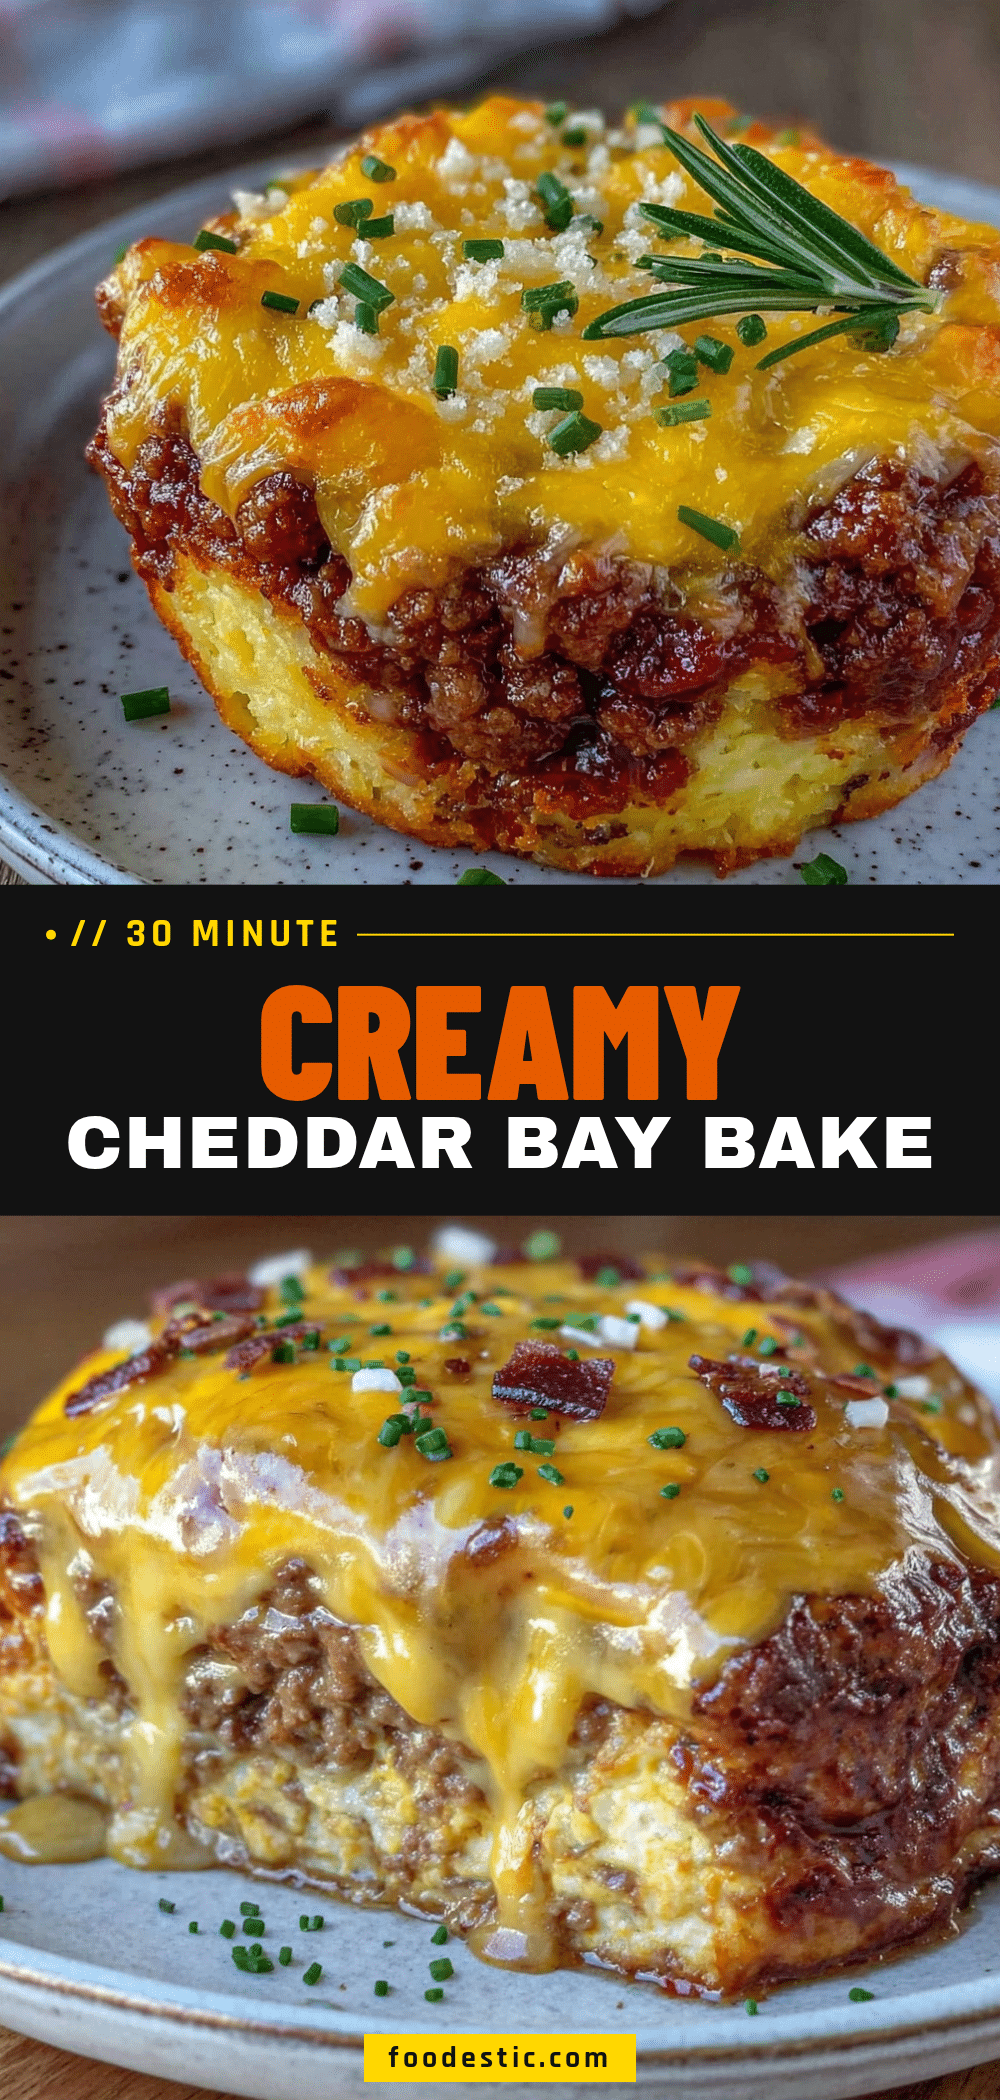

Burger Bake With Cheddar Cheese: Perfect Meal Prep
- Total Time: 45 minutes
- Yield: 6 servings 1x
Description
A hearty, comforting casserole that combines seasoned ground beef, melted sharp cheddar and mozzarella cheese, and a crunchy breadcrumb topping. This easy-to-make dish is perfect for busy weeknights and meal prep, reheating beautifully for leftovers.
Ingredients
- 1.5 pounds ground beef (80/20 fat ratio)
- 1 medium yellow onion, finely diced
- 3 cloves garlic, minced
- 1 tablespoon Worcestershire sauce
- 1 teaspoon yellow mustard
- 2 cups sharp cheddar cheese, freshly grated
- 1 cup mozzarella cheese, shredded
- ½ cup breadcrumbs (panko or regular)
- 2 tablespoons butter, melted
- Salt and pepper to taste
- Optional: 1 small green bell pepper, diced
- Optional: 2 medium tomatoes, sliced or diced
- Optional: ¼ cup chopped dill pickles
Instructions
- Preheat oven to 375°F (190°C) and grease a 9×13 inch baking dish with butter or cooking spray.
- Heat a large skillet over medium heat. Add diced onion and a splash of oil; cook for 3-4 minutes until soft and translucent.
- Add minced garlic to the skillet and cook for 30 seconds until fragrant.
- Add ground beef to the skillet, breaking it up with a spoon. Cook for 5-7 minutes until no pink remains. Drain excess fat if necessary.
- Stir in Worcestershire sauce, mustard, salt, and pepper. Mix well to distribute seasonings.
- Spread the seasoned beef mixture evenly into the bottom of the prepared baking dish.
- Sprinkle the grated sharp cheddar and mozzarella cheese evenly over the beef layer. Add optional mix-ins like tomatoes or pickles if using.
- In a small bowl, mix breadcrumbs with melted butter. Sprinkle this mixture evenly over the cheese.
- Bake for 20-25 minutes, or until the cheese is bubbly and the topping is golden brown.
- Remove from oven and let rest for 5-10 minutes before slicing and serving.
Notes
Use 80/20 ground beef for juiciness; leaner beef may dry out. Grate cheese fresh for better melting. Let the bake rest for 5-10 minutes after baking to allow layers to set for cleaner slicing. Can be stored in the fridge for up to 4 days or frozen for up to 3 months.
- Prep Time: 10 minutes
- Cook Time: 30 minutes
- Category: Main Course
- Cuisine: American
Nutrition
- Serving Size: 1 square slice
- Calories: 550
- Sugar: 3
- Sodium: 650
- Fat: 38
- Saturated Fat: 18
- Carbohydrates: 12
- Fiber: 1
- Protein: 35
Keywords: burger bake, cheddar cheese casserole, meal prep, ground beef recipe, comfort food, easy dinner, weeknight meals, cheesy bake