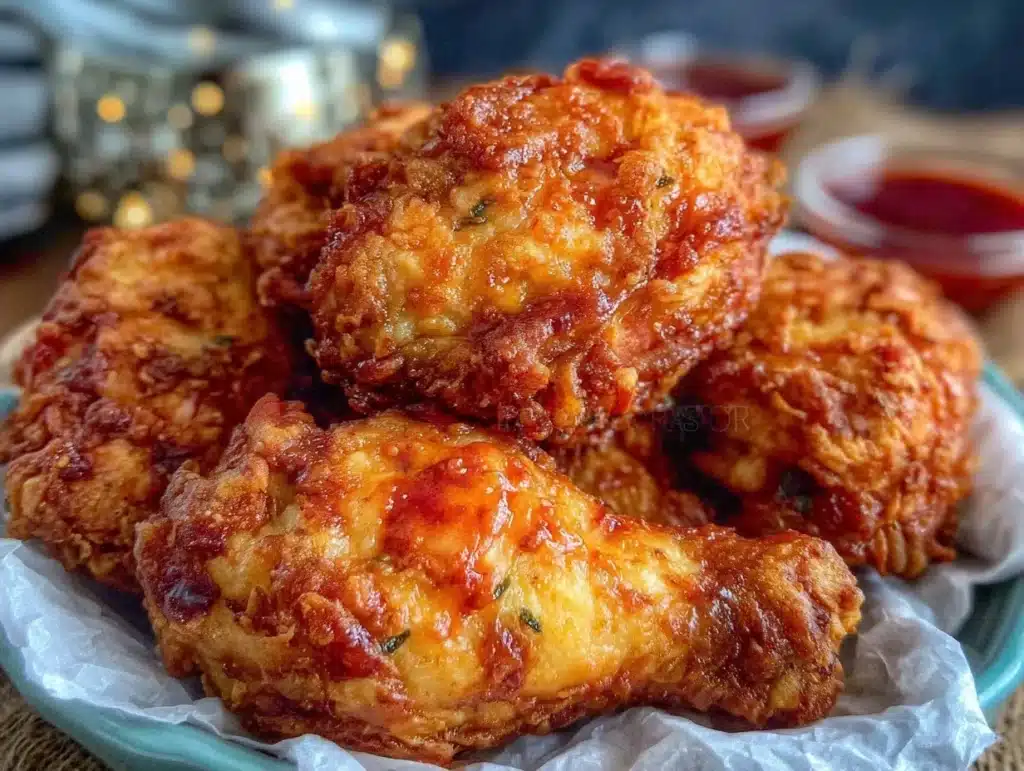
The smell of hot oil and crispy, golden crust hits you before you even open the container. It’s that specific, salty, peppery aroma that makes your stomach growl three hours before lunch. I’ve been there, standing in line at the fast-food drive-thru, debating if I really need another box of fried chicken on a Tuesday. Honestly, I stopped going years ago. Not just because of the cost, but because I wanted to control what went into my body. Plus, let’s face it, homemade is always better when you get the technique right.
This copycat Popeyes fried chicken recipe came about after a very specific craving during a busy work week. I was tired of dry, bland takeout and wanted that signature Louisiana spice kick without the preservatives. After testing this brining and dredging method over a dozen times, I finally nailed it. The result? Chicken that stays juicy for days and keeps its crunch even after being refrigerated. It’s not just a dinner recipe; it’s a meal prep powerhouse.
What makes this version worth your time is the double-dredge technique and the buttermilk brine. It sounds complicated, but it’s actually quite simple. You get that thick, shaggy crust that Popeyes is famous for, but you can adjust the heat level to your liking. Whether you’re meal prepping for five days or just feeding a hungry family, this chicken holds up incredibly well. It’s still good on day four, which is rare for fried foods. You know how most fried chicken gets soggy by Wednesday? Not this batch. It’s crispy, flavorful, and ready to go.
I’ve shared this method with my meal prep group, and everyone is obsessed. It’s high protein, satisfying, and actually tastes better reheated than it does fresh out of the fryer sometimes. If you’ve been looking for a way to beat the takeout game, this is your sign. It’s authentic, it’s delicious, and it’s totally worth the effort.
Why You’ll Love This Recipe
Let’s be real for a second. Making fried chicken at home usually feels like a weekend project. You need a deep fryer, gallons of oil, and a kitchen that will smell like a restaurant for a week. But this copycat version changes the game. It’s designed for the home cook who wants restaurant-quality results without the hassle. I’ve refined this process to be efficient, consistent, and reliable. It’s not just another fried chicken recipe; it’s the one I return to every single week.
- Quick & Easy Prep: While the chicken needs time to marinate, the actual assembly is fast. The double-dredge method takes practice, but once you get the hang of it, you can prep a whole batch in under an hour. It’s perfect for Sunday meal prep sessions.
- Simple Ingredients: You don’t need a trip to a specialty store. Most of the spices are likely in your pantry right now. Flour, buttermilk, paprika, cayenne, garlic powder—you probably have them all. This means no last-minute grocery runs ruining your schedule.
- Perfect for Meal Prep: This is the main reason I make it. This chicken is built to last. The thick crust acts as a barrier, keeping the moisture inside and the air out. It reheats beautifully in the oven or air fryer, maintaining that crunch. It’s still good on day four, which is the holy grail of meal prep.
- Crowd-Pleaser: Kids love the saltiness, and adults appreciate the homemade quality. It’s great for potlucks, Sunday dinners, or just treating yourself to a proper lunch. It always gets rave reviews, even from people who claim they “don’t like fried chicken.”
- Unbelievably Delicious: The flavor profile is spot-on. It’s spicy, savory, and slightly peppery. The texture is shaggy and crunchy, not hard or greasy. It hits all the right notes for comfort food.
What makes this recipe different is the attention to detail in the brine and the spice blend. Many recipes skip the brine, and that’s a mistake. The buttermilk tenderizes the meat and adds flavor depth. The spice blend is balanced to mimic that iconic Louisiana taste without being overwhelmingly hot. It’s the kind of recipe that makes you close your eyes after the first bite. It’s comfort food reimagined—healthier because you control the oil, faster because you batch cook, but with the same soul-soothing satisfaction. Perfect for impressing guests or just making your weeknight dinners something to look forward to.
What Ingredients You Will Need
This recipe relies on a few key components to achieve that signature taste and texture. The magic happens in the balance between the tenderizing brine and the seasoned flour coating. I’ve tested many brands of spices, but the basics work best here. Don’t skip the buttermilk; it’s essential for tenderizing the meat and helping the flour stick.
For the Buttermilk Brine
- Chicken pieces: 3 lbs of bone-in, skin-on chicken thighs and drumsticks. I recommend buying a mix for variety. Bone-in pieces stay juicier during the long frying process. You can use breasts, but they dry out faster, so keep a close eye on them.
- Buttermilk: 2 cups. This is non-negotiable. The acidity breaks down protein fibers. If you’re lactose intolerant, you can make a vegan buttermilk using almond milk and apple cider vinegar, but the texture won’t be quite the same.
- Hot sauce: ¼ cup. Frank’s RedHot is the traditional choice. It adds tang and a little heat. It also helps the flour adhere to the chicken.
- Eggs: 2 large eggs, beaten. These act as a binder between the buttermilk and the flour. Don’t skip them; they help create that thick crust.
- Salt: 1 tablespoon. Kosher salt is best because it’s less salty by volume than table salt. It seasons the meat deeply.
For the Spiced Flour Dredge
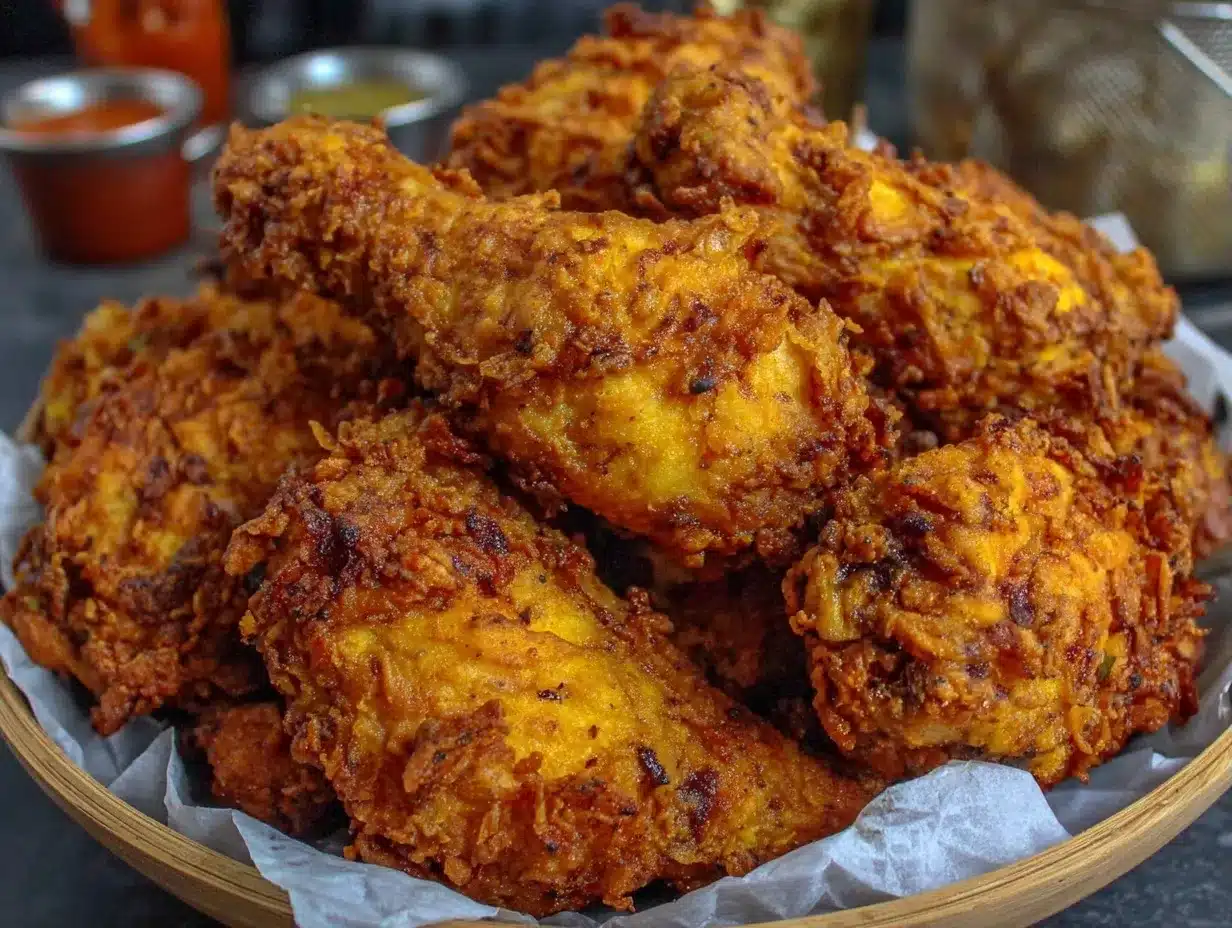
- All-purpose flour: 2 cups. This is your base. Cake flour can make it too tender, and bread flour makes it too tough. AP flour hits the sweet spot for that crispy, shaggy crust.
- Cornstarch: ½ cup. This is the secret ingredient. It lightens the crust and makes it extra crunchy. It also helps absorb excess oil.
- Paprika: 2 tablespoons. Smoked paprika adds a nice depth, but regular paprika is fine. It gives that reddish hue.
- Cayenne pepper: 1-2 teaspoons. Adjust this based on your heat tolerance. Popeyes is moderately spicy, so start with 1 teaspoon and add more if you want a kick.
- Garlic powder: 1 tablespoon. Adds savory umami notes.
- Onion powder: 1 tablespoon. Complements the garlic and adds sweetness.
- White pepper: 1 teaspoon. This is crucial for that authentic Southern fried chicken flavor. It has a different heat profile than black pepper.
- Black pepper: 1 teaspoon. Freshly cracked is best.
- Thyme: 1 teaspoon, dried. Adds an earthy, herbal note.
- Salt: 1 tablespoon. Again, kosher salt is preferred.
For Frying
- Vegetable oil: 4-6 cups. You need enough to submerge the chicken. Peanut oil is great for its high smoke point, but vegetable or canola oil works fine. Avoid olive oil; it burns too easily.
Equipment Needed
You don’t need fancy gadgets to make this work, but having the right tools makes a huge difference. A heavy-bottomed Dutch oven is ideal. It retains heat well, which prevents the oil temperature from dropping too much when you add the chicken. Cast iron works too, but it’s heavy. I use a 6-quart Dutch oven because it holds a good amount of chicken without overcrowding.
A candy or deep-fry thermometer is essential. Guessing the oil temperature leads to greasy or undercooked chicken. You want it steady at 350°F (175°C). If you don’t have one, the wooden spoon test works—dip the handle in; if bubbles form around it, it’s ready.
You’ll also need two large bowls for the dredging station. One for the buttermilk mixture and one for the flour mix. A wire cooling rack set over a baking sheet is perfect for resting the fried chicken. It keeps the bottom crispy. If you put it on paper towels, the bottom gets soggy. I’ve learned this the hard way! A spider strainer or slotted spoon helps lift the chicken out safely. Budget-friendly tongs work too, but be careful not to scratch your pot.
Preparation Method
Start by preparing your chicken. Pat the pieces completely dry with paper towels. This seems minor, but dry chicken helps the brine stick better. Place the chicken in a large bowl or zip-top bag. Whisk together the buttermilk, hot sauce, eggs, and salt in a separate bowl. Pour this mixture over the chicken. Make sure every piece is coated. Cover and refrigerate for at least 4 hours, or ideally overnight. This step tenderizes the meat and seasons it from the inside out.
While the chicken marinates, prepare the flour mixture. In a large, shallow dish (like a baking sheet or pie plate), whisk together the flour, cornstarch, paprika, cayenne, garlic powder, onion powder, white pepper, black pepper, thyme, and salt. Mix thoroughly to ensure the spices are evenly distributed. You want every bite to have that perfect spice blend.
Heat the oil in your Dutch oven over medium-high heat. You want the oil to reach 350°F (175°C). This takes about 20-30 minutes depending on your stove. Use your thermometer to check. Do not skip this step; oil that’s too cool makes greasy chicken, and oil that’s too hot burns the outside before the inside cooks.
Remove a piece of chicken from the buttermilk, letting the excess drip off. Dredge it in the flour mixture. Press the flour onto the chicken firmly. This is the first dredge. Let it rest on a wire rack for 5 minutes. This “resting” period allows the flour to hydrate and stick. Then, dip it back into the buttermilk for a quick second, and dredge it in the flour again. This double-dredge creates that thick, shaggy crust. Place the coated chicken on a clean tray.
Once the oil is at 350°F, carefully lower the chicken pieces into the oil. Do not overcrowd the pot. Fry in batches. Drumsticks and thighs take about 12-14 minutes. Breasts take 10-12 minutes. Flip the chicken halfway through cooking to ensure even browning. The chicken is done when the internal temperature reaches 165°F (74°C) and the crust is deep golden brown. Use tongs to flip them gently.
Remove the chicken from the oil and place it on the wire rack. Let it rest for at least 5 minutes before serving. This allows the juices to redistribute. If you cut into it immediately, all the juices will run out, leaving you with dry meat. Store leftovers in airtight containers in the fridge. They will keep for up to 5 days.
Cooking Tips & Techniques
Frying chicken can be intimidating, but it’s all about temperature control. The biggest mistake people make is lowering the oil temp too much. When you add cold chicken to hot oil, the temp drops. If your oil isn’t hot enough to start, it will drop too low and the chicken will soak up oil like a sponge. Always preheat your oil to 375°F (190°C) so it settles at 350°F when the chicken is added.
Another tip is to not move the chicken too much once it’s in the oil. Let it fry for a few minutes before flipping. If you move it around too early, the crust will fall off. Be patient. The crust needs time to set. Also, keep an eye on the smoke point. If your oil starts smoking, it’s too hot. Turn down the heat immediately. Smoke-free oil means clean-tasting chicken.
I once tried to fry a whole batch at once to save time. It was a disaster. The oil temp plummeted, and the chicken was greasy and undercooked. Batch cooking is worth the extra time. It ensures every piece is perfect. Also, don’t skip the resting period after the first dredge. It’s the key to getting that thick, crunchy coating. Without it, the flour slides off during frying.
For consistency, use a timer. Chicken pieces vary in size, so a timer helps you avoid undercooking. If you’re unsure, always check the internal temperature. 165°F is the safe zone. Any lower, and you risk foodborne illness. Any higher, and you risk dry meat. Trust your thermometer.
Variations & Adaptations
This recipe is versatile. If you want to make it spicier, increase the cayenne pepper to 2 teaspoons or add a pinch of crushed red pepper flakes to the flour mix. For a milder version, cut the cayenne in half and use sweet paprika. You can also add a teaspoon of dried basil or oregano for an Italian twist.
For a healthier option, you can bake the chicken instead of frying. Coat the chicken as usual, then place it on a wire rack over a baking sheet. Spray lightly with cooking oil and bake at 400°F (200°C) for 45-50 minutes, flipping halfway. It won’t be as crunchy, but it’s lower in fat. Air frying is another great alternative. Cook at 375°F (190°C) for 20-25 minutes, spraying with oil halfway through. The results are surprisingly close to fried.
If you’re gluten-free, substitute the all-purpose flour with a 1:1 gluten-free flour blend. The cornstarch helps mimic the texture, so it works well. For dairy-free, use oat milk or soy milk mixed with vinegar for the buttermilk substitute. Just note that the crust might be slightly thinner.
I’ve also tried adding a tablespoon of grated Parmesan cheese to the flour mix for a savory kick. It’s delicious, but it burns easier, so keep a close eye on the heat. Experiment with different spices to find your favorite blend. The base recipe is a great canvas for creativity.
Serving & Storage Suggestions
Enjoy this chicken hot and fresh for the best experience. Serve it with classic sides like mac and cheese, coleslaw, or mashed potatoes. The crispy texture pairs perfectly with creamy, cool sides. For lunch, this chicken is fantastic in sandwiches. Pull the meat off the bone and pile it onto a bun with some mayo and pickles. It’s a game-changer.
For storage, let the chicken cool completely before putting it in the fridge. Use airtight containers or wrap each piece in foil. It will last up to 5 days in the refrigerator. For freezing, wrap each piece tightly in plastic wrap and then foil. Freeze for up to 3 months. Thaw in the fridge overnight before reheating.
Reheating is key to maintaining quality. Avoid the microwave if you can; it makes the crust soggy. The best method is the oven. Preheat to 375°F (190°C) and place the chicken on a wire rack. Heat for 15-20 minutes until warmed through. The air fryer is also excellent. Heat at 350°F (175°C) for 5-7 minutes. This restores the crunch. The chicken is still good on day four, especially when reheated this way.
Flavors develop over time. The spices continue to penetrate the meat, so day two or three might actually taste more seasoned than day one. Plan your meals accordingly. It’s a great base for salads or wraps later in the week. Just remember, the crust softens in the fridge, so reheating is mandatory for the best texture.
Nutritional Information & Benefits
Fried chicken is indulgent, but this homemade version allows you to manage the ingredients. Each piece (thigh) contains approximately 350-400 calories, depending on the size and oil absorption. It’s a good source of protein, providing around 25-30 grams per piece. The buttermilk adds calcium and probiotics, which are good for gut health.
By controlling the breading, you can reduce the carbohydrate content slightly. Using cornstarch instead of all-purpose flour adds some carbs, but the overall glycemic impact is manageable for most people. If you’re watching sodium, reduce the salt in the brine and dredge. However, some salt is necessary for flavor and preservation.
From a wellness perspective, this recipe is a better alternative to fast food because you avoid trans fats and excessive preservatives. You can choose high-quality oils and fresh spices. It’s a treat, but a more conscious one. Enjoy it as part of a balanced diet, paired with vegetables and whole grains. It’s satisfying and keeps you full longer than processed options.
Conclusion
Making copycat Popeyes fried chicken at home is a rewarding experience. It’s not just about the taste; it’s about the pride of creating something delicious and healthy. This recipe is designed for the busy home cook who wants great food without the hassle. It’s perfect for meal prep, holding up well for days in the fridge. The double-dredge technique and buttermilk brine are the secrets to success.
I encourage you to try this recipe and make it your own. Adjust the spice level, try different cuts of chicken, or experiment with baking instead of frying. It’s a versatile recipe that grows with you. Share your results with friends and family. I’d love to hear how it turned out for you. Leave a comment below with your tips or variations.
This chicken is more than just dinner; it’s a weekly staple for me. It brings comfort, convenience, and incredible flavor to the table. So, preheat your oil, get your spices ready, and enjoy the process. You won’t be disappointed. Happy cooking!
Frequently Asked Questions
Can I use chicken breasts instead of thighs?
Yes, you can use chicken breasts, but they cook faster and can dry out. Reduce the frying time by 2-3 minutes and check the temperature frequently. Thighs are recommended for their juiciness and longer cooking time, which allows for a crispier crust.
How do I keep the crust crispy when storing?
The key is proper storage and reheating. Store the chicken in airtight containers in the fridge. When reheating, use an oven or air fryer instead of a microwave. This restores the crunch. The crust will soften in the fridge, but reheating brings it back.
Can I make this in an air fryer?
Absolutely. Coat the chicken as usual and place it in the air fryer basket. Cook at 375°F (190°C) for 20-25 minutes, flipping halfway and spraying with oil. It’s a healthier option with less oil, though the crust might be slightly thinner than deep-fried.
What is the best oil for frying chicken?
Peanut oil is ideal due to its high smoke point and neutral flavor. Vegetable, canola, or sunflower oil are also good choices. Avoid olive oil or butter, as they burn at high temperatures and can impart unwanted flavors.
How long does the chicken last in the fridge?
Properly stored, this fried chicken lasts up to 5 days in the refrigerator. It’s still good on day four, especially if reheated correctly. For longer storage, freeze the chicken for up to 3 months.
Pin This Recipe!
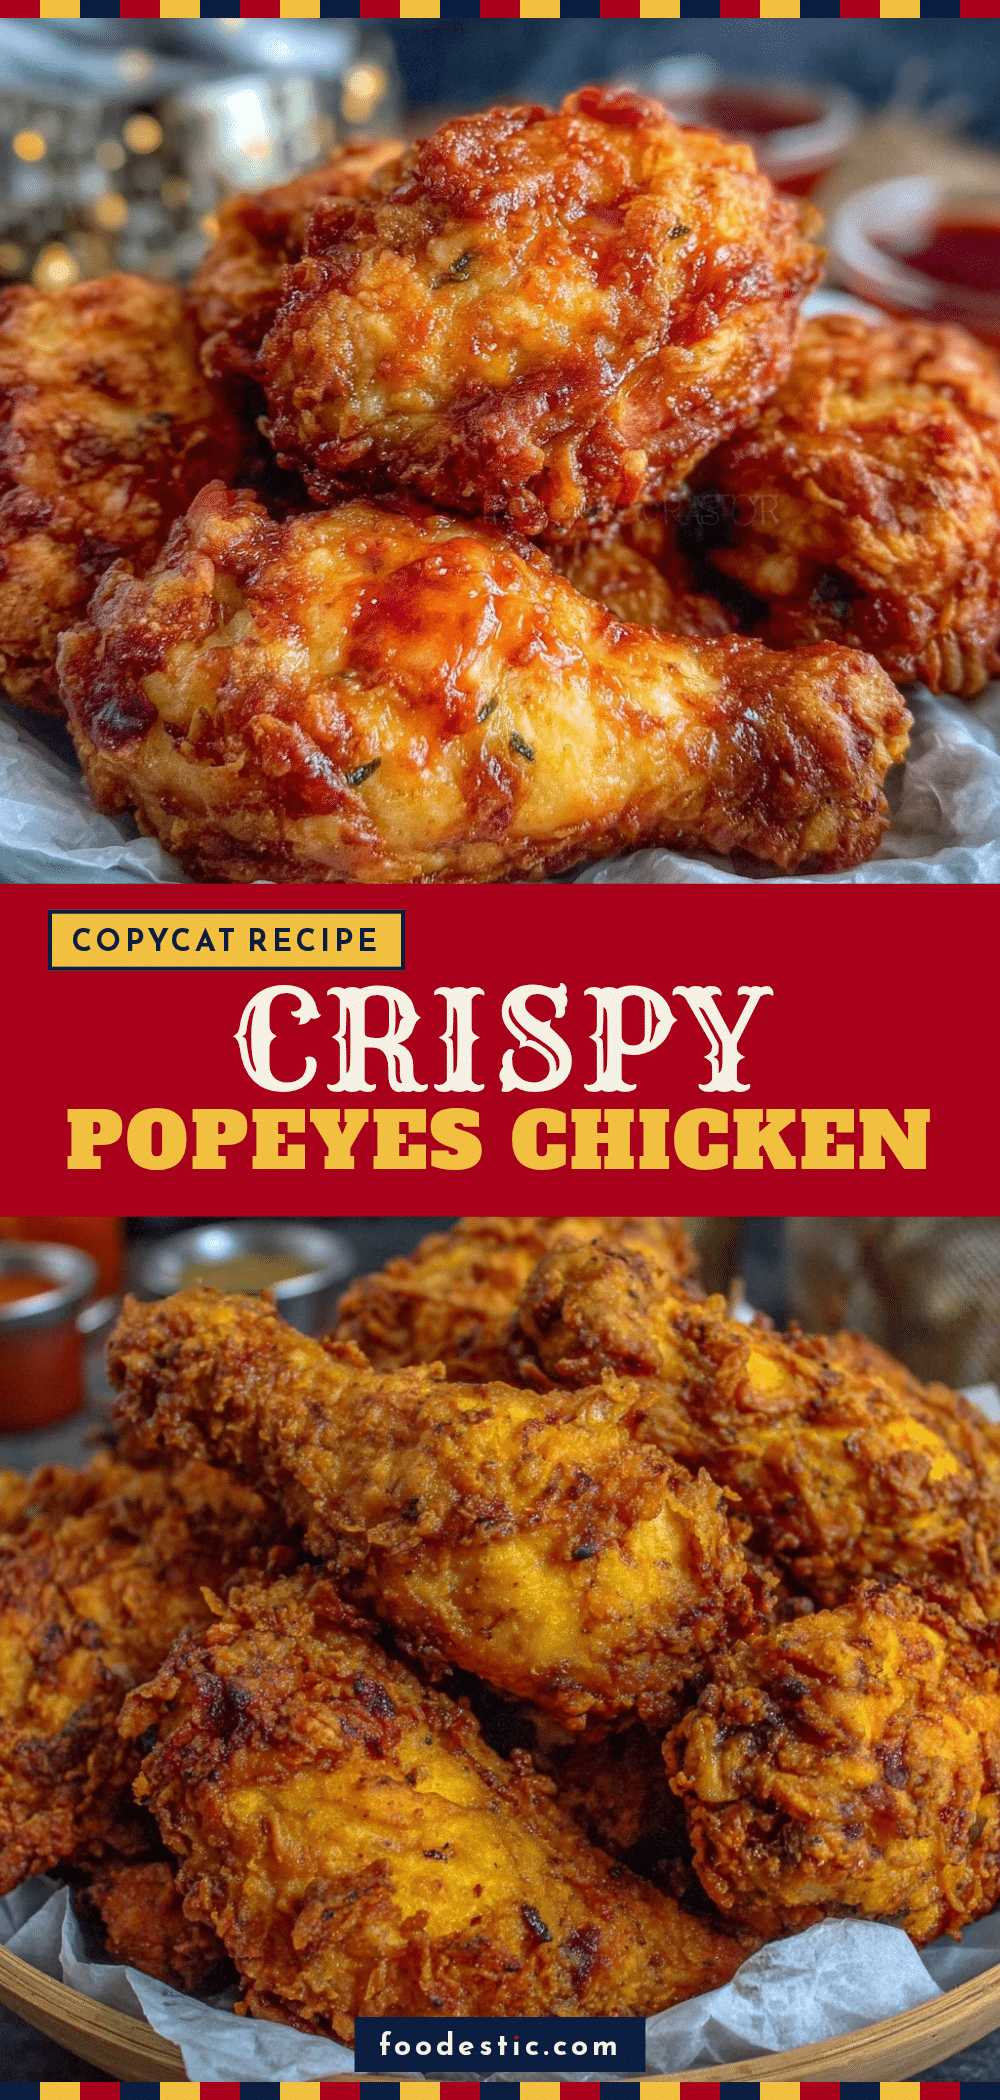

Copycat Popeyes Fried Chicken: Best 5-Day Meal Prep
- Total Time: 4 hours 30 minutes
- Yield: 6 servings 1x
Description
A homemade copycat recipe for Popeyes fried chicken featuring a buttermilk brine and double-dredge technique for a thick, shaggy, crispy crust that stays juicy and holds up perfectly for meal prep.
Ingredients
- 3 lbs bone-in, skin-on chicken thighs and drumsticks
- 2 cups buttermilk
- 1/4 cup hot sauce (e.g., Frank’s RedHot)
- 2 large eggs, beaten
- 1 tablespoon kosher salt (for brine)
- 2 cups all-purpose flour
- 1/2 cup cornstarch
- 2 tablespoons paprika
- 1–2 teaspoons cayenne pepper
- 1 tablespoon garlic powder
- 1 tablespoon onion powder
- 1 teaspoon white pepper
- 1 teaspoon black pepper
- 1 teaspoon dried thyme
- 1 tablespoon kosher salt (for flour)
- 4–6 cups vegetable oil (for frying)
Instructions
- Pat chicken pieces dry with paper towels.
- Whisk together buttermilk, hot sauce, beaten eggs, and 1 tablespoon salt.
- Pour buttermilk mixture over chicken, ensuring all pieces are coated. Cover and refrigerate for at least 4 hours or overnight.
- In a large shallow dish, whisk together flour, cornstarch, paprika, cayenne, garlic powder, onion powder, white pepper, black pepper, thyme, and 1 tablespoon salt.
- Heat vegetable oil in a Dutch oven to 350°F (175°C).
- Remove chicken from brine, letting excess drip off. Dredge in flour mixture, pressing firmly to coat.
- Let chicken rest on a wire rack for 5 minutes to allow flour to hydrate.
- Dip chicken back into buttermilk briefly, then dredge in flour again for a second coat.
- Carefully lower chicken into hot oil in batches. Do not overcrowd.
- Fry drumsticks and thighs for 12-14 minutes, flipping halfway. Fry breasts for 10-12 minutes.
- Cook until internal temperature reaches 165°F (74°C) and crust is deep golden brown.
- Remove chicken and place on a wire rack to rest for at least 5 minutes before serving.
Notes
For a healthier option, bake at 400°F for 45-50 minutes or air fry at 375°F for 20-25 minutes. To keep the crust crispy when storing, reheat in an oven or air fryer rather than a microwave. The chicken holds up well for up to 5 days in the refrigerator.
- Prep Time: 1 hour (plus marinating time)
- Cook Time: 30 minutes
- Category: Main Course
- Cuisine: American
Nutrition
- Serving Size: 1 piece (thigh)
- Calories: 375
- Sugar: 1
- Sodium: 650
- Fat: 22
- Saturated Fat: 5
- Carbohydrates: 18
- Fiber: 1
- Protein: 28
Keywords: Popeyes chicken, fried chicken, meal prep, copycat recipe, southern fried chicken, crispy chicken, buttermilk brine, double dredge


