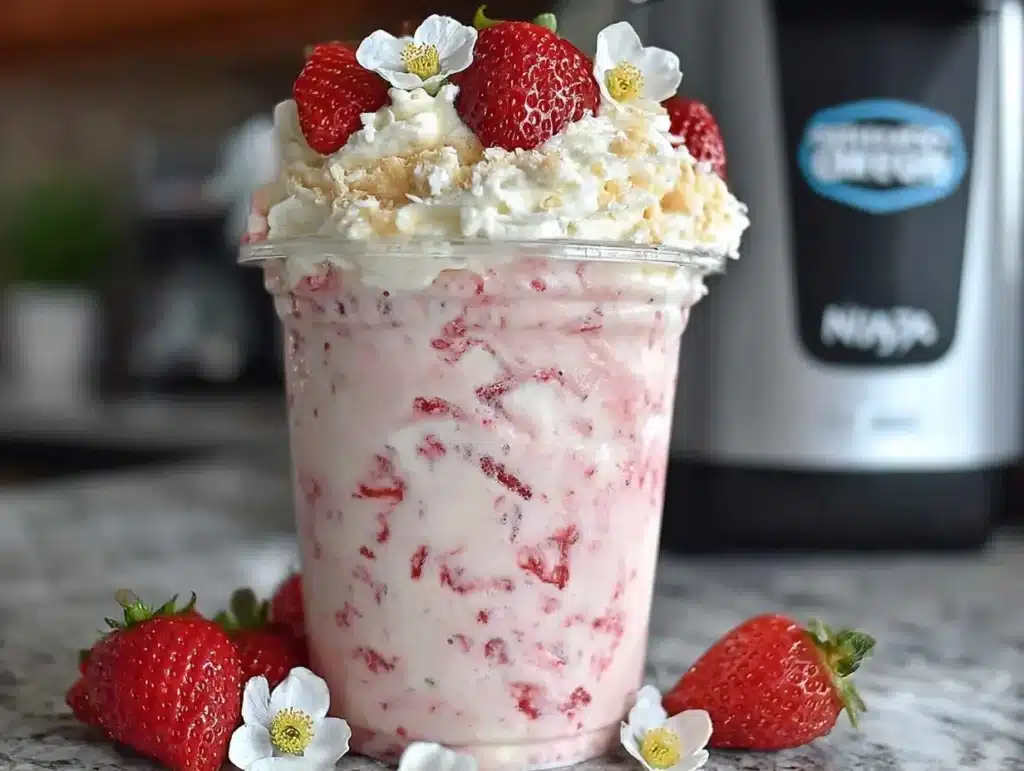
Let’s be honest for a second. I used to think protein ice cream was just a myth—a dry, chalky disappointment sold in tubs that tasted like chalk and regret. I was wrong. Dead wrong. The first time I pulled a pint of creamy protein ice cream out of my Ninja Creami, I actually paused. The texture wasn’t icy or grainy. It was velvety. It was rich. It was honestly shocking.
I’ve been meal prepping lunches for my office crew for about three years now. You know the drill: Tupperware towers in the fridge, labeled with sharpie, hoping nobody grabs the wrong one by accident. But lately, my Sunday routine has shifted. Instead of just chopping veggies, I’m churning ice cream. Why? Because let’s face it, nobody wants to eat plain quinoa salad on Friday afternoon when stress levels are high. I needed something sweet, something that felt like a treat, but didn’t wreck my macros.
This recipe changed my game. I call it my “still good on day four” dessert. Seriously. Most homemade ice creams turn into ice blocks or separate into weird curds after a couple of days. Not this one. The protein blend I use creates a stable emulsion that holds up beautifully in the fridge. It’s perfect for my weekly lunch prep because it’s portable, high-protein, and tastes like a cheat meal. I’ve tested this over a dozen times, tweaking the liquid ratios and protein powders, until I landed on this exact formula. It’s the only way to get that soft-serve consistency without adding heavy cream or sugar alcohols that upset my stomach.
If you’re tired of dry protein bars and want a dessert that actually feels indulgent, you need to try this. It’s quick, it’s clean, and it keeps you full. Plus, having a pint of creamy protein ice cream in the freezer makes those tough weeknight dinners so much easier to handle. You’re welcome.
Why You’ll Love This Recipe
There is a specific kind of magic that happens when you combine high-quality protein powder with the right amount of liquid and let the Ninja Creami do its work. I’ve spent years trying to figure out why store-bought protein ice cream always feels like you’re chewing on frozen foam. The answer was in the fat-to-protein ratio and the freezing method. This recipe isn’t just another version; it’s the result of burning a few pints to get it right so you don’t have to.
- Quick & Easy Prep: You literally mix it in a bowl for five minutes, pour it into the pint, freeze it, and spin it. That’s it. No cooking, no custard base, no tempering eggs. It’s perfect for busy weeknights when you just want a snack without the hassle.
- Simple Ingredients: You likely have everything in your kitchen already. Protein powder, milk, a little sweetener, and maybe a scoop of Greek yogurt or cottage cheese for extra creaminess. No fancy grocery trips needed.
- Perfect for Meal Prep: This is the holy grail for Sunday prep. Make one batch on Sunday, and you have snacks for Monday through Friday. It’s organized, it’s efficient, and it stops you from raiding the junk food cabinet.
- Crowd-Pleaser: My husband, who usually sticks to black coffee and steak, asks for this every week. The kids love it because it tastes like real ice cream. It’s a family-approved win.
- Unbelievably Delicious: The texture is next-level comfort food. It’s smooth, dense, and satisfying. It’s the kind of dessert that makes you close your eyes after the first bite because you’re just enjoying the moment.
- High Protein Satisfaction: Each pint packs around 50-60 grams of protein. That’s not just a snack; that’s a meal replacement for your post-workout or a late-night craving killer that won’t leave you hungry an hour later.
What makes this different from the rest is the stability. I’ve tried using just whey, just casein, and blends. This specific ratio keeps the ice cream soft even after it’s been in the freezer for days. It’s not just good—it’s reliable. And in the world of meal prep, reliability is everything.
What Ingredients You Will Need
This recipe relies on simple, wholesome ingredients to deliver bold flavor and satisfying texture without the fuss. The key to success here is choosing the right protein powder and liquid. If you use the wrong powder, you’ll end up with a gritty mess. I’ve tested dozens of brands, and I always recommend sticking to a whey-casein blend or a high-quality isolate for the smoothest results. The fat content in your milk also matters—whole milk or oat milk will give you a richer texture than skim.
- Protein Powder (1 scoop / 30g): I use a vanilla whey-casein blend. Casein absorbs more liquid and adds thickness, which helps the ice cream stay creamy. Brands like Ghost or Optimum Nutrition work well. Avoid cheap, chalky isolates if you can.
- Milk (3/4 cup / 180ml): Use your favorite milk. Dairy milk adds a slight tang that balances the sweetness, but oat milk makes it incredibly rich and dairy-free. Almond milk works too, but the texture will be lighter.
- Greek Yogurt (1/4 cup / 60g): This is the secret weapon. Full-fat Greek yogurt adds protein and creaminess without ice crystals. It helps bind the mixture so it doesn’t turn into a popsicle. Look for plain, unsweetened varieties.
- Sweetener (1-2 tbsp / 15-30g): I prefer erythritol or allulose because they don’t crystallize like sugar. Allulose is amazing for ice cream because it lowers the freezing point, keeping it soft. If you use liquid stevia, start with a few drops.
- Vanilla Extract (1 tsp / 5ml): Don’t skip this. It adds depth and masks any “protein” aftertaste. Use real vanilla extract, not imitation.
- Heavy Cream or Coconut Cream (2 tbsp / 30ml): This adds the necessary fat for mouthfeel. If you’re keeping it light, you can skip this, but the texture will be less luxurious.
- Ice (Optional, for texture): Sometimes, adding a few ice cubes before spinning helps aerate the mix if it’s too dense. Only do this if the base is too thick to spin initially.
For the best texture, I recommend using a small-curd cottage cheese if you want to boost protein without altering the flavor, but the Greek yogurt is my go-to for consistency. If you’re allergic to dairy, swap the yogurt for a coconut yogurt and use a pea-protein blend. It works surprisingly well.
Equipment Needed
You don’t need a fancy kitchen to make this, but you do need the right tool. The Ninja Creami is obviously the star here. It’s a countertop appliance that freezes and then shaves the ice cream into a smooth consistency. It’s worth the investment if you make frozen desserts often. If you don’t have one, you can make this in a standard ice cream maker, but the texture will be icier unless you churn it for a long time.
You’ll also need the Ninja Creami pints. These are specific containers that fit the machine. They have a lid with a hole in the center for adding mix-ins after the first spin. Make sure you buy the ones with the blue lids for freezing. They are durable and easy to clean.
A small mixing bowl and a whisk or spoon are all you need to combine the ingredients. I use a silicone spatula to scrape down the sides of the pint before freezing to ensure everything is evenly distributed. A kitchen scale is helpful for measuring the protein powder accurately, though a standard scoop usually works fine.
If you’re on a budget, you can use a standard freezer-safe container and an electric mixer, but you’ll need to stir it every hour to break up ice crystals. It’s more work. The Ninja Creami saves time and delivers a better result. Just remember to wash the pints by hand if they have plastic parts, as the dishwasher can warp them over time.
Preparation Method
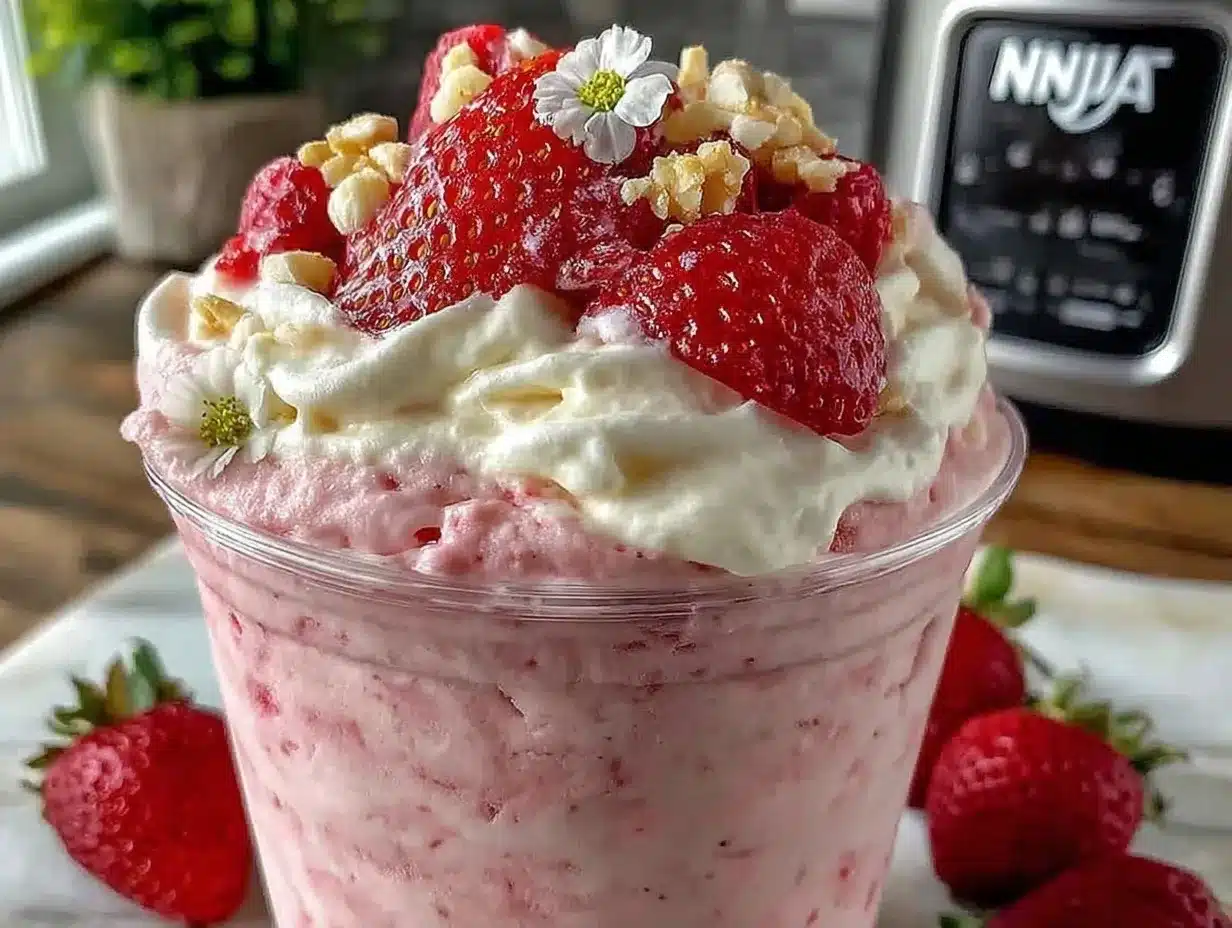
Getting this creamy protein ice cream ready is simpler than you think. The trick is in the mixing and the freezing. If you rush the freeze, it won’t spin properly. So, let’s break it down step-by-step.
- Mix the Base (5 minutes): In your mixing bowl, combine the protein powder, sweetener, and vanilla extract. Whisk them together dry first to break up any clumps in the powder. This is a crucial step I learned the hard way—clumps of protein powder don’t dissolve well in liquid. Add the milk, Greek yogurt, and heavy cream. Whisk vigorously until the mixture is completely smooth and no powder remains. It should look like thin pancake batter.
- Pour into the Pint: Pour the mixture into your Ninja Creami pint. Fill it up to the “MAX FILL” line. Do not overfill. Leave a little space at the top. Put the lid on tightly. Make sure the vent hole is clear. This prevents overflow during the freezing process.
- Freeze for 24 Hours: Place the pint in the freezer. You need to freeze it for a full 24 hours. I know, it’s tempting to spin it after 12, but it needs that full day to solidify completely. If it’s not frozen hard enough, the machine will just make soup. Label the pint with the date so you know when it went in.
- First Spin: After 24 hours, take the pint out. Remove the lid and the plug. Place the pint on the ice cream base and turn the dial to “Ice Cream.” Press start. The machine will spin for a few minutes. When it stops, open the lid. The ice cream should be smooth. If it looks dry or crumbly, don’t panic. This is normal. It just needs a little liquid.
- Add Liquid (If Needed): If the ice cream is too hard to scoop, add 1-2 tablespoons of milk or cream through the lid hole. Put the lid back on and spin it again using the “Lite Ice Cream” or “Re-Spin” function. This incorporates the liquid and makes it creamy. Repeat if necessary, but usually, one re-spin is enough.
- Add Mix-ins (Optional): If you want chocolate chips, peanut butter swirls, or fruit, add them now. Put the lid back on and spin it one more time using the “Mix-In” function. This gently folds the ingredients in without turning them into mush.
- Serve or Store: Scoop it out and enjoy it soft-serve style, or put it back in the freezer for 30 minutes to firm up. It’s ready to eat immediately.
Watch for the sound of the machine. If it sounds like it’s straining or slowing down, stop it. Add more liquid. Don’t force the machine. It’s designed to handle frozen dairy, not solid ice blocks. Patience is key here.
Cooking Tips & Techniques
There are a few tricks I’ve picked up to make this process foolproof. First, always use cold ingredients. If your milk and yogurt are cold, they freeze faster and create smaller ice crystals. Second, don’t skimp on the sweetener. Sugar alcohols like allulose or erythritol act as anti-freeze. If you use zero sweetener, your ice cream will be rock hard. You need at least a little bit of sweetener to keep it scoopable.
Another common mistake is using too much protein powder. Whey protein absorbs a lot of liquid. If you add more than one scoop, the mixture will become a sponge. If you want more protein, add Greek yogurt or cottage cheese instead. It adds bulk without drying out the mix. I learned this after making a batch that tasted like drywall. Never again.
Multitasking is your friend here. While the ice cream is freezing for 24 hours, you’re prepping your lunches. You’re chopping veggies, cooking grains, and organizing your fridge. This recipe doesn’t require active cooking time, so it fits perfectly into a busy schedule. Just remember to put it in the freezer on Sunday morning so it’s ready by Monday night.
Consistency comes with practice. Your first pint might not be perfect. That’s okay. Adjust the liquid ratio based on your protein powder. Some brands are thicker than others. Keep notes on what works. Over time, you’ll know exactly how much milk your favorite powder needs. It’s a fun little experiment that pays off in delicious desserts.
Variations & Adaptations
One of the best things about this recipe is how easy it is to customize. You’re not stuck with vanilla. Here are a few variations I love:
- Peanut Butter Banana: Add one frozen banana to the mix before spinning. It adds natural sweetness and creaminess. Swirl in a tablespoon of peanut butter after the first spin. It’s like a Reese’s cup in ice cream form.
- Chocolate Mint: Use chocolate protein powder and add a few drops of peppermint extract. Fold in sugar-free chocolate chips during the mix-in spin. It’s refreshing and rich.
- Berry Blast: Blend 1/2 cup of frozen berries with the milk before mixing. The berries add color and flavor. Note that berries can make the texture slightly icier, so add a bit more yogurt to compensate.
- Dairy-Free Option: Use a pea-protein isolate and oat milk. Swap the Greek yogurt for coconut yogurt. It’s still creamy and satisfying, just without the dairy.
- Keto Friendly: Use a keto-friendly protein powder like Vital Proteins Collagen (though it doesn’t spin as well, so blend with casein) and use allulose for sweetening. Add MCT oil for extra fat.
I often try seasonal variations. In the summer, I add fresh peaches. In the fall, I use pumpkin puree and pumpkin spice. It keeps the recipe fresh and exciting. Don’t be afraid to experiment. The base is forgiving.
Serving & Storage Suggestions
This creamy protein ice cream is best served immediately after spinning for that soft-serve texture. But if you want it firmer, put it in the freezer for 30-60 minutes. It will harden up, but not into a brick, thanks to the protein and sweetener.
For storage, keep it in the freezer in the Ninja Creami pint. It stays good for up to 4 days. After that, it might start to develop ice crystals or lose its creamy texture. I usually make one pint per day, so I eat it within its prime window. If you make a big batch, store it in an airtight container, but the Ninja pint is best for maintaining texture.
When reheating, let it sit on the counter for 5-10 minutes before scooping. It thaws out nicely. Don’t microwave it, or it will melt into soup. Pair it with a hot coffee or a glass of almond milk for a perfect balance of hot and cold. It’s also great with a sprinkle of cacao nibs or crushed nuts for added crunch.
The flavors develop over time. Vanilla tastes better on day two. Chocolate tastes deeper on day three. It’s a nice surprise to discover how the taste evolves. Just make sure to label your pints so you don’t get confused.
Nutritional Information & Benefits
Each pint of this creamy protein ice cream contains approximately 350-400 calories, depending on the ingredients you use. It has around 50-60 grams of protein, 10-15 grams of carbs, and 10-15 grams of fat. This macronutrient profile is ideal for muscle recovery and satiety. The high protein content helps preserve lean muscle mass while you’re cutting or bulking.
Key ingredients like Greek yogurt provide probiotics for gut health, while protein powder offers essential amino acids. If you use oat milk, you get added fiber. This recipe is gluten-free and can be made dairy-free. It’s suitable for low-carb and keto diets if you choose the right sweetener and protein powder.
From a personal wellness perspective, this recipe helps me stick to my goals without feeling deprived. It’s a tool for balance. I don’t see it as “cheating” because it’s made with whole, nutritious ingredients. It’s a smart way to enjoy dessert while supporting your fitness journey.
Conclusion
Making creamy protein ice cream in your Ninja Creami is a game-changer for meal prep and healthy eating. It’s easy, it’s delicious, and it keeps you satisfied for hours. I hope you try this recipe and find it as useful as I have. Customize it to fit your taste, experiment with flavors, and enjoy the process. It’s a fun way to take control of your nutrition without sacrificing flavor.
Let me know how it turns out for you. Do you prefer chocolate or vanilla? Have you tried any unique mix-ins? Share your thoughts in the comments below. I love hearing about your creations. And if you make this, tag me on social media so I can see your delicious results. Happy churning!
Frequently Asked Questions
Can I use just whey protein for this recipe?
Yes, but whey protein can make the ice cream a bit drier than a whey-casein blend. If you use only whey, you might need to add a little more milk or yogurt to get the right consistency. Casein helps absorb liquid and creates a thicker, creamier texture.
Why is my ice cream still icy after spinning?
If your ice cream is icy, it likely didn’t freeze long enough, or there wasn’t enough fat or sweetener in the mix. Make sure you freeze it for a full 24 hours. Also, ensure you’re using a sweetener like allulose or erythritol, which helps prevent ice crystal formation. Adding a splash of milk and re-spinning can also help.
Can I make this without a Ninja Creami?
Yes, but the texture will be different. You can make this in a standard ice cream maker, but you’ll need to churn it for 20-30 minutes. Alternatively, you can mix the ingredients and freeze them in a container, stirring every hour to break up ice crystals. It takes more effort but still works.
How many servings are in one pint?
One pint makes approximately 4 servings of 1/2 cup each. This is a perfect portion size for a dessert or a post-workout snack. You can adjust the serving size based on your calorie needs.
Can I freeze this for longer than 4 days?
While it’s best eaten within 4 days, you can freeze it for up to 2 weeks. However, the texture may degrade over time, becoming icier or drier. For the best quality, try to consume it within the first few days.
Pin This Recipe!
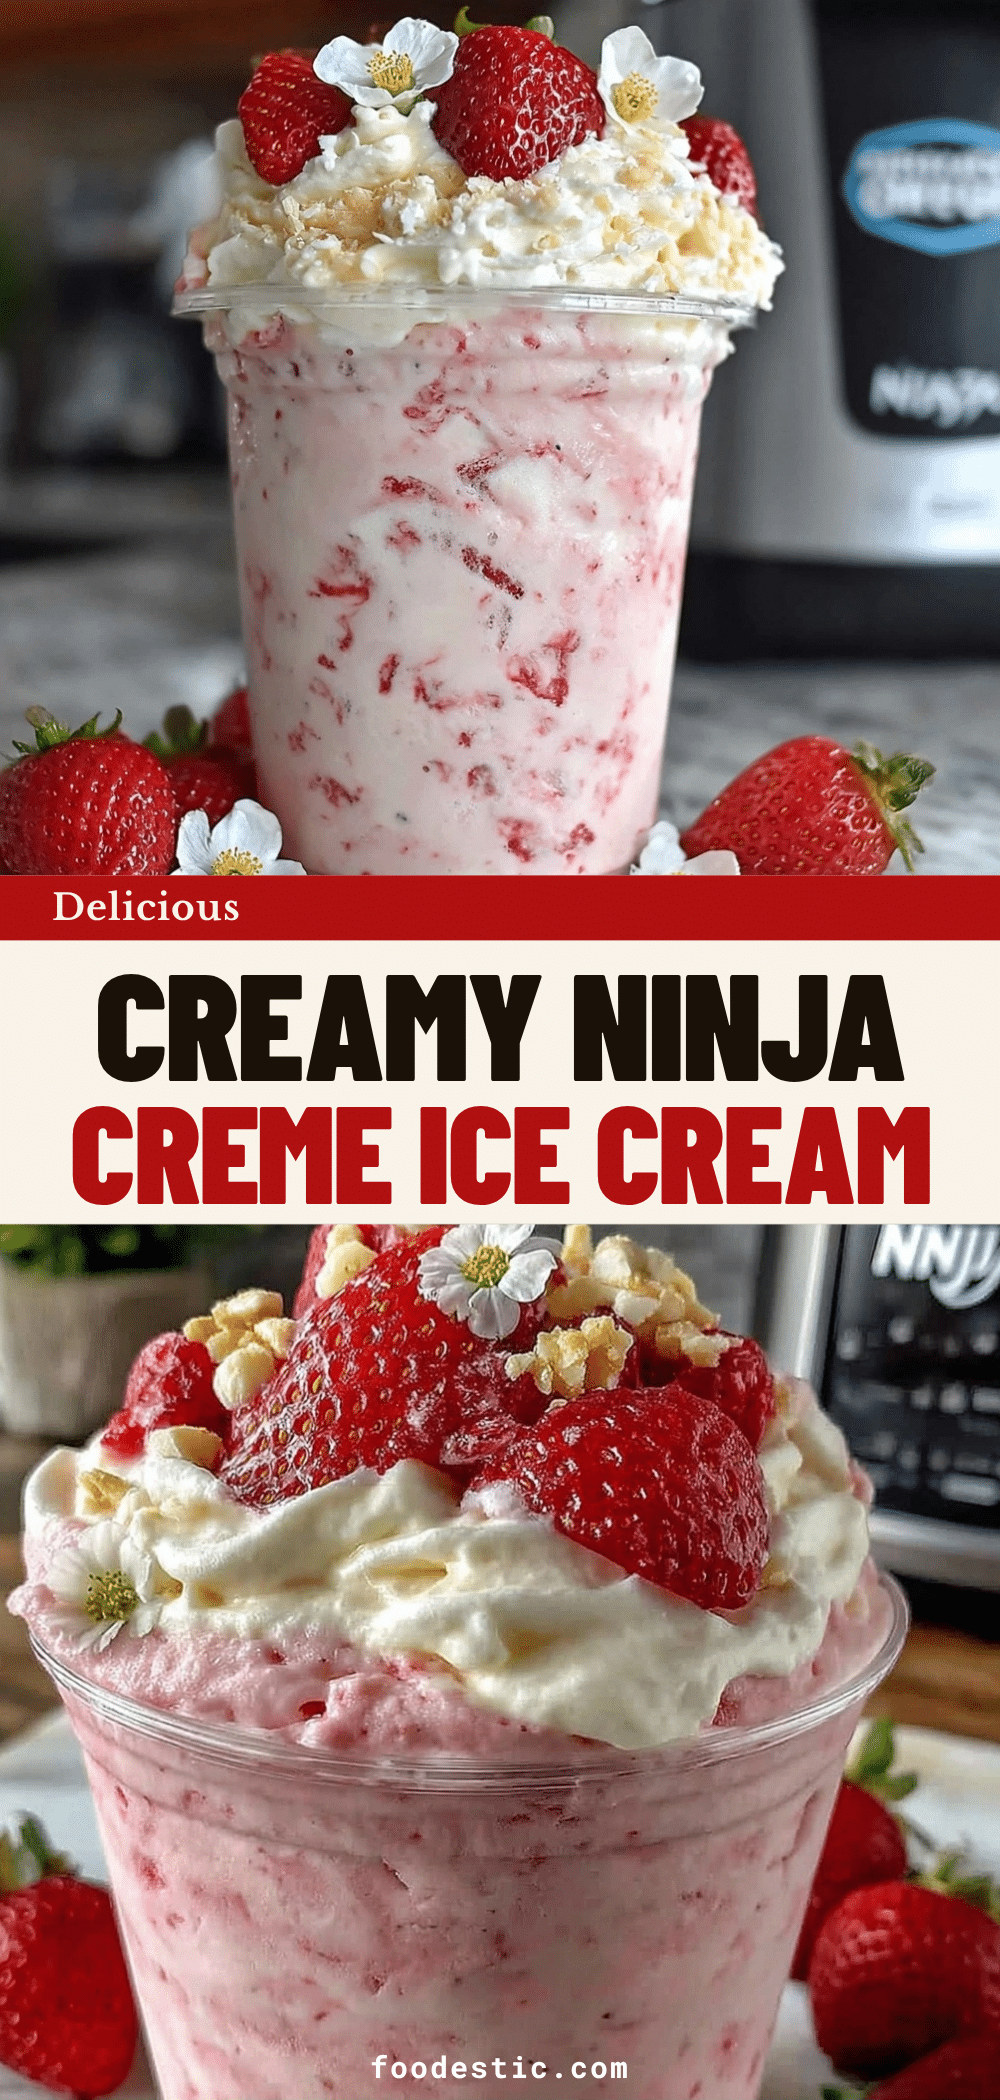

Creamy Protein Ice Cream: Best 4-Day Meal Prep Ninja Creami Recipe
- Total Time: 24 hours 5 minutes
- Yield: 4 servings 1x
Description
A high-protein, creamy ice cream recipe designed for meal prep using a Ninja Creami. This dessert is stable for up to four days, requires no cooking, and offers a rich texture without heavy cream or sugar alcohols.
Ingredients
- 1 scoop (30g) vanilla whey-casein protein powder
- 3/4 cup (180ml) milk (dairy, oat, or almond)
- 1/4 cup (60g) full-fat plain Greek yogurt
- 1–2 tbsp (15-30g) sweetener (erythritol or allulose)
- 1 tsp (5ml) vanilla extract
- 2 tbsp (30ml) heavy cream or coconut cream
- Ice cubes (optional, for texture adjustment)
Instructions
- In a mixing bowl, whisk protein powder, sweetener, and vanilla extract dry to break up clumps.
- Add milk, Greek yogurt, and heavy cream. Whisk vigorously until the mixture is completely smooth and resembles thin pancake batter.
- Pour the mixture into a Ninja Creami pint, filling up to the ‘MAX FILL’ line. Secure the lid tightly and ensure the vent hole is clear.
- Freeze the pint for a full 24 hours until solid.
- Place the frozen pint in the Ninja Creami and spin using the ‘Ice Cream’ setting.
- If the ice cream is dry or crumbly, add 1-2 tablespoons of milk or cream through the lid hole and spin again using the ‘Lite Ice Cream’ or ‘Re-Spin’ function.
- Add mix-ins (optional) and spin using the ‘Mix-In’ function.
- Serve immediately for soft-serve texture or freeze for 30 minutes to firm up.
Notes
Ensure ingredients are cold to create smaller ice crystals. Do not use more than one scoop of protein powder as it absorbs liquid and can make the texture dry. If using only whey protein, add extra liquid. The ice cream is best consumed within 4 days for optimal texture.
- Prep Time: 5 minutes
- Cook Time: 0 minutes
- Category: Dessert
- Cuisine: American
Nutrition
- Serving Size: 1/2 cup
- Calories: 375
- Sugar: 2
- Sodium: 150
- Fat: 12.5
- Saturated Fat: 5
- Carbohydrates: 12.5
- Protein: 55
Keywords: protein ice cream, ninja creami recipe, meal prep dessert, high protein snack, healthy ice cream, keto friendly dessert, gluten free dessert


