
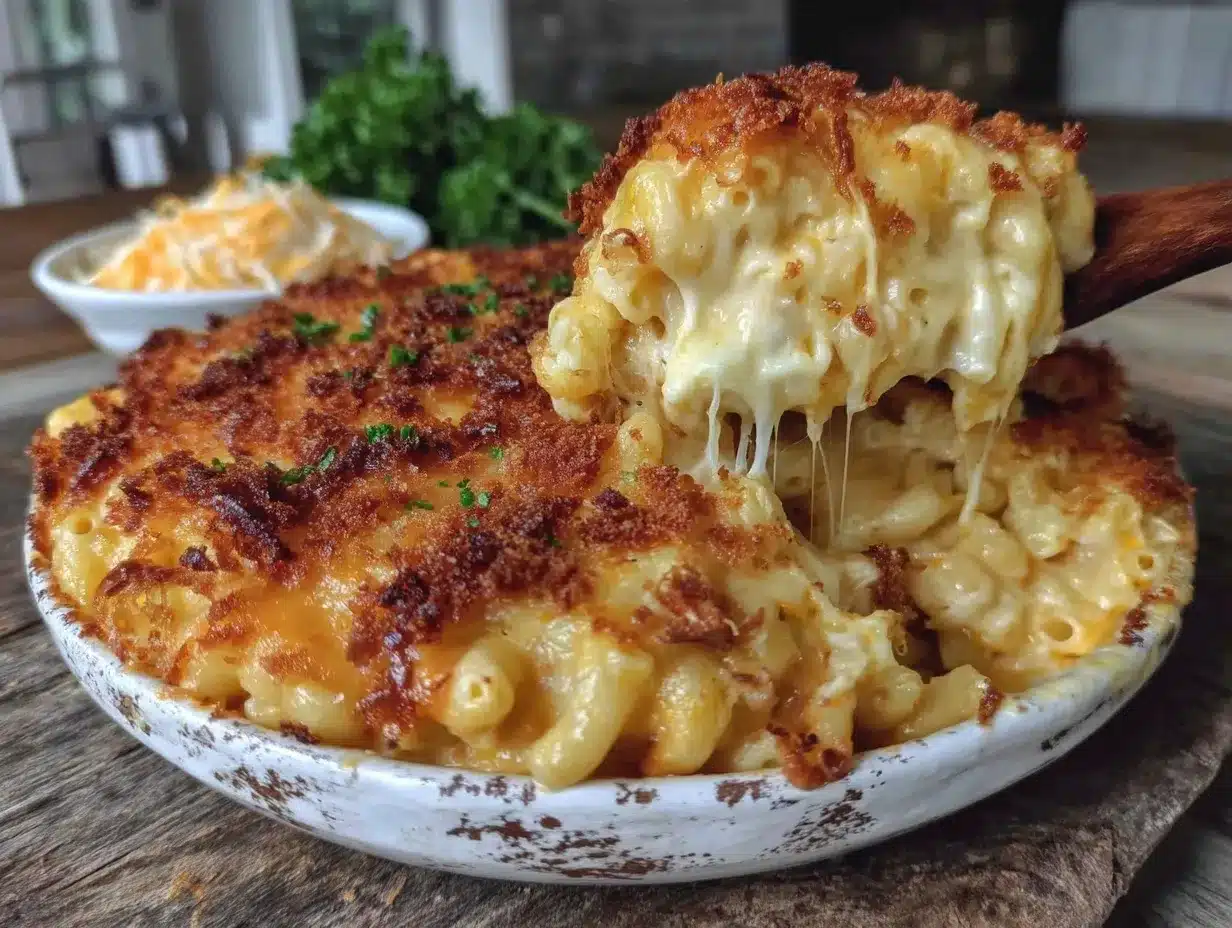
There is a specific kind of magic that happens when you pull a casserole dish out of the oven after it has rested in the fridge for three days. I’m talking about that moment when the edges are slightly crisp, the cheese sauce has thickened into something almost sculptural, and the aroma fills the entire kitchen. This isn’t just leftovers. This is creamy southern baked mac & cheese at its absolute peak.
I first fell hard for this dish during a particularly chaotic week in my twenties. I was trying to meal prep for a busy work schedule, but I kept getting bored with salads and plain chicken. I needed comfort. I needed something that felt like a hug but traveled well in a Tupperware container. I decided to bake a massive pan of mac and cheese on Sunday, portion it out, and freeze the rest. Three days later, I heated up a container, and honestly? It tasted better than when I made it. The flavors had melded. The pasta absorbed the sauce without getting mushy. It was a revelation.
That discovery changed how I approach weeknight dinners. Now, creamy southern baked mac & cheese is the backbone of my Sunday routine. It’s the dish I make in big batches because I know it reheats like it was just made. You know that feeling when you’re tired after work, and the last thing you want to do is cook? This recipe is your safety net. It’s rich, it’s cheesy, and it’s deeply satisfying without being heavy in a way that makes you want to nap immediately after eating.
I’ve tested this recipe probably a dozen times to get the ratio of roux to milk just right. Too much flour, and it tastes like paste. Too little, and you get a greasy mess. After plenty of trial and error, I landed on a method that guarantees a velvety texture every single time. Whether you are feeding a crowd for a potluck or just prepping lunches for yourself, this dish delivers consistent results. It’s the kind of recipe that earns its keep in your rotation week after week.
Why You’ll Love This Recipe
Let’s be real for a second. Most baked mac and cheese recipes fall short when it comes to meal prep. They dry out in the fridge. The sauce separates. The pasta turns into a starchy brick. But this version? It’s different. I’ve spent years refining this technique to ensure that the texture remains creamy even after reheating. It’s not just about taste; it’s about reliability.
- Meal Prep Champion: This recipe is designed for the batch cook. It stores beautifully in the refrigerator for up to five days and freezes for up to three months. The structure of the cheese sauce is stable enough to hold up against the rigors of storage and reheating.
- Simple Ingredients: You don’t need fancy, hard-to-find cheeses. I use a combination of sharp cheddar, Gruyère, and a touch of Parmesan. These are staples you can find at any standard grocery store. No specialty shops required.
- Reheats Like It Was Just Made: This is the big one. I’ve heated this in the microwave, in the oven, and even in the air fryer. The result is always consistent. The moisture content is balanced so that the pasta doesn’t absorb all the liquid overnight, leaving you with a dish that feels fresh.
- Crowd-Pleaser Status: Kids love the comfort of pasta. Adults love the sophistication of a cheese blend. It’s the perfect middle ground. It works for Tuesday night dinner, Sunday brunch, or a holiday side dish.
- Unbelievably Delicious: The addition of a little mustard powder and a pinch of nutmeg might seem small, but they wake up the cheese flavor in a way that plain milk and butter never could. It’s subtle, but you’ll notice it.
What makes this recipe stand out from the rest is the attention to the roux. Many people rush the flour and butter mixture, leading to a gritty texture. I take the time to cook the roux until it smells nutty and golden. This step is crucial for that smooth, southern-style mouthfeel. It’s the difference between a quick snack and a proper meal. Plus, the breadcrumb topping adds a necessary crunch that contrasts with the soft pasta, keeping every bite interesting.
What Ingredients You Will Need
This recipe relies on a few key components to build that deep, savory flavor profile. The beauty of this creamy southern baked mac & cheese is that it uses pantry staples and basic dairy products. You don’t need to run to three different stores to find everything. Here is what you’ll need to pull it off.
For the Pasta Base
- Elbow Macaroni: About 1 pound (450g). I prefer the classic short cut because it holds the sauce well. You can use cavatappi or shells if you want variety, but elbows are the traditional choice for that southern comfort feel.
- Water and Salt: For boiling the pasta. Make sure your water is heavily salted, like the sea. This is your only chance to season the pasta itself.
For the Cheese Sauce
- Unsalted Butter: ½ cup (113g). I use high-quality butter here because it’s a main flavor driver. Salted butter can make the dish too salty, especially with the cheese.
- All-Purpose Flour: ½ cup (60g). This creates the roux that thickens the sauce. Don’t skip this, or you’ll end up with a pool of cheese soup.
- Whole Milk: 4 cups (960ml). Whole milk provides the necessary fat for a rich sauce. Low-fat milk tends to separate and become grainy when baked.
- Heavy Cream: 1 cup (240ml). This adds extra richness and ensures the sauce stays creamy even after refrigeration.
- Sharp Cheddar Cheese: 3 cups (340g), shredded. I recommend using a block of cheese and shredding it yourself. Pre-shredded cheese contains anti-caking agents that prevent it from melting smoothly.
- Gruyère Cheese: 1 cup (110g), shredded. This Swiss cheese adds a nutty, complex flavor that cuts through the richness of the cheddar.
- Parmesan Cheese: ½ cup (50g), grated. This adds a salty, umami punch.
- Dijon Mustard: 1 tablespoon. It doesn’t make it taste like mustard; it just brightens the cheese flavor.
- Yellow Mustard Powder: 1 teaspoon. This is a secret weapon for that classic mac and cheese taste.
- Nutmeg: A pinch. Freshly grated nutmeg is best. It adds warmth and depth.
- Garlic Powder: 1 teaspoon. For a subtle savory background note.
- Smoked Paprika: ½ teaspoon. This gives it that subtle southern smokiness.
- Salt and Black Pepper: To taste. Remember, your cheeses are already salty, so taste before adding more.
For the Topping
- Panko Breadcrumbs: 1 cup (60g). These create a superior crunch compared to regular breadcrumbs.
- Melted Butter: 3 tablespoons. To toss the breadcrumbs in.
- Chives: 2 tablespoons, chopped. For garnish and a fresh onion flavor.
Equipment Needed
You don’t need a fancy kitchen to make this dish, but having the right tools makes the process smoother. The most important piece of equipment is a large stockpot or Dutch oven for boiling the pasta. I prefer a Dutch oven because it’s heavy and distributes heat evenly, preventing hot spots that might burn the bottom.
You will also need a large mixing bowl or a separate pot for making the roux. A whisk is essential here. I use a balloon whisk because it incorporates air and breaks up lumps in the flour mixture effectively. If you don’t have one, a sturdy spoon will work, but you’ll need to stir more vigorously.
For baking, a 9×13 inch baking dish is standard. I recommend a glass or ceramic dish because it heats evenly and allows you to see the browning on the sides. If you use metal, watch it closely, as it can brown the top too quickly. A digital kitchen scale is helpful for accuracy, especially if you are weighing your cheese. However, measuring cups work fine if you pack them lightly.
Finally, a grater is needed for the cheese. A box grater works well for the cheddar and Gruyère. I find that microplane graters are better for the Parmesan and nutmeg. Having these tools ready before you start cooking keeps the process organized and less stressful.
Preparation Method
Let’s walk through the steps. This process takes about an hour from start to finish, but most of that time is hands-off baking or boiling. Here is how to build that perfect sauce.
- Boil the Pasta: Bring a large pot of salted water to a boil. Add the elbow macaroni and cook according to the package directions, but stop cooking it about one minute before it is fully al dente. We want it slightly firm because it will continue to cook in the oven. Drain the pasta and set it aside. Do not rinse it, as you need the starch to help the sauce cling.
- Make the Roux: In a large saucepan or Dutch oven, melt the ½ cup of butter over medium heat. Once melted and foamy, add the flour. Whisk constantly for about 2-3 minutes. You want the mixture to turn a light golden color and smell slightly nutty. This cooks out the raw flour taste. Be patient here; if you rush it, your sauce will taste like raw dough.
- Add the Liquids: Gradually pour in the whole milk and heavy cream while whisking constantly. This is crucial. If you dump it all in at once, you’ll get lumps. Add it slowly, whisking continuously until the mixture is smooth. Continue to cook and whisk for another 3-5 minutes until the sauce thickens enough to coat the back of a spoon.
- Season the Sauce: Remove the pan from the heat. Stir in the Dijon mustard, mustard powder, nutmeg, garlic powder, smoked paprika, salt, and black pepper. Taste the sauce now. It should be well-seasoned because the cheese and pasta will dilute the flavor later. Adjust salt and pepper as needed.
- Melt the Cheese: Gradually add the shredded cheddar, Gruyère, and Parmesan cheese, stirring constantly. The residual heat will melt the cheese. Do not boil the sauce after adding the cheese, or it might break. Once the cheese is melted and the sauce is smooth, pour it over the cooked pasta. Toss everything together until the pasta is fully coated.
- Prepare the Topping: In a small bowl, mix the Panko breadcrumbs with the 3 tablespoons of melted butter. You want the crumbs to be evenly moistened. This ensures they toast evenly in the oven.
- Assemble: Pour the pasta and cheese mixture into your 9×13 inch baking dish. Spread it out evenly. Sprinkle the breadcrumb mixture over the top. Press it down lightly so it adheres to the sauce.
- Bake: Preheat your oven to 350°F (175°C). Bake the mac and cheese for 20-25 minutes, or until the top is golden brown and bubbly. If you want a darker crust, you can broil it for the last 1-2 minutes, but watch it closely so it doesn’t burn.
- Cool and Serve: Let the dish rest for at least 10 minutes before serving. This allows the sauce to set slightly, making it easier to portion out for meal prep. If you cut into it immediately, the sauce will run everywhere.
Cooking Tips & Techniques
I’ve made enough mac and cheese to know where things can go wrong. The biggest mistake people make is using pre-shredded cheese. Those little white powders on the shreds are cellulose, and they stop the cheese from melting properly. You end up with a sauce that is stringy and greasy. Always buy blocks of cheese and shred them yourself. It takes five minutes, but the result is worth it.
Another common error is boiling the pasta until it is completely soft. Since this dish bakes for 20 minutes, the pasta will absorb more liquid and soften further. If you cook it to al dente first, it will be mushy by the time you eat it. Aim for that slightly firm texture in the pot.
When making the roux, keep the heat at medium. If it’s too high, the flour will burn before the butter has incorporated it. If it’s too low, it will take forever to thicken. You are looking for a steady, gentle simmer. Listen to the whisk. If it’s sizzling loudly, turn the heat down.
Don’t skip the resting time. I know it’s hard to wait when it smells so good, but that 10-minute rest is critical for meal prep. It allows the starches to rehydrate and the sauce to stabilize. If you portion it out while it’s piping hot, the steam will condense in your containers, making the pasta soggy overnight. Letting it cool first prevents this.
Variations & Adaptations
While I love this classic version, there are ways to tweak it to fit your lifestyle. If you want to add some protein, stir in cooked bacon bits or diced ham. This turns it into a more substantial meal. For a vegetarian boost, you can mix in sautéed broccoli or spinach. Just make sure to squeeze out any excess water from the veggies before adding them.
For a lighter version, you can substitute half of the heavy cream with whole milk. The texture won’t be quite as rich, but it will still be delicious. If you are gluten-free, swap the all-purpose flour for a 1:1 gluten-free flour blend. Make sure to cook the roux a bit longer to eliminate any potential grittiness.
I also like to add a kick of heat. A pinch of cayenne pepper or a dash of hot sauce works wonders. It adds a subtle warmth that complements the smoky paprika. For a different flavor profile, try adding caramelized onions to the mix. They add a sweetness that balances the sharp cheddar perfectly.
Serving & Storage Suggestions
This dish is incredibly versatile for storage. Once it has cooled completely, you can divide it into individual portions. Use airtight containers to store them in the refrigerator for up to five days. The flavors actually improve after a day or two as they meld together.
For longer storage, you can freeze the unbaked casserole. Wrap the dish tightly in plastic wrap and then aluminum foil. It will keep for up to three months. When you are ready to eat it, let it thaw in the refrigerator overnight and then bake as directed, adding a few extra minutes to the baking time.
To reheat, I recommend using the oven or toaster oven. Place the portion in an oven-safe dish, cover it with foil, and heat at 350°F (175°C) for 15-20 minutes. This keeps the texture intact. If you’re in a rush, you can use the microwave, but sprinkle a little water on top to create steam. This prevents the pasta from drying out.
When serving, garnish with fresh chives for a pop of color and freshness. It pairs well with a simple green salad or steamed vegetables. The richness of the mac and cheese balances well with lighter sides.
Nutritional Information & Benefits
This creamy southern baked mac & cheese is definitely a comfort food indulgence. It is high in calories and fat due to the cheese and butter content. However, it also provides good amounts of protein and calcium from the dairy. The cheddar and Gruyère are excellent sources of these nutrients.
For those watching their sodium, be mindful of the salt content in the cheeses. You can opt for lower-sodium versions if needed, though the flavor might be slightly different. The dish is not gluten-free unless you use gluten-free pasta and flour. It is also not suitable for vegans or those with dairy allergies.
I view this as a treat meal rather than a daily staple. It’s perfect for weekends or when you want to enjoy a hearty, satisfying dish. Balance it with plenty of vegetables and lean proteins throughout the rest of your week.
Conclusion
This creamy southern baked mac & cheese is more than just a recipe; it’s a solution for busy weeks. It brings comfort, convenience, and incredible flavor to your table. I hope you try it and find it as useful in your meal prep routine as it has been in mine.
Feel free to customize it with your favorite add-ins. Whether you like it spicy, cheesy, or loaded with veggies, make it your own. I’d love to hear how you tweak the recipe. Leave a comment below with your favorite variations.
Happy cooking! Let this dish be your weekend win.
Frequently Asked Questions
Can I use dried mustard instead of powder?
Yes, but dried mustard is stronger. Start with half a teaspoon and adjust to taste. Powder is milder and easier to control.
Why did my cheese sauce break?
This usually happens if the sauce is boiled after adding the cheese. Keep the heat low and remove it from the source as soon as the cheese melts.
Can I freeze the leftovers?
Absolutely. Freeze in individual portions for easy reheating. Thaw in the fridge overnight before heating.
What cheese is best for melting?
Gruyère and cheddar melt beautifully. Avoid pre-shredded cheese as it contains anti-caking agents that hinder melting.
How do I prevent the topping from burning?
Keep an eye on the oven. If the top browns too quickly, tent the dish with aluminum foil for the remaining baking time.
Pin This Recipe!
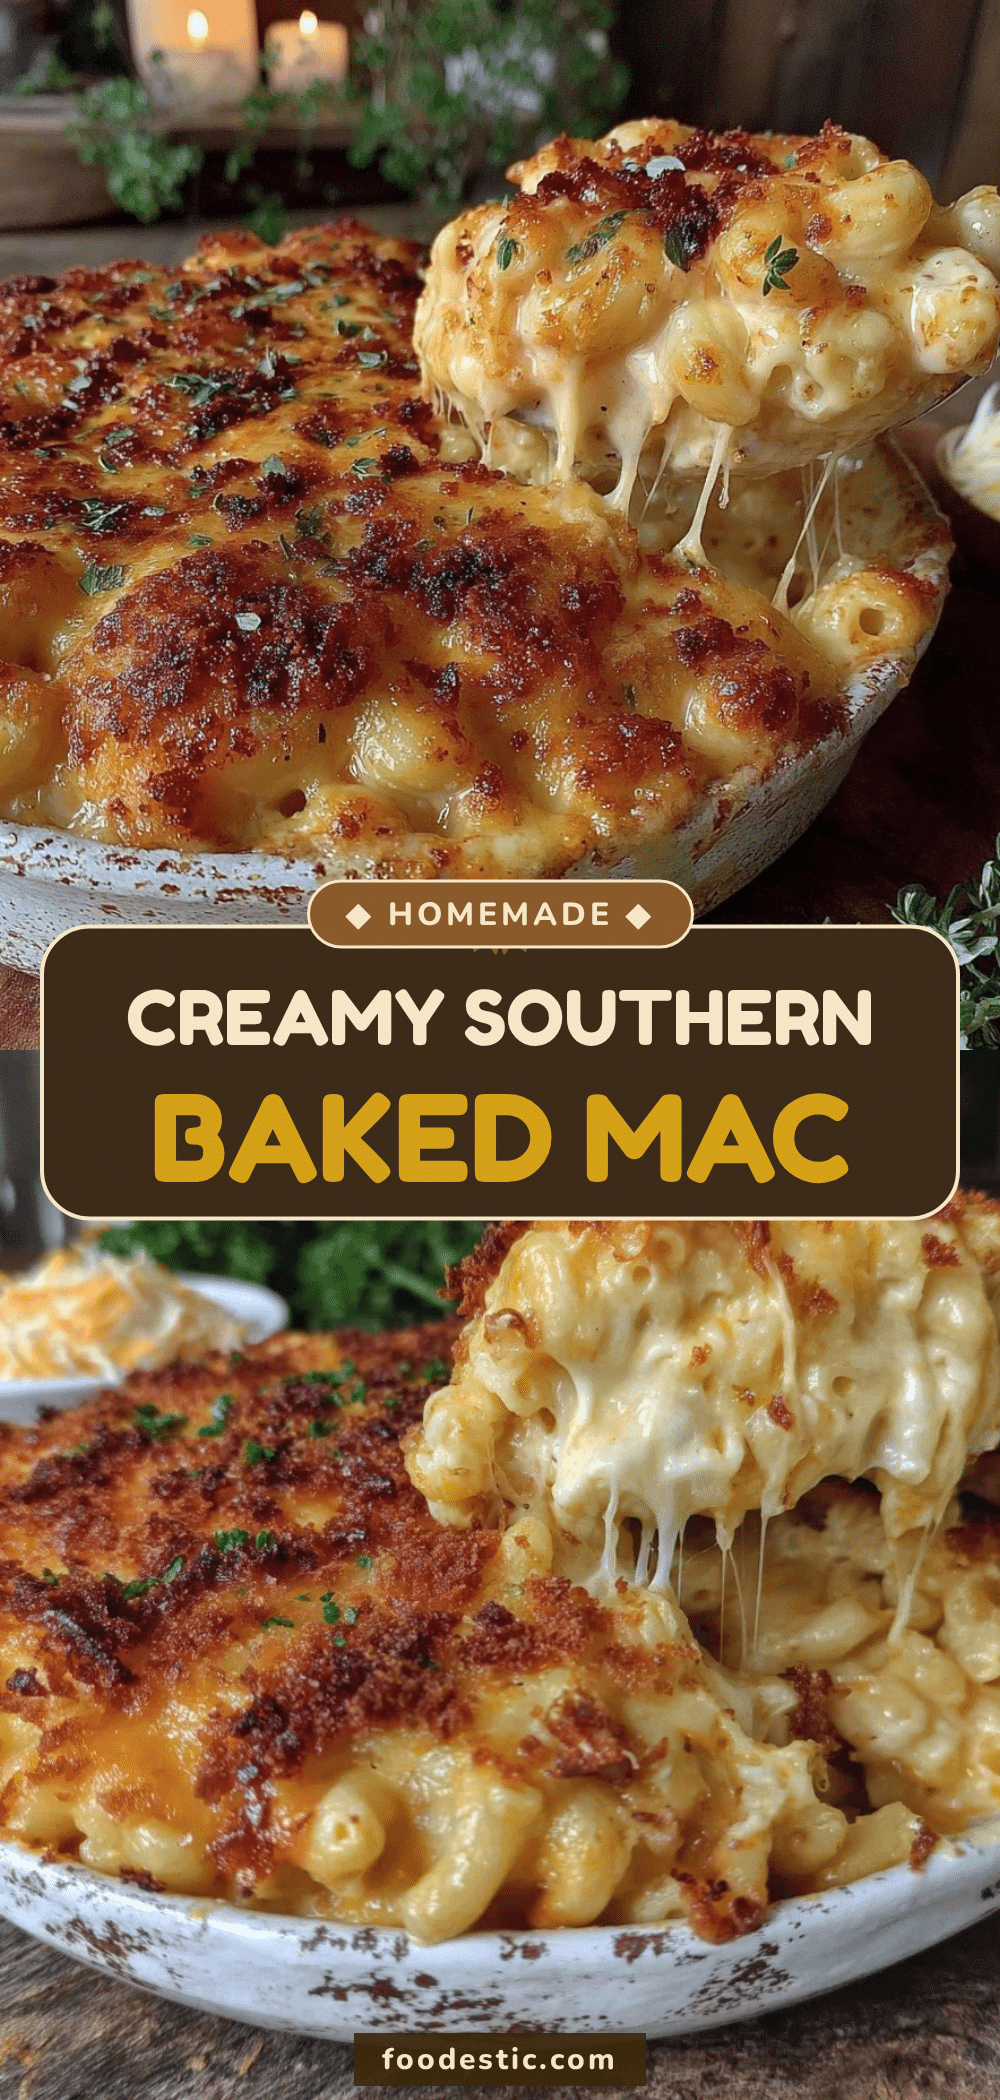

Creamy Southern Baked Mac & Cheese: Perfect Meal Prep
- Total Time: 45 minutes
- Yield: 8 servings 1x
Description
A rich, velvety baked mac and cheese designed for meal prep that reheats perfectly. This recipe uses a stable roux-based cheese sauce and a crunchy panko topping for a comforting, crowd-pleasing dish.
Ingredients
- 1 pound (450g) elbow macaroni
- Water and salt for boiling pasta
- ½ cup (113g) unsalted butter
- ½ cup (60g) all-purpose flour
- 4 cups (960ml) whole milk
- 1 cup (240ml) heavy cream
- 3 cups (340g) sharp cheddar cheese, shredded
- 1 cup (110g) Gruyère cheese, shredded
- ½ cup (50g) Parmesan cheese, grated
- 1 tablespoon Dijon mustard
- 1 teaspoon yellow mustard powder
- A pinch nutmeg, freshly grated
- 1 teaspoon garlic powder
- ½ teaspoon smoked paprika
- Salt and black pepper to taste
- 1 cup (60g) Panko breadcrumbs
- 3 tablespoons melted butter
- 2 tablespoons chopped chives
Instructions
- Bring a large pot of heavily salted water to a boil. Add elbow macaroni and cook until slightly under al dente (about one minute less than package directions). Drain and set aside; do not rinse.
- In a large saucepan or Dutch oven, melt ½ cup butter over medium heat. Add flour and whisk constantly for 2-3 minutes until the mixture is light golden and smells nutty.
- Gradually pour in whole milk and heavy cream while whisking constantly to prevent lumps. Cook and whisk for 3-5 minutes until the sauce thickens enough to coat the back of a spoon.
- Remove pan from heat. Stir in Dijon mustard, mustard powder, nutmeg, garlic powder, smoked paprika, salt, and black pepper. Taste and adjust seasoning.
- Gradually add shredded cheddar, Gruyère, and Parmesan cheese, stirring constantly until melted and smooth. Do not boil after adding cheese. Pour sauce over cooked pasta and toss to coat.
- In a small bowl, mix Panko breadcrumbs with 3 tablespoons melted butter until evenly moistened.
- Pour pasta and cheese mixture into a 9×13 inch baking dish. Sprinkle breadcrumb mixture over the top and press down lightly.
- Preheat oven to 350°F (175°C). Bake for 20-25 minutes until top is golden brown and bubbly. Optionally broil for 1-2 minutes for a darker crust.
- Let the dish rest for at least 10 minutes before serving or portioning to allow the sauce to set.
Notes
Always shred cheese from blocks rather than using pre-shredded cheese, as anti-caking agents can prevent smooth melting. Cook pasta slightly under al dente as it will continue to cook in the oven. Let the dish rest for 10 minutes before serving to allow the sauce to stabilize, which is crucial for meal prep storage.
- Prep Time: 20 minutes
- Cook Time: 25 minutes
- Category: Main Course
- Cuisine: American
Nutrition
- Serving Size: 1/8 of the casserole
- Calories: 650
- Sugar: 6
- Sodium: 800
- Fat: 45
- Saturated Fat: 25
- Carbohydrates: 40
- Fiber: 2
- Protein: 22
Keywords: mac and cheese, meal prep, baked mac and cheese, southern comfort food, cheesy pasta, batch cooking, comfort food


