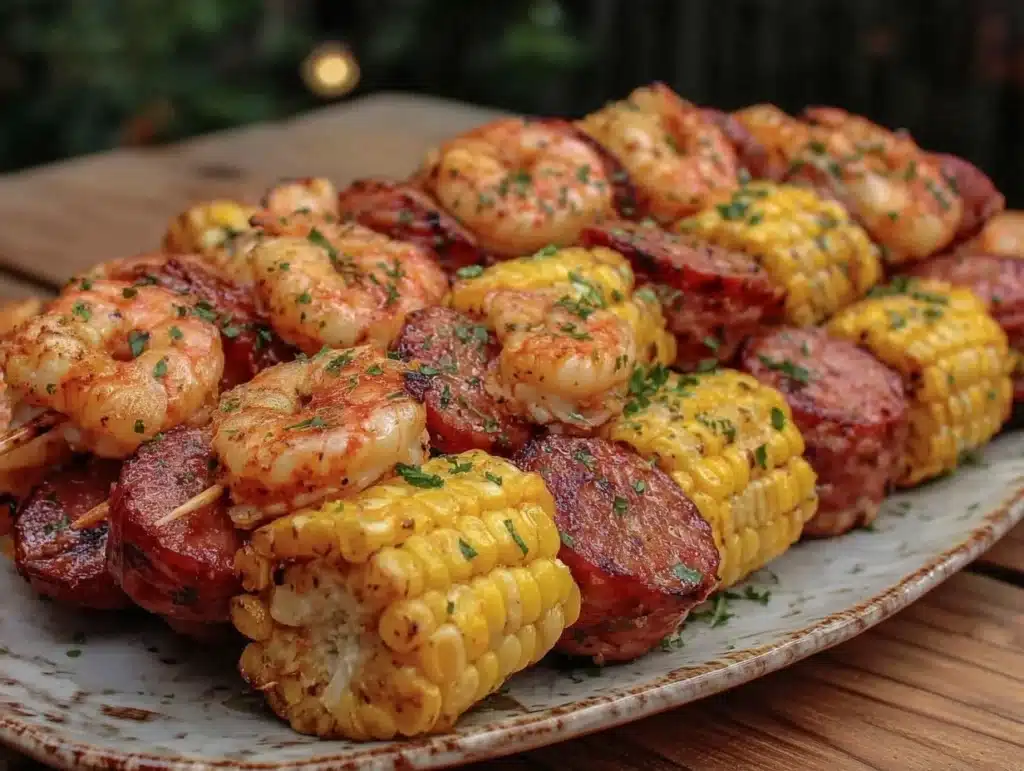
The smell of charred lemon and smoke hits you before you even open the container. It’s that specific, mouth-watering scent that makes your coworkers lean over their cubicle walls to see what you’re eating. Honestly, I used to dread Monday lunch. You know the feeling? You’re staring at a Tupperware of yesterday’s leftovers, wondering if you can survive until 5 PM without hitting the vending machine. It’s a real struggle.
Then I figured out the trick to making grilled seafood skewers that actually stay crispy and delicious when packed for lunch. It wasn’t easy. I tried everything from rubbery, overcooked shrimp to soggy, bland fish chunks that tasted like they’d been sitting in a fridge for three days. Let’s face it, seafood is high-maintenance. It doesn’t like to be treated like a slow-cooked stew.
But these Crispy Grilled Seafood Skewers? They are game-changers. I developed this recipe specifically for my weekly meal prep routine. I wanted something light enough to keep me energized during the afternoon slump, but flavorful enough to feel like a treat. The secret lies in the marinade and the final brush of herb butter right before packing. It’s not just lunch; it’s a little vacation on a skewer.
After testing this over a dozen times, I’ve nailed down the exact timing and technique to ensure your seafood stays tender. Whether you’re a busy parent, a desk worker, or just someone who wants to eat better without spending hours in the kitchen, this method works. I’ve shared similar meal prep wins in my posts about high-protein chicken bowls, but this seafood version is a fresh take on summer flavors. It’s the kind of meal that makes you look forward to the weekend, even on a Tuesday.
Why You’ll Love This Recipe for Meal Prep
Let’s be real for a second. Most people think meal prep is boring. They imagine dull, gray food that tastes like it’s been boiled in water. But I’ve spent years perfecting my system, and I can tell you that with the right techniques, prepping for the week is actually kind of fun. It’s like solving a puzzle where the prize is delicious, healthy food. These skewers are proof that you don’t have to sacrifice taste for convenience.
Here is why this recipe has become a staple in my rotation:
- Quick & Easy Prep: You can have these skewers ready to grill in under 20 minutes. I usually chop the veggies and mix the marinade while the kettle boils or while I’m waiting for my coffee to brew. It’s perfect for busy weeknights when you just want to get dinner on the table fast.
- Pantry Staples: You likely already have most of the ingredients. Olive oil, garlic, lemon, and your favorite seafood. No fancy trips to the specialty store needed. This makes it super accessible for anyone trying to stick to a budget.
- Perfect for Meal Prep: This is the big one. These skewers pack exceptionally well. Unlike fried foods that get soggy, grilled seafood holds its texture surprisingly well when stored correctly. I’ve eaten these on day three of the week, and they still taste fresh.
- Crowd-Pleaser: My kids, who are notoriously picky about anything that smells like the ocean, actually ask for these. The lemon-garlic marinade masks any “fishy” taste, leaving just a clean, bright flavor. It’s a win for the whole family.
- Unbelievably Delicious: The combination of the smoky grill marks and the zesty marinade is next-level comfort food. It’s light, yet satisfying. You don’t feel heavy or sluggish after eating this. It’s the kind of meal that makes you close your eyes and smile after the first bite.
What makes this different from other seafood recipes? It’s the balance. Too many recipes go too heavy on the salt or too light on the acid. I’ve tweaked this until it’s perfect. It’s not just another grilled fish recipe; it’s your best version of summer lunch. It’s comfort food reimagined—healthier, faster, but with the same soul-soothing satisfaction. Plus, it’s great for impressing guests if you’re hosting a summer BBQ, but honestly, I usually hide the best ones in my Tupperware for work.
What Ingredients You Will Need
This recipe relies on simple, wholesome ingredients to deliver bold flavor and satisfying texture without the fuss. The key is quality. Since there aren’t many components, each one has to do some heavy lifting. I try to buy the freshest seafood I can find, preferably from a local fishmonger who can tell me when it was caught. If you’re buying from a supermarket, look for seafood that smells like the ocean, not like fish.
- White Fish Fillets (1.5 lbs): I recommend using firm white fish like Cod, Halibut, or Snapper. These hold up well on the grill and don’t fall apart. Avoid flaky fish like Tilapia if you’re new to grilling, as they can break easily. (Use 680g)
- Large Shrimp (1 lb): Peel and deveined shrimp cook quickly and add a nice texture contrast. Look for wild-caught if possible. (Use 450g)
- Red Onion (1 medium): Cut into large chunks. The sweetness caramelizes on the grill, balancing the acidity of the lemon. (Approx. 150g)
- Red Bell Pepper (1 large): Adds color and a crisp, sweet crunch. Green peppers can be too bitter for this specific flavor profile. (Approx. 120g)
- Zucchini (1 medium): Sliced into thick rounds. Zucchini absorbs the marinade beautifully. (Approx. 150g)
- Extra Virgin Olive Oil (1/4 cup): Use a good quality oil. It carries the flavors and helps the marinade adhere to the seafood. (60ml)
- Fresh Lemon Juice (3 tbsp): Bottled juice just doesn’t cut it. You need the bright acidity of fresh lemons to cut through the richness of the olive oil. (45ml)
- Garlic (4 cloves): Minced finely. Garlic is the backbone of this marinade. (Approx. 12g)
- Dried Oregano (1 tsp): A classic Mediterranean herb that pairs perfectly with seafood. (2g)
- Red Pepper Flakes (1/2 tsp): Just a pinch for a little heat. Adjust based on your tolerance. (1g)
- Fresh Parsley (2 tbsp): Chopped, for garnish. It adds a fresh, herbal note at the end. (Approx. 5g)
- Salt and Black Pepper: To taste. I use Kosher salt for even distribution. (To taste)
If you can’t find white fish, salmon works too, though it will change the flavor profile slightly. For a gluten-free option, this recipe is naturally gluten-free, so you don’t need to swap anything. Just ensure your spices are certified gluten-free if you have sensitivities.
Equipment Needed
You don’t need much to make this, but having the right tools makes a huge difference. I use a set of metal skewers rather than wooden ones. Wooden skewers need to be soaked in water for 30 minutes to prevent burning, and they often char unevenly. Metal skewers conduct heat well and give you those perfect grill marks without the hassle. If you must use wood, soak them thoroughly.
A large mixing bowl is essential for tossing the marinade. I like to use one with a wide mouth so I can get in there with my hands to coat the seafood evenly. A pastry brush is helpful for applying extra marinade while grilling, though I usually skip this to avoid cross-contamination from the raw seafood marinade.
For storage, I rely on glass meal prep containers with tight-fitting lids. Glass doesn’t retain odors like plastic does, which is important for seafood. I also keep a cool pack in my lunch bag to ensure the food stays safe until lunchtime. It’s a small detail that makes a big difference in food safety.
Preparation Method
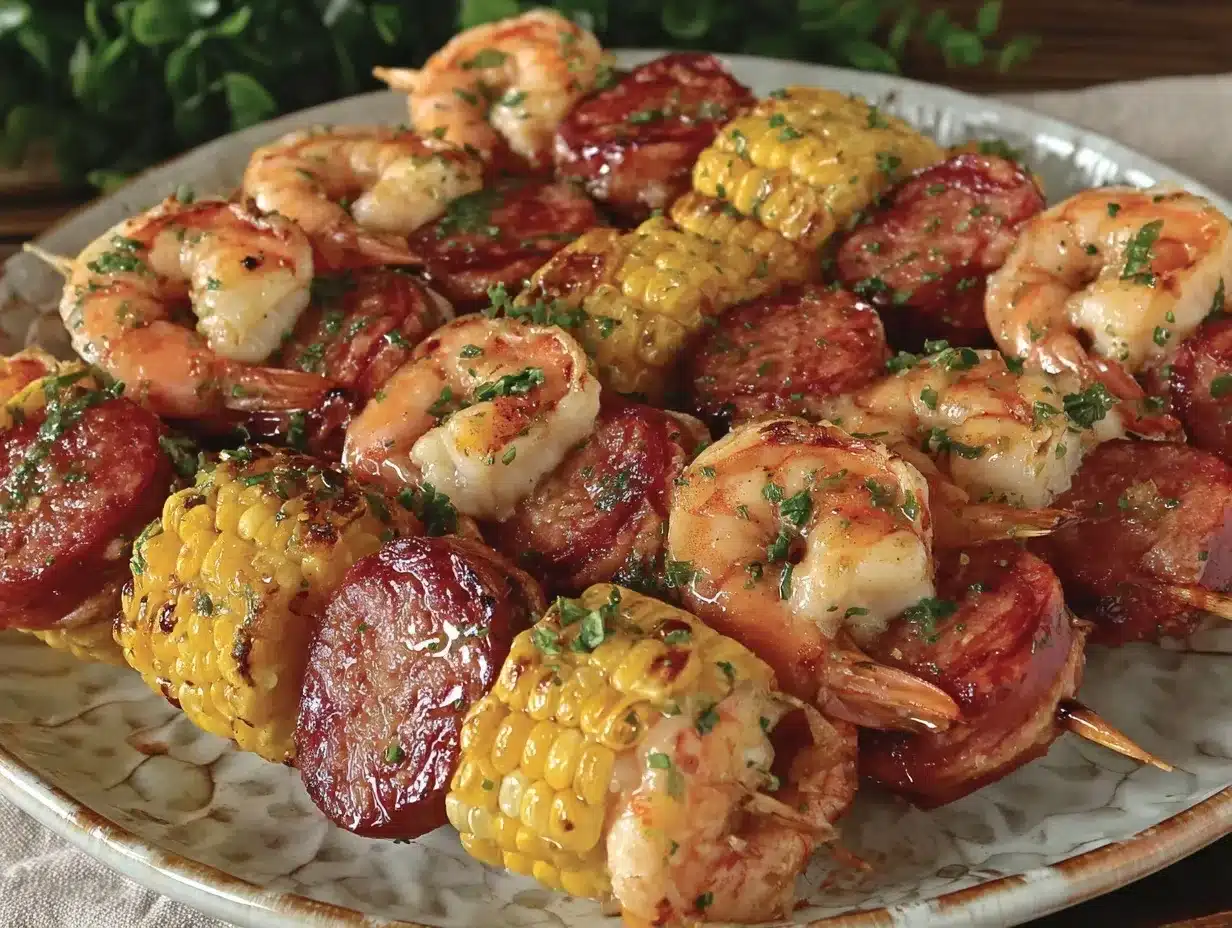
Let’s get into the nitty-gritty. This process is straightforward, but timing is everything. Follow these steps closely for the best results.
Step 1: Prep the Seafood (10 minutes)
Rinse your shrimp and fish under cold water. Pat them completely dry with paper towels. Moisture is the enemy of a good sear. If the fish is wet, it will steam instead of grill. Cut the fish into 1.5-inch cubes. Try to keep them uniform in size so they cook evenly. If you have large shrimp, leave them whole. If they are huge, you can cut them in half.
Step 2: Make the Marinade (5 minutes)
In a large bowl, whisk together the olive oil, lemon juice, minced garlic, oregano, red pepper flakes, salt, and black pepper. The mixture should look emulsified, like a thick dressing. Taste it. It should be bright and zesty. If it tastes too sharp, add a tiny pinch of sugar to balance it.
Step 3: Marinate the Seafood (15-30 minutes)
Add the fish cubes and shrimp to the bowl. Toss gently to coat. Let it sit in the refrigerator for at least 15 minutes, but no more than 30. Seafood marinades work quickly because the acid in the lemon starts to “cook” the fish (like ceviche). If you leave it too long, the texture will become mushy. This is a common mistake I made early on. Don’t over-marinate!
Step 4: Prep the Vegetables
While the seafood marinates, chop your onions and bell peppers into large chunks. Slice the zucchini into thick rounds, about 1/2 inch thick. Place the vegetables in a separate bowl. Toss them with a little bit of olive oil and salt. They don’t need the acid marinade, just a light coating of oil to prevent sticking.
Step 5: Skewer the Ingredients
Thread the ingredients onto the skewers. A good pattern is: one chunk of onion, one piece of fish, one chunk of pepper, one shrimp, one piece of zucchini. Repeat. Leave a little space between the items so the heat can circulate. Don’t pack them too tightly. This ensures even cooking and prevents steaming.
Step 6: Grill the Skewers (8-10 minutes)
Preheat your grill to medium-high heat. Oil the grates generously to prevent sticking. Place the skewers on the grill. Cook for about 4-5 minutes on the first side. Do not move them around. Let them get those nice char marks. Flip them over and cook for another 3-4 minutes. The fish is done when it flakes easily with a fork and is opaque throughout. The shrimp should be pink and opaque. Avoid overcooking, or they will become rubbery.
Step 7: Cool and Pack
Remove the skewers from the grill and let them cool completely on a wire rack. This step is crucial for meal prep. If you pack them while hot, condensation will form in the container, making everything soggy. Once cool, place them in your meal prep containers. Garnish with fresh parsley before closing the lid.
Cooking Tips & Techniques
Grilling seafood can be intimidating, but a few professional tricks will save you. First, oil the food, not just the grill. Brushing the skewers with a thin layer of oil before they hit the grate helps prevent sticking. Second, don’t touch them too much. When you first place the skewers on the grill, resist the urge to poke them. Let the heat do its work. If they stick, they aren’t ready to flip yet.
I once tried to grill delicate fish without oiling the grate properly, and it was a disaster. The fish shattered. Now, I always use a cast-iron grill pan or a well-seasoned outdoor grill. If you’re cooking indoors, a cast-iron pan gives you similar results to an outdoor grill. It retains heat well and creates that smoky crust.
Multitasking strategy: While the skewers are grilling, you can start prepping the next batch or assembling your salads. Time is money, especially when you’re meal prepping for five days. Have your containers ready and waiting so you can pack immediately after cooling.
Consistency tip: Use a meat thermometer if you’re unsure. White fish should reach an internal temperature of 145°F (63°C). Shrimp should also reach 145°F. This eliminates guesswork and ensures food safety every time.
Variations & Adaptations
This recipe is incredibly versatile. Here are a few ways to switch it up:
- Spicy Cajun Twist: Swap the oregano for Cajun seasoning. Add a little paprika and cayenne pepper to the marinade. This gives it a bold, Southern flavor profile that’s great with corn on the side.
- Asian-Inspired: Swap the lemon for lime, and the oregano for ginger and sesame oil. Use soy sauce (or tamari for gluten-free) in the marinade. Garnish with chopped green onions and sesame seeds instead of parsley.
- Vegetarian Option: Skip the seafood and double the vegetables. Use firm tofu or halloumi cheese instead. Tofu needs to be pressed dry before marinating to absorb the flavors better. Halloumi doesn’t need marinade; just grill it until golden.
- Seasonal Swap: In the winter, swap the zucchini and peppers for asparagus and cherry tomatoes. The tomatoes will burst on the grill, creating a sweet, jammy contrast to the savory fish.
I’ve tried adding pineapple chunks to the skewers for a sweet and savory combo. It works surprisingly well, especially with shrimp. The bromelain in the pineapple tenderizes the seafood, so just be careful not to marinate too long if you include fruit.
Serving & Storage Suggestions
These skewers are best eaten at room temperature or slightly chilled, which makes them perfect for lunch. I usually serve them with a side of quinoa or couscous. The grains soak up any extra marinade, so nothing goes to waste. A simple arugula salad with a lemon vinaigrette is also a great pairing. The peppery greens cut through the richness of the olive oil.
Storage: Store the skewers in airtight glass containers in the refrigerator for up to 3 days. They are safe to eat for up to 4 days, but I usually finish them by day 3 because they taste best when fresh. Do not freeze grilled seafood skewers. The texture of the fish and vegetables will become mushy upon thawing. It’s just not worth the risk.
Reheating: I generally don’t recommend reheating seafood skewers in the microwave. It tends to make the fish rubbery. If you must reheat, do it gently. Place the skewer in a microwave-safe dish with a splash of water, cover it, and heat on low power for 30-60 seconds. Or, just eat it cold. Many people find that cold grilled seafood has a better texture than reheated.
The flavors actually meld nicely over the first 24 hours. The marinade continues to penetrate the fish slightly, making it more flavorful on day two. By day three, it’s still good, but the vegetables may have softened more than you like. That’s why I pack them in a way that keeps them fresh, using a barrier layer if needed.
Nutritional Information & Benefits
This recipe is a powerhouse of lean protein and healthy fats. White fish is low in calories but high in protein, which helps keep you full and satisfied. The olive oil provides monounsaturated fats, which are great for heart health. Shrimp is also high in protein and contains selenium, an important antioxidant.
Here is an estimated breakdown per skewer (assuming 5 skewers per batch):
- Calories: ~250-300 kcal
- Protein: ~25g
- Fat: ~15g
- Carbohydrates: ~8g
- Fiber: ~2g
This is a low-carb, gluten-free option. It’s also rich in omega-3 fatty acids, which support brain health and reduce inflammation. I love that this meal gives me sustained energy without the crash that comes from heavy, carb-loaded lunches. It’s clean, simple, and effective.
Conclusion
These Crispy Grilled Seafood Skewers are more than just a recipe; they’re a solution to the daily lunch dilemma. They’re easy to make, packed with flavor, and designed specifically for the demands of a busy week. I hope you try them out and find that they become a staple in your meal prep rotation too.
Feel free to experiment with the variations. Maybe you’ll discover a new favorite flavor combo. And remember, the key is to not overcook the seafood. Keep an eye on the grill, and trust your senses. If it smells good and looks right, it’s probably done.
I’d love to hear how you make these! Did you add any unique ingredients? Did you pair them with a specific side dish? Leave a comment below and let me know. Sharing our meal prep wins helps us all eat better. Happy grilling!
FAQs
Can I use frozen seafood for these skewers?
Yes, but you must thaw it completely and pat it very dry. Excess moisture from frozen seafood can lead to steaming instead of grilling. For best results, fresh seafood is always preferred, but frozen works in a pinch if handled correctly.
How do I prevent the seafood from sticking to the grill?
The key is a clean, hot grill and plenty of oil. Brush the grates with oil before heating, and brush the skewers with oil before placing them on the grate. Don’t move the skewers until they release naturally from the grill.
Can I make this recipe ahead of time?
You can prep the ingredients and marinate the seafood up to 24 hours in advance. However, I recommend grilling the skewers on the day you plan to eat them. Grilled seafood tastes best when fresh.
What sides go well with these skewers?
Quinoa, couscous, roasted potatoes, or a simple green salad are excellent pairings. The skewers are light, so a starchy side helps make the meal more filling.
Is this recipe kid-friendly?
Yes! The lemon and garlic marinade masks any strong seafood flavors, making it approachable for picky eaters. Kids usually love the fun of eating off a skewer.
Pin This Recipe!
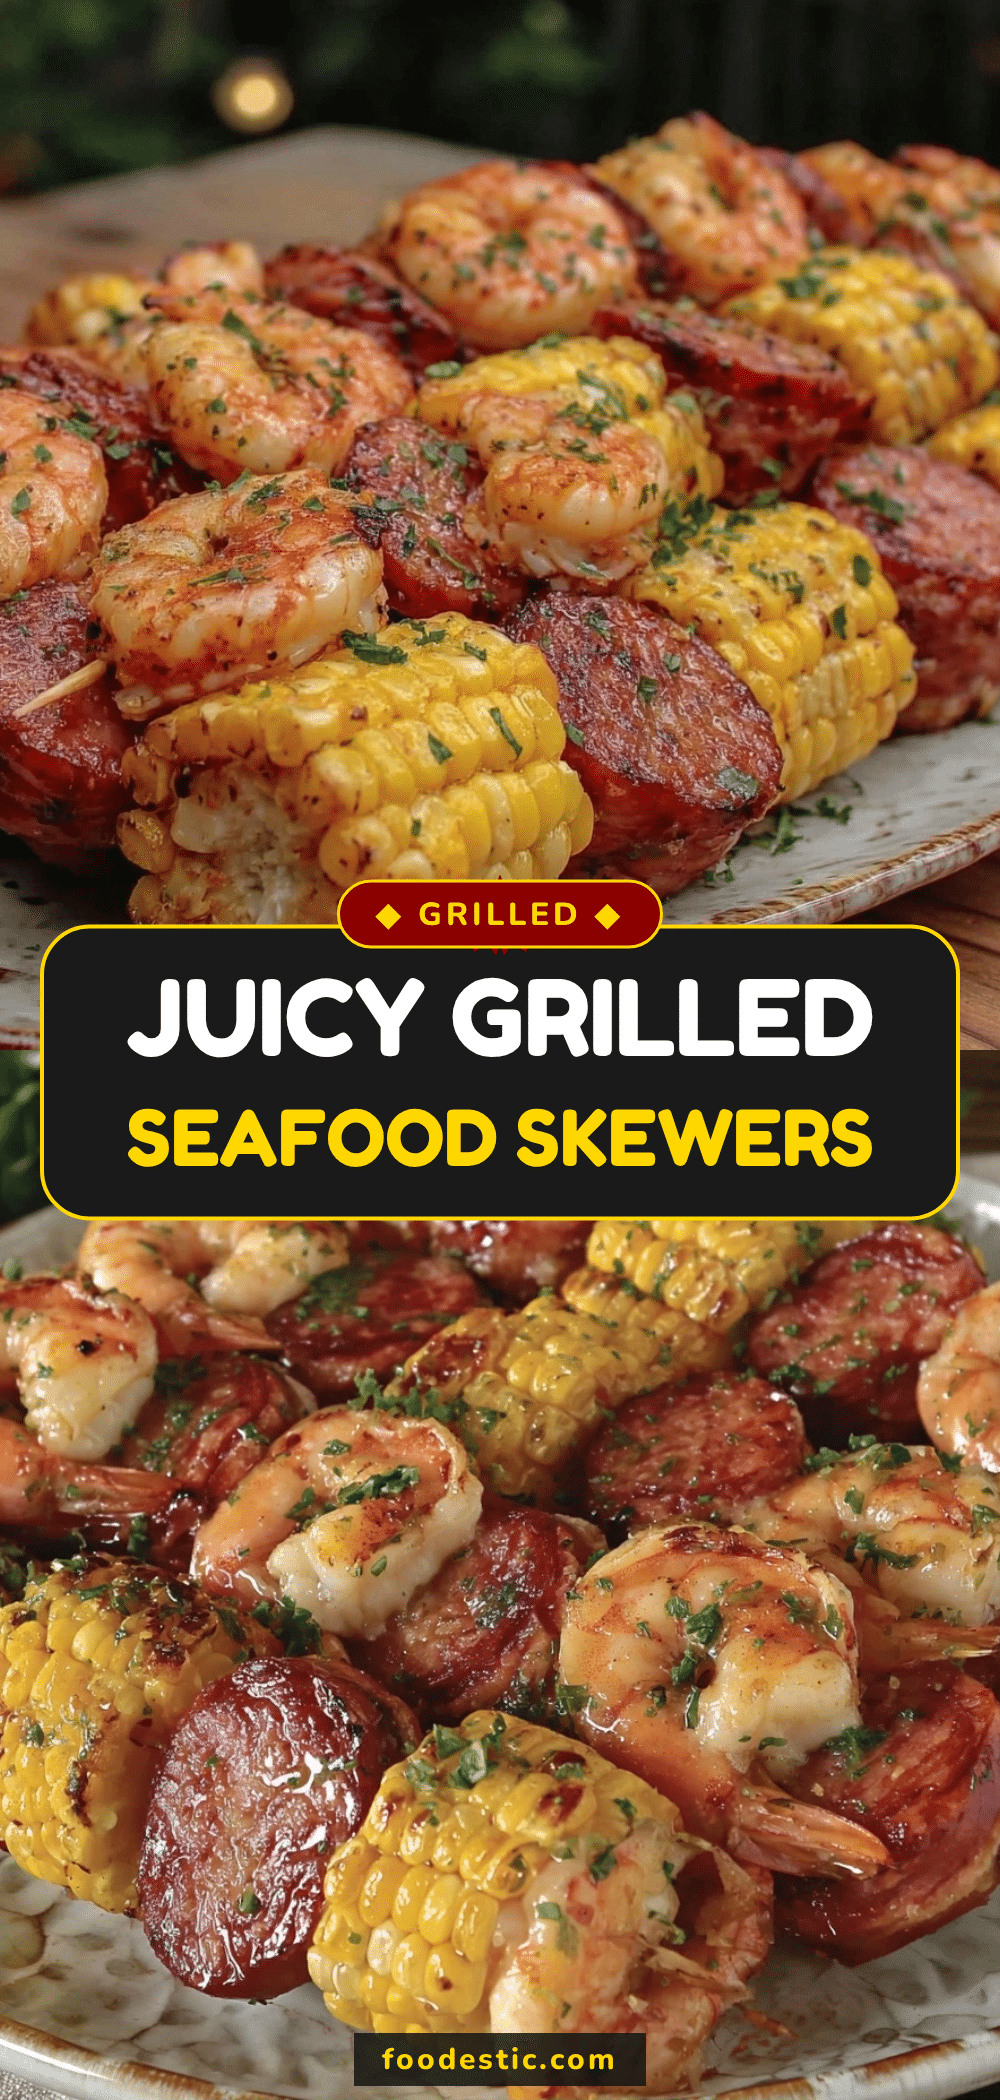

Crispy Grilled Seafood Skewers
- Total Time: 30 minutes
- Yield: 5 servings 1x
Description
These crispy grilled seafood skewers are designed for meal prep, staying tender and flavorful when packed for lunch. They feature a zesty lemon-garlic marinade and are quick to prepare, making them a perfect summer lunch option.
Ingredients
- 1.5 lbs White Fish Fillets (Cod, Halibut, or Snapper), cut into 1.5-inch cubes
- 1 lb Large Shrimp, peeled and deveined
- 1 medium Red Onion, cut into large chunks
- 1 large Red Bell Pepper, cut into large chunks
- 1 medium Zucchini, sliced into thick rounds
- 1/4 cup Extra Virgin Olive Oil
- 3 tbsp Fresh Lemon Juice
- 4 cloves Garlic, minced
- 1 tsp Dried Oregano
- 1/2 tsp Red Pepper Flakes
- 2 tbsp Fresh Parsley, chopped
- Salt and Black Pepper to taste
Instructions
- Rinse shrimp and fish under cold water and pat completely dry. Cut fish into 1.5-inch cubes.
- In a large bowl, whisk together olive oil, lemon juice, minced garlic, oregano, red pepper flakes, salt, and black pepper.
- Add fish cubes and shrimp to the marinade. Toss gently to coat and refrigerate for 15-30 minutes. Do not exceed 30 minutes to avoid mushy texture.
- Chop onions and bell peppers into large chunks. Slice zucchini into 1/2-inch thick rounds. Toss vegetables with a little olive oil and salt in a separate bowl.
- Thread ingredients onto skewers in a pattern: onion, fish, pepper, shrimp, zucchini. Leave space between items for even cooking.
- Preheat grill to medium-high heat and oil grates generously. Grill skewers for 4-5 minutes on the first side without moving them, then flip and cook for another 3-4 minutes until fish flakes easily and shrimp is pink.
- Remove skewers from grill and let cool completely on a wire rack to prevent condensation in storage containers.
- Garnish with fresh parsley and pack into airtight glass containers for meal prep.
Notes
Do not over-marinate seafood as the acid can make the texture mushy. Ensure seafood is patted dry before grilling to prevent steaming. Cool skewers completely before packing to maintain texture. Do not freeze grilled seafood skewers as they become mushy upon thawing. Best eaten at room temperature or chilled.
- Prep Time: 20 minutes
- Cook Time: 10 minutes
- Category: Main Course
- Cuisine: Mediterranean
Nutrition
- Serving Size: 1 skewer
- Calories: 275
- Sugar: 3
- Sodium: 300
- Fat: 15
- Saturated Fat: 2
- Carbohydrates: 8
- Fiber: 2
- Protein: 25
Keywords: seafood skewers, meal prep lunch, grilled fish, shrimp skewers, healthy summer lunch, gluten-free recipe, high protein meal


