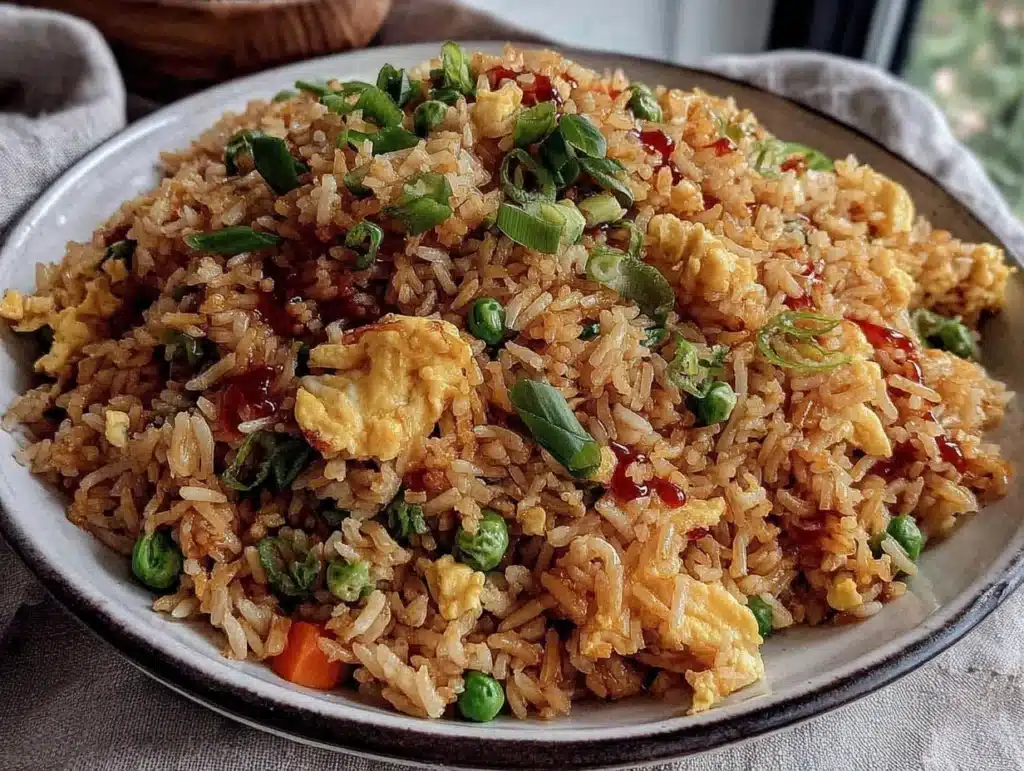
There is a specific sound that defines comfort food for me. It isn’t the sizzle of bacon or the bubbling of a slow cooker. It is the distinct, rhythmic crunch of rice hitting hot oil in a cast-iron skillet. I remember standing in my tiny college apartment kitchen, staring at a bag of day-old rice and a handful of sad, limp vegetables, wondering if I could salvage dinner. I was broke, tired, and desperate for something that didn’t taste like instant noodles. That night, I discovered the holy grail of leftovers: crispy fried rice. I didn’t know then that I was about to fall in love with a technique that would change how I cooked forever.
Honestly, most people think fried rice is just about dumping ingredients into a wok. Let’s face it, if you use fresh rice, you end up with mushy, sticky mess. But when you get that golden-brown crust? It is a completely different game. I have made this crispy homemade fried rice over a hundred times. Sometimes I use leftover takeout containers. Other times, I meal-prep it on Sunday for the week ahead. The consistency is always there, provided you respect the cold rice rule. This recipe is not just a side dish; it is a masterclass in texture. It is the kind of meal that makes you close your eyes after the first bite because the crunch is so satisfying.
Why does this version stand out? It is all about the Maillard reaction. You know that browning effect that gives food that deep, savory flavor? We are chasing that hard. This recipe is designed for busy weeknights when you want restaurant-quality food without the wait. It is perfect for using up those veggies hiding in the back of your fridge. Plus, it is incredibly customizable. You can throw in whatever protein you have on hand. I often serve this alongside my crispy garlic chicken for a complete meal that feels indulgent but comes together in under 20 minutes. It is reliable, delicious, and frankly, it never fails to impress.
Why You’ll Love This Recipe
I have tested this recipe through thick and thin. I’ve tried it with jasmine rice, basmati, and even short-grain sushi rice. The results are always best when you stick to the basics but execute them with precision. Here is why this specific method for crispy homemade fried rice has earned a permanent spot in my weekly rotation.
- Quick & Easy: This comes together in under 20 minutes. It is the ultimate solution for “what’s for dinner?” panic. You don’t need to marinate anything or chop hours of vegetables. It is fast, efficient, and delicious.
- Simple Ingredients: You likely already have everything in your kitchen. Rice, eggs, green onions, soy sauce, and sesame oil. No fancy grocery trips needed. This is pantry-staple cooking at its finest.
- Perfect for Leftovers: This recipe is the best way to use up leftover rice. If you have any rice sitting in the fridge from last night’s dinner, this is your chance to make it shine again. It transforms mundane leftovers into a gourmet experience.
- Crowd-Pleaser: Kids love the crunch. Adults love the savory depth. It is always a hit at potlucks or casual family dinners. I have served this to picky eaters who usually refuse anything with a brown color, and they ask for seconds.
- Unbelievably Delicious: The texture combo is next-level. You get the soft, fluffy interior of the rice grains contrasted with the shatteringly crisp, golden-brown crust. It is comfort food reimagined—healthier, faster, but with the same soul-soothing satisfaction.
What makes this recipe different from the rest is the attention to the crust. Most recipes tell you to stir-fry until done. I tell you to let it sit. Let it get quiet. Let it get crispy. That patience is what separates good fried rice from great fried rice. It is not just food; it is a technique you can use again and again. Whether you are cooking for one or feeding a crowd, this method holds up. It is the kind of dish that makes you feel like a pro chef, even if you are just heating up some cold rice.
What Ingredients You Will Need
This recipe uses simple, wholesome ingredients to deliver bold flavor and satisfying texture without the fuss. The magic lies in the quality of your base ingredients. Since there are so few components, each one plays a critical role in the final dish. Here is what you need to gather.
- Cold Cooked Rice: This is the non-negotiable star. Use day-old jasmine rice. Cold rice has less moisture, which prevents sticking and allows for that crispiness. If you must use fresh rice, spread it on a baking sheet and freeze it for 30 minutes to dry it out. I recommend buying high-quality jasmine rice from a local Asian market for the best aroma.
- Eggs: Large eggs, beaten. These add protein and richness. I like to scramble them lightly before setting them aside, then folding them back in later for distinct curds of egg.
- Green Onions: Chopped, whites and greens separated. The whites go in early for flavor base. The greens go in at the end for a fresh pop of color and mild onion bite.
- Vegetables: Frozen peas and carrots are classic and convenient. They are pre-chopped and thaw quickly. For a seasonal twist, I sometimes swap peas for fresh diced bell peppers or snap peas in the summer. Look for firm, small-curd cottage cheese if you want to add protein, though it is optional.
- Soy Sauce: Use low-sodium soy sauce to control the saltiness. I prefer brands like Kikkoman for their consistent flavor profile. You can also use tamari for a gluten-free option.
- Sesame Oil: Toasted sesame oil is essential. A little goes a long way. Do not skip this; it provides that nutty aroma that defines Asian fried rice. Make sure your bottle is relatively fresh, as old sesame oil can turn rancid.
- Neutral Oil: Vegetable or canola oil for frying. You need a high smoke point oil to get that crisp crust without burning.
- White Pepper: A pinch of ground white pepper adds an earthy heat that black pepper cannot replicate. It is a secret weapon in Chinese cooking.
Keep this section scannable because you will be moving fast when you cook. Have all your ingredients prepped and within arm’s reach before you turn on the heat. This is called mise en place, and it is crucial for stir-frying. If you are cooking for a gluten-free diet, simply swap the soy sauce for tamari and check your sesame oil label. For a vegan version, use tofu instead of eggs or omit them entirely. The versatility here is endless.
Equipment Needed
You do not need a professional wok to make this, but having the right tools helps. A large cast-iron skillet is my absolute favorite for this recipe. It holds heat incredibly well, which is necessary for creating that crispy bottom. If you do not have cast iron, a heavy-bottomed stainless steel skillet or a large non-stick pan works too. Avoid thin aluminum pans, as they will burn the rice before it crisps.
You will also need a silicone spatula. Metal utensils can scratch non-stick surfaces, and wooden spoons are not ideal for scraping the bottom of the pan to release the crispy bits. A silicone spatula is flexible and durable. I also recommend having a small bowl for your beaten eggs and a separate container for your sauces. Organization is key when cooking at high heat.
If you are using a wok, make sure it is seasoned. A well-seasoned wok naturally releases food, making cleanup easier. For budget-friendly options, any large skillet will do. The technique matters more than the tool. Just ensure your pan is large enough to spread the rice in a single layer. Crowding the pan steams the rice instead of frying it. I have ruined batches by using a pan that was too small. Learn from my mistake and go big.
Preparation Method
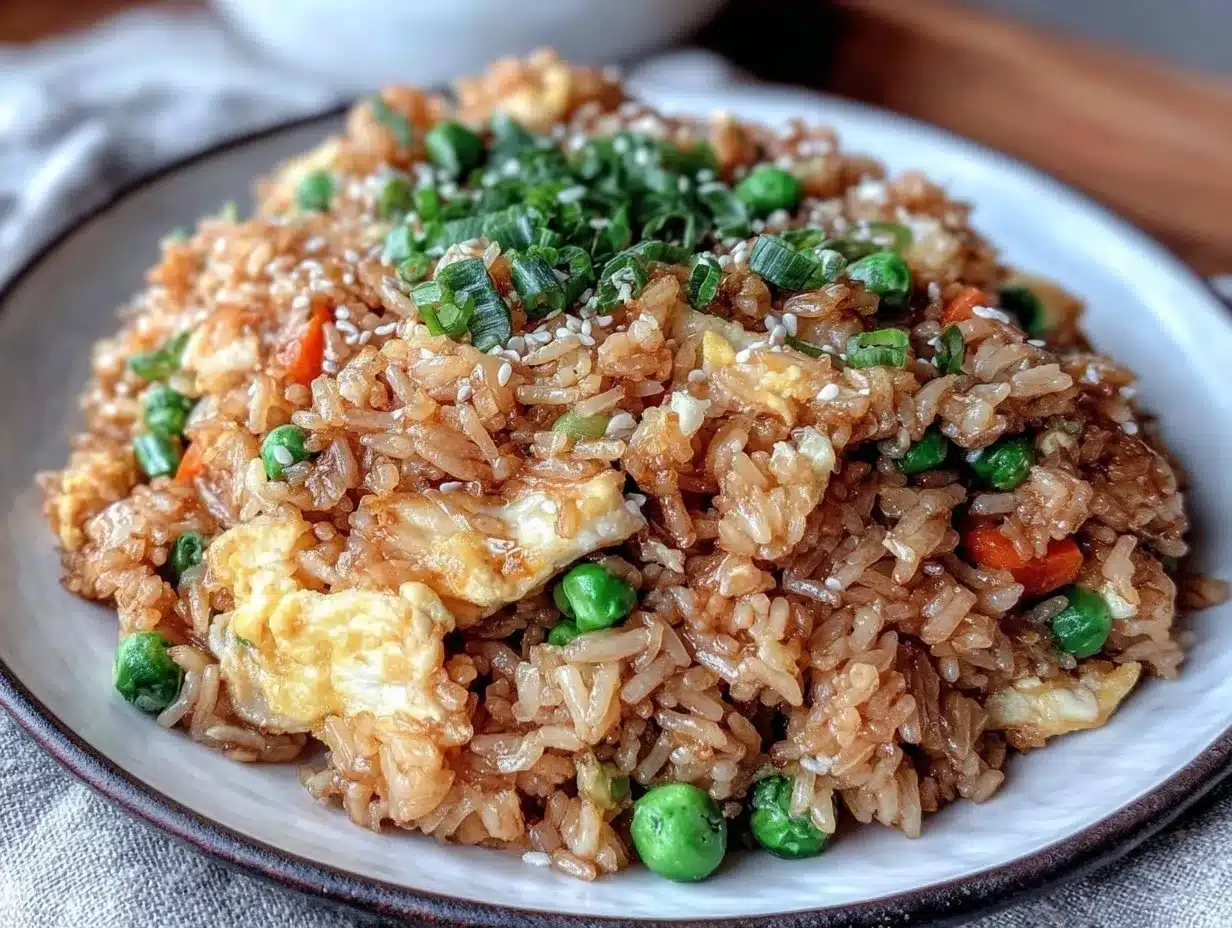
Getting this right requires a specific order of operations. Do not rush the steps. Here is exactly how to make crispy homemade fried rice.
- Prep the Rice: Take your cold rice out of the fridge. Use your hands to break up any clumps. You want individual grains. This usually takes about 2 minutes. If the rice is frozen solid, let it thaw slightly so you can separate the grains. This step is critical for texture.
- Heat the Pan: Place your large skillet or wok over medium-high heat. Let it get hot for about 2 minutes. You want the pan to be shimmering hot before you add oil. This prevents sticking and helps with browning.
- Add Oil and Aromatics: Add 1 tablespoon of neutral oil. Swirl it around. Add the white parts of the green onions and any diced aromatics like garlic or ginger if you are using them. Stir for 30 seconds until fragrant. Do not let the garlic burn.
- Cook the Eggs: Push the aromatics to the side. Pour in the beaten eggs. Let them set for 10 seconds, then scramble them quickly. Cook until just set but still soft. Remove the eggs from the pan and set them aside on a plate. This keeps them from getting rubbery.
- Fry the Rice: Add another tablespoon of oil to the pan. Add the rice. Spread it out evenly across the bottom of the pan. This is the most important step. Press the rice down with your spatula. Do not stir it yet. Let it cook undisturbed for 3-4 minutes. You are building that crispy crust. Listen for the sizzle. If it stops sizzling, the moisture is gone, and it is browning.
- Stir and Crisp: After the initial wait, start to scrape the bottom of the pan. You will see golden-brown bits sticking. Scrape them up and mix them back in. Continue to cook, stirring occasionally, for another 3-4 minutes. The rice should start to look toasted and separate.
- Add Vegetables: Toss in the frozen peas and carrots. Stir to combine. Cook for 2 minutes until the vegetables are heated through. If using fresh vegetables, add them now and cook until tender-crisp.
- Season: Drizzle the soy sauce and toasted sesame oil over the rice. Sprinkle with white pepper. Toss everything together vigorously. The sauce should coat every grain evenly. If it looks dry, add a splash of water to create steam and help the sauce adhere.
- Finish and Serve: Return the cooked eggs to the pan. Add the green onion tops. Toss for 30 seconds to warm the eggs through. Taste and adjust salt if needed. Serve immediately while the crust is still intact.
Watch the rice closely during the frying stage. If it starts to burn, lower the heat slightly. The goal is a deep golden brown, not black. If you prefer a softer texture, reduce the initial wait time. But for the best results, embrace the crunch.
Cooking Tips & Techniques
I have made many mistakes in my time cooking fried rice. The biggest one was using hot, freshly cooked rice. It was a sticky, mushy disaster. Never use hot rice. The moisture content is too high. Always use cold, day-old rice. If you are in a pinch, spread fresh rice on a tray and put it in the freezer for 20 minutes. The cold air dries out the surface starch.
Another common mistake is overcrowding the pan. If you cook for four people, do not try to fry all the rice at once. Cook in batches. Crowding lowers the pan temperature and steams the rice. You want high heat and space. Also, do not stir too often during the initial frying phase. Patience is a cooking skill. Let the rice sit. Let it bond with the pan. Then scrape it up.
For consistency, use the same amount of oil every time. Too much oil makes it greasy. Too little makes it burn. One tablespoon per person is a good rule of thumb. Also, taste your soy sauce. Some brands are saltier than others. Adjust accordingly. I always add the sesame oil at the end to preserve its aroma. Cooking it too long kills that nutty flavor.
Multitasking is key here. While the rice is crisping, you can prep your sauce or chop vegetables. But once the rice is in the pan, stay close. High heat moves fast. Have your sauce mixed in a bowl beforehand so you can pour it in quickly. This technique ensures every grain is coated and flavorful.
Variations & Adaptations
One of the best things about this recipe is how adaptable it is. You can change it up based on what you have or what you crave. Here are a few variations I love.
Protein Power: Add diced ham, chicken, shrimp, or char siu pork. If you use raw meat, cook it first, remove it, then cook the rice. Add it back in at the end. For a vegetarian version, add crispy tofu cubes or edamame beans. I often use leftover roast chicken for a quick upgrade.
Spicy Kick: Add a teaspoon of chili garlic sauce or sriracha to the oil before adding the rice. Or sprinkle crushed red pepper flakes at the end. For a deeper heat, use fermented black beans. They add a salty, umami punch that pairs perfectly with rice.
Vegetable Medley: Swap peas and carrots for corn, diced bell peppers, or chopped bok choy. Fresh corn adds a nice sweetness. Bok choy adds a crunchy texture. Be sure to chop vegetables uniformly so they cook evenly.
Dietary Adjustments: For a gluten-free meal, use tamari instead of soy sauce. For a low-carb option, use cauliflower rice. Note that cauliflower rice cooks much faster, so reduce the frying time to avoid mushiness. It still gets crispy if you press it down firmly.
I once tried making this with sweet potato instead of white rice. It was interesting but too soft. Stick to grain rice for the best texture. These variations allow you to keep the recipe fresh and exciting every week.
Serving & Storage Suggestions
Serve this hot and straight from the pan. The contrast between the hot rice and the cool kitchen air makes the aroma even more inviting. I like to garnish with extra green onions and a drizzle of sesame oil. It looks professional and adds a final burst of flavor. Pair it with my crispy garlic chicken for a complete meal. A simple cucumber salad or steamed broccoli also works well.
Store leftovers in an airtight container in the refrigerator for up to 3 days. The rice will firm up as it cools, which is normal. To reheat, do not use the microwave if you want to preserve the texture. Instead, use a skillet. Add a splash of water and heat over medium heat. This will re-crisp the rice and restore its texture. You can also freeze it for up to 3 months. Thaw in the fridge overnight before reheating.
The flavors actually develop over time. Leftover fried rice often tastes better the next day as the soy sauce penetrates the grains. However, you will lose some of the crispy texture upon reheating. If you have the patience to re-crisp it in a pan, it is worth it. Do not store rice at room temperature for more than 2 hours to avoid bacterial growth.
Nutritional Information & Benefits
This crispy homemade fried rice is a balanced meal when loaded with vegetables and protein. A typical serving contains approximately 350-400 calories, depending on the oil and protein used. It provides carbohydrates from the rice, protein from the eggs and meat, and vitamins from the vegetables.
Jasmine rice is a good source of energy. Eggs provide high-quality protein and choline, which is good for brain health. Green onions add vitamin K and C. By controlling the amount of oil and soy sauce, you can keep the sodium and fat content in check. This recipe is naturally gluten-free if you use tamari. It is also easy to make dairy-free.
From a wellness perspective, I love this recipe because it reduces food waste. Using leftover rice is an eco-friendly choice. It also allows you to control the ingredients, avoiding the preservatives found in takeout. It is a wholesome, satisfying meal that fuels your body without weighing you down. Just be mindful of portion sizes if you are watching your calorie intake.
Conclusion
Making crispy homemade fried rice at home is easier than you think. It requires a few simple techniques, but the result is restaurant-quality food that you can make in your own kitchen. The key is cold rice, high heat, and patience. Once you master the crust, you will never go back to mushy fried rice again.
I encourage you to experiment with different vegetables and proteins. Make it your own. This recipe is a foundation, not a rulebook. I love this dish because it is versatile, delicious, and nostalgic. It reminds me of my college days but tastes even better now. Try it tonight and see the difference. I would love to hear how it turns out for you. Leave a comment below with your favorite add-ins or variations. Share your photos on social media and tag me. Happy cooking!
FAQs
Can I use fresh rice for fried rice?
It is not recommended. Fresh rice has high moisture content and will result in a sticky, mushy texture. If you must use fresh rice, spread it on a baking sheet and freeze it for 30-60 minutes to dry it out before cooking.
Why is my fried rice not crispy?
Usually, this happens because the pan was too crowded or the heat was too low. Make sure to use a large pan and let the rice sit undisturbed for a few minutes to form a crust. Also, ensure your rice is cold and dry.
What is the best type of rice for fried rice?
Jasmine rice is the traditional choice because it is long-grain and slightly sticky but holds its shape well. Basmati rice is also a good option. Avoid short-grain or sushi rice as they are too sticky.
Can I add meat to this recipe?
Absolutely. You can add diced chicken, pork, shrimp, or ham. Cook the meat separately first, then add it back in at the end to ensure it is heated through without overcooking.
How do I store leftover fried rice?
Store it in an airtight container in the refrigerator for up to 3 days. Reheat in a skillet with a splash of water to restore the texture. Do not microwave if you want to keep it crispy.
Pin This Recipe!
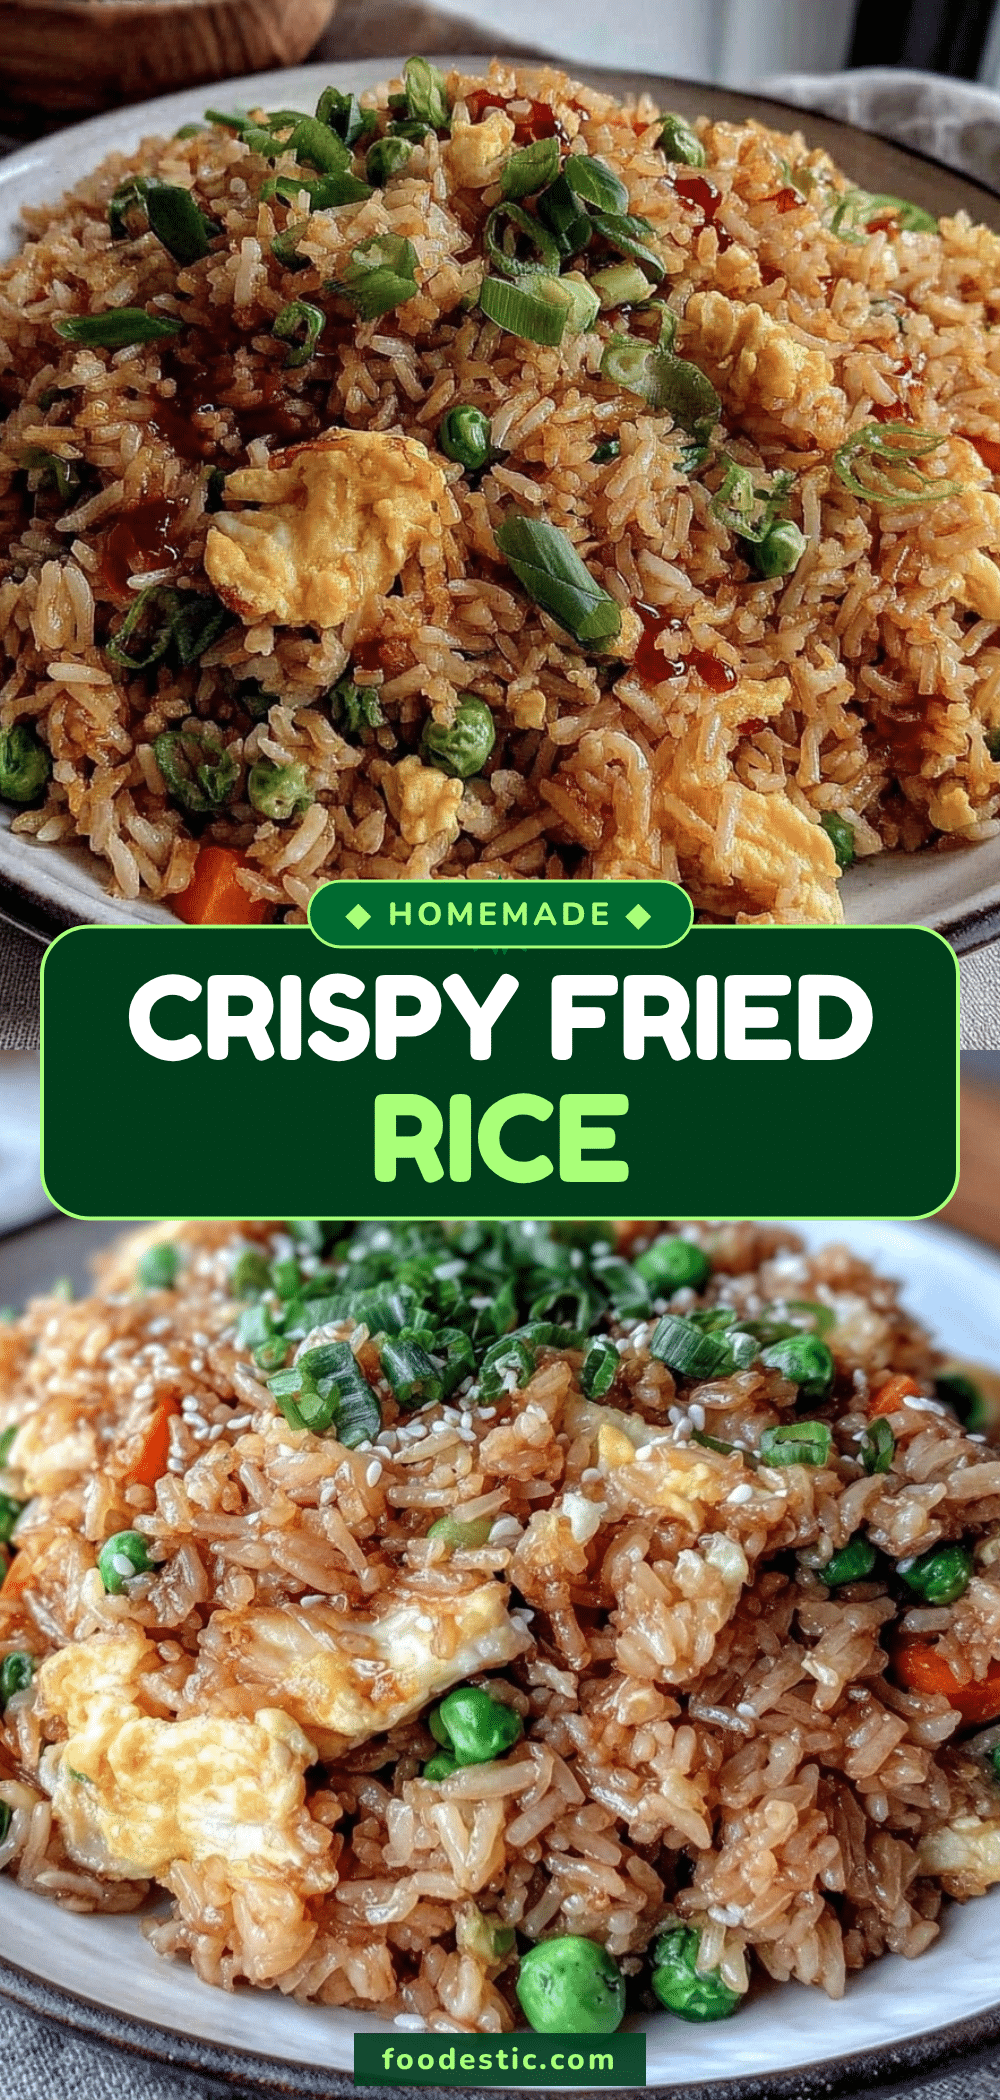
Crispy Homemade Fried Rice: Easy 20-Minute Best Side Dish
- Total Time: 20 minutes
- Yield: 4 servings
Description
A quick and easy recipe for crispy homemade fried rice that uses cold day-old rice to create a golden-brown, shatteringly crisp crust. This versatile dish is perfect for using up leftovers and comes together in under 20 minutes.
Ingredients
- Cold cooked jasmine rice (day-old)
- Large eggs, beaten
- Green onions, chopped (whites and greens separated)
- Frozen peas and carrots
- Low-sodium soy sauce (or tamari for gluten-free)
- Toasted sesame oil
- Neutral oil (vegetable or canola)
- Ground white pepper
Instructions
- Prep the rice: Take cold rice out of the fridge and break up any clumps with your hands to ensure individual grains.
- Heat the pan: Place a large skillet or wok over medium-high heat for about 2 minutes until shimmering hot.
- Add oil and aromatics: Add 1 tablespoon of neutral oil, swirl, then add white parts of green onions. Stir for 30 seconds until fragrant.
- Cook the eggs: Push aromatics to the side, pour in beaten eggs, scramble until just set, then remove from pan and set aside.
- Fry the rice: Add another tablespoon of oil, add rice, spread evenly, and press down. Let cook undisturbed for 3-4 minutes to build a crispy crust.
- Stir and crisp: Scrape up golden-brown bits from the bottom, mix back in, and continue cooking for another 3-4 minutes until toasted.
- Add vegetables: Toss in frozen peas and carrots, stir to combine, and cook for 2 minutes until heated through.
- Season: Drizzle with soy sauce and sesame oil, sprinkle with white pepper, and toss vigorously to coat evenly.
- Finish and serve: Return cooked eggs to the pan, add green onion tops, toss for 30 seconds, and serve immediately.
Notes
Use cold, day-old rice to prevent mushiness. If using fresh rice, freeze it for 30 minutes to dry it out. Do not overcrowd the pan; cook in batches if necessary. Let the rice sit undisturbed to form a crust. Reheat leftovers in a skillet with a splash of water to restore crispiness.
- Prep Time: 5 minutes
- Cook Time: 15 minutes
- Category: Side Dish
- Cuisine: Asian
Nutrition
- Serving Size: 1 plate
- Calories: 375
- Sugar: 3
- Sodium: 600
- Fat: 12
- Saturated Fat: 3
- Carbohydrates: 55
- Fiber: 2
- Protein: 10
Keywords: crispy fried rice, homemade fried rice, easy side dish, leftover rice recipe, quick dinner, cast iron skillet, gluten-free option


