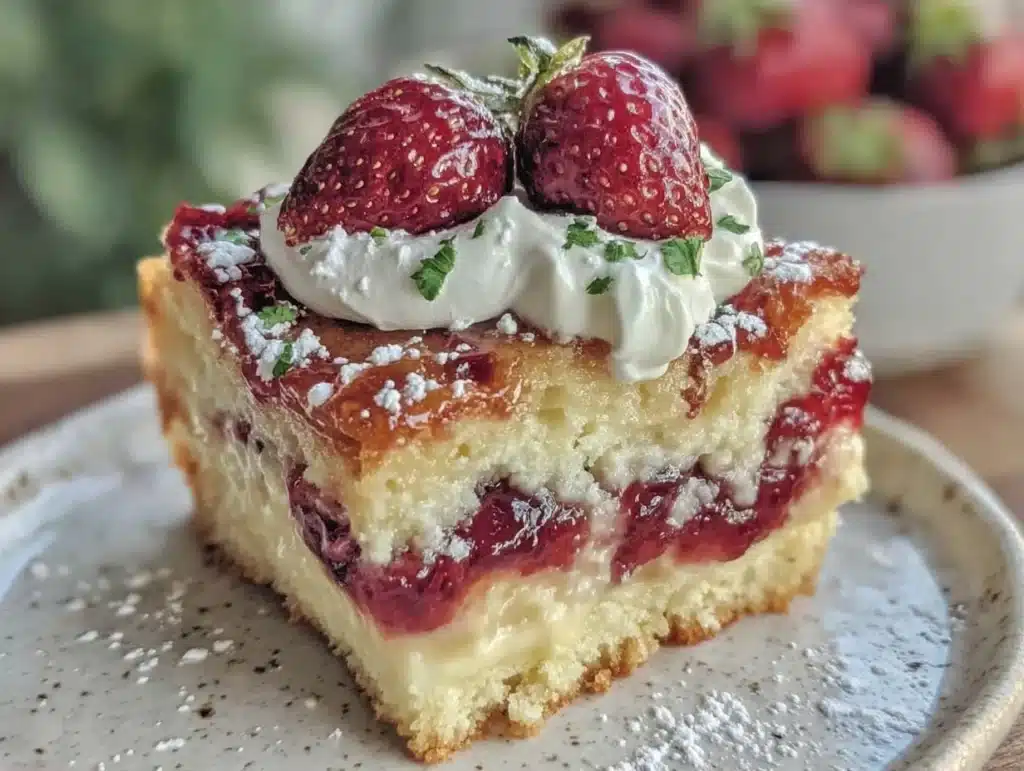
There is nothing quite like the smell of baked strawberries and buttery dough wafting through the kitchen on a lazy Sunday morning. It’s the kind of scent that makes you forget about the to-do list for at least an hour. Honestly, I used to think meal prep meant dry chicken and sad salads. Then I discovered that desserts could be just as strategic as dinners.
These Easy Strawberry Shortcake Bars For Summer changed my entire approach to weekday lunches. I first made them when I was trying to use up a massive haul of berries from the farmers market. I didn’t want them to spoil, and I definitely didn’t want to spend my weeknight evenings baking. So, I turned a classic dessert into a portable, sliceable bar.
Now, an hour on Sunday means lunch is handled all week. You know that feeling when you open the fridge and see five perfectly wrapped bars waiting for you? It’s pure peace of mind. They taste like a treat, but they fit right into a balanced lunch routine. Plus, they travel well in a tote without making a mess.
I’ve tested this recipe over a dozen times to get the balance of tart berries and sweet crust just right. As someone who values both flavor and convenience, this recipe hits every mark. It’s not just a snack; it’s a solution. Whether you are a busy parent, a working professional, or just someone who loves summer fruit, these bars are worth the effort. Let’s face it, who doesn’t need a little sweetness to get through Wednesday?
Why You’ll Love This Recipe
After baking this recipe through several summer seasons, I can confidently say it’s a keeper. It’s not just another cookie bar; it’s a structured, reliable method for enjoying peak-season strawberries without the hassle. I’ve refined the technique to ensure the crust stays crisp and the filling stays juicy, even after sitting in the fridge for a few days.
- Quick & Easy: You can have these in the oven in under 30 minutes of active prep time. The rest is passive baking, which means you’re free to tackle other Sunday tasks.
- Simple Ingredients: You likely already have butter, flour, sugar, and eggs in your pantry. The only specialty item might be fresh strawberries, which are worth the trip.
- Perfect for Meal Prep: These bars hold their shape remarkably well. They don’t get soggy or fall apart, making them ideal for packing in lunchboxes or containers.
- Crowd-Pleaser: Kids love the sweet taste, and adults appreciate the not-too-sweet balance. They are perfect for potlucks, office parties, or family gatherings.
- Unbelievably Delicious: The contrast between the buttery shortbread crust and the bright, jammy strawberry filling is next-level comfort food. It’s like having a slice of cake but with better texture.
What makes this different from other recipes is the crumble topping. It adds a necessary crunch that contrasts with the soft fruit. Most recipes skip this, but I found it adds a professional touch. It’s the kind of detail that makes people ask for the recipe immediately. This isn’t just a quick fix; it’s a high-quality treat that respects your time.
Emotionally, these bars bring back memories of summer picnics. They taste like nostalgia but are practical for modern life. You can impress guests without stressing over complex plating. Or, you can simply enjoy a quiet moment with a cup of tea, knowing you prepared something special for yourself. It’s comfort food reimagined for the busy adult.
What Ingredients You Will Need
This recipe relies on high-quality, wholesome ingredients to deliver bold flavor and satisfying texture. The beauty of shortcake bars is that the simplicity of the components allows the natural taste of the strawberries to shine. You don’t need fancy pantry items, just good basics.
For the Buttery Crust and Topping
- All-Purpose Flour: 1 ½ cups. I recommend Gold Medal for consistent texture. It provides the right amount of structure without being too dense.
- Unsalted Butter: ½ cup, softened. Using room temperature butter is crucial for creaming it properly with the sugar. It ensures a tender crumb.
- Granulated Sugar: ½ cup. This sweetens the crust without overpowering the fruit. You can reduce it slightly if you prefer a less sweet base.
- Egg Yolk: 1 large egg yolk. This adds richness and helps bind the dough. It gives the crust a shortbread-like quality.
- Vanilla Extract: 1 teaspoon. Use pure vanilla, not imitation. It adds warmth and depth to the buttery flavor.
- Salt: ¼ teaspoon. A pinch of salt is essential to balance the sweetness and enhance the butter flavor.
For the Strawberry Filling
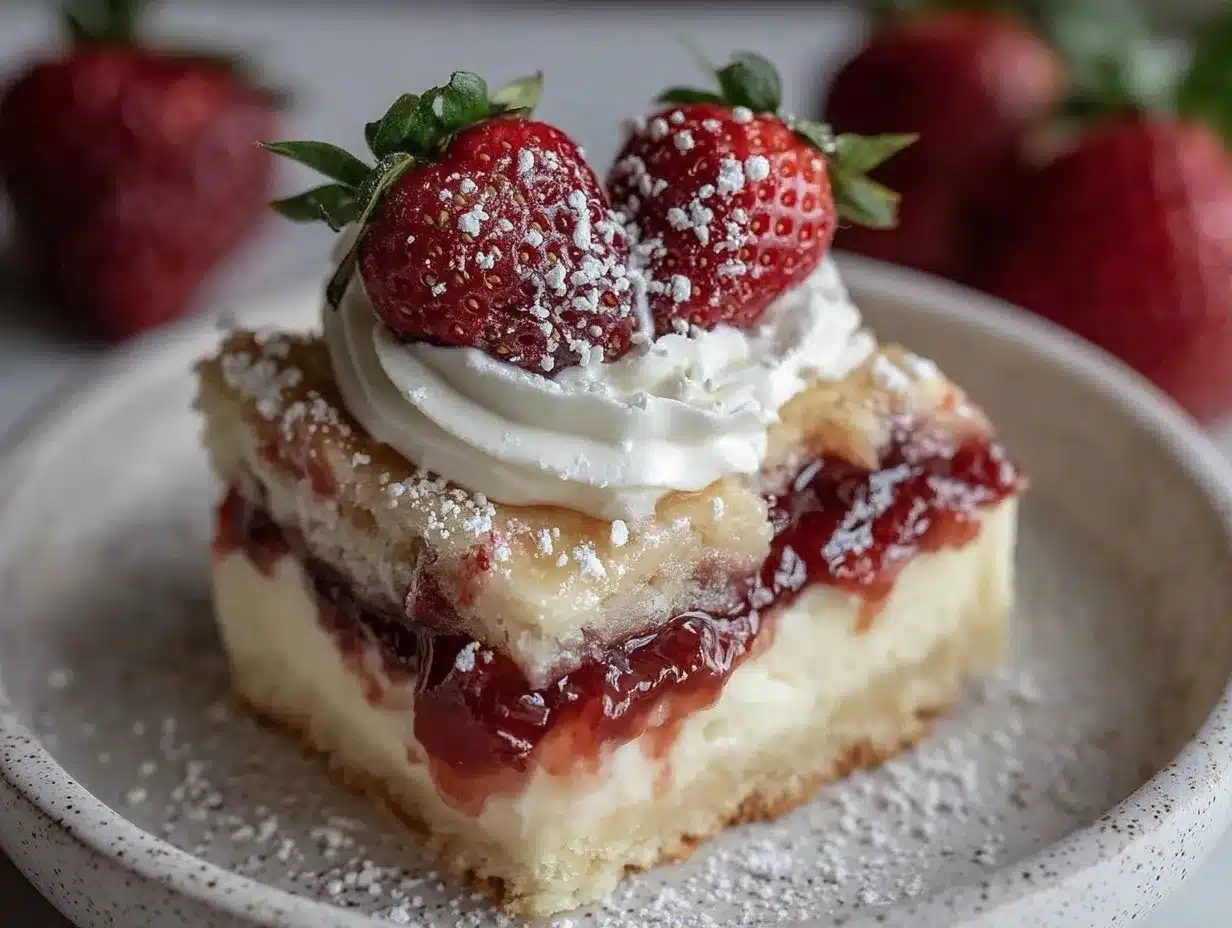
- Fresh Strawberries: 2 cups, hulled and diced. Look for bright red, firm berries. Avoid mushy ones as they will release too much water. In summer, local berries are best.
- Granulated Sugar: ¼ cup. This draws out the juices from the strawberries to create a natural syrup.
- Cornstarch: 1 tablespoon. This thickens the juices so the bars aren’t runny. It’s key for clean slicing.
- Lemon Juice: 1 teaspoon. The acidity brightens the flavor and prevents the berries from tasting flat.
- Vanilla Extract: ½ teaspoon. Adds a subtle floral note that pairs well with the fruit.
For the strawberries, I always suggest checking for firmness. If they are too soft, they will turn into mush during baking. If you can’t find good fresh berries, high-quality frozen ones can work, but you’ll need to thaw and drain them thoroughly first. This substitution saves money in off-seasons but requires extra prep.
Equipment Needed
You don’t need a fancy kitchen to make these bars. A few basic tools will get the job done efficiently. The most important item is a 9×13 inch baking dish. Glass or ceramic is preferred because it distributes heat evenly. Metal pans can sometimes cause the edges to brown too quickly.
A rolling pin is helpful for flattening the dough evenly. If you don’t have one, a heavy bottle of wine works in a pinch. A pastry cutter or your fingers can be used to mix the butter into the flour for the crust. I prefer using my fingers because it’s faster and prevents overworking the dough.
For the filling, a medium saucepan is necessary to cook down the strawberries. A non-stick pan prevents burning. A whisk is useful for mixing the cornstarch slurry smoothly. Finally, a sharp chef’s knife is needed for dicing the berries and slicing the bars. Keep your knife sharp to avoid crushing the fruit.
If you are batch cooking for the week, consider using glass storage containers with tight-fitting lids. They stack well in the fridge and keep the bars fresh. Avoid plastic containers if possible, as they can sometimes retain odors. Budget-friendly options include reusable silicone bags for individual portions.
How to Make Strawberry Shortcake Bars
Making these bars is straightforward, but attention to detail ensures the best results. Follow these steps carefully to achieve the perfect texture.
- Preheat and Prep: Start by preheating your oven to 350°F (175°C). Grease your 9×13 inch baking dish with butter or non-stick spray. This prevents sticking and makes removal easier. (Time: 2 minutes)
- Make the Dough: In a medium bowl, whisk together the flour, sugar, and salt. Add the softened butter and egg yolk. Mix with a fork or your fingers until the dough comes together. It should look like coarse crumbs. Do not overmix. (Time: 5 minutes)
- Press the Crust: Take about two-thirds of the dough and press it evenly into the bottom of the prepared baking dish. Use your fingers or the bottom of a glass to flatten it. This forms the base layer. (Time: 3 minutes)
- Prepare the Filling: In a saucepan, combine the diced strawberries, sugar, cornstarch, lemon juice, and vanilla. Cook over medium heat, stirring frequently. The mixture will bubble and thicken as the berries release their juices. This usually takes about 5-7 minutes. Let it cool slightly. (Time: 10 minutes)
- Assemble: Pour the warm strawberry mixture over the pressed crust. Spread it out evenly. Take the remaining one-third of the dough and crumble it over the top. You can press some of it down lightly, but leave some loose crumbs for texture. (Time: 3 minutes)
- Bake: Place the dish in the oven and bake for 35-40 minutes. The top should be golden brown, and the filling should be bubbling vigorously. If the edges brown too quickly, cover them with foil. (Time: 40 minutes)
- Cool Completely: This is the hardest part. Let the bars cool in the pan on a wire rack for at least 1 hour. Cutting them while warm will result in a mess. The filling needs to set. (Time: 60 minutes)
Once cooled, you can slice them into squares. Store them in an airtight container. The cooling step is crucial for clean cuts. Rushing this step is the most common mistake beginners make.
Cooking Tips & Techniques
I’ve learned a few tricks along the way to make these bars consistently perfect. The biggest tip is managing the moisture. Strawberries vary in water content, so always cook the filling until it thickens. If it looks too runny after baking, the bars might be soggy.
Another technique is chilling the dough before baking. If your kitchen is warm, refrigerate the pressed crust for 10 minutes. This helps it hold its shape and prevents shrinking. It’s a small step that makes a big difference.
Also, don’t skip the lemon juice. It cuts through the sweetness and balances the flavor profile. Without it, the bars can taste cloying. Trust me on this one; it’s a game-changer.
When crumbling the topping, aim for varied sizes. Some large chunks and some fine crumbs create a more interesting texture. It mimics the look of a traditional shortcake. It also adds visual appeal, which is great for photos.
Finally, use a serrated knife for slicing. A straight edge can crush the delicate layers. Sawing gently ensures clean edges. This attention to detail shows you care about the final product.
Variations & Adaptations
These bars are versatile. You can adapt them to suit different tastes or dietary needs. Here are a few ideas that work well.
Raspberry Swap: Substitute half or all of the strawberries with raspberries. They have a similar texture but a more tart flavor. You might need to add a teaspoon more sugar to balance the tartness.
Blueberry Option: Blueberries work beautifully too. They are smaller, so you may need to cook them a bit longer to release their juices. The flavor is milder, so add a bit more lemon zest.
Gluten-Free: Use a 1:1 gluten-free flour blend for the crust. Ensure the blend contains xanthan gum for better binding. The texture will be slightly more tender but still delicious.
Vegan Twist: Use vegan butter and a flax egg (1 tablespoon ground flaxseed mixed with 3 tablespoons water) instead of the egg yolk. The result is surprisingly close to the original.
I once tried adding a layer of white chocolate chips between the crust and filling. It was rich and decadent, but slightly too sweet for my taste. Still, it’s a great option for special occasions. Experimenting is part of the fun.
Serving & Storage Suggestions
These bars are best served at room temperature. They taste fresh and fruity without being cold. Pair them with a glass of cold milk or a cup of herbal tea for a complete snack.
For storage, keep them in an airtight container in the refrigerator. They will stay fresh for up to 5 days. This makes them perfect for the week’s lunches. If you want to freeze them, wrap each bar individually in plastic wrap. They can be frozen for up to 3 months.
To reheat, let them sit out for 15 minutes or microwave for 10 seconds. This restores the softness of the crust. Avoid overheating, as it can make the berries too runny.
The flavors actually meld and improve over the first two days. The berries soak into the crust slightly, creating a more unified taste. Don’t eat them all on day one! Wait and enjoy the evolution of flavors.
Nutritional Information & Benefits
While these are a treat, they offer some nutritional benefits. Strawberries are rich in Vitamin C and antioxidants. They support immune health and skin glow. The crust provides energy from carbohydrates, which is good for an afternoon pick-me-up.
Each bar contains approximately 180 calories. This is a moderate amount for a snack or side dish. They are not low-carb, but they are balanced with fruit fiber. For those with gluten sensitivities, the gluten-free variation is a safe option.
I view these as a mindful indulgence. They satisfy sweet cravings without the need for excessive portions. Eating one bar with a healthy lunch adds a touch of joy to the day. It’s about balance and enjoying good food.
Conclusion
These Easy Strawberry Shortcake Bars For Summer are more than just a dessert. They are a practical solution for busy weeks. An hour on Sunday prep means lunch is handled all week. You save time, money, and stress.
I love this recipe because it combines nostalgia with modern convenience. It allows me to enjoy summer flavors year-round. I encourage you to try it and customize it to your liking. Add different berries or spices to make it your own.
Please share your results in the comments below. I love hearing how you adapt the recipe. Did you use raspberries? Did you add cream cheese? Your feedback helps others discover new ideas. Happy baking!
Frequently Asked Questions
Can I use frozen strawberries?
Yes, but you must thaw and drain them thoroughly. Excess water can make the bars soggy. Pat them dry with paper towels before mixing with sugar.
How do I store the bars?
Store them in an airtight container in the refrigerator for up to 5 days. For longer storage, freeze them individually wrapped for up to 3 months.
Can I make these bars gluten-free?
Absolutely. Use a 1:1 gluten-free flour blend for the crust. Ensure it contains binders like xanthan gum for the best texture.
Why are my bars runny?
This usually happens if the filling wasn’t cooked long enough or if too much cornstarch wasn’t used. Always cook the filling until it thickens visibly before pouring it over the crust.
Can I add cream cheese?
Yes! Add a layer of sweetened cream cheese between the crust and the fruit for a cheesecake-like twist. It adds richness and stability.
Pin This Recipe!
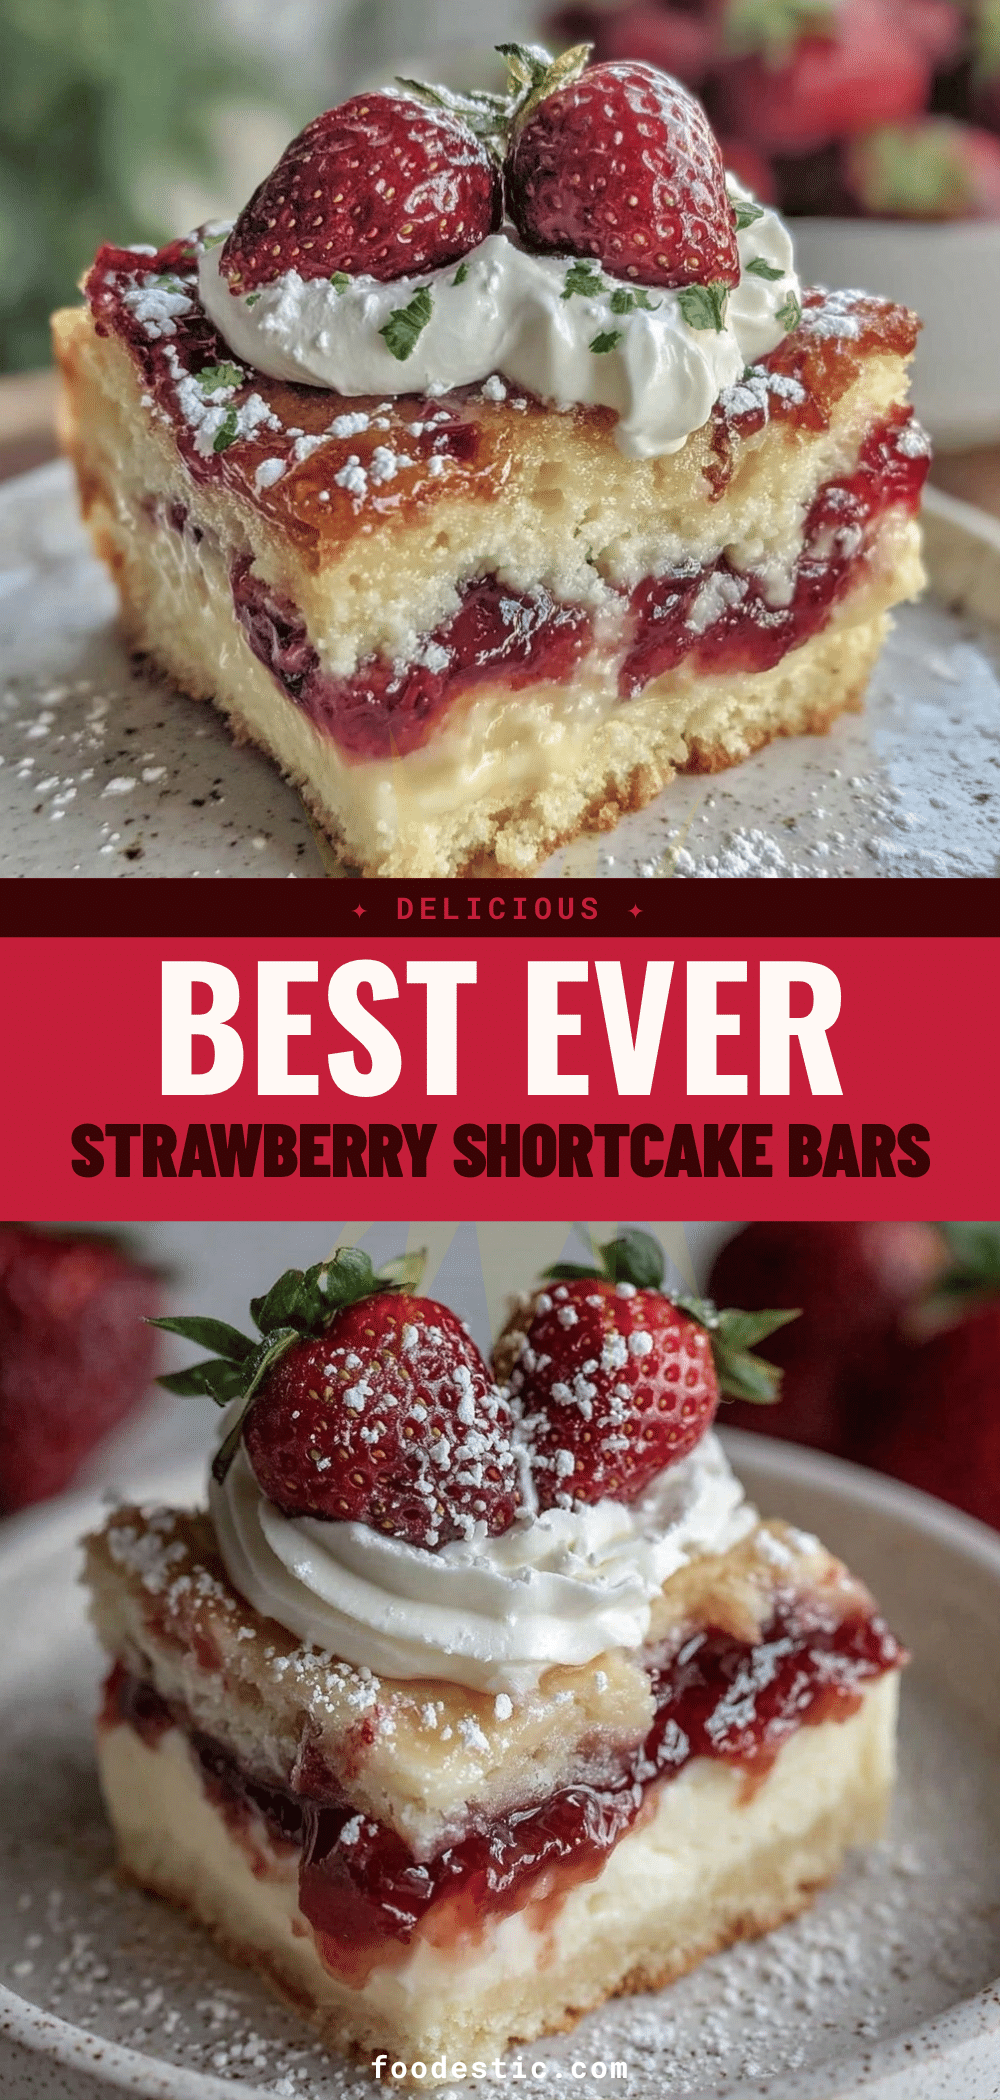
Easy Strawberry Shortcake Bars
- Total Time: 1 hour 10 minutes
- Yield: 12 servings 1x
Description
A practical and delicious meal-prep dessert featuring a buttery shortbread crust, a bright strawberry filling, and a crumble topping. These bars are perfect for Sunday prep, providing five days of portable, lunch-friendly treats.
Ingredients
- 1 ½ cups All-Purpose Flour
- ½ cup Unsalted Butter, softened
- ½ cup Granulated Sugar (for crust)
- 1 large Egg Yolk
- 1 teaspoon Vanilla Extract
- ¼ teaspoon Salt
- 2 cups Fresh Strawberries, hulled and diced
- ¼ cup Granulated Sugar (for filling)
- 1 tablespoon Cornstarch
- 1 teaspoon Lemon Juice
- ½ teaspoon Vanilla Extract
Instructions
- Preheat oven to 350°F (175°C) and grease a 9×13 inch baking dish.
- In a medium bowl, whisk together flour, sugar, and salt. Add softened butter and egg yolk, mixing until the dough resembles coarse crumbs.
- Press two-thirds of the dough evenly into the bottom of the prepared baking dish to form the crust.
- In a medium saucepan, combine diced strawberries, sugar, cornstarch, lemon juice, and vanilla. Cook over medium heat, stirring frequently, until the mixture bubbles and thickens (about 5-7 minutes). Let cool slightly.
- Pour the warm strawberry mixture over the pressed crust and spread evenly. Crumble the remaining one-third of the dough over the top.
- Bake for 35-40 minutes until the top is golden brown and the filling is bubbling. Cover edges with foil if they brown too quickly.
- Cool completely in the pan on a wire rack for at least 1 hour before slicing to allow the filling to set.
Notes
Ensure strawberries are firm to avoid excess water. Cook filling until thickened to prevent soggy bars. Chill dough if kitchen is warm. Use a serrated knife for clean slicing. Bars improve in flavor over the first two days.
- Prep Time: 30 minutes
- Cook Time: 40 minutes
- Category: Dessert
- Cuisine: American
Nutrition
- Serving Size: 1 bar
- Calories: 180
- Sugar: 18
- Sodium: 120
- Fat: 8
- Saturated Fat: 5
- Carbohydrates: 28
- Fiber: 1
- Protein: 2
Keywords: strawberry shortcake bars, meal prep dessert, summer baking, easy bars, strawberry dessert, lunch prep


