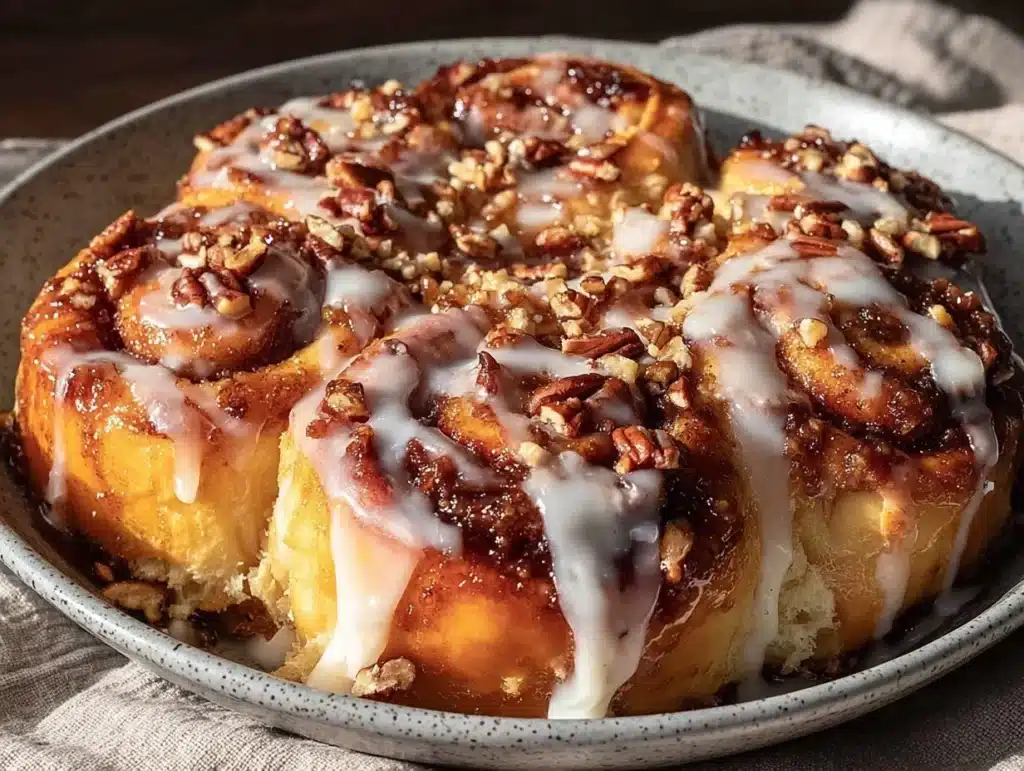
There is nothing quite like the smell of yeast blooming in a warm kitchen on a lazy Sunday morning. Honestly, it smells like happiness. I used to dread weekends because I wanted to sleep in, but the thought of waking up to a cold counter and a box of frozen rolls just didn’t cut it anymore. That was until I mastered the art of making ahead cinnamon rolls. Now, my weekends start with the aroma of butter and brown sugar wafting through the house while I’m still tucked under the covers.
I remember the first time I tried this method, I was running late for a family brunch. I panicked and threw everything together the night before. The next morning, I just pulled the pan from the fridge and popped it in the oven. The result? Fluffy, gooey perfection that tasted like I had spent all morning fussing over them. It was a game-changer for my life. I realized I didn’t have to sacrifice my sleep or my sanity to feed my family something special.
These homemade cinnamon rolls are not just about convenience. They are about reclaiming your time. You know how it goes, you want to treat yourself, but you don’t want to be stuck in the kitchen for hours. This recipe solves that problem beautifully. The dough is soft, the filling is rich, and the glaze ties it all together. It’s the kind of breakfast that keeps you feeling full and satisfied well past 2pm, which is a miracle in itself. No more mid-morning hunger pangs or reaching for a dry muffin. These rolls stay moist and delicious, even if you save one for later.
I’ve tested this recipe over a dozen times, tweaking the yeast amounts and proofing times to get it just right. As someone who meal preps for a living, I know the value of a system that works. This isn’t just a recipe; it’s a strategy for better mornings. Whether you are a busy parent, a working professional, or just someone who loves comfort food, this method will change your relationship with breakfast. Let’s face it, life is busy enough. Your breakfast shouldn’t be another thing on your to-do list. It should be the one thing you look forward to.
Why You’ll Love This Make-Ahead Cinnamon Roll Recipe
After spending years in the kitchen, testing doughs that were too dense and glazes that were too sweet, I finally nailed this version. It’s not just another cinnamon roll recipe; it’s the one that actually works for real life. I’ve had friends over for brunch and they swear they know how I do it, only to find out I did most of the work the night before. That’s the secret sauce here. It’s about smart cooking, not hard cooking.
- Quick & Easy Morning Routine: The hard work happens the night before. In the morning, you just pop the pan in the oven. It’s perfect for busy weeknights when you want a treat without the hassle.
- Simple Ingredients: You likely have everything you need in your pantry right now. Flour, sugar, yeast, butter, and milk. No fancy grocery trips or obscure ingredients needed.
- Perfect for Meal Prep: These rolls are the ultimate make-ahead breakfast. They reheat beautifully and stay soft, making them ideal for batching and freezing.
- Crowd-Pleaser: Kids and adults alike go crazy for these. They are soft, sweet, and incredibly comforting. It’s the kind of food that brings people together.
- Unbelievably Delicious: The texture is light and airy, not dense like store-bought versions. The flavor profile is balanced, with just the right amount of cinnamon punch.
What makes this recipe different is the overnight proofing method. It allows the flavors to develop slowly, creating a depth of taste that you just can’t get with a quick rise. It’s a small step that makes a huge difference. I also use a specific ratio of butter to sugar in the filling that ensures every bite is gooey without being overwhelming. It’s comfort food reimagined for the modern, busy home cook. It’s healthier, faster, and just as soul-soothing as the old-fashioned kind.
This recipe isn’t just good; it’s the kind that makes you close your eyes after the first bite. It’s the perfect way to impress guests without stress. You can prepare it on a quiet evening and serve it with a smile on a busy morning. It turns a simple meal into something memorable. Honestly, once you try this, you’ll never go back to the tube of pre-made dough again.
What Ingredients You Will Need
This recipe relies on simple, wholesome ingredients to deliver bold flavor and satisfying texture. You don’t need any specialty items, just good quality staples. The magic happens in the technique, but the foundation is built on these basics. I like to keep my pantry stocked with these essentials so I can whip up a batch whenever the craving strikes. It’s all about having the right tools and ingredients ready to go.
- For the Dough:
- All-Purpose Flour: 4 to 4.5 cups (about 500-550g). I recommend King Arthur Brand for its consistent protein content, which helps with the rise.
- Granulated Sugar: 1/3 cup (75g). This feeds the yeast and adds a touch of sweetness to the dough itself.
- Unsalted Butter: 1/4 cup (55g), melted. Adds richness and tenderness to the crumb.
- Milk: 1 cup (240ml), warm. Whole milk works best for flavor, but 2% is fine too. It should be around 110°F (43°C).
- Instant Yeast: 2.25 teaspoons (1 packet). Instant yeast is faster and more forgiving than active dry.
- Salt: 1 teaspoon. Essential for balancing the sweetness and strengthening the gluten.
- Egg: 1 large egg, room temperature. Helps bind the dough and adds structure.
- For the Filling:
- Unsalted Butter: 1/2 cup (115g), softened to room temperature. This is crucial for spreading evenly.
- Brown Sugar: 1 cup (200g). Packed firmly. It adds a molasses depth that white sugar can’t match.
- Ground Cinnamon: 2 tablespoons. Don’t skimp on this; it’s the star of the show.
- For the Glaze:
- Cream Cheese: 2 ounces (55g), softened. Adds a tangy contrast to the sweet rolls.
- Butter: 2 tablespoons (28g), softened.
- Powdered Sugar: 1 cup (120g).
- Milk: 1-2 tablespoons, as needed for consistency.
- Vanilla Extract: 1 teaspoon. Pure vanilla makes a world of difference.
I always suggest using fresh yeast if you can find it, as old yeast can lead to dense rolls. Also, make sure your butter is at the right temperature for spreading. If it’s too cold, it’ll tear the dough; if it’s too melted, it’ll soak in. For the glaze, cream cheese is optional but recommended for that classic bakery taste. You can swap it for just butter and powdered sugar if you prefer a simpler glaze, but the tang really elevates the flavor.
Equipment Needed
You don’t need a fancy kitchen to make these, but having the right tools helps. A large mixing bowl is essential for combining the dough. I use a stand mixer with a dough hook, but a hand mixer or even your hands will work fine. A 9×13 inch baking dish is the standard size for this recipe. It ensures the rolls are the right size and bake evenly.
A rolling pin is necessary for flattening the dough. I prefer a wooden one because it doesn’t slip, but a silicone one works too. Plastic wrap or a damp kitchen towel is needed to cover the dough while it rises. An oven thermometer is a great investment because ovens can vary wildly in temperature. I once had rolls that were undercooked because my oven was running 25 degrees off. A digital kitchen scale is also helpful for measuring flour accurately, as cup measurements can be inconsistent.
If you don’t have a stand mixer, don’t worry. Kneading by hand is a great workout and can actually result in a better texture if you’re patient. Just be prepared to spend a few extra minutes working the dough. For storage, airtight containers are best for keeping leftovers fresh. I also recommend having a few freezer-safe bags on hand if you plan to freeze individual rolls for later.
Preparation Method
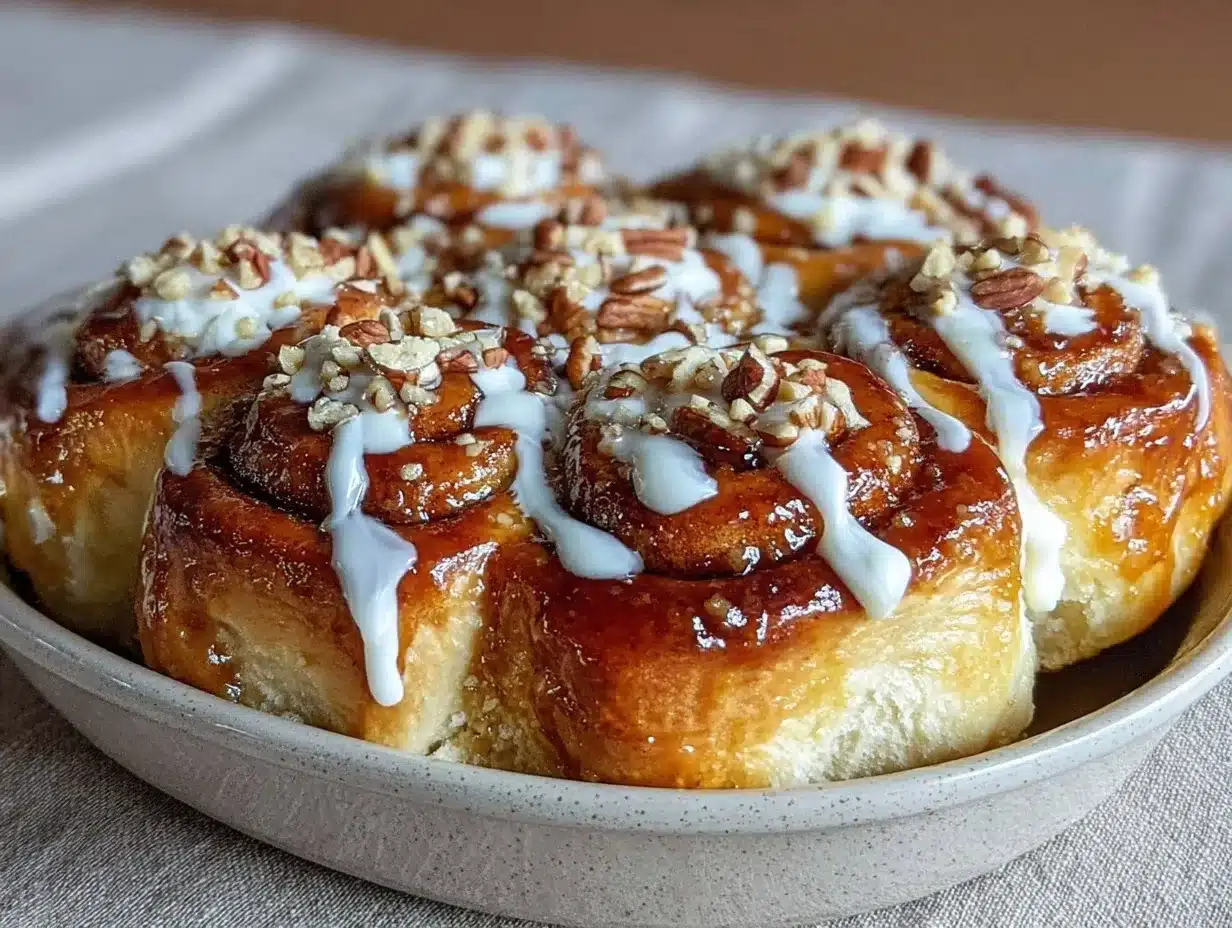
Making make-ahead cinnamon rolls is easier than you think, but precision matters. Here is how to do it step-by-step for the best results.
- Activate the Yeast (5 minutes): In the bowl of a stand mixer, combine the warm milk, sugar, and yeast. Let it sit for 5-10 minutes until it becomes foamy. If it doesn’t foam, your yeast might be dead, and you should start over. This step ensures your rolls will rise properly. (US: 1 cup milk / 110°F; Metric: 240ml milk / 43°C)
- Mix the Dough (10 minutes): Add the melted butter, egg, salt, and 3 cups of flour to the yeast mixture. Beat on low speed until combined. Gradually add the remaining flour, one cup at a time, until the dough pulls away from the sides of the bowl. It should be soft and slightly sticky. (US: 4-4.5 cups flour; Metric: 500-550g flour)
- Knead the Dough (8 minutes): Switch to the dough hook and knead on medium speed for 6-8 minutes. The dough should be smooth and elastic. If it’s too sticky, add a little more flour. If it’s too dry, add a splash of milk. Test by pressing a finger into it; the dough should spring back slowly. (Metric: Knead until smooth)
- First Rise (1-2 hours): Place the dough in a lightly greased bowl, cover with plastic wrap, and let it rise in a warm spot until doubled in size. This usually takes 1 to 2 hours. You can speed this up by placing the bowl in a turned-off oven with the light on. (US: 1-2 hours; Metric: 60-120 minutes)
- Prepare the Filling (5 minutes): While the dough rises, mix the brown sugar and cinnamon in a small bowl. Soften the 1/2 cup of butter for the filling. Once the dough has risen, punch it down to release air. (US: 1 cup brown sugar, 2 tbsp cinnamon; Metric: 200g brown sugar, 20g cinnamon)
- Shape the Rolls (10 minutes): Turn the dough onto a floured surface and roll it into a 12×16 inch rectangle. Spread the softened butter evenly over the surface, leaving a small border at the edges. Sprinkle the cinnamon-sugar mixture evenly over the butter. Starting from the long side, roll the dough up tightly into a log. Cut the log into 12 equal pieces using dental floss or a sharp knife. Place them in a greased 9×13 inch baking dish. (US: 12×16 inch rectangle; Metric: 30×40 cm rectangle)
- Second Rise (Overnight): Cover the pan tightly with plastic wrap. Refrigerate for 8-12 hours. This is the make-ahead step that does the magic. (US: 8-12 hours; Metric: 480-720 minutes)
- Bake (30-35 minutes): Preheat your oven to 350°F (175°C). Take the rolls out of the fridge about 30 minutes before baking to take the chill off. Bake for 30-35 minutes until golden brown. (US: 350°F; Metric: 175°C)
- Make the Glaze (5 minutes): While the rolls bake, beat the cream cheese, butter, powdered sugar, vanilla, and milk until smooth. (US: 2oz cream cheese, 2 tbsp butter, 1 cup sugar, 1 tsp vanilla, 1-2 tbsp milk; Metric: 55g cream cheese, 28g butter, 120g sugar, 5ml vanilla, 15-30ml milk)
- Finish (5 minutes): Let the rolls cool for 5 minutes, then drizzle with the glaze. Serve warm. (Metric: Cool for 5 minutes)
Cooking Tips & Techniques
I’ve learned a few things the hard way, so you don’t have to. First, don’t rush the yeast. If your milk is too hot, you’ll kill the yeast. If it’s too cold, it won’t activate. Use a thermometer to be sure. It’s worth the few seconds it takes. Second, when rolling the dough, make sure it’s tight. If it’s loose, the rolls will spread and merge together. I use a bench scraper to help me roll tightly without tearing the dough.
Another common mistake is over-baking. The rolls should be golden brown, not dark brown. If they are too dark, they will be dry. Keep an eye on them during the last 5 minutes of baking. Also, don’t skip the second rise after shaping. Even though it’s in the fridge, the dough needs time to relax and expand. If you bake them straight from the fridge, they might be dense.
For consistent results, use a scale for your flour. Cup measurements can vary by 20%, which can throw off the hydration of the dough. I weigh my flour to ensure every batch is the same. Also, when cutting the rolls, use a sawing motion with a sharp knife. Don’t press down too hard, or you’ll compress the layers. Dental floss works wonders for clean cuts without squishing the dough.
Multitasking is key here. While the dough rises, you can clean up or prepare your lunch. This recipe fits into a busy schedule because the active time is minimal. The rising time is mostly passive. I often make the dough on Saturday night and bake them Sunday morning. It’s the perfect balance of effort and reward. Trust the process, and you’ll be rewarded with the best cinnamon rolls you’ve ever had.
Variations & Adaptations
One of the best things about this recipe is how versatile it is. You can tweak it to suit your tastes or dietary needs. Here are a few variations I’ve tried and loved.
For a gluten-free option, use a 1:1 gluten-free flour blend that includes xanthan gum. The texture might be slightly denser, but it still works well. I’ve also made them with whole wheat flour by substituting half of the all-purpose flour. This adds a nutty flavor and more fiber, making them a bit healthier. For a vegan version, use plant-based milk and butter, and omit the cream cheese in the glaze or use a vegan cream cheese alternative. The dough holds up surprisingly well.
Flavor variations are endless. Add chopped pecans or walnuts to the filling for a crunchy texture. I love the combination of cinnamon and apple, so I sometimes add thin slices of Granny Smith apple to the filling before rolling. For a lemon poppy seed twist, swap the cinnamon for lemon zest and poppy seeds. It’s a refreshing change from the classic flavor.
If you want to make them mini, cut the dough into 24 pieces instead of 12. They bake faster, so check them after 20 minutes. I also like to add a cream cheese swirl to the filling by dolloping small amounts of sweetened cream cheese onto the dough before rolling. It creates pockets of creamy goodness in every bite. These variations keep the recipe interesting and allow you to experiment with different flavors throughout the year.
Serving & Storage Suggestions
These cinnamon rolls are best served warm, right out of the oven. The glaze should be slightly soft and gooey. I like to serve them with a cup of black coffee or hot tea. The bitterness of the coffee balances the sweetness of the rolls perfectly. For a brunch spread, pair them with scrambled eggs and fresh fruit. It creates a balanced and satisfying meal.
For storage, let the rolls cool completely before covering them. You can keep them in the refrigerator for up to 3 days in an airtight container. To reheat, place them in the microwave for 20-30 seconds. They should be soft and warm. If you prefer a crispier top, you can toast them in the oven at 300°F (150°C) for 5 minutes.
You can also freeze the baked rolls. Once they are completely cool, wrap them individually in plastic wrap and place them in a freezer-safe bag. They will last for up to 3 months. To eat, thaw them in the refrigerator overnight and reheat as described above. The flavors actually develop and deepen over time, so day-old rolls are often just as good as fresh ones. This makes them perfect for meal prep and grabbing a quick breakfast on busy mornings.
Nutritional Information & Benefits
While these are definitely a treat, they can fit into a balanced diet. Each roll contains approximately 250-300 calories, depending on the size and glaze amount. They provide carbohydrates for energy and some protein from the egg and dairy. The butter and sugar provide fat, which helps with satiety. This is why they keep you full until 2pm, preventing those mid-morning slumps.
For those watching their sugar intake, you can reduce the sugar in the dough by half and use less glaze. The flavor will still be delicious. If you are gluten-intolerant, the gluten-free version is a great alternative, though it may lack some of the chewy texture. Always check labels if you have specific allergies, as yeast and dairy are common allergens. Personally, I enjoy these as a special weekend treat rather than an everyday breakfast, but the make-ahead aspect makes them feel less indulgent because you’re in control of the portion size.
Conclusion
Making homemade cinnamon rolls doesn’t have to be a chore. With this make-ahead method, you can enjoy bakery-quality breakfasts without the stress. The combination of soft dough, rich filling, and tangy glaze is unbeatable. I hope you try this recipe and find it as life-changing as I did. It’s a simple change that brings so much joy to your mornings.
Feel free to customize the recipe to suit your tastes. Add nuts, swap spices, or try different glazes. The possibilities are endless. I’d love to hear how you like to make your cinnamon rolls. Do you add extra filling? Do you prefer a thicker glaze? Share your adaptations in the comments below. Don’t forget to tag me in your photos so I can see your creations. Happy baking, and here’s to stress-free, delicious mornings!
Frequently Asked Questions
Can I freeze the dough before baking?
Yes, you can. After shaping the rolls, cover the pan tightly with plastic wrap and freeze it solid. When you’re ready to bake, let it thaw in the refrigerator overnight, then let it rise at room temperature for 1-2 hours before baking. This is a great option if you want to prep even further in advance.
Why are my cinnamon rolls dense?
This usually happens if the yeast is old or inactive, or if the dough is over-kneaded. Make sure your milk is warm but not hot. Also, avoid adding too much extra flour during kneading. The dough should be soft and slightly sticky. If you pack the flour into your measuring cup, you might be adding too much.
Can I use active dry yeast instead of instant yeast?
Yes, but you need to activate it first. Dissolve the yeast in the warm milk with a pinch of sugar and let it sit for 10 minutes until foamy. Then proceed with the recipe as written. The rise time might be slightly longer, so be patient.
How do I store leftovers?
Store leftovers in an airtight container at room temperature for up to 2 days. For longer storage, refrigerate for up to 3 days or freeze for up to 3 months. Reheat in the microwave for best texture.
Can I make these in a slow cooker?
It’s possible, but not recommended for this specific dough. The slow cooker can make the bottoms of the rolls soggy. It’s better to bake them in the oven for a consistent, golden crust. If you must use a slow cooker, grease the insert well and cook on low for 2-3 hours, but check frequently.
Pin This Recipe!
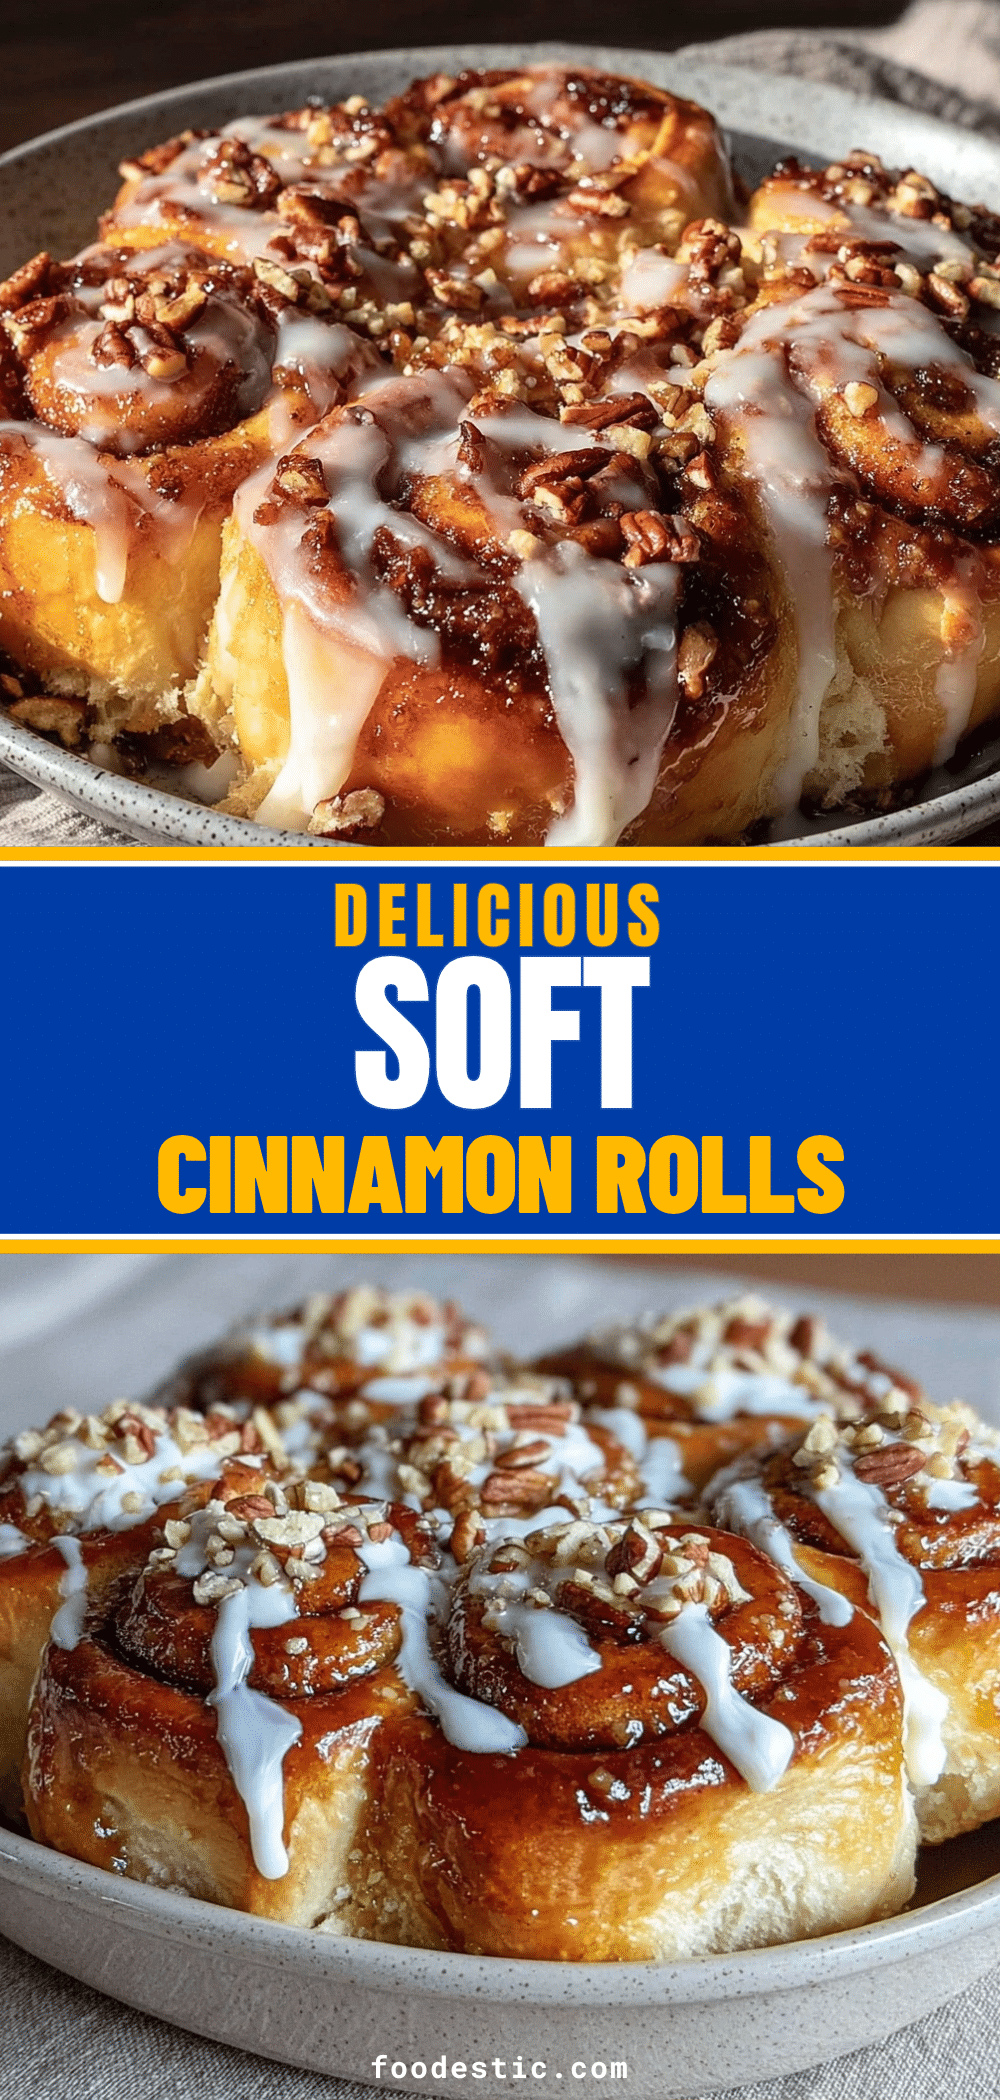

Homemade Cinnamon Rolls: 5 Easy Make-Ahead Breakfasts
- Total Time: 80 minutes
- Yield: 12 servings 1x
Description
Soft, gooey, and fluffy homemade cinnamon rolls that can be prepared the night before for a stress-free, bakery-quality breakfast.
Ingredients
- 4 to 4.5 cups All-Purpose Flour
- 1/3 cup Granulated Sugar
- 1 cup Warm Milk (110°F)
- 2.25 teaspoons Instant Yeast
- 1/4 cup Unsalted Butter, melted
- 1 large Egg, room temperature
- 1 teaspoon Salt
- 1/2 cup Unsalted Butter, softened (for filling)
- 1 cup Brown Sugar, packed
- 2 tablespoons Ground Cinnamon
- 2 ounces Cream Cheese, softened (for glaze)
- 2 tablespoons Unsalted Butter, softened (for glaze)
- 1 cup Powdered Sugar
- 1–2 tablespoons Milk (for glaze)
- 1 teaspoon Vanilla Extract
Instructions
- Activate the yeast: In a stand mixer bowl, combine warm milk, sugar, and yeast. Let sit for 5-10 minutes until foamy.
- Mix the dough: Add melted butter, egg, salt, and 3 cups of flour. Beat on low until combined. Gradually add remaining flour until dough pulls away from sides.
- Knead the dough: Knead on medium speed with a dough hook for 6-8 minutes until smooth and elastic.
- First rise: Place dough in a greased bowl, cover, and let rise in a warm spot for 1-2 hours until doubled in size.
- Prepare filling: Mix brown sugar and cinnamon. Soften 1/2 cup butter for spreading.
- Shape the rolls: Punch down dough, roll into a 12×16 inch rectangle. Spread softened butter, sprinkle cinnamon-sugar mixture. Roll tightly into a log and cut into 12 pieces. Place in a greased 9×13 inch baking dish.
- Second rise (Make-Ahead): Cover pan tightly with plastic wrap and refrigerate for 8-12 hours.
- Bake: Preheat oven to 350°F. Let rolls sit out for 30 minutes before baking. Bake for 30-35 minutes until golden brown.
- Make glaze: Beat cream cheese, butter, powdered sugar, vanilla, and milk until smooth.
- Finish: Let rolls cool for 5 minutes, then drizzle with glaze. Serve warm.
Notes
Ensure milk is around 110°F to activate yeast without killing it. Use a scale for flour for best results. For gluten-free, use a 1:1 blend with xanthan gum. For vegan, use plant-based milk/butter and omit or substitute cream cheese. Rolls can be frozen after baking for up to 3 months.
- Prep Time: 45 minutes
- Cook Time: 35 minutes
- Category: Breakfast
- Cuisine: American
Nutrition
- Serving Size: 1 roll
- Calories: 275
- Sugar: 22
- Sodium: 250
- Fat: 12
- Saturated Fat: 7
- Carbohydrates: 38
- Fiber: 1
- Protein: 5
Keywords: cinnamon rolls, make-ahead breakfast, homemade cinnamon rolls, easy breakfast, brunch recipe, yeast dough, overnight cinnamon rolls


