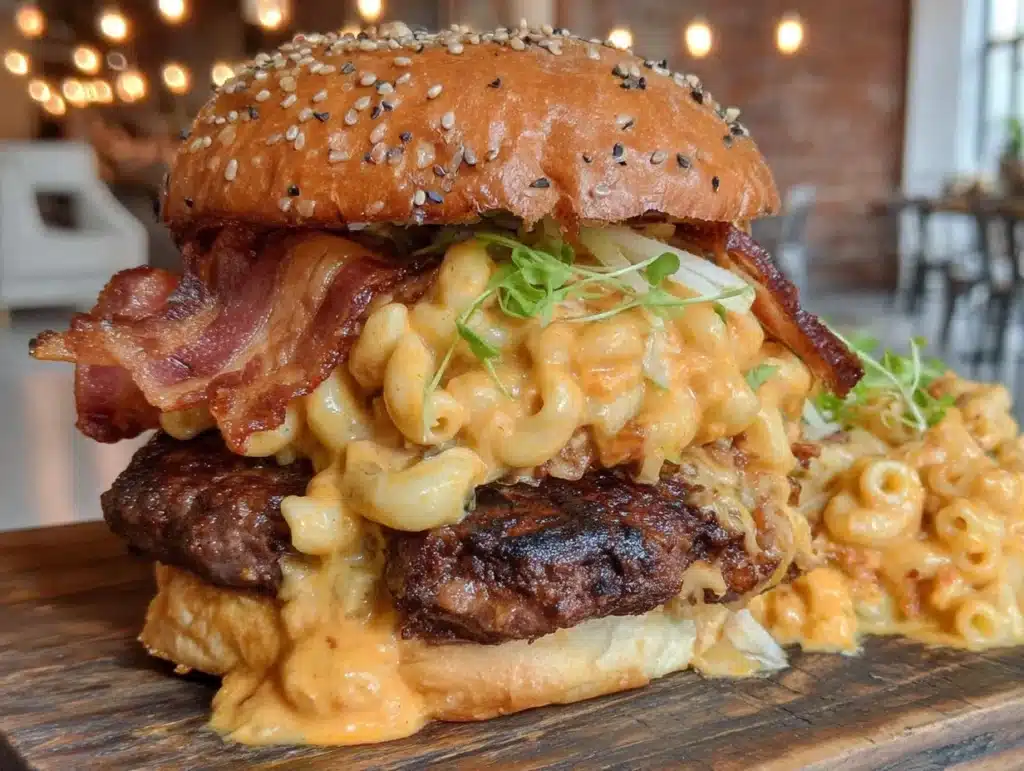
Let’s be honest, lunch at work used to be a sad affair. I’m talking about the same sad salad or that sad sandwich from the deli that costs too much and leaves you hungry an hour later. Then I had this idea: what if I could take the ultimate comfort food—mac and cheese—and hide it inside a juicy burger patty? It sounds wild, I know. But honestly, it’s the kind of meal prep hack that changes everything.
I first tested this Mac and Cheese Stuffed Burger With Bacon during a particularly chaotic Tuesday in October. I had leftover pasta, some extra ground beef, and a bag of bacon that needed to be used. Instead of letting it go to waste, I tried stuffing the patty. The result was messy, delicious, and surprisingly sturdy enough for meal prep. Now, I make these in batches every Sunday. They are packed and ready before you even think about lunch.
There is something deeply satisfying about biting into a hot, savory burger and hitting that gooey, cheesy center. It feels like a treat, but because I portion them out into containers, it’s also practical. You get your protein, your carbs, and a serious hit of flavor that makes your coworkers jealous. It’s not just dinner; it’s a strategy for surviving the work week with your sanity intact.
I’ve made this recipe over a dozen times now, tweaking the cheese ratios and bacon crispness. As someone who spends hours in the kitchen planning weekly menus, I know what works and what falls apart in the fridge. This version holds up. It reheats well. And it tastes better on Wednesday morning than it did on Sunday night. If you are looking for a way to make your lunchbox exciting, this is it.
Why You’ll Love This Recipe
After testing countless burger variations, I can confidently say this Mac and Cheese Stuffed Burger With Bacon stands out for a few key reasons. It’s not just about the cheese pull; it’s about the structure and the flavor balance. Here is why this recipe earns a permanent spot in your meal prep rotation:
- Quick & Easy Prep: While the assembly takes a little care, the actual cooking time is short. You can have these prepped and in the oven in under 30 minutes, which is perfect for busy weeknights or when you need to get dinner on the table fast.
- Simple Ingredients: You don’t need a specialty store. You likely have ground beef, pasta, cheese, and bacon in your kitchen already. It’s pantry-friendly and budget-conscious.
- Perfect for Meal Prep: These burgers are designed to be made in batches. They store beautifully in the fridge for up to four days and freeze well for later. They are the ultimate grab-and-go lunch.
- Crowd-Pleaser: I’ve served these to picky eaters and foodie friends alike. The combination of crispy bacon, savory beef, and creamy cheese is universally loved. Kids go crazy for the surprise center.
- Unbelievably Delicious: The texture contrast is next-level. You get the chew of the pasta, the snap of the bacon, the creaminess of the cheese, and the char of the beef. It’s comfort food reimagined for your lunchbox.
What makes this different from other stuffed burgers is the technique. Most people just throw a block of cheese in the middle, which often leaks out and makes a mess. By mixing the mac and cheese into the beef or creating a stable core, we ensure the filling stays put. It’s a tested method that guarantees a clean bite every time. It’s the kind of recipe that makes you close your eyes after the first bite because it’s just that good.
What Ingredients You Will Need
This recipe relies on high-quality, accessible ingredients to deliver bold flavor without fuss. The key is balancing the richness of the cheese and beef with the crunch of the bacon. Here is what you need to get started:
- Ground Beef (80/20 blend): You need about 1.5 lbs of ground beef. The 80/20 ratio is crucial because the fat keeps the patty juicy. If you use lean beef, the burger will dry out. I recommend using grass-fed beef if you can find it for better flavor.
- Elbow Macaroni: Use 1 cup of dry elbow pasta. Small shapes hold the cheese sauce better than long strands. Cook it al dente because it will cook further in the oven.
- Sharp Cheddar Cheese: Grate your own block of sharp cheddar. Pre-shredded cheese contains anti-caking agents that prevent it from melting smoothly. You’ll need about 1.5 cups of freshly grated cheese.
- Heavy Cream: Use 1/4 cup of heavy cream to bind the pasta and cheese. It creates that classic creamy mac and cheese texture. You can substitute with whole milk if you want it lighter, but heavy cream is best for richness.
- Bacon Strips: Use 6-8 strips of thick-cut bacon. Thick-cut bacon holds up better to baking than thin slices, which can burn or disintegrate. I prefer applewood smoked bacon for a sweet, smoky flavor.
- Garlic Powder: 1 teaspoon of garlic powder adds depth to the beef. It’s a pantry staple that makes a big difference.
- Onion Powder: 1 teaspoon of onion powder balances the garlic. It adds a subtle sweetness.
- Salt and Black Pepper: Use kosher salt and freshly cracked black pepper to taste. Season the beef well, but remember the bacon and cheese are already salty.
- Butter: 2 tablespoons of unsalted butter for sautéing the bacon or finishing the pasta.
For the best results, look for small-curd cottage cheese if you want to add extra protein and creaminess to the mix, though it’s optional. I often swap in some cottage cheese to lighten the texture slightly while keeping it moist. If you are dairy-free, you can use vegan cheese shreds, but the melt might not be as gooey. For a gluten-free option, use gluten-free pasta. The substitution guidance is simple: keep the ratios similar to ensure the structural integrity of the stuffed burger.
Equipment Needed
You don’t need fancy gadgets for this, but having the right tools makes the process much smoother. Here is what you’ll need:
- Medium Saucepan: For boiling the pasta. A standard 3-quart saucepan works perfectly.
- Baking Sheet: Use a rimmed baking sheet lined with parchment paper or a silicone mat. This prevents sticking and makes cleanup a breeze. I prefer silicone mats because they are reusable and don’t require greasing.
- Meat Grinder or Food Processor: If you want to mix the bacon and cheese directly into the beef, a food processor helps distribute it evenly. Otherwise, a large mixing bowl and your hands work fine.
- Instant-Read Thermometer: This is non-negotiable for stuffed burgers. Because the center is thick and filled, you need to ensure the beef reaches 160°F (71°C) for food safety without overcooking the outside. A thermometer takes the guesswork out.
- Small Skillet: For cooking the bacon until crispy. A cast-iron skillet is great for even heating.
- Mixing Bowls: One large bowl for the beef mixture and one medium bowl for the pasta mix.
If you don’t have a thermometer, you can cut one burger open to check, but that ruins the presentation. I always keep a reliable thermometer in my drawer. It’s a small investment that pays off in perfect doneness every time. Also, having a pair of kitchen tongs helps when flipping the burgers in the skillet.
Preparation Method
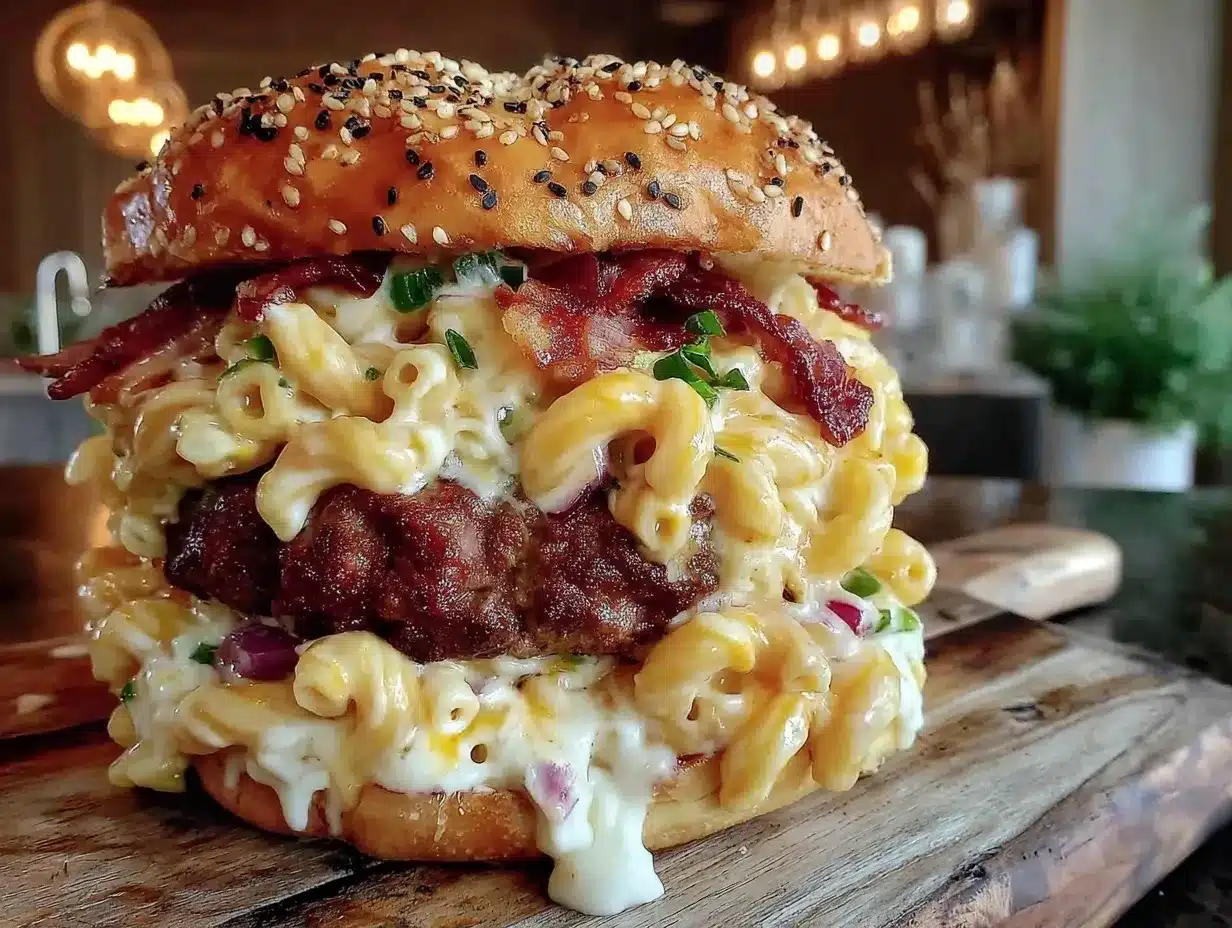
- Preheat and Prep: Preheat your oven to 375°F (190°C). Line a baking sheet with parchment paper. This step ensures even baking and easy cleanup. (Time: 5 minutes)
- Cook the Pasta: Bring a large pot of salted water to a boil. Add the elbow macaroni and cook until al dente, about 6-7 minutes. Drain the pasta and rinse with cold water to stop the cooking. Toss with a little butter to prevent sticking. (Time: 10 minutes)
- Cook the Bacon: While the pasta cooks, place the bacon strips in a cold skillet. Turn the heat to medium. Cook until crispy, flipping occasionally. Drain on paper towels and chop into small pieces. (Time: 8 minutes)
- Make the Mac Mixture: In a medium bowl, combine the cooked pasta, chopped bacon, grated cheddar cheese, and heavy cream. Mix well until the cheese starts to melt slightly from the warmth of the pasta. Season with a pinch of salt and pepper. Let this cool slightly. (Time: 5 minutes)
- Prepare the Beef: In a large bowl, combine the ground beef, garlic powder, onion powder, salt, and pepper. Mix gently with your hands until just combined. Do not overmix, or the burgers will become tough. (Time: 3 minutes)
- Form the Patties: Divide the beef into 4 equal portions. Flatten each portion into a disc about 1/2 inch thick. Place a generous scoop of the mac and cheese mixture in the center. (Time: 5 minutes)
- Stuff the Burgers: Carefully fold the edges of the beef over the filling, sealing it completely. Gently roll the patty into a ball, then flatten it back into a patty shape. Ensure there are no cracks. This is the most critical step to prevent leaking. (Time: 5 minutes)
- Sear the Burgers: Heat a large skillet over medium-high heat with a little oil. Sear each burger for 2 minutes per side until a brown crust forms. This adds flavor and helps seal the edges. (Time: 4 minutes)
- Bake: Transfer the seared burgers to the prepared baking sheet. Place in the oven and bake for 12-15 minutes, or until the internal temperature reaches 160°F (71°C). Use an instant-read thermometer inserted into the center to check. (Time: 15 minutes)
- Rest and Serve: Remove from the oven and let the burgers rest for 5 minutes. This allows the juices to redistribute and the cheese to set slightly. Slice open to reveal the gooey center. (Time: 5 minutes)
Troubleshooting tip: If you see cheese leaking out, your seal wasn’t tight enough. Next time, press the edges firmly with your fingers. Also, if the burgers spread too much, make sure your patties are thick enough. A thicker patty holds the heat better and keeps the center hot.
Cooking Tips & Techniques
There are a few pro tips that separate a good stuffed burger from a great one. First, temperature control is key. Make sure your beef is cold when you start forming the patties. If the meat gets warm from your hands, the fat will melt prematurely, leading to a greasy burger. Keep the beef in the fridge until the last minute.
Second, do not skip the sear. Searing creates a Maillard reaction, which adds a deep, savory crust that contrasts with the soft interior. It also helps seal the seams of the burger, reducing the chance of leakage. I learned this the hard way after my first batch exploded in the oven. A quick sear saves the day.
Third, use a thermometer. Stuffed burgers are thicker than regular patties, so cooking times vary. Relying on time alone can lead to undercooked centers or dry outsides. Insert the thermometer into the very center of the burger. When it hits 160°F (71°C), you are safe and done.
Another technique is to freeze the mac and cheese scoops for 10 minutes before stuffing. This helps the filling hold its shape when you wrap the beef around it. It’s a small step that makes a big difference in the final presentation. Also, avoid overmixing the beef. Handle it as little as possible to keep the burgers tender.
Variations & Adaptations
This recipe is versatile and can be adapted to suit different tastes and dietary needs. Here are some ideas:
- Spicy Kick: Add diced jalapeños and a slice of pepper jack cheese to the mac and cheese filling. This adds a nice heat that cuts through the richness.
- Chicken Option: Substitute the ground beef with ground chicken or turkey. You may need to add a little more binder, like an egg, to keep the patty moist since poultry is leaner.
- Vegetarian Twist: Use plant-based ground meat and vegan cheese shreds. The technique remains the same, and it’s surprisingly satisfying.
- Gluten-Free: Use gluten-free elbow pasta and ensure your bacon is certified gluten-free. Most bacon is, but check labels for added sugars or flavorings.
- Personal Variation: I sometimes add a layer of caramelized onions inside the burger for extra sweetness. It pairs beautifully with the bacon and cheddar.
For allergen substitutions, you can use dairy-free cheese and nut-free creams. The structure might be slightly different, but the flavor will still be great. Always test one burger first to check the seal before cooking the whole batch.
Serving & Storage Suggestions
These burgers are best served hot, right out of the oven. Pair them with a simple side salad or roasted vegetables to balance the meal. For lunch prep, let them cool completely before placing them in airtight containers. They will keep in the refrigerator for up to 4 days.
To reheat, use the oven or an air fryer at 350°F (175°C) for 10-12 minutes. This restores the crispness of the beef and warms the center without making it soggy. Avoid the microwave if you want to maintain texture, though it works in a pinch. They also freeze well for up to 3 months. Freeze them on a baking sheet first, then transfer to a freezer bag. Reheat from frozen in the oven, adding a few extra minutes to the cook time.
The flavors meld together nicely over time, making them even tastier on day two. Just make sure to label your containers with the date so you know how old they are. I usually eat these for lunch from Monday to Wednesday, saving the last one for a quick Friday dinner.
Nutritional Information & Benefits
Each burger contains approximately 650 calories, with 40g of protein, 35g of fat, and 25g of carbohydrates. This is a high-protein meal that provides sustained energy, making it ideal for active individuals or those looking to build muscle. The beef provides iron and B vitamins, while the cheese offers calcium. The bacon adds flavor but also sodium, so be mindful if you are watching your salt intake.
This recipe is not low-carb due to the pasta, but you can reduce the carbs by using cauliflower rice instead of macaroni for a keto-friendly version. It is gluten-containing unless you use GF pasta. Always check labels for allergens. From a wellness perspective, this meal is a treat, but the protein content helps keep you full longer than a typical fast-food burger.
Conclusion
This Mac and Cheese Stuffed Burger With Bacon is more than just a meal; it’s a game-changer for your weekly meal prep. It combines the comfort of mac and cheese with the satisfaction of a juicy burger, all in a portable format. I hope you try this recipe and find it as delightful as I do. Feel free to customize it with your favorite cheeses or spices.
Don’t forget to share your creations on social media or leave a comment below. I love seeing how you adapt this recipe. Happy cooking, and enjoy your delicious, hearty lunches!
Frequently Asked Questions
Can I make these burgers in advance?
Yes, you can assemble the burgers up to 24 hours in advance. Store them covered in the refrigerator until you are ready to cook. This is perfect for busy mornings.
Why did my burger leak cheese?
Leakage usually happens if the seal isn’t tight enough or if the patty is too thin. Make sure to press the edges firmly and keep the patties thick. Searing the outside also helps seal the seams.
Can I use leftover mac and cheese?
Absolutely. Leftover mac and cheese works perfectly as the filling. Just make sure it’s not too wet, or it might make the beef soggy. Pat it dry if needed.
How do I store leftovers?
Store leftovers in an airtight container in the refrigerator for up to 4 days. Reheat in the oven or air fryer for best results.
Can I freeze these burgers?
Yes, freeze them after cooking. Let them cool completely, then wrap individually in plastic wrap and place in a freezer bag. They will last for up to 3 months.
Pin This Recipe!
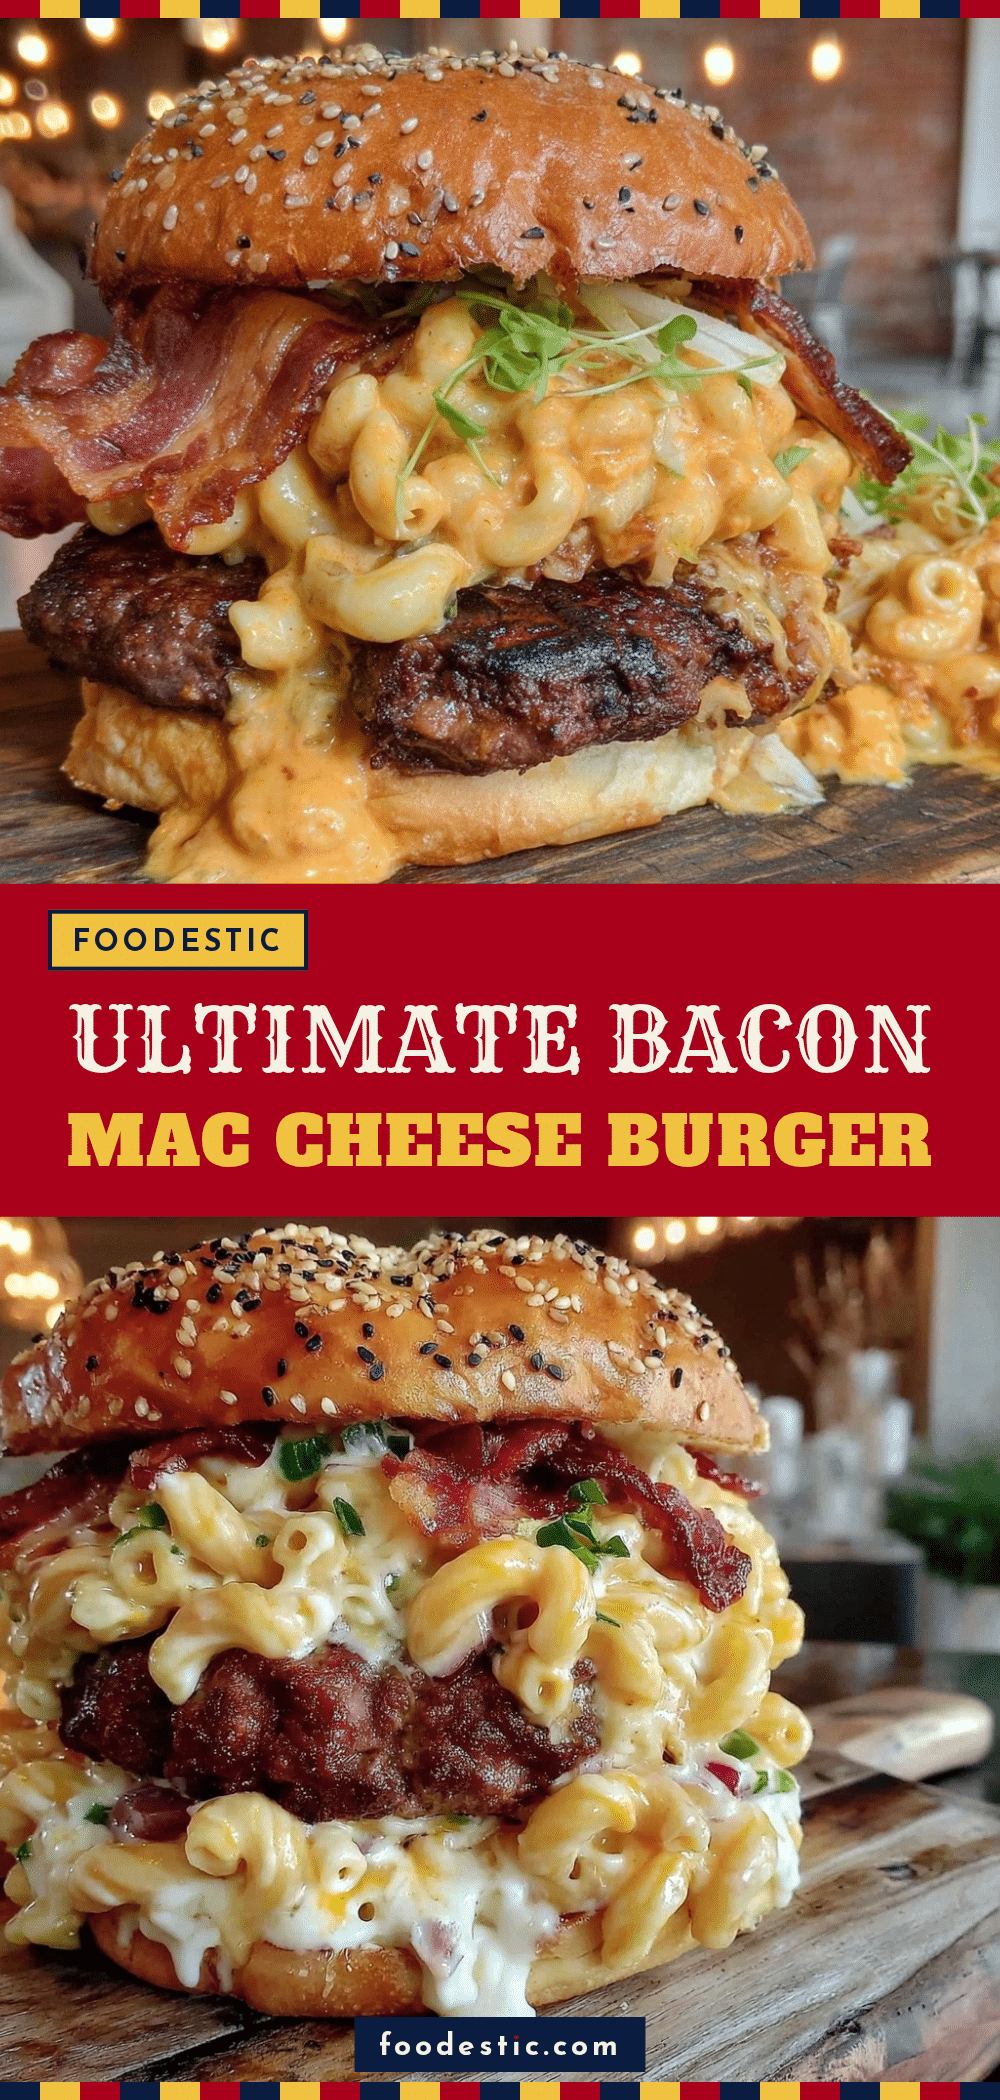
Mac And Cheese Stuffed Burger With Bacon
- Total Time: 60 minutes
- Yield: 4 servings 1x
Description
A hearty meal prep burger featuring a juicy beef patty stuffed with creamy mac and cheese and crispy bacon, designed for easy lunchbox packing and reheating.
Ingredients
- 1.5 lbs ground beef (80/20 blend)
- 1 cup dry elbow macaroni
- 1.5 cups sharp cheddar cheese, freshly grated
- 1/4 cup heavy cream
- 6–8 strips thick-cut bacon
- 1 teaspoon garlic powder
- 1 teaspoon onion powder
- Kosher salt and freshly cracked black pepper to taste
- 2 tablespoons unsalted butter
- Oil for searing
Instructions
- Preheat oven to 375°F (190°C) and line a baking sheet with parchment paper.
- Boil elbow macaroni in salted water until al dente (6-7 minutes), drain, rinse with cold water, and toss with butter.
- Cook bacon in a skillet over medium heat until crispy, then chop into small pieces.
- In a medium bowl, combine cooked pasta, chopped bacon, grated cheddar, and heavy cream. Season with salt and pepper and let cool slightly.
- In a large bowl, mix ground beef with garlic powder, onion powder, salt, and pepper. Do not overmix.
- Divide beef into 4 equal portions and flatten into discs.
- Place a generous scoop of the mac and cheese mixture in the center of each disc.
- Fold the beef edges over the filling, sealing completely, then roll into a ball and flatten back into a patty shape, ensuring no cracks.
- Sear burgers in a hot skillet with oil for 2 minutes per side to form a crust.
- Transfer seared burgers to the baking sheet and bake for 12-15 minutes until internal temperature reaches 160°F (71°C).
- Rest burgers for 5 minutes before serving.
Notes
Ensure the beef is cold when forming patties to prevent fat from melting prematurely. Searing helps seal the edges to prevent cheese leakage. For best results, freeze the mac and cheese scoops for 10 minutes before stuffing to help them hold their shape. Store leftovers in airtight containers for up to 4 days or freeze for up to 3 months.
- Prep Time: 30 minutes
- Cook Time: 30 minutes
- Category: Main Course
- Cuisine: American
Nutrition
- Serving Size: 1 stuffed burger
- Calories: 650
- Sugar: 3
- Sodium: 800
- Fat: 35
- Saturated Fat: 15
- Carbohydrates: 25
- Fiber: 2
- Protein: 40
Keywords: mac and cheese burger, stuffed burger, meal prep, bacon burger, comfort food, lunch ideas, high protein


