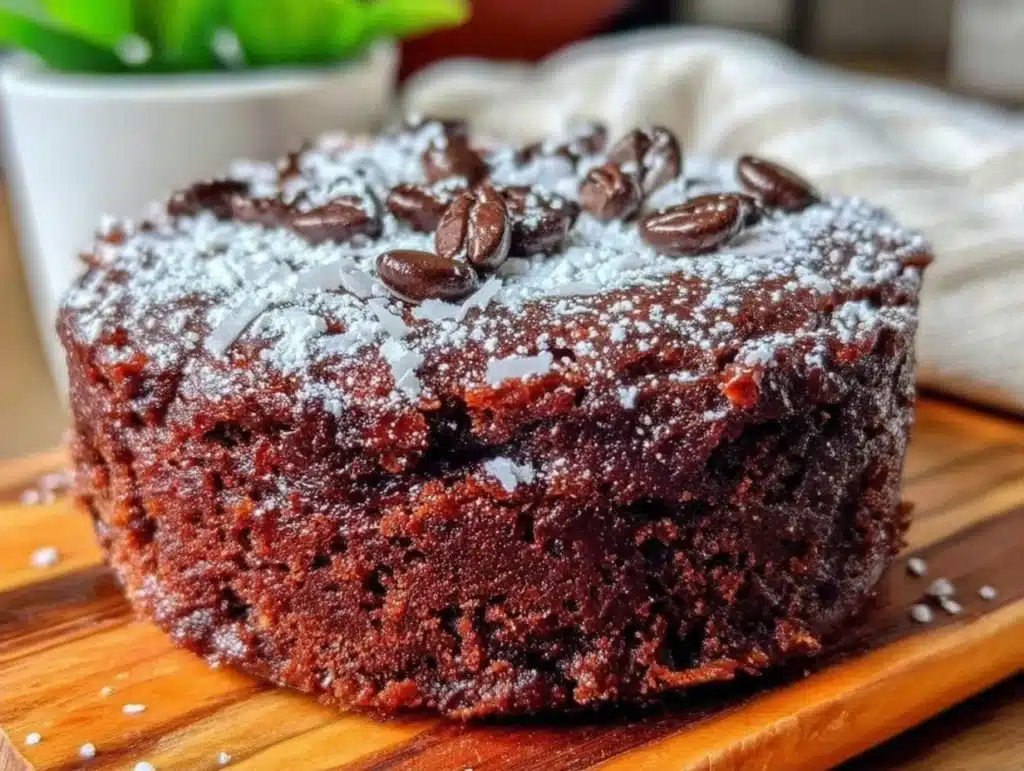
The smell of warm chocolate and dark roast coffee hitting your nose is the only alarm clock I need on a Monday morning. I remember standing in my kitchen, staring at a Tupperware container that looked suspiciously like a brick, wondering how I had let my meal prep game fall so flat. It was 2019, and I had committed to bringing lunch every day for a month. By week two, I was surviving on dry sandwiches and regret. Then I discovered the magic of make-ahead baking. Honestly, it changed everything for me.
I’ve spent years testing breakfasts that survive the refrigerator, and let’s face it, most of them turn into sad, soggy messes by Wednesday. But this moist chocolate coffee cake? It’s different. It actually gets better as it sits. The moisture from the buttermilk and yogurt seeps into the crumb, creating a texture that’s dense yet tender, not dry and crumbly like a typical muffin. It’s the kind of treat that feels indulgent but keeps you full until lunch.
I first made this recipe when I was trying to cut back on caffeine but still wanted that morning ritual. Swapping some of the liquid for strong brewed coffee deepened the chocolate flavor without the jittery crash. Now, every Sunday, I bake two of these. It’s my secret weapon for busy weeks when I don’t have time to cook. If you’ve been struggling with lunch options that don’t leave you hungry by 2 PM, you need to try this. It’s reliable, delicious, and totally worth the oven time.
Why You’ll Love This Make-Ahead Chocolate Coffee Cake
Let’s be real for a second. The idea of prepping food for the next five days can feel like a chore. But this recipe is different because it’s built for the grind. I’ve tested this batter over a dozen times, tweaking the ratios of dry to wet ingredients to find that sweet spot between a cake and a quick bread. The result is a loaf that stays moist for days without needing any special preservatives or weird additives. It’s just good, honest baking.
Here is why this recipe has become a staple in my weekly rotation:
- It’s a Time Saver: You mix this up in about 15 minutes. That’s it. You can have it in the oven while you’re getting ready for work or doing your morning routine. The actual hands-on time is minimal, which is huge for busy mornings.
- Pantry-Friendly Ingredients: You likely already have most of this in your kitchen. Flour, sugar, cocoa powder, coffee, and buttermilk are basics. You don’t need to make a special trip to the store for obscure items. This makes it perfect for spontaneous meal prep days.
- Perfect for Meal Prep: Unlike muffins that dry out, this cake holds its structure beautifully in the fridge. It doesn’t get soggy at the bottom or tough on top. It’s designed to be sliced, wrapped, and grabbed from the container later.
- Crowd-Pleaser Flavor: The combination of rich chocolate and bold coffee is a classic for a reason. It tastes like a dessert but works as a substantial breakfast or lunch side. My kids love it, and my husband requests it for his work lunches constantly.
- Comfort in a Slice: There is something deeply satisfying about pulling a warm slice out of the microwave on a cold morning. It feels like a hug. It’s comfort food that fuels you, not just fills you.
What really sets this apart is the texture. Most make-ahead baked goods suffer from the “fridge dry-out” effect. But by using both oil and butter, plus yogurt, this cake retains its moisture for up to five days. I’ve eaten slices on day six, and they were still delicious. It’s not just another chocolate cake recipe; it’s a tested, trusted solution for people who want to eat well without the daily stress of cooking.
What Ingredients You Will Need
This recipe relies on simple, wholesome ingredients to deliver bold flavor and satisfying texture without the fuss. The key here is quality. Since there are so few components, each one plays a vital role in the final taste and texture. I like to keep it straightforward so you aren’t hunting for hard-to-find items.
- Unsalted Butter (1/2 cup / 113g): I use butter for flavor, but oil helps keep it moist. Soften it before you start. If you’re in a rush, microwave it in 5-second bursts.
- Granulated Sugar (1 cup / 200g): This provides sweetness and helps with browning. You can reduce it to 3/4 cup if you prefer less sweet, but the chocolate will still shine.
- Large Eggs (2 large): Room temperature eggs mix better into the batter. This creates a smoother, more uniform crumb structure.
- Vanilla Extract (1 tsp): Use real vanilla if you can. It rounds out the chocolate flavor beautifully.
- Strong Brewed Coffee (1/2 cup / 120ml): This is the secret weapon. It intensifies the chocolate taste without making it taste like coffee. Use a dark roast for the best depth. You can use instant espresso powder dissolved in hot water if you’re in a pinch.
- Buttermilk (1/2 cup / 120ml): The acidity in buttermilk tenderizes the gluten. If you don’t have buttermilk, add 1 tablespoon of lemon juice or vinegar to regular milk and let it sit for 10 minutes.
- All-Purpose Flour (1 1/2 cups / 190g): Spoon and level your flour. Don’t pack it down, or your cake will be dense. I use Gold Medal flour for consistent results.
- Cocoa Powder (1/3 cup / 30g): Use unsweetened cocoa powder. Dutch-processed cocoa gives a darker color and milder flavor, while natural cocoa is more acidic. Both work, but stick to one type for consistency.
- Baking Soda (1 tsp): This reacts with the buttermilk and coffee to help the cake rise. Make sure it’s fresh for the best lift.
- Baking Powder (1/2 tsp): Provides additional lift for a lighter texture.
- Salt (1/2 tsp): Essential for balancing the sweetness. Don’t skip this step.
- Dark Chocolate Chips (1/2 cup / 90g): Semi-sweet or dark chips add pockets of melty chocolate. Fold them in gently at the end.
I always recommend checking your baking powder and soda expiration dates. Old leavening agents are the #1 reason baked goods fail to rise. If you’re unsure, it’s cheaper to buy new ones than to waste ingredients on a flat cake.
Equipment Needed
You don’t need a fancy kitchen to make this cake. A few basic tools are all you need to get professional-looking results.
- 9×5 Inch Loaf Pan: This is the standard size for quick breads. Grease it well or line it with parchment paper for easy removal. I love using parchment because cleanup is a breeze.
- Mixing Bowls: One large bowl for wet ingredients and one medium for dry. Having two bowls speeds up the process significantly.
- Whisk: A standard wire whisk is perfect for combining dry ingredients and emulsifying the wet ones.
- Measuring Cups and Spoons: Accuracy matters in baking. Use metal or plastic measuring cups for dry ingredients and glass measuring cups for liquids.
- Electric Mixer or Wooden Spoon: You can use a hand mixer for creaming the butter and sugar, but a wooden spoon works fine if you’re doing it by hand. It’s a good arm workout!
- Cooling Rack: Essential for letting the cake cool properly. If you leave it in the pan, steam will make the bottom soggy.
If you don’t have a loaf pan, you can use a 9-inch round cake pan, but the baking time will be shorter. Check it 10 minutes early to avoid overbaking.
How to Make Moist Chocolate Coffee Cake
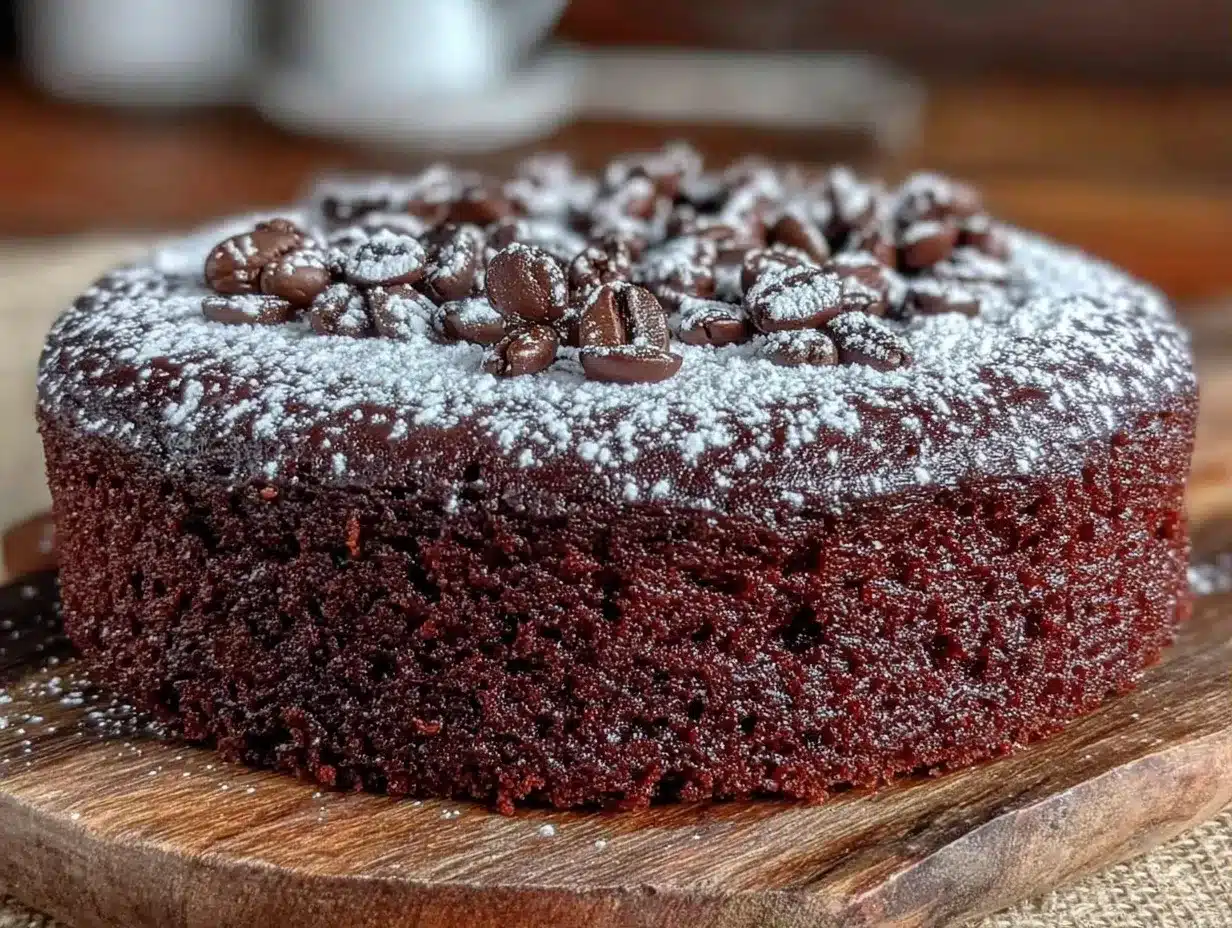
Making this cake is straightforward, but following the steps closely ensures the best texture. Here is how I do it to avoid common pitfalls.
- Preheat and Prep (5 minutes): Start by preheating your oven to 350°F (175°C). Grease your 9×5 loaf pan with butter or non-stick spray. For extra insurance against sticking, line the bottom with a strip of parchment paper. This makes removing the cake effortless later.
- Mix Dry Ingredients (2 minutes): In a medium bowl, whisk together the flour, cocoa powder, baking soda, baking powder, and salt. Whisking ensures the leavening agents are evenly distributed. If you skip this, you might get bitter spots of baking soda in the final cake.
- Cream Butter and Sugar (3 minutes): In a large bowl, beat the softened butter and sugar together until light and fluffy. This takes about 2-3 minutes with a mixer. It incorporates air into the batter, which helps the cake rise. If doing by hand, it will take a bit longer, so don’t rush this step.
- Add Wet Ingredients (2 minutes): Beat in the eggs one at a time, mixing well after each addition. Add the vanilla extract. Then, pour in the brewed coffee and buttermilk. Mix until just combined. The batter might look slightly curdled; this is normal.
- Combine Wet and Dry (1 minute): Gradually add the dry ingredients to the wet mixture. Use a whisk or spatula to fold them together. Stop mixing as soon as no dry flour remains. Overmixing develops gluten, which leads to a tough cake. The batter will be thick.
- Fold in Chocolate Chips (1 minute): Gently fold in the chocolate chips. Be careful not to break them apart too much. You want nice chunks in every bite.
- Bake (50-60 minutes): Pour the batter into the prepared loaf pan. Smooth the top with a spatula. Bake for 50-60 minutes. Start checking at 45 minutes. Insert a toothpick into the center; if it comes out with moist crumbs (not wet batter), it’s done. If it’s clean, it might be overbaked.
- Cool Completely (30 minutes): Let the cake cool in the pan for 10 minutes, then transfer it to a wire rack to cool completely. This step is crucial for make-ahead recipes. If you wrap it while warm, condensation will make it soggy.
I always let my cakes cool completely before slicing. It allows the crumb to set, making it easier to handle and store.
How Do I Know When the Cake is Done?
The toothpick test is your best friend. But also look for the edges pulling away from the pan slightly. If the top feels firm to the touch, it’s ready. Remember, residual heat will continue to cook the cake as it cools.
Can I Use Instant Coffee Instead of Brewed?
Yes! Dissolve 1-2 teaspoons of instant espresso powder in 1/2 cup of hot water. Let it cool before adding it to the batter. This works perfectly and is much faster.
Cooking Tips & Techniques
After making this cake countless times, I’ve learned a few tricks that make a big difference. The first is temperature. Cold ingredients don’t mix well. Make sure your butter is soft but not melted. If it’s melted, you’ll lose the airiness from creaming.
Another tip is to not overmix the batter. It’s tempting to stir until it’s perfectly smooth, but that’s actually bad for quick breads. Mix until you just can’t see the flour anymore. The batter will look a bit lumpy, and that’s okay. Those lumps disappear in the oven.
I also recommend using a digital scale for the most accurate results. Volume measurements can vary depending on how you pack the flour. Weighing your flour ensures consistent texture every time. If you don’t have a scale, spoon the flour into the cup and level it off with a knife.
Don’t open the oven door too early. Watching the cake bake can cause it to collapse. Wait until at least the 45-minute mark before checking. Trust the process.
Variations & Adaptations
This recipe is very flexible. Here are a few ways to switch it up:
- Gluten-Free Option: Swap the all-purpose flour for a 1:1 gluten-free baking blend. Add 1/4 teaspoon of xanthan gum if your blend doesn’t include it.
- Dairy-Free: Use coconut oil instead of butter and almond milk with lemon juice instead of buttermilk.
- Nutty Twist: Add 1/2 cup of chopped walnuts or pecans along with the chocolate chips. The crunch pairs wonderfully with the soft crumb.
- Orange Chocolate: Add the zest of one orange to the batter. The citrus flavor brightens up the rich chocolate.
I once made this with hazelnuts and a drizzle of Nutella glaze. It was decadent, almost too rich for a lunch, but perfect for a weekend treat.
Serving & Storage Suggestions
This cake is best served at room temperature. If you like it warm, microwave a slice for 20-30 seconds. The chocolate chips will melt into little pools of goodness.
For storage, wrap the cooled cake tightly in plastic wrap, then place it in an airtight container. It will keep in the fridge for up to 5 days. You can also freeze it for up to 3 months. Slice it before freezing so you can grab individual portions.
To reheat from frozen, thaw it in the fridge overnight, then microwave or let it come to room temperature. The flavors actually meld together over the first two days, making it taste even better on Wednesday than on Monday.
Nutritional Information & Benefits
Each slice (1/12 of the loaf) contains approximately 280 calories. It’s rich in carbohydrates from the flour and sugar, with some protein from the eggs and butter. The cocoa powder provides antioxidants, and the coffee adds a mild metabolic boost. It’s not a low-calorie diet food, but it’s a balanced treat that provides sustained energy.
It is not suitable for vegans or those with egg or dairy allergies unless substitutions are made. Always check your ingredient labels for allergens.
Conclusion
This moist chocolate coffee cake is more than just a recipe; it’s a solution for busy mornings and predictable lunches. It’s reliable, delicious, and easy to make. I hope you give it a try and find it becomes a staple in your meal prep routine like it has been for me.
Try customizing it with your favorite add-ins. Maybe some dried cranberries or white chocolate chips. Let me know how it turns out for you! Share your results in the comments below, and don’t forget to tag me on social media if you post a photo. Happy baking!
Frequently Asked Questions
Can I make this cake the night before?
Yes! In fact, it often tastes better the next day. Let it cool completely, wrap it well, and store it at room temperature or in the fridge.
Why did my cake sink in the middle?
This usually happens if the oven door was opened too early or if the leavening agents were old. Make sure your baking soda and powder are fresh.
Can I use milk instead of buttermilk?
Yes, but add 1 tablespoon of vinegar or lemon juice to 1 cup of milk and let it sit for 10 minutes to create a buttermilk substitute.
How do I freeze this cake?
Slice the cake first, then wrap each slice in plastic wrap and place them in a freezer bag. They will keep for up to 3 months.
Is this cake very sweet?
It’s moderately sweet. If you prefer less sugar, you can reduce the granulated sugar by 1/4 cup without affecting the texture too much.
Pin This Recipe!
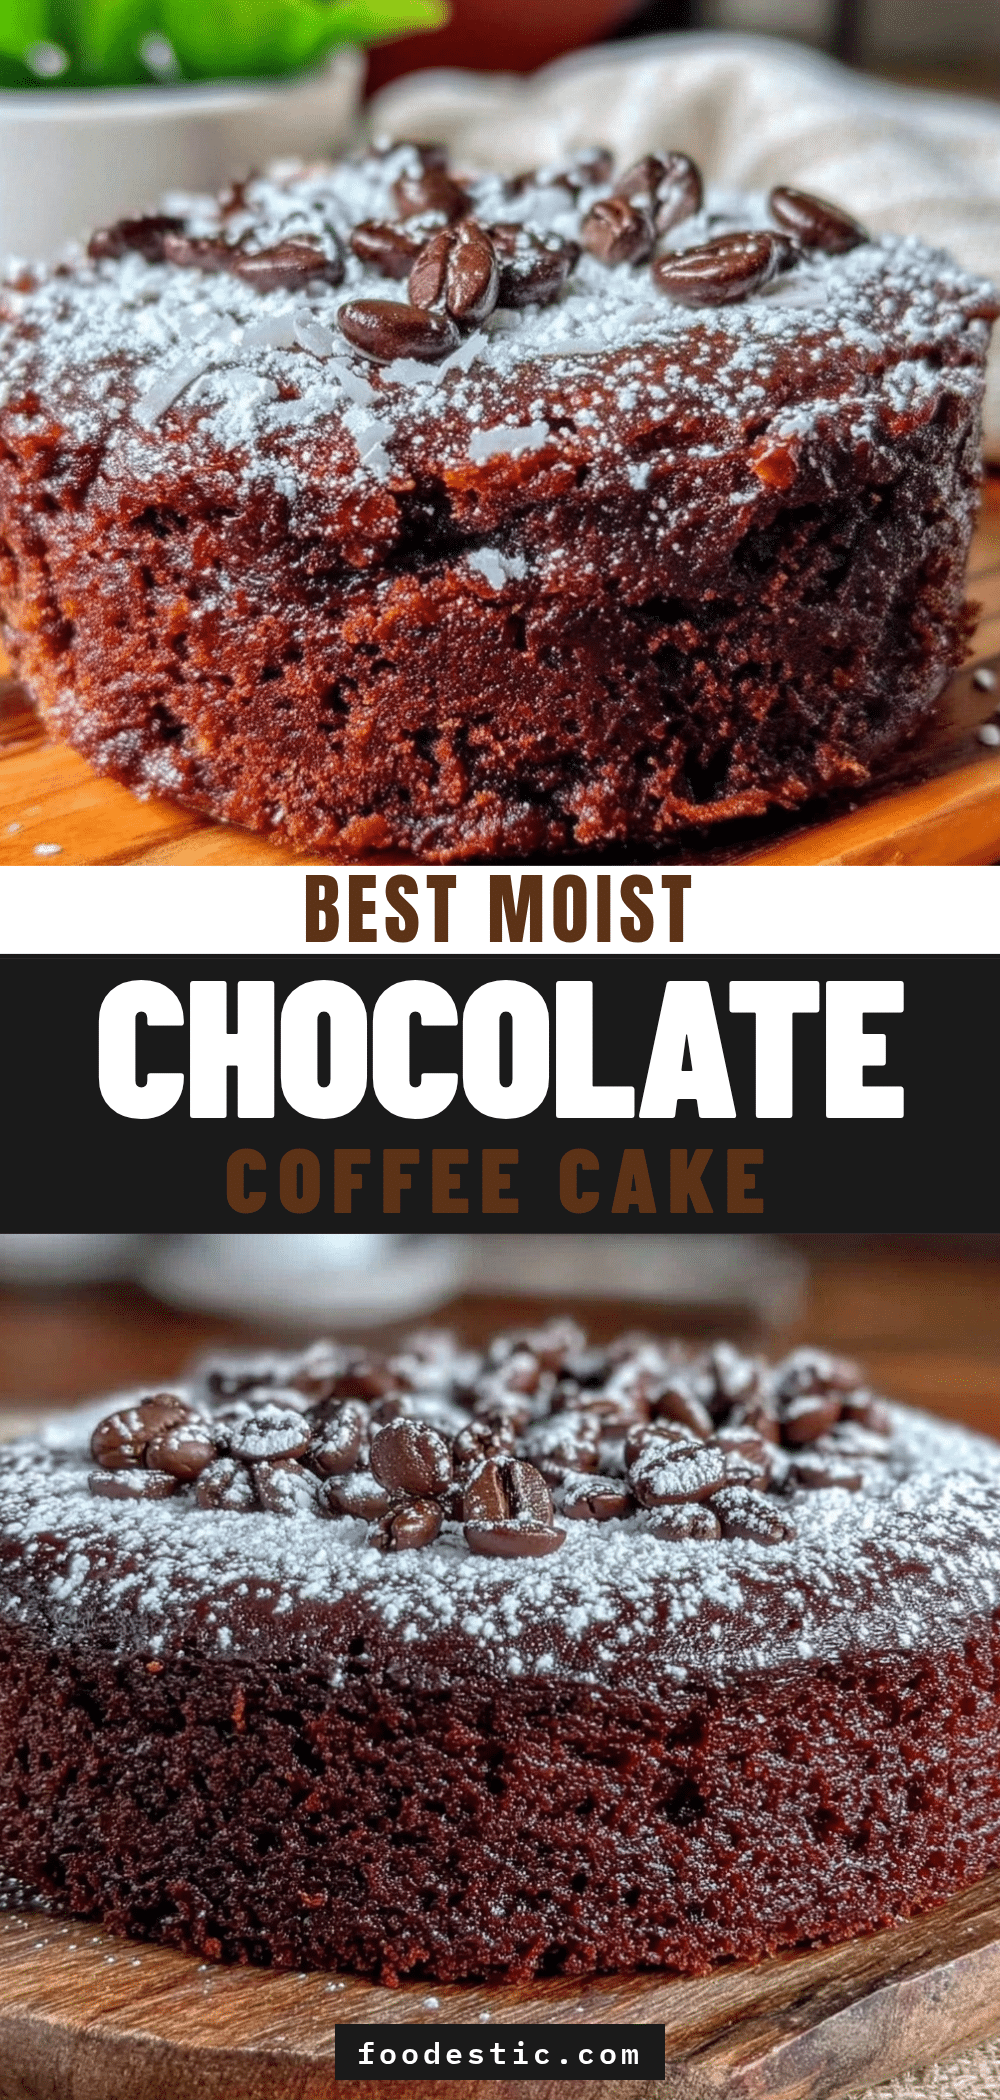
Moist Chocolate Coffee Cake: The Make-Ahead Lunch Formula
- Total Time: 1 hour 15 minutes
- Yield: 12 servings 1x
Description
A dense yet tender chocolate coffee cake that stays moist for days, perfect for meal prep and make-ahead lunches. It combines rich chocolate and bold coffee flavors for a satisfying breakfast or lunch treat.
Ingredients
- 1/2 cup unsalted butter, softened
- 1 cup granulated sugar
- 2 large eggs, room temperature
- 1 tsp vanilla extract
- 1/2 cup strong brewed coffee
- 1/2 cup buttermilk
- 1 1/2 cups all-purpose flour
- 1/3 cup unsweetened cocoa powder
- 1 tsp baking soda
- 1/2 tsp baking powder
- 1/2 tsp salt
- 1/2 cup dark chocolate chips
Instructions
- Preheat oven to 350°F (175°C). Grease a 9×5 inch loaf pan and line the bottom with parchment paper.
- In a medium bowl, whisk together the flour, cocoa powder, baking soda, baking powder, and salt.
- In a large bowl, beat the softened butter and sugar together until light and fluffy (about 2-3 minutes).
- Beat in the eggs one at a time, then add the vanilla extract. Pour in the brewed coffee and buttermilk, mixing until just combined.
- Gradually add the dry ingredients to the wet mixture, folding gently until no dry flour remains. Do not overmix.
- Gently fold in the chocolate chips.
- Pour batter into the prepared loaf pan and smooth the top. Bake for 50-60 minutes, or until a toothpick inserted into the center comes out with moist crumbs.
- Let the cake cool in the pan for 10 minutes, then transfer to a wire rack to cool completely before wrapping or slicing.
Notes
Ensure butter is soft but not melted. Do not overmix the batter to avoid a tough texture. For best results, let the cake cool completely before storing to prevent sogginess. Can be stored in the fridge for up to 5 days or frozen for up to 3 months.
- Prep Time: 15 minutes
- Cook Time: 50-60 minutes
- Category: Breakfast
- Cuisine: American
Nutrition
- Serving Size: 1 slice (1/12 of the
- Calories: 280
- Sugar: 28
- Sodium: 250
- Fat: 12
- Saturated Fat: 7
- Carbohydrates: 40
- Fiber: 2
- Protein: 4
Keywords: chocolate coffee cake, make-ahead breakfast, meal prep, quick bread, moist chocolate cake, lunch idea, coffee cake recipe


