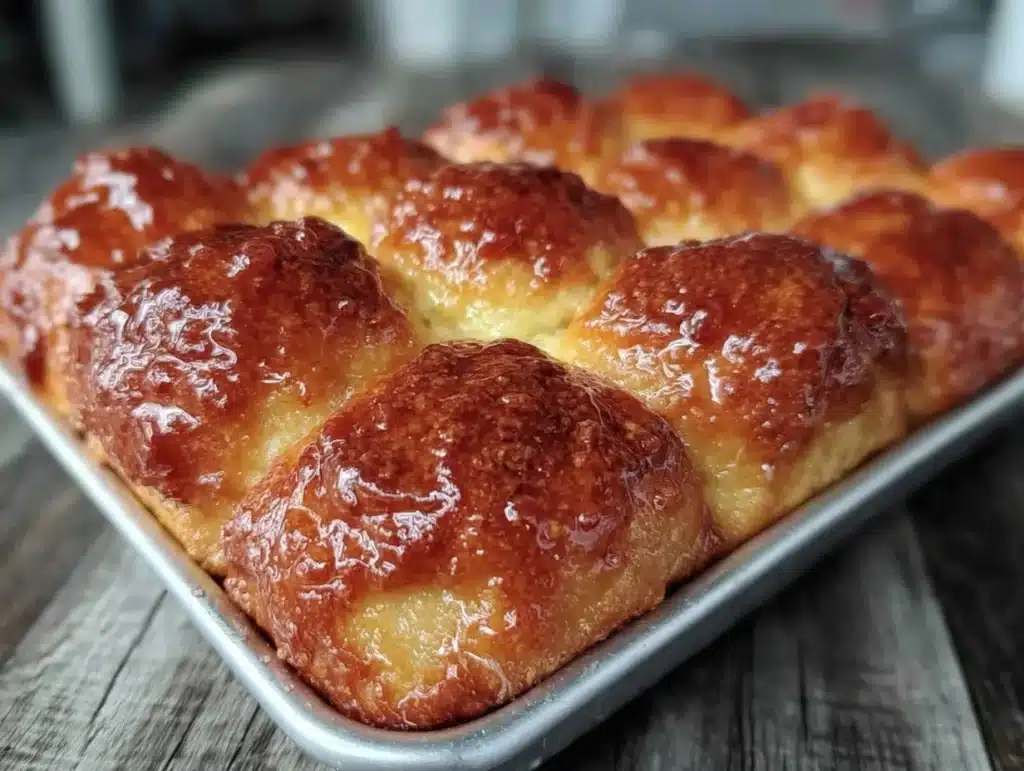
The smell of warm, buttery dough hitting the kitchen counter is enough to wake up the whole house. I remember the first time I pulled a tray of these honey butter rolls from the oven. It was a rainy Sunday in November, and I had zero plans other than surviving the week ahead. My usual meal prep routine felt heavy, complicated, and frankly, exhausting. I just wanted something soft, comforting, and easy to grab.
That’s when I decided to skip the complicated sourdough starters and go for something forgiving. I mixed up a batch of soft honey butter rolls, and honestly, they changed my entire approach to weekday breakfasts. They aren’t just a weekend treat anymore. Now, they are the backbone of my Monday-to-Friday morning routine. You know that feeling when you open your fridge and see a container of food that actually looks good? That’s what this is.
I’ve tested this recipe over a dozen times to get the texture just right. Too dry, and it’s a biscuit. Too wet, and it’s a pancake. These rolls hit that sweet spot—pillowy soft on the inside with a golden, honey-glazed crust. As someone who values efficiency as much as flavor, I’ve found that baking these on Sunday afternoon sets me up for success all week long. They reheat beautifully, stay fresh in the fridge, and taste almost as good on Wednesday as they did on Sunday.
If you are looking for a way to simplify your mornings without sacrificing taste, this recipe is for you. It’s perfect for busy parents, office workers, or anyone who wants to start their day with a little bit of comfort. Let’s face it, life is busy enough. Your breakfast shouldn’t be another chore. These soft honey butter rolls are my way of making sure you have one less thing to worry about when the alarm goes off.
Why You’ll Love This Recipe
After baking these rolls through several seasons and countless meal prep attempts, I can tell you why they stand out from the usual bread recipes. Most dinner roll recipes require hours of proofing and a lot of patience. This one is different. It’s designed for real life. I’ve tweaked the hydration levels and the resting times to make sure you get consistent results every single time, even if you’re tired or rushing.
- Quick & Easy: While the dough needs time to rise, the actual hands-on time is minimal. You can have them in the oven in under an hour of prep, leaving the rest to the yeast. It’s perfect for busy weeknights or lazy Saturday mornings.
- Simple Ingredients: You likely have everything you need right now. Flour, honey, butter, milk, yeast, and eggs. No fancy grocery trips or obscure ingredients that sit in your pantry for years.
- Perfect for Meal Prep: This is the main reason I make them. They store incredibly well. You can bake a double batch, freeze half, and keep half in the fridge. They are packed and ready before you even think about lunch or breakfast.
- Crowd-Pleaser: My kids, my husband, and even my picky friends always ask for seconds. The honey glaze adds just enough sweetness to make them feel like a treat, but they are substantial enough to be a meal.
- Unbelievably Delicious: The texture is key here. They are soft, airy, and slightly chewy. The buttery glaze soaks into the crust, creating a flavor profile that is next-level comfort food.
What makes this recipe truly special is the balance of simplicity and flavor. It’s not just another bread recipe. It’s a system for making your mornings easier. When you take that first bite, warm and soft, you close your eyes and just enjoy it. It’s comfort food reimagined for the modern, busy lifestyle. It’s healthier than a pastry, faster than a bakery loaf, and infinitely better than store-bought frozen options.
What Ingredients You Will Need
This recipe relies on simple, wholesome ingredients to deliver bold flavor and satisfying texture without the fuss. The magic really lies in the quality of the butter and the honey. You don’t need anything exotic, but using good quality staples makes a huge difference in the final taste and texture of your soft honey butter rolls.
Here is what you will need to get started:
- All-Purpose Flour: You will need about 4 to 4.5 cups. I recommend King Arthur Brand for its consistent protein content, which helps with the rise. If you are gluten-sensitive, a 1-to-1 gluten-free flour blend works well too.
- Active Dry Yeast: One packet (about 2 ¼ teaspoons). Make sure it’s not expired. Fresh yeast is crucial for that airy texture. I keep mine in the fridge to extend its life.
- Warm Milk: About 1 cup. It should be around 110°F (43°C). Too hot, and you kill the yeast. Too cold, and it won’t activate. Whole milk gives the best richness, but 2% works fine if that’s what you have.
- Honey: ¼ cup for the dough and another ½ cup for the glaze. Use a good quality wildflower honey if you can. It adds a floral note that pairs perfectly with the butter. Maple syrup is a decent substitute if you are avoiding honey.
- Unsalted Butter: ¼ cup melted for the dough, plus ½ cup for the glaze. I prefer Kerrygold or European-style butters for their higher fat content and richer flavor. Salted butter can be used, but reduce the added salt in the recipe.
- Eggs: Two large eggs. One goes into the dough, and one is beaten for an egg wash. Room temperature eggs incorporate better into the batter.
- Salt: 1 teaspoon. This balances the sweetness of the honey and enhances the yeast flavor.
- Sugar: 2 tablespoons. Helps feed the yeast and adds a little extra sweetness to the crumb.
For the glaze, you’ll whisk together the melted butter, honey, and a splash of warm milk until smooth. The consistency should be pourable but thick enough to coat the back of a spoon. If it’s too thick, add a teaspoon more milk. If it’s too thin, add a teaspoon more honey.
Do I Need Special Equipment?
You don’t need a stand mixer, but it helps. A large mixing bowl and a wooden spoon or spatula will work just fine for hand-kneading. I personally use a stand mixer with a dough hook because it saves my arms, but if you are doing it by hand, just be prepared to knead for about 8-10 minutes.
A standard 9×13 inch baking pan is ideal for this recipe. It allows the rolls to touch each other, which helps them rise upward instead of outward, creating that soft, pull-apart texture. If you only have a round pan, you can adjust the baking time slightly, but the result might be flatter. A digital kitchen scale is helpful for measuring flour accurately, as cup measurements can vary. I always weigh my flour to get the perfect dough consistency.
How to Make Soft Honey Butter Rolls
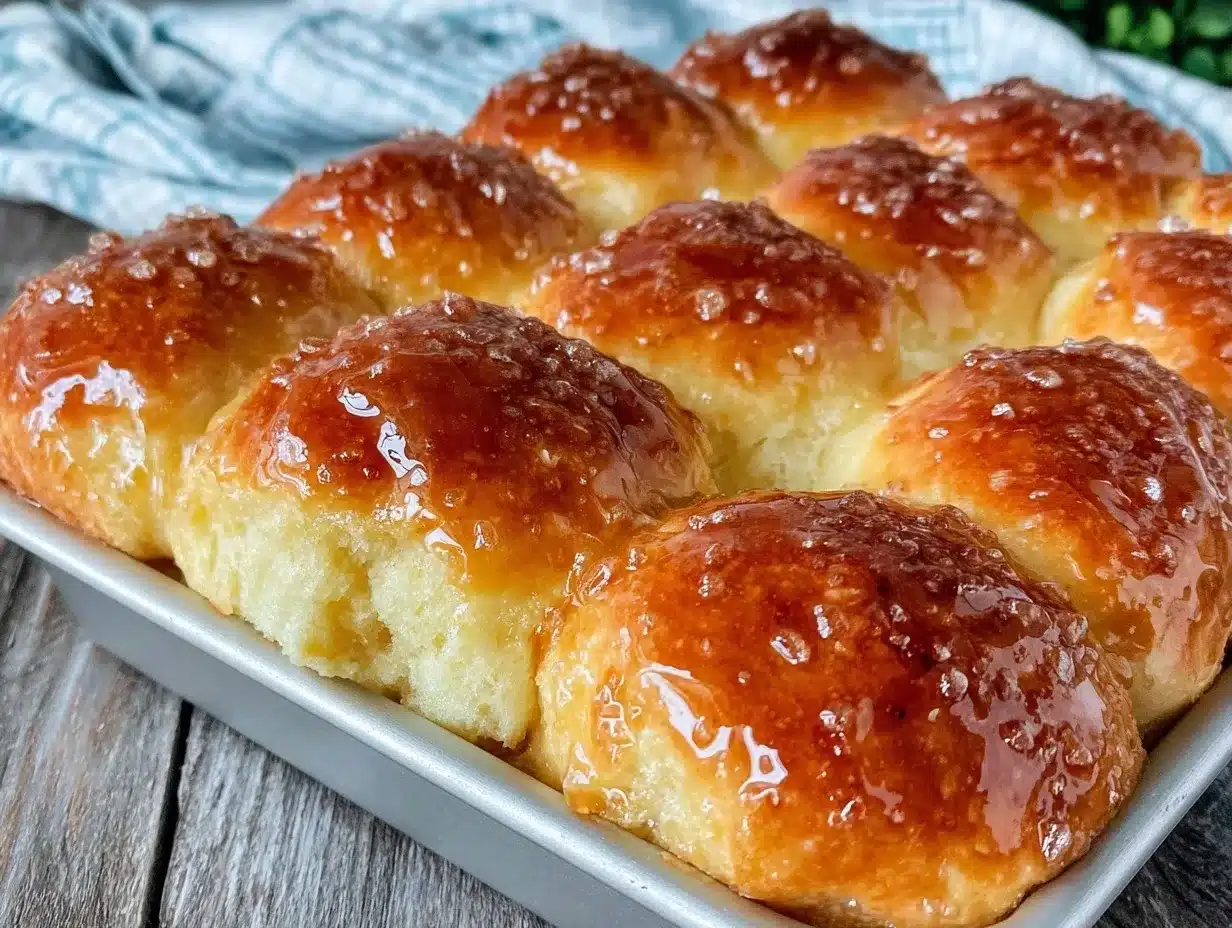
Making these rolls is straightforward, but there are a few key steps to ensure they turn out soft and fluffy every time. Let’s break it down into clear, manageable steps.
Step 1: Activate the Yeast (5 minutes)
In a small bowl, combine the warm milk, honey, and a pinch of sugar. Sprinkle the yeast over the top and let it sit for 5-10 minutes. You should see it become foamy and bubbly. If it doesn’t foam, your yeast might be dead, or the milk was too hot. Discard and start over if needed.
Step 2: Mix the Dough (10 minutes)
In a large bowl, combine the flour and salt. Make a well in the center and pour in the yeast mixture, the melted butter, and the egg. Mix until a shaggy dough forms. If using a stand mixer, use the dough hook on low speed. If hand-kneading, use a wooden spoon first, then turn it out onto a floured surface.
Step 3: Knead the Dough (8-10 minutes)
This is the most important step for texture. Knead the dough until it is smooth, elastic, and slightly tacky but not sticky. If it sticks to your hands, add a little more flour, one tablespoon at a time. If it’s too dry and cracking, add a teaspoon of water. The windowpane test is a good indicator: stretch a small piece of dough; if it stretches thin without tearing, it’s ready.
Step 4: First Rise (1 hour)
Place the dough in a lightly oiled bowl, turning once to coat. Cover with plastic wrap or a damp towel. Let it rise in a warm, draft-free spot for about 1 hour, or until doubled in size. This usually takes about 60 minutes, but humidity and temperature can affect this. Patience is key here.
Step 5: Shape the Rolls (15 minutes)
Punch down the dough to release air bubbles. Divide it into 12 equal pieces. Roll each piece into a smooth ball by tucking the edges underneath. Place them seam-side down in your greased 9×13 inch pan. Leave a little space between them if you want individual rolls, or press them together if you want pull-apart style. I prefer them touching for that soft, shared texture.
Step 6: Second Rise (30-45 minutes)
Cover the pan again and let the rolls rise for another 30-45 minutes. They should look puffy and jiggly. This step ensures they are light and airy, not dense.
Step 7: Bake (20-25 minutes)
Preheat your oven to 350°F (175°C). Bake the rolls for 20-25 minutes, or until they are golden brown on top. If they brown too quickly, tent them with foil. Use a thermometer to check the internal temperature; it should reach 190°F (88°C) for fully cooked dough.
Step 8: The Honey Butter Glaze (5 minutes)
While the rolls bake, melt the ½ cup of butter and mix with the ½ cup of honey. As soon as the rolls come out of the oven, brush this glaze generously over the top. The heat will help it soak in. Let them cool in the pan for 10 minutes before removing.
Cooking Tips & Techniques
Getting the dough consistency right is the biggest challenge for beginners. Here are some tips to avoid common mistakes.
Don’t Overflour: It’s tempting to add more flour if the dough feels sticky, but too much flour leads to dense rolls. The dough should be soft and slightly tacky. If it’s sticking to your counter, grease your hands instead of adding more flour.
Watch the Temperature: Yeast is sensitive. If your kitchen is cold, your dough will take longer to rise. You can speed this up by placing the covered bowl in a turned-off oven with the light on. The residual heat creates a perfect rising environment.
Glaze Timing: Don’t wait for the rolls to cool completely before adding the glaze. If they are cool, the glaze will sit on top and harden into a candy shell. Brush it on while they are hot and steamy for that soft, buttery crust.
Hand Kneading vs. Machine: If you are hand kneading, take breaks. Rest the dough for 5 minutes if it’s fighting back. This relaxes the gluten and makes kneading easier. It’s a technique I learned from a baker friend that saved me from arm fatigue.
Variations & Adaptations
While the classic honey butter flavor is my favorite, there are many ways to customize these rolls.
Cinnamon Sugar: Add 1 teaspoon of cinnamon to the dough. After baking, brush with melted butter and sprinkle with a mix of sugar and cinnamon. It’s like a cinnamon roll without the swirl.
Herb and Garlic: Skip the honey in the glaze. Mix minced garlic and dried parsley into the dough. For the glaze, use melted butter, garlic powder, and a pinch of salt. These are perfect for serving with pasta or soup.
Whole Wheat: Substitute half of the all-purpose flour with whole wheat flour. You may need to add a little more water as whole wheat absorbs more liquid. The flavor will be nuttier and heartier.
Dairy-Free: Use almond milk or oat milk instead of dairy milk. Use coconut oil or a dairy-free butter alternative for the glaze. The texture might be slightly less rich, but they will still be delicious.
Serving & Storage Suggestions
These soft honey butter rolls are best served warm, fresh from the oven. They make a great side for dinner, or a indulgent breakfast. Pair them with a hot cup of coffee or tea.
Storage: Let the rolls cool completely before storing. Place them in an airtight container at room temperature for up to 2 days. For longer storage, keep them in the refrigerator for up to 5 days. This is where the meal prep magic happens. Grab one, microwave it for 20 seconds, and you have a warm breakfast in seconds.
Freezing: You can freeze these rolls for up to 3 months. Bake them, let them cool completely, and wrap them tightly in plastic wrap and foil. To serve, thaw overnight in the fridge and reheat in the oven at 300°F for 10 minutes, or in the microwave for 30 seconds.
Reheating: To restore freshness, reheat in the oven rather than the microwave. The microwave can make the texture rubbery. A quick 5-minute bake in a 350°F oven brings back that bakery-fresh crust.
Nutritional Information & Benefits
While these are a treat, they are balanced enough for regular consumption. Each roll contains approximately 180 calories, 3g of protein, and 25g of carbohydrates. The honey provides natural sugars and antioxidants, while the butter adds healthy fats for satiety. They are not gluten-free unless you use GF flour, and they contain dairy and eggs. For a lower-calorie option, reduce the glaze or skip it entirely. I find that one or two rolls satisfy my sweet tooth without ruining my diet for the day.
Conclusion
Soft honey butter rolls are more than just bread. They are a tool for a smoother, less stressful week. I love making them because they combine comfort with practicality. They are easy to make, easy to store, and always delicious. I encourage you to try this recipe and make it your own. Add some herbs, swap the honey, or just enjoy them as they are. The beauty of baking is in the customization.
Give these a try this weekend. Pack them into containers, label them, and set yourself up for success. I’d love to hear how they turn out for you. Leave a comment below with your favorite variation or just let me know if they made your mornings easier. Happy baking, and here’s to stress-free meals!
Frequently Asked Questions
Can I make the dough the night before?
Yes! After the first rise, punch down the dough, shape the rolls, and place them in the pan. Cover tightly and refrigerate overnight. In the morning, let them sit on the counter for 30-45 minutes to rise before baking. This is perfect for busy mornings.
Why are my rolls dense?
This usually happens if the dough was over-floured or if the yeast was inactive. Make sure your milk is warm but not hot, and don’t add too much extra flour during kneading. The dough should be soft and tacky.
Can I use instant yeast instead of active dry?
Yes, you can use instant yeast. You can mix it directly with the flour and skip the blooming step with the milk. The results will be very similar.
How do I keep them soft for days?
Store them in an airtight container. If they start to dry out, wrap them in a damp paper towel and microwave for 10 seconds. This restores moisture instantly.
Can I freeze the unbaked dough?
It’s better to bake them first and then freeze. Unbaked dough can lose its rise power if frozen and thawed, leading to dense rolls. Baking first ensures the best texture.
Pin This Recipe!
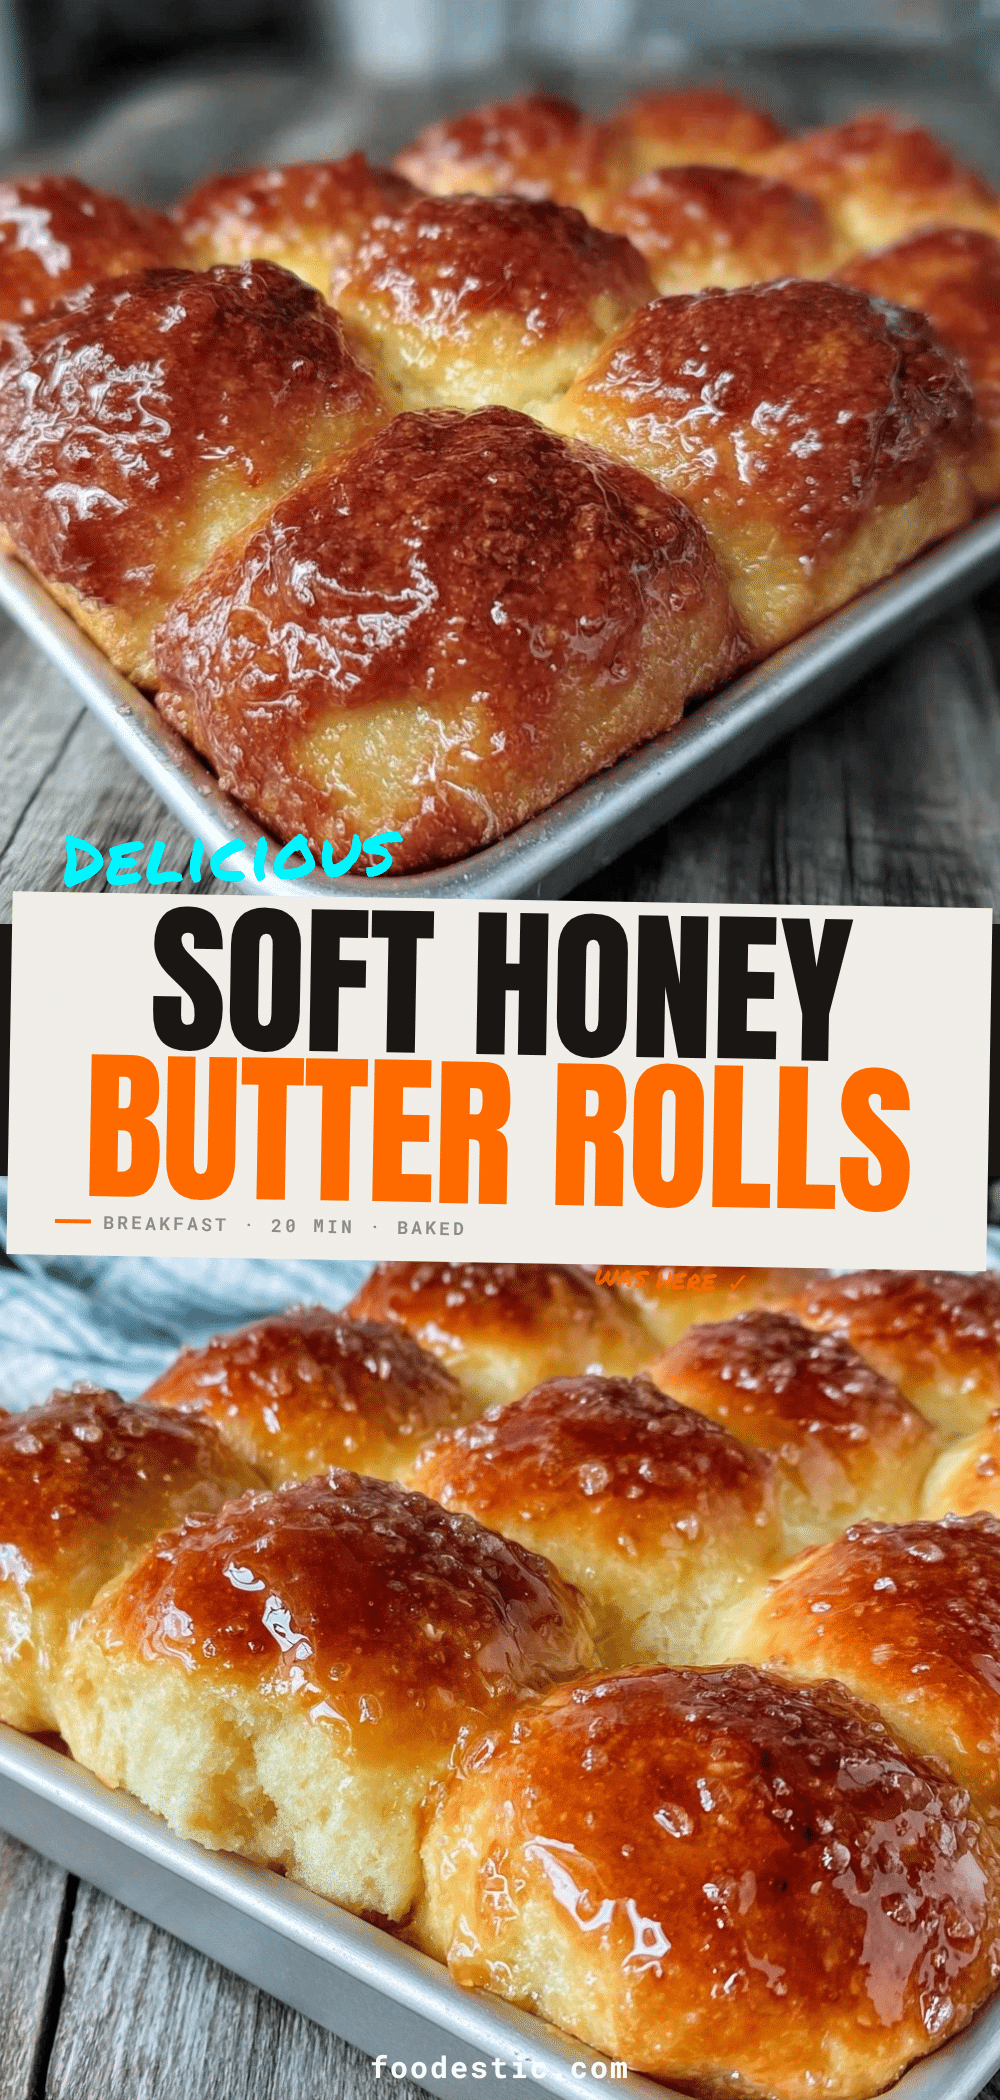

Soft Honey Butter Rolls: Easy Meal Prep for 5 Days
- Total Time: 1 hour 10 minutes
- Yield: 12 servings 1x
Description
Soft, pillowy honey butter rolls designed for easy meal prep. These forgiving bread rolls are perfect for busy mornings, storing well in the fridge or freezer for up to 5 days.
Ingredients
- 4 to 4.5 cups All-Purpose Flour
- 1 packet (2 ¼ teaspoons) Active Dry Yeast
- 1 cup Warm Milk (110°F/43°C)
- ¼ cup Honey (for dough)
- ½ cup Honey (for glaze)
- ¼ cup Unsalted Butter, melted (for dough)
- ½ cup Unsalted Butter, melted (for glaze)
- 2 Large Eggs (1 for dough, 1 for egg wash)
- 1 teaspoon Salt
- 2 tablespoons Sugar
Instructions
- Activate the yeast: In a small bowl, combine warm milk, ¼ cup honey, and a pinch of sugar. Sprinkle yeast over the top and let sit for 5-10 minutes until foamy.
- Mix the dough: In a large bowl, combine flour and salt. Make a well and pour in the yeast mixture, melted butter, and one egg. Mix until a shaggy dough forms.
- Knead the dough: Knead for 8-10 minutes until smooth, elastic, and slightly tacky. Perform the windowpane test to ensure readiness.
- First rise: Place dough in a lightly oiled bowl, cover, and let rise in a warm spot for about 1 hour or until doubled in size.
- Shape the rolls: Punch down dough and divide into 12 equal pieces. Roll into balls and place seam-side down in a greased 9×13 inch pan, touching each other.
- Second rise: Cover the pan and let rolls rise for 30-45 minutes until puffy and jiggly.
- Bake: Preheat oven to 350°F (175°C). Bake rolls for 20-25 minutes until golden brown and internal temperature reaches 190°F (88°C).
- Make glaze: While baking, whisk together ½ cup melted butter and ½ cup honey.
- Finish: Immediately brush the hot rolls with the honey butter glaze. Let cool in the pan for 10 minutes before removing.
Notes
Ensure milk is warm but not hot (110°F) to avoid killing the yeast. The dough should be soft and slightly tacky; avoid over-flouring. For pull-apart texture, press rolls together in the pan. Glaze rolls while hot for best absorption. Can be stored in the fridge for 5 days or frozen for 3 months.
- Prep Time: 45 minutes
- Cook Time: 25 minutes
- Category: Breakfast
- Cuisine: American
Nutrition
- Serving Size: 1 roll
- Calories: 180
- Sugar: 12
- Sodium: 200
- Fat: 8
- Saturated Fat: 5
- Carbohydrates: 25
- Fiber: 1
- Protein: 3
Keywords: honey butter rolls, meal prep breakfast, soft dinner rolls, easy bread recipe, honey glazed rolls, make ahead breakfast


