
Let’s be honest for a second. I used to think meal prep was just a fancy word for eating sad, cold food out of Tupperware all week. You know the vibe: rubbery chicken, soggy greens, and a general sense of defeat by Wednesday. But then I discovered the magic of Southern Fried Chicken done right for the week ahead. And I’m not talking about reheating leftovers in the microwave until they’re dry as cardboard. No, we are talking about crispy, juicy, golden-brown perfection that actually tastes better on day four.
I first realized this game-changer during a particularly chaotic work week last spring. I had zero time to cook, but I refused to give up on my favorite comfort food. So, I fried a whole batch on Sunday, stored it properly, and spent the week dipping into my freezer and fridge like a treasure hunter. The result? I ended up craving it more on Wednesday than I did on Sunday night. That’s when I knew I had cracked the code on Southern Fried Chicken – Meal Prep Ready.
This isn’t just about saving time. It’s about reclaiming your evenings without sacrificing flavor. When you have a container of this chicken ready to go, dinner stops being a stressor and starts being a non-issue. You can toss it on a salad, pile it onto a biscuit, or just eat it straight with a fork. Honestly, it’s the closest thing to culinary comfort I’ve found in years. And the best part? The crunch stays. I’ll show you exactly how to keep that crust intact, even after days in the fridge.
Why You’ll Love This Recipe
After testing this Southern Fried Chicken recipe over a dozen times—some with buttermilk, some with pickle juice, and even a few failed attempts with just flour—I’ve settled on the ultimate method for meal prep. This isn’t just another fried chicken recipe. It’s the one that actually survives the week. Here is why this batch will become your new Sunday ritual.
- Still Good on Day Four: This is the big one. Most fried chicken turns soggy within 24 hours. Not this. With the right double-dredge technique and proper cooling, the crust stays remarkably crisp, even when reheated.
- Flavor Deepens Over Time: Like a good stew, the spices in the brine and the coating have time to meld. By Wednesday, the flavor profile is richer and more complex than it was on Sunday night.
- Zero Weeknight Stress: Imagine coming home from work, exhausted, and having a protein-packed, delicious dinner already prepared. You just need to reheat it. That’s it. No chopping, no marinating, no standing over a hot stove.
- Versatile Pairings: This chicken plays well with others. It goes great with mashed potatoes, coleslaw, green beans, or even just on a bed of lettuce for a low-carb lunch. It’s the ultimate protein base for any meal.
- Crowd-Pleaser Status: Even my pickiest eaters, who usually turn their noses up at “meal prep,” ask for seconds of this. The savory, spicy kick is addictive, and the texture is unbeatable.
What makes this different from the rest is the attention to detail in the cooling and storage process. Most people skip this step, and that’s why their chicken gets soggy. By air-drying the chicken before refrigerating and using an airtight container, you preserve the structure of the breading. It’s a small tweak, but it makes all the difference. This recipe is designed for real life, for busy schedules, and for people who love the taste of the South without the hassle of cooking every single night.
What Ingredients You Will Need
To get that authentic Southern crunch and juicy interior, you need to start with the right building blocks. This recipe relies on simple, wholesome ingredients that you likely already have in your kitchen. We aren’t using any fancy, hard-to-find items here. Just good, solid staples that deliver bold flavor and satisfying texture without the fuss.
For the Brine:
- Buttermilk: 2 cups (480 ml). This is non-negotiable for tenderizing the meat. The acidity breaks down proteins, keeping the chicken juicy. If you can’t find buttermilk, mix 2 tablespoons of vinegar or lemon juice into regular milk and let it sit for 10 minutes.
- Hot Sauce: 2 tablespoons. Adds a subtle kick and helps the spices stick. Frank’s RedHot or Texas Pete works great.
- Eggs: 2 large eggs, beaten. They help bind the brine to the chicken.
- Garlic Powder: 1 tablespoon. For that deep, savory base note.
- Onion Powder: 1 tablespoon. Adds sweetness and complexity.
- Dried Thyme: 1 teaspoon. A classic Southern herb that pairs perfectly with chicken.
- Salt: 1 tablespoon. Essential for flavor penetration.
For the Dredge:
- All-Purpose Flour: 2 cups (250 g). The base of the crust. I recommend King Arthur Flour for its consistent protein content.
- Cornstarch: ½ cup (60 g). This is the secret weapon for extra crispiness. It prevents the flour from getting heavy and doughy.
- Smoked Paprika: 2 teaspoons. Gives that authentic Southern smokiness without actual smoking.
- Cayenne Pepper: 1 teaspoon. Adjust based on your heat tolerance. Start with half a teaspoon if you’re sensitive to spice.
- Black Pepper: 1 teaspoon. Freshly cracked is best.
- Garlic Powder: 1 tablespoon. Extra punch in the crust.
- Onion Powder: 1 tablespoon. For depth.
- White Pepper: ½ teaspoon. Adds an earthy heat that black pepper doesn’t provide.
- Salt: 1 tablespoon. Season the flour well, or your crust will taste bland.
For Frying:
- Vegetable Oil or Peanut Oil: 4-6 cups (960-1440 ml). Peanut oil has a higher smoke point and adds a nutty flavor, which I prefer. Vegetable oil is a budget-friendly alternative that works just as well.
Equipment Needed
You don’t need a fancy setup, but having the right tools makes the process smoother and safer. A heavy-bottomed Dutch oven is ideal because it retains heat evenly, preventing hot spots that can burn the chicken. If you don’t have one, a cast-iron skillet works wonders too. For frying, use a candy or deep-fry thermometer. Guessing the oil temperature is a recipe for disaster—literally. You want it steady at 350°F (175°C). A wire rack set over a baking sheet is essential for cooling the chicken after frying. This allows air to circulate so the bottom doesn’t get soggy from steam. Avoid paper towels, as they trap moisture. For meal prep, invest in airtight glass containers. They don’t retain odors like plastic and are microwave-safe for reheating.
Preparation Method
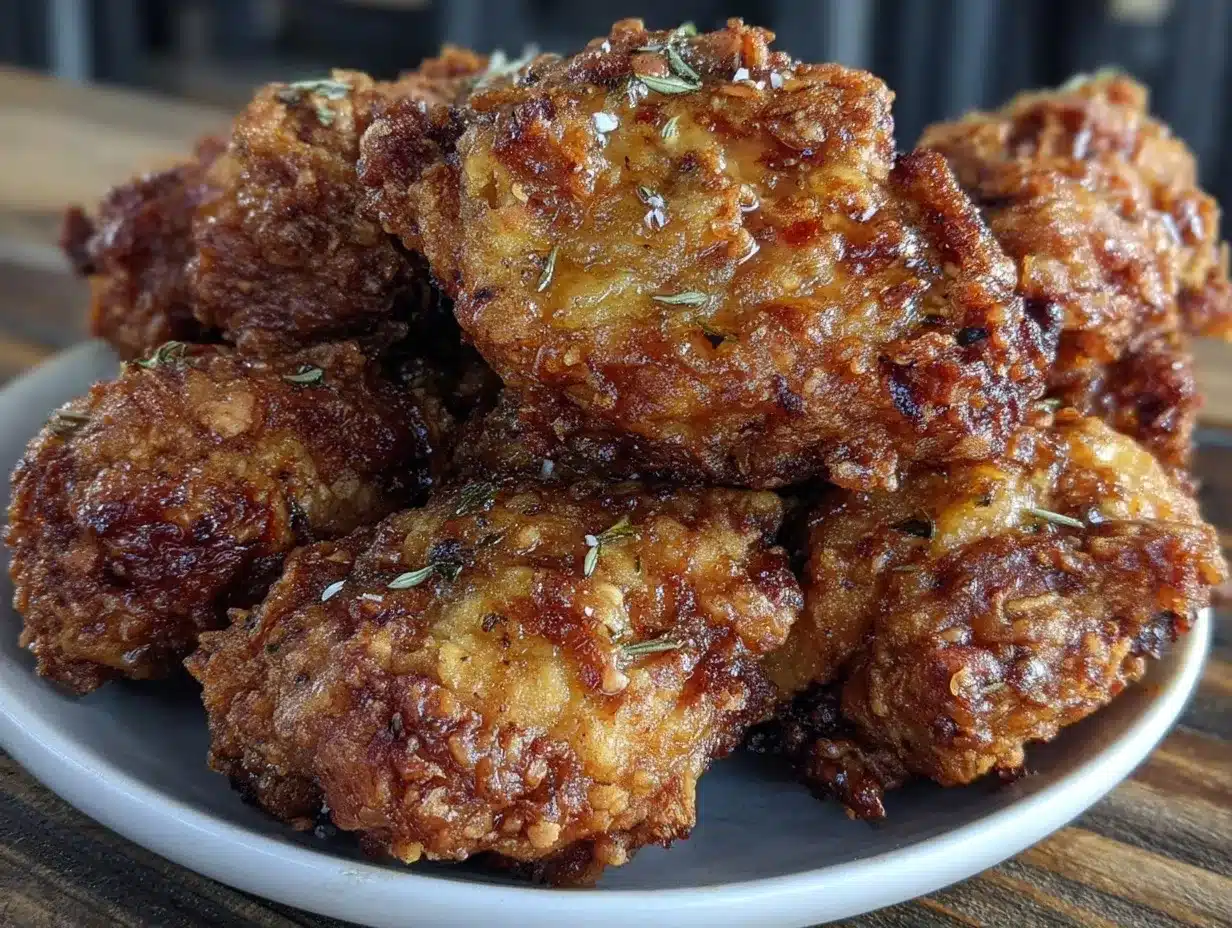
Getting this Southern Fried Chicken – Meal Prep Ready requires patience, but the steps are straightforward. Follow these carefully to ensure the best results.
- Prepare the Brine (Time: 10 minutes): In a large bowl, whisk together the buttermilk, hot sauce, beaten eggs, garlic powder, onion powder, thyme, and salt. Add the chicken pieces (breasts, thighs, drumsticks, and wings) to the bowl. Make sure every piece is fully submerged. Cover the bowl with plastic wrap and refrigerate for at least 4 hours, but overnight is best. This step tenderizes the meat and infuses it with flavor.
- Set Up the Dredging Station (Time: 15 minutes): In a separate large bowl, whisk together the flour, cornstarch, smoked paprika, cayenne pepper, black pepper, garlic powder, onion powder, white pepper, and salt. Mix thoroughly to distribute the spices evenly. You want every speck of spice coated in flour.
- Dredge the Chicken (Time: 20 minutes): Remove one piece of chicken from the brine, letting the excess drip off. Press it firmly into the flour mixture, coating all sides. Press down hard to ensure the flour adheres. Shake off any excess. Place the coated chicken on a wire rack. Repeat with all pieces. Let them sit on the rack for 10-15 minutes. This “resting” period allows the coating to hydrate and stick, preventing it from falling off in the oil.
- Heat the Oil (Time: 20 minutes): Pour the oil into your Dutch oven or skillet. Heat over medium-high heat until it reaches 350°F (175°C). Use your thermometer to check. Do not skip this step. If the oil is too cool, the chicken will absorb grease. If it’s too hot, the outside will burn before the inside cooks.
- Fry the Chicken (Time: 25-30 minutes): Carefully lower the chicken pieces into the oil, working in batches to avoid overcrowding. Overcrowding drops the oil temperature. Fry the breasts for 12-15 minutes, thighs and drumsticks for 14-18 minutes, and wings for 8-10 minutes. Flip halfway through to ensure even browning. The internal temperature should reach 165°F (74°C) for breasts and 175°F (80°C) for dark meat. Remove with tongs and place on the wire rack to drain.
- Cool Completely (Time: 1 hour): This is the most critical step for meal prep. Let the chicken cool completely at room temperature on the wire rack. Do not cover it while it’s warm, or steam will soften the crust. Once cool, you can store it.
Cooking Tips & Techniques
I’ve made plenty of mistakes in the kitchen, and some of them involved burnt chicken or grease fires. Here’s how to avoid them. First, never leave hot oil unattended. Second, keep your kitchen ventilated. Fried chicken smells amazing, but the smoke alarm is not your friend. Third, maintain your oil temperature. If it drops below 325°F (163°C), increase the heat. If it goes above 375°F (190°C), reduce it. Consistency is key. Also, don’t rush the cooling process. Putting warm chicken in the fridge creates condensation, which ruins the crunch. Patience pays off. Finally, use a spider strainer to remove chicken from the oil. It drains better than tongs and reduces splatter.
Variations & Adaptations
This recipe is versatile. For a spicier version, add more cayenne or use hot wings instead of thighs. For a milder version, reduce the cayenne to half a teaspoon and add a pinch of sugar to balance the heat. If you’re gluten-free, substitute the all-purpose flour with a 1:1 gluten-free flour blend that includes xanthan gum. For a healthier option, air-fry the chicken at 375°F (190°C) for 20-25 minutes, flipping halfway. It won’t be as crispy as deep-fried, but it’s still delicious. You can also swap the buttermilk brine for a pickle juice brine for a tangier flavor profile. I’ve tried adding crushed cornflakes to the dredge for extra crunch, and it works surprisingly well.
Serving & Storage Suggestions
Serve this Southern Fried Chicken – Meal Prep Ready with classic sides like mac and cheese, collard greens, or cornbread. For a lighter option, pair it with a fresh garden salad. Store the cooled chicken in airtight glass containers in the refrigerator for up to 4 days. For longer storage, freeze the chicken for up to 3 months. To reheat, use an air fryer at 375°F (190°C) for 5-7 minutes or a conventional oven at 350°F (175°C) for 10-12 minutes. This restores the crispiness. Avoid the microwave, as it will make the crust soggy. The flavors actually improve after a day in the fridge, making it perfect for lunch.
Nutritional Information & Benefits
This recipe provides a high-protein meal option. Each serving (one breast) contains approximately 350 calories, with 30g of protein and 20g of fat, depending on the oil absorbed. The buttermilk adds calcium and probiotics, which support gut health. The spices offer antioxidants and anti-inflammatory benefits. For those watching their carb intake, the chicken can be served without breading or with a light dusting of almond flour. It’s a great source of lean protein when you choose breasts, though dark meat offers more flavor and iron. Always consider portion sizes and balance your meal with vegetables.
Conclusion
There’s nothing quite like the satisfaction of pulling a container of golden, crispy Southern Fried Chicken out of the fridge on a busy Wednesday night. It’s comfort food, simplified. This recipe has transformed my meal prep routine, saving me time and keeping me fueled with delicious, home-cooked food. I encourage you to try it and see how it holds up over the days. Feel free to adjust the spice level to your liking. Let me know in the comments how you enjoyed your meal prep chicken! Happy cooking!
FAQs
Can I freeze Southern Fried Chicken for meal prep?
Yes, absolutely. Let the chicken cool completely, then wrap each piece tightly in plastic wrap and place it in a freezer-safe bag. It will keep for up to 3 months. Thaw in the fridge overnight before reheating.
How do I reheat fried chicken without losing the crunch?
Avoid the microwave. Use an air fryer or a conventional oven. Preheat to 350°F (175°C) and heat for 10-12 minutes. The air circulation will crisp up the crust without drying out the meat.
Can I use chicken thighs instead of breasts?
Yes, thighs are actually preferred by many for their juiciness. Adjust cooking time slightly, as thighs may take a few minutes longer to cook through. Ensure the internal temperature reaches 175°F (80°C).
Is there a way to make this recipe less greasy?
Drain the chicken on a wire rack, not paper towels. This allows excess oil to drip away. Also, ensure your oil temperature is correct. If it’s too cool, the chicken absorbs more oil. Maintain 350°F (175°C) for optimal results.
How long does the fried chicken last in the fridge?
Properly stored in an airtight container, it lasts up to 4 days. However, for the best texture, consume within the first 3 days. The crunch may diminish slightly by day four, but the flavor remains excellent.
Pin This Recipe!
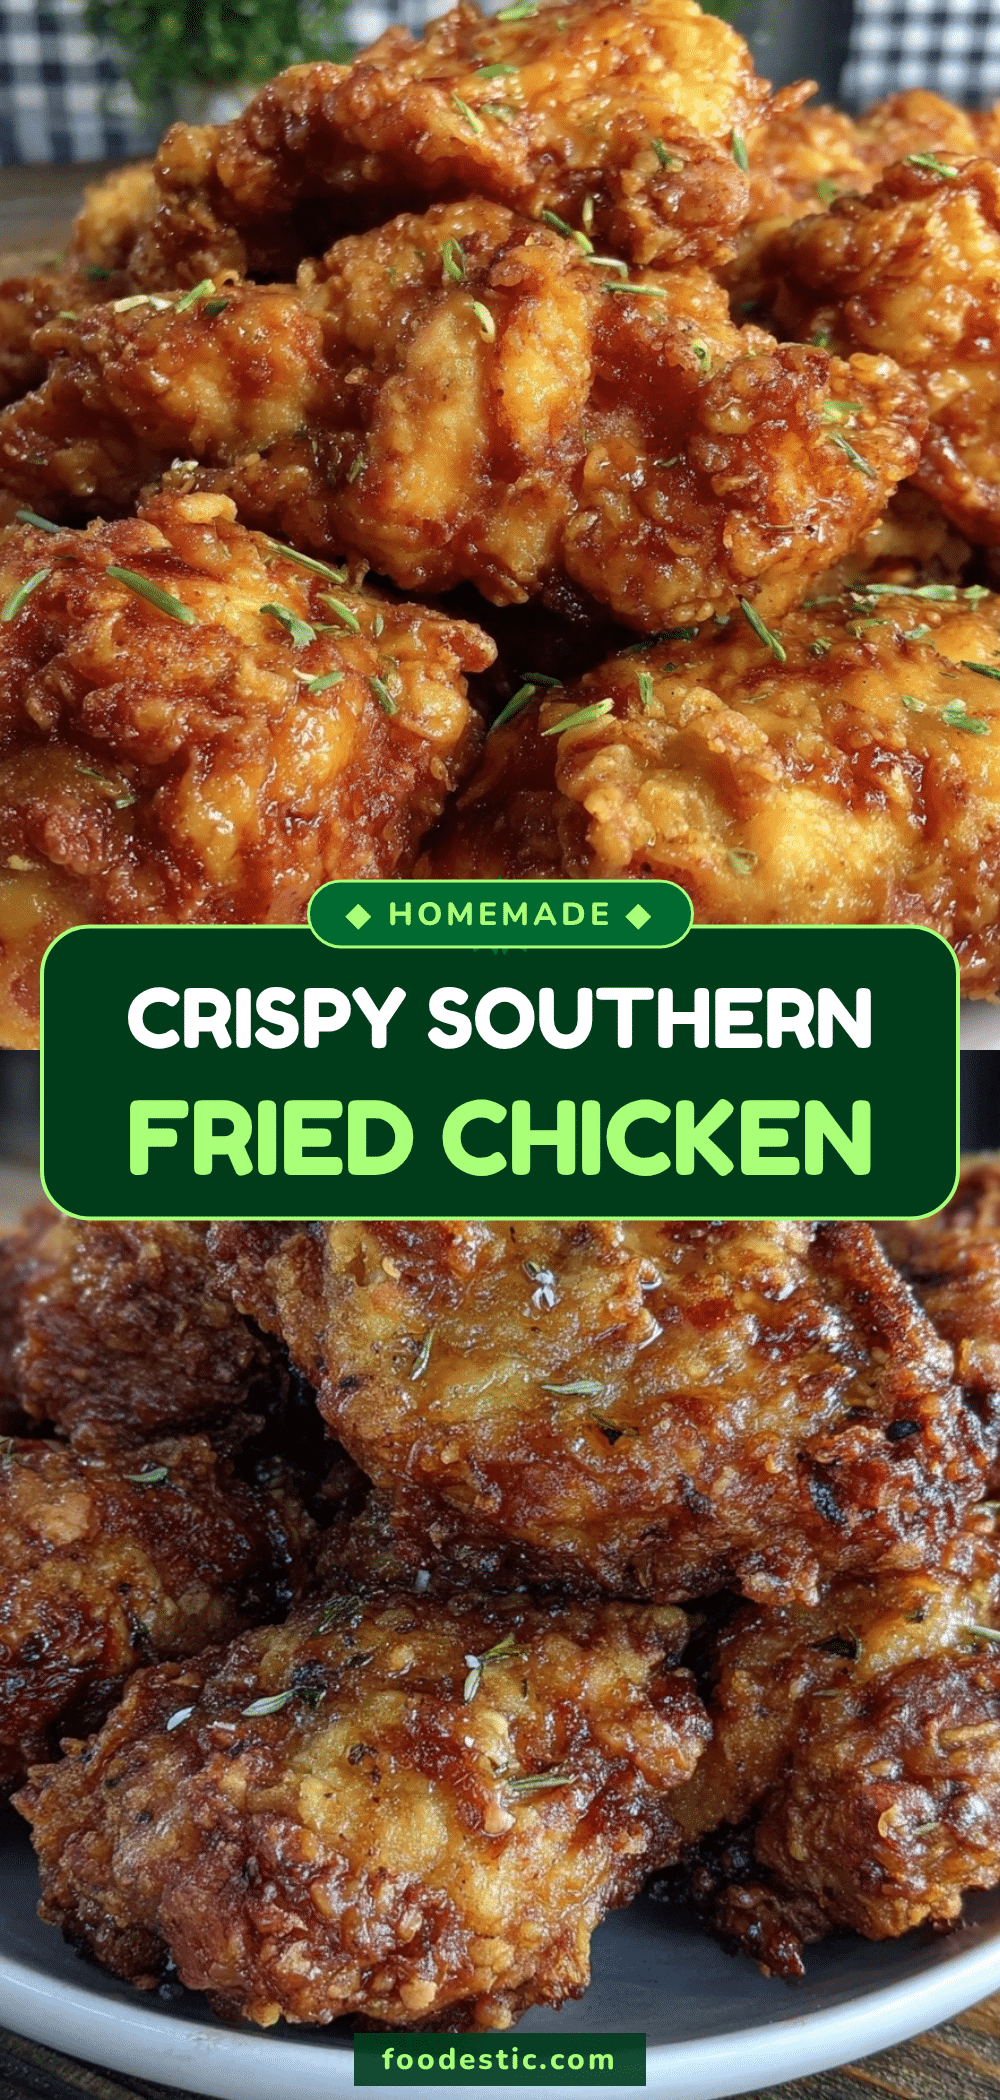

Southern Fried Chicken: Meal Prep Friendly
- Total Time: 1 hour 15 minutes
- Yield: 4 servings 1x
Description
A crispy, juicy Southern fried chicken recipe designed for meal prep that maintains its crunch and flavor for up to four days in the fridge.
Ingredients
- 2 cups buttermilk
- 2 tablespoons hot sauce
- 2 large eggs, beaten
- 1 tablespoon garlic powder
- 1 tablespoon onion powder
- 1 teaspoon dried thyme
- 1 tablespoon salt
- 2 cups all-purpose flour
- ½ cup cornstarch
- 2 teaspoons smoked paprika
- 1 teaspoon cayenne pepper
- 1 teaspoon black pepper
- ½ teaspoon white pepper
- 4–6 cups vegetable oil or peanut oil
Instructions
- Whisk together buttermilk, hot sauce, eggs, garlic powder, onion powder, thyme, and salt in a large bowl. Submerge chicken pieces and refrigerate for at least 4 hours or overnight.
- In a separate bowl, whisk together flour, cornstarch, smoked paprika, cayenne pepper, black pepper, garlic powder, onion powder, white pepper, and salt.
- Remove chicken from brine, let excess drip off, and press firmly into the flour mixture to coat all sides. Place on a wire rack and let rest for 10-15 minutes.
- Heat oil in a Dutch oven or skillet to 350°F (175°C).
- Fry chicken in batches: breasts for 12-15 minutes, thighs/drumsticks for 14-18 minutes, and wings for 8-10 minutes, flipping halfway. Ensure internal temperature reaches 165°F for breasts and 175°F for dark meat.
- Place fried chicken on a wire rack to cool completely before storing to preserve crust crispiness.
Notes
Cool chicken completely on a wire rack before refrigerating to prevent steam from making the crust soggy. Avoid using paper towels for draining as they trap moisture. For reheating, use an air fryer or oven to restore crispiness; avoid the microwave.
- Prep Time: 45 minutes
- Cook Time: 30 minutes
- Category: Main Course
- Cuisine: Southern
Nutrition
- Serving Size: 1 chicken breast
- Calories: 350
- Sugar: 1
- Sodium: 800
- Fat: 20
- Saturated Fat: 5
- Carbohydrates: 15
- Fiber: 1
- Protein: 30
Keywords: Southern Fried Chicken, Meal Prep, Fried Chicken Recipe, Crispy Chicken, Meal Prep Friendly, Comfort Food


