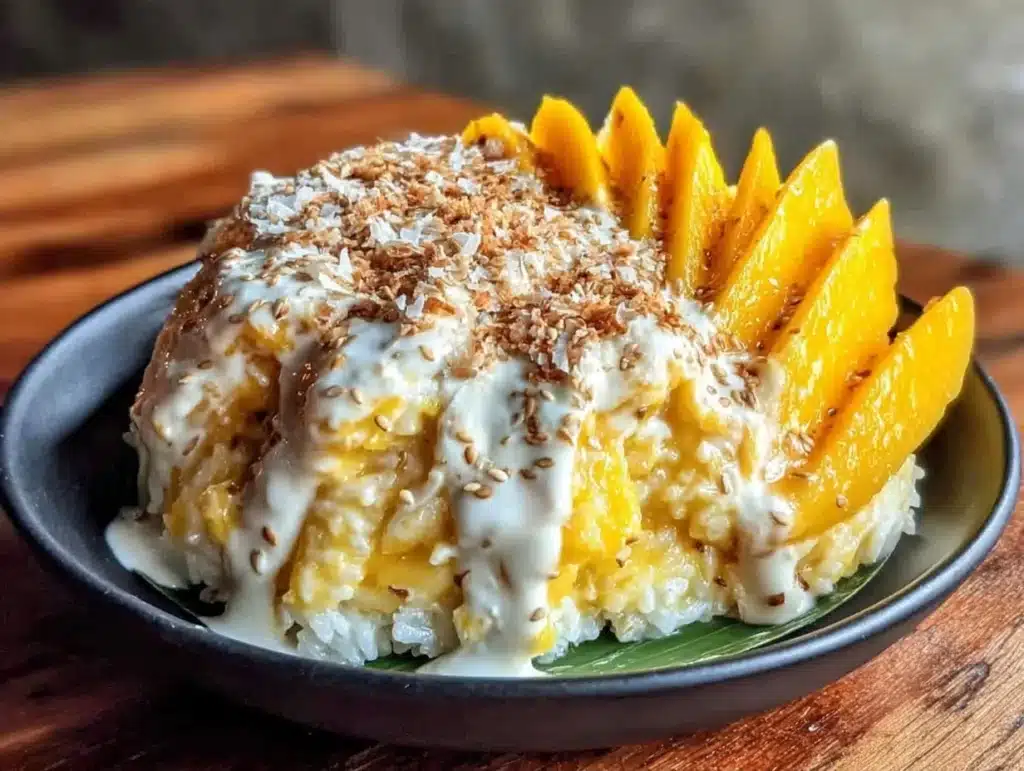
Let’s be honest for a second. Most people think of mango sticky rice as a dessert you eat immediately. You know the type—it’s that fleeting moment where the rice is still warm, the coconut sauce is pooling in the bowl, and the mango is dripping with juice. It’s beautiful, sure. But if you’re trying to meal prep for the week, that “eat it now or lose it” vibe is a nightmare.
I spent three years trying to force this dish into my Sunday meal prep routine. I tried refrigerating the rice. I tried packing the sauce separately. I even tried using instant rice, which was a tragic mistake that tasted like cardboard and sadness. I almost gave up entirely. I thought, “Maybe this is just one of those things you can’t batch cook.”
But then, I had a breakthrough. It wasn’t about fighting the texture; it was about respecting the starch. After testing this over a dozen times, I realized that if you treat the sticky rice like a savory grain bowl base rather than a sweet side dish, everything changes. You can make one big batch on Sunday, and you’ll have five distinct, satisfying lunches ready to go.
This isn’t just about convenience. It’s about having that creamy, tropical comfort ready when you’re too tired to cook but too hungry for a sad sandwich. As someone who has spent years balancing a busy schedule with a love for global flavors, I’ve found that this Traditional Mango Sticky Rice – Make Ahead version is the holy grail of lunchbox content. It’s portable, it’s healthy-ish, and it actually tastes better on day two because the flavors have had time to mingle.
So, if you’ve ever stared at a recipe for mango sticky rice and thought, “Yeah, I can’t prep that,” keep reading. I’m going to show you how to turn this traditional Thai dessert into your new favorite weekly lunch staple.
Why You’ll Love This Make-Ahead Version
There is a huge difference between a recipe that says “easy” and one that actually fits into a real human’s life. This recipe bridges that gap. I’ve tested this method specifically for meal prepping, so you aren’t just getting a dessert recipe; you’re getting a lunch system. Here is why this version stands out from the crowd:
- Zero Morning Stress: Let’s face it, mornings are chaotic. With this method, your lunch is already assembled. You just grab the container and go. No cooking, no heating, no mess. It’s perfect for those days when you’re running late but refuse to eat a granola bar for lunch.
- Texture That Survives the Fridge: Many people fear that glutinous rice gets hard or gummy when chilled. It doesn’t, if you do it right. By using the proper soaking and steaming technique, the rice stays tender and chewy even after four days in the fridge. It’s a texture miracle, honestly.
- Flavor Development: This is the secret weapon. When you make this ahead, the coconut milk has time to fully penetrate the rice grains. By day three, the flavor is deeper and more cohesive than it was on day one. It’s not just good; it’s actually better.
- Versatile Lunch Base: While it’s traditionally a dessert, treating it as a lunch component opens up so many possibilities. You can add grilled chicken, shrimp, or even just enjoy it as a vegan protein-packed meal with the coconut cream. It’s a crowd-pleaser that works for sweet tooth cravings or savory lunch needs.
- One Cook, Five Lunches: This is the main hook. You spend about an hour on Sunday, and you’re set for the week. It’s efficient, it’s economical, and it stops the daily “what’s for lunch?” panic. It’s comfort food reimagined for the busy professional.
I remember the first time I packed this for work. My coworkers were confused at first. “Is that… dessert for lunch?” they asked. I handed them a spoon, and within five minutes, the whole breakroom was asking for the recipe. It’s the kind of dish that makes people close their eyes after the first bite. It’s nostalgic, it’s creamy, and it’s surprisingly filling.
What Ingredients You Will Need
This recipe relies on a few key components that work together to create that signature sticky texture and rich flavor. The beauty of this dish is that the ingredient list is short, but the quality of each item matters immensely. You don’t need fancy gadgets or hard-to-find specialty stores if you know what to look for.
- Glutinous Rice (Sticky Rice): This is non-negotiable. Do not use regular short-grain rice or sushi rice. You need Thai sweet sticky rice, often sold in bags labeled “Glutinous Rice” or “Sticky Rice.” It has a high amylopectin content, which gives it that chewy, pull-apart texture. Look for the white, opaque grains. If you can find organic, that’s even better, as it often has a more distinct nutty aroma.
- Coconut Milk: You need full-fat, canned coconut milk for the sauce. The kind in the carton is too watery and won’t give you that luxurious creaminess. Shake the can well before opening. I prefer brands like Aroy-D or Chaokoh because they have a consistent separation that makes it easy to scoop out the thick cream for the sauce.
- Ripe Mangoes: This is where seasonality matters. You want mangoes that are yellow, fragrant, and slightly soft to the touch. Nam Dok Mai or Ataulfo mangoes are the gold standard for this dish because they are less fibrous and sweeter. If you’re meal prepping, buy a mix of slightly firm and slightly ripe mangoes. The firmer ones will hold up better for later in the week.
- Sugar: White granulated sugar is traditional and dissolves quickly into the hot coconut cream. Some people use palm sugar for a deeper caramel note, but for a clean, bright lunch flavor, white sugar works best. It doesn’t overpower the delicate mango taste.
- Salt: A tiny pinch of salt is crucial. It balances the sweetness of the sugar and the richness of the coconut. Don’t skip it. It’s the secret ingredient that makes the dessert taste “complete” rather than just sweet.
- Toast (Optional but Recommended): Roasted mung beans or crushed peanuts add a nice crunch. If you want to keep it simple, you can skip this, but I highly recommend adding it for texture contrast in your lunch containers.
I always keep a bag of glutinous rice in my pantry because it lasts for months. The coconut milk and sugar are pantry staples too. The only fresh item is the mango, which you’ll buy weekly. This keeps your grocery bill low and your lunch routine high-quality.
Do I need specific rice washing techniques?
Yes, but it’s simple. You need to wash the rice until the water runs almost clear. This removes excess surface starch that can make the rice gummy instead of chewy. It’s a quick step that makes a huge difference in the final texture.
Equipment Needed
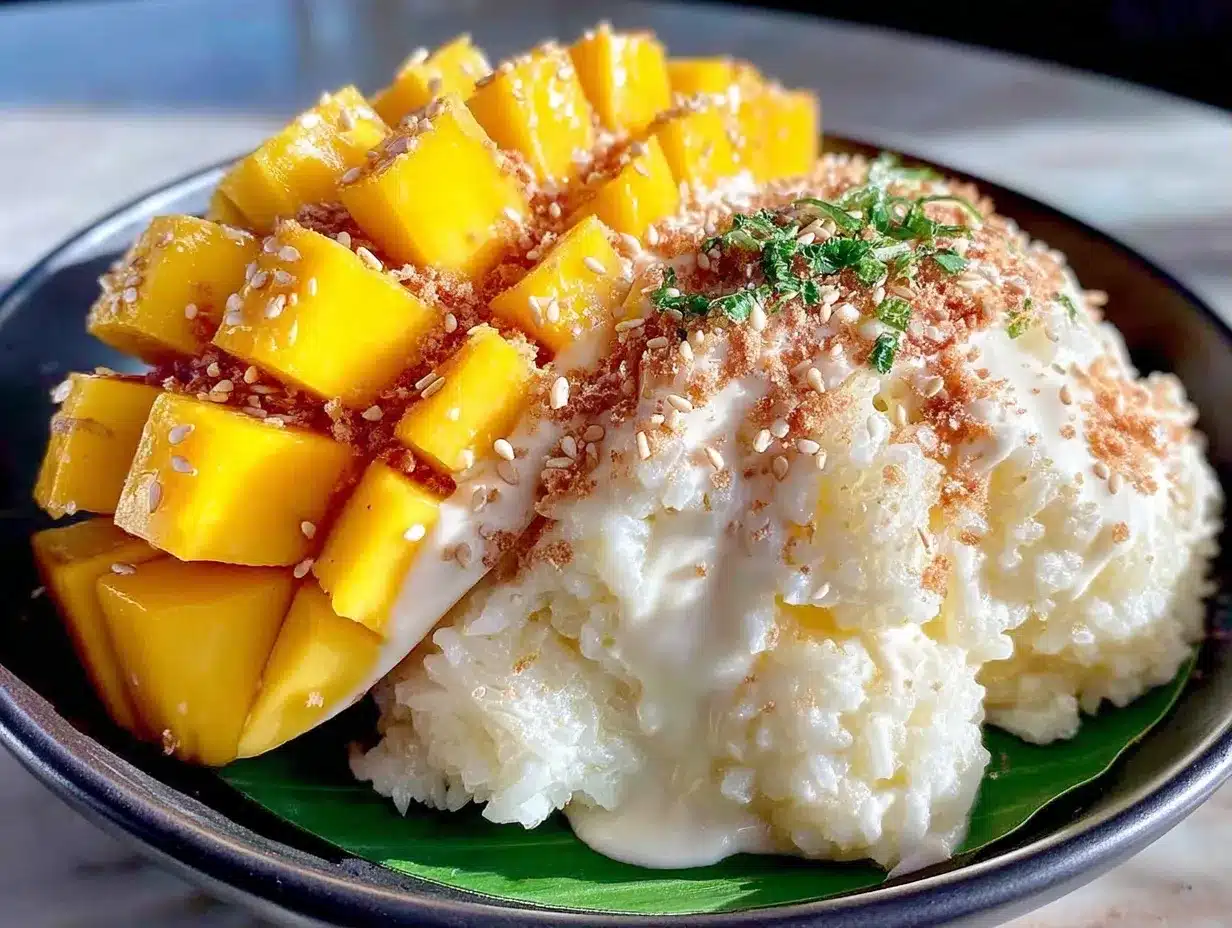
You don’t need a lot of fancy gear to make this, but having the right tools makes the process much smoother. Since we are making a large batch for meal prep, efficiency is key.
- Steamer Basket or Insert: This is the most important tool. Steaming is the traditional and best way to cook glutinous rice. It keeps the grains separate and prevents them from becoming mushy. A bamboo steamer is traditional and works beautifully, but a metal steamer insert that fits your largest pot works just as well. Avoid boiling the rice in water, as it absorbs too much liquid and becomes soggy.
- Large Bowl for Soaking: You need a bowl big enough to hold the rice and enough water to cover it by several inches. The rice needs to soak for at least 4 hours, preferably overnight. This ensures even cooking.
- Small Saucepan: You’ll use this to heat the coconut milk, sugar, and salt for the sauce. A small, heavy-bottomed pan helps prevent the coconut milk from scorching.
- Meal Prep Containers: I recommend using glass containers with tight-fitting lids. Glass doesn’t absorb odors or stains from the coconut milk, and it keeps the rice fresh longer. Plastic works, but glass is just better for food safety and longevity.
- Rice Paddle or Spatula: A non-stick spatula is great for fluffing the rice after steaming. It helps release steam and prevents clumping.
If you don’t have a steamer, you can use a colander over a pot of boiling water, but make sure the colander is heat-safe. I’ve tried this, and it works, but a dedicated steamer is easier to manage. Keep your equipment clean and dry, especially the steamer, to prevent any off-flavors from previous meals.
Preparation Method
Let’s walk through the process step-by-step. This method is designed for batching, so we’re making enough for five lunches. Don’t worry, it’s not complicated. It’s mostly waiting and soaking.
Step 1: Soak the Rice (20 minutes prep + 4+ hours wait)
Measure out 2 cups of glutinous rice. Place it in your large bowl and cover with cold water by at least two inches. The rice will expand, so give it plenty of room. Let it soak for at least 4 hours, or overnight if you’re planning ahead. This is the most critical step. If you skip it, the rice will be hard in the middle. After soaking, drain the rice thoroughly in a fine-mesh strainer. You want it damp, not dripping wet.
Step 2: Steam the Rice (30-40 minutes)
Line your steamer basket with cheesecloth or a damp tea towel. This prevents the small grains from falling through. Place the drained rice in the steamer and spread it out evenly. Place the steamer over a pot of boiling water. Make sure the water level is below the steamer basket. Cover with a lid and steam for 30-40 minutes. Check the rice halfway through. If it looks dry, you can sprinkle a tablespoon of water over it, but be careful not to add too much. The rice is done when the grains are translucent and tender. You can test this by pressing a grain between your fingers; it should mash easily.
Step 3: Rest the Rice (10 minutes)
Once steamed, remove the steamer from the heat. Transfer the rice to a large bowl. Let it rest, uncovered, for 10 minutes. This allows the excess steam to escape and the rice to firm up slightly. Fluff it gently with a paddle. This step is crucial for meal prep because it prevents the rice from becoming a solid block in your containers.
Step 4: Make the Coconut Sauce (10 minutes)
While the rice is steaming, make the sauce. In a small saucepan, combine 1 can of full-fat coconut milk (about 400ml), 1/4 cup of sugar, and a pinch of salt. Heat over medium-low heat, stirring constantly. Do not let it boil vigorously, or the coconut milk might separate. Heat until the sugar is dissolved and the mixture is warm and fragrant. Remove from heat and set aside. If you want a thicker sauce, let it cool slightly; it will thicken as it cools.
Step 5: Assemble for Meal Prep (15 minutes)
Now for the fun part. Divide the warm rice into five containers. Drizzle about 1/4 cup of the coconut sauce over each portion. Gently fold the sauce into the rice so it’s evenly distributed. You don’t want it swimming in sauce, just coated. Let the rice cool to room temperature before sealing the containers. This prevents condensation, which can make the rice soggy.
Step 6: Store the Mangoes
Peel and slice your mangoes. If you’re using very ripe mangoes, slice them just before packing to prevent browning. If they are slightly firmer, you can slice them ahead of time and store them in a separate airtight container. Place the mango slices on top of the rice in each container. If you prefer, you can mix the mango in, but keeping it on top looks nicer and keeps the texture distinct.
Step 7: Chill and Enjoy
Seal the containers and place them in the refrigerator. They will keep for up to 5 days. When you’re ready to eat, you can enjoy them cold straight from the fridge, or microwave them for 1-2 minutes if you prefer warm rice. The cold rice is actually my favorite way to eat it—it’s like a rice pudding texture.
Cooking Tips & Techniques
After making this dish dozens of times, I’ve learned a few tricks that save the day. Here are my professional tips for getting the perfect result every time.
Don’t Rush the Soak: I know it’s tempting to skip the soak to save time, but it’s not worth it. If the rice isn’t soaked, it will take much longer to steam, and the texture will be uneven. Soaking is non-negotiable for good sticky rice.
Watch the Heat on the Sauce: Coconut milk is delicate. If you boil it too hard, the oils can separate, and you’ll end up with a grainy sauce. Keep the heat low and steady. Stir frequently. If it looks too thin, you can simmer it a bit longer, but usually, it thickens as it cools.
Fluff, Don’t Mash: When you’re mixing the sauce into the rice, use a gentle folding motion. You want to coat the grains, not crush them. Crushing the rice releases too much starch and makes the texture pasty. Keep it light and airy.
Cool Before Sealing: This is the biggest mistake people make. If you seal hot rice, condensation builds up. That moisture makes the rice slimy. Always let the rice cool to room temperature before putting the lid on. This simple step ensures your lunches stay fresh for days.
Adjust Sweetness to Taste: Every mango is different. Some are very sweet, others are tart. Taste your coconut sauce before adding it to the rice. If your mangoes are super sweet, you might want to reduce the sugar in the sauce slightly. It’s better to have a balanced sauce that complements the fruit.
Variations & Adaptations
While the traditional version is classic, there are plenty of ways to tweak this recipe to suit your preferences or dietary needs. Here are a few ideas I’ve tried:
- Vegan Option: This recipe is naturally vegan if you use sugar that is certified vegan (some white sugars are processed with bone char). You can also use agave nectar or maple syrup instead of sugar for a different flavor profile.
- Gluten-Free: Glutinous rice is naturally gluten-free, so this recipe is safe for celiacs. Just double-check your coconut milk and sugar labels to ensure they are processed in a gluten-free facility.
- Savory Twist: For a lunch variation, skip the sugar in the coconut sauce. Add a pinch of curry powder or lemongrass to the sauce. Top with grilled chicken or shrimp. It becomes a rich, savory coconut rice bowl. I actually prefer this version for lunch because it feels more substantial.
- Fruit Swaps: If mangoes are out of season or too expensive, try using sliced strawberries, blueberries, or even roasted peaches. The coconut sauce pairs well with almost any sweet fruit.
- Crunch Factor: Add toasted sesame seeds, crushed pistachios, or even a drizzle of chocolate sauce for a dessert-like treat. For lunch, I stick to the mung beans for protein and crunch.
I once tried making this with brown rice, and it was a disaster. The texture was too nutty and hard. Stick to the glutinous rice for the authentic experience. If you want a healthier grain, try mixing in some cooked quinoa, but know that the texture will change completely.
Serving & Storage Suggestions
When it’s time to eat, presentation matters. I like to serve this in small, elegant bowls if I’m entertaining, but for meal prep, the containers are perfect. You can eat it straight from the container with a spoon.
Serving Temperature: I recommend eating it cold or at room temperature. The cold coconut sauce is thick and creamy, almost like ice cream. If you prefer warm rice, microwave it for 60 seconds. Don’t overheat it, or the rice will become tough.
Complementary Dishes: If you’re making the savory version, serve it with a side of fresh cucumber slices or a light green salad. The cool, crisp vegetables balance the richness of the coconut. For the sweet version, it’s a complete meal on its own, but a cup of green tea is a lovely pairing.
Storage: Store in the refrigerator for up to 5 days. The rice will firm up in the fridge, but it will soften again if you let it sit out for 10 minutes. Do not freeze this dish. The texture of the rice changes drastically after freezing, becoming grainy and unpleasant. It’s best enjoyed fresh from the fridge.
Reheating: If you must reheat, do so gently. Use the microwave on low power in 30-second intervals. You can add a teaspoon of water to help steam it slightly. Avoid the oven, as it will dry out the rice.
Flavor Development: As mentioned, the flavor improves over time. Day 1 is good, but Day 3 is often the best. The coconut milk fully absorbs into the rice, creating a uniform, creamy flavor throughout. It’s a nice surprise when you open your lunch container on Wednesday.
Nutritional Information & Benefits
This dish is indulgent, but it also has some nutritional benefits. Here is an estimated breakdown per serving (assuming 5 servings from the batch):
- Calories: Approximately 450-500 calories per container.
- Carbohydrates: High in carbs from the rice and fruit, providing quick energy. This makes it great for active days or pre-workout meals.
- Fat: The coconut milk provides healthy saturated fats, which can be satiating. However, if you are watching your fat intake, you can use light coconut milk, though the flavor will be less rich.
- Fiber: Mangoes are a good source of fiber and Vitamin C. The rice provides some fiber, especially if you use whole grain variations (though texture changes).
- Dietary Notes: This recipe is naturally gluten-free and can be vegan. It is not low-carb or keto-friendly due to the high sugar and rice content. It’s best enjoyed as an occasional treat or balanced with protein-rich lunches.
I view this as a “comfort carb” meal. It’s not something I eat every single day, but having it as part of my weekly rotation keeps my diet interesting and prevents burnout. It’s a reminder that healthy eating doesn’t have to be boring.
Conclusion
Making Traditional Mango Sticky Rice – Make Ahead is a game-changer for anyone who loves Asian flavors but hates the hassle of daily cooking. It’s simple, it’s delicious, and it fits seamlessly into a busy lifestyle. By batching this one dish, you secure five lunches that are better than takeout and way more satisfying than a salad.
I encourage you to try this recipe. Start with the traditional version, and then experiment with the savory twists or fruit swaps. Find what works best for your taste buds. And don’t be afraid to share it with friends or coworkers. It’s a conversation starter and a taste of Thailand in a container.
Give it a try this Sunday. Set a timer, soak the rice, and let the aroma of coconut fill your kitchen. You’ll be glad you did. And if you make it, let me know how you like it! Leave a comment below with your favorite variation. Did you add extra mango? Try a savory twist? I’d love to hear about your creation.
Here’s to easy, delicious, make-ahead lunches. You’ve got this!
Frequently Asked Questions
Can I use a rice cooker to cook the sticky rice?
Yes, you can use the “cook” setting on a rice cooker, but the texture might be slightly softer than steamed rice. Steaming is preferred for that distinct chewy texture, but a rice cooker is a convenient alternative if you’re short on time.
Why is my sticky rice hard after refrigerating?
If the rice is hard, it likely wasn’t soaked long enough or wasn’t steamed thoroughly. Make sure to soak for at least 4 hours. To soften it, microwave it with a damp paper towel over it for 1-2 minutes. The steam will rehydrate the grains.
Can I freeze the coconut sauce?
Yes, the coconut sauce freezes well. Store it in an airtight container or ice cube trays. When you’re ready to use it, thaw it in the refrigerator and warm it gently on the stove. It may separate slightly, but stirring it will bring it back together.
What is the best type of mango to use?
Nam Dok Mai and Ataulfo (Haden) mangoes are the best choices. They are sweet, aromatic, and have less fiber than other varieties. Avoid large, fibrous mangoes like Tommy Atkins, as they can be stringy and less flavorful.
How long does the meal prep last in the fridge?
The assembled containers will last for up to 5 days in the refrigerator. However, for the best texture and flavor, I recommend consuming them within 3 days. The mango may start to brown slightly after day 3, so plan your eating schedule accordingly.
Pin This Recipe!
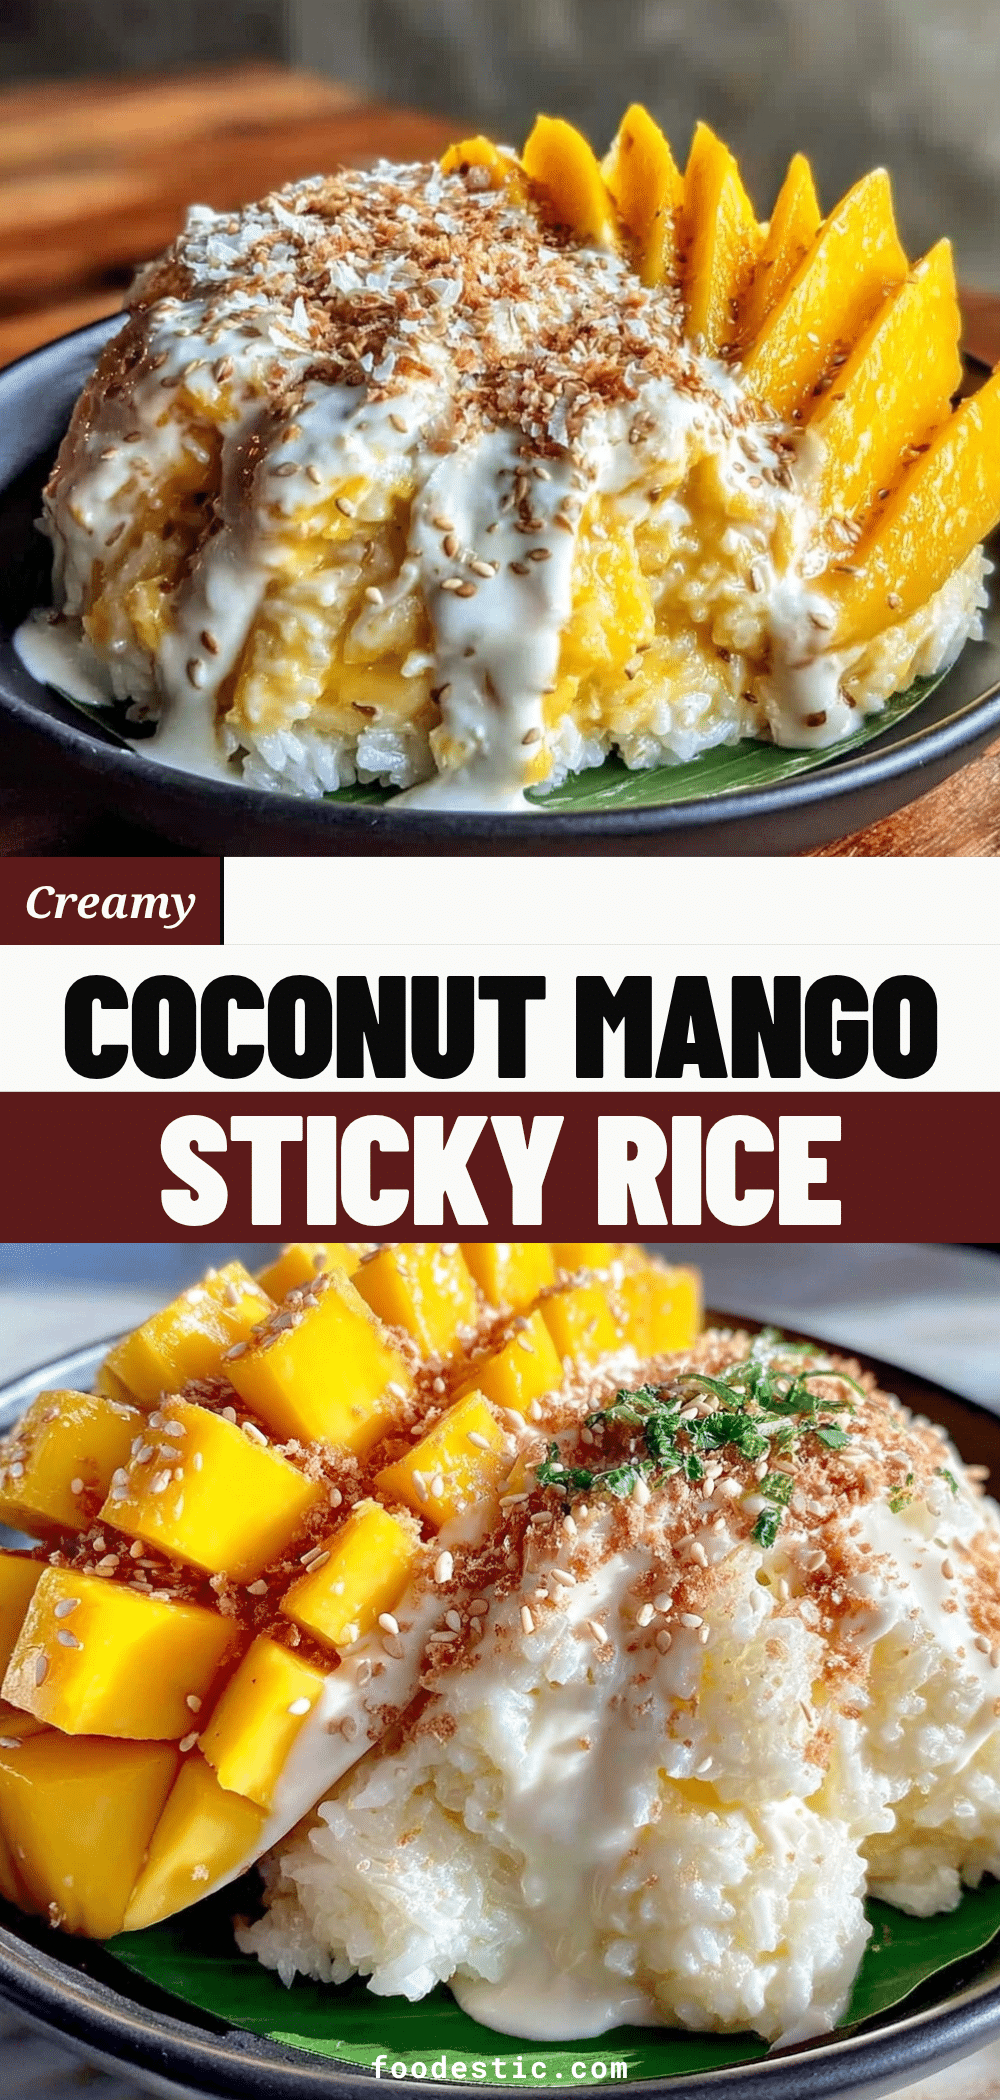
Traditional Mango Sticky Rice: 5 Easy Make-Ahead Lunches
- Total Time: 4 hours 50 minutes
- Yield: 5 servings 1x
Description
Transform traditional Thai mango sticky rice into a convenient, make-ahead meal prep staple. This recipe yields five distinct lunches that stay tender and flavorful in the fridge, offering a creamy, tropical comfort food option for busy weeks.
Ingredients
- 2 cups glutinous rice (sticky rice)
- 1 can (400ml) full-fat canned coconut milk
- 1/4 cup white granulated sugar
- 1 pinch salt
- Ripe mangoes (Nam Dok Mai or Ataulfo varieties preferred)
- Roasted mung beans or crushed peanuts (optional, for garnish)
Instructions
- Soak the glutinous rice in a large bowl covered with cold water for at least 4 hours or overnight. Drain thoroughly in a fine-mesh strainer.
- Line a steamer basket with cheesecloth or a damp tea towel. Place the drained rice in the steamer and spread it evenly over a pot of boiling water.
- Steam the rice for 30-40 minutes, checking halfway through. If it looks dry, sprinkle a tablespoon of water over it. The rice is done when grains are translucent and tender.
- Remove the steamer from heat and let the rice rest uncovered for 10 minutes to release excess steam. Fluff gently with a paddle.
- While the rice steams, combine the coconut milk, sugar, and salt in a small saucepan. Heat over medium-low heat, stirring constantly until the sugar dissolves. Do not boil vigorously. Remove from heat.
- Divide the warm rice into five meal prep containers. Drizzle about 1/4 cup of the coconut sauce over each portion and gently fold to coat the grains evenly.
- Let the rice cool to room temperature before sealing the containers to prevent condensation.
- Peel and slice the mangoes. Place the slices on top of the rice in each container.
- Seal the containers and refrigerate for up to 5 days. Enjoy cold or microwave for 1-2 minutes if preferred.
Notes
Do not rush the soaking step, as it is crucial for the texture. Ensure the rice cools to room temperature before sealing containers to avoid sogginess. The flavor improves on day 3 as the coconut milk fully penetrates the rice. Do not freeze this dish as the texture will become grainy.
- Prep Time: 20 minutes (plus 4 hours soaking)
- Cook Time: 30-40 minutes
- Category: Lunch
- Cuisine: Thai
Nutrition
- Serving Size: 1 container (approx.
- Calories: 475
- Sugar: 45
- Sodium: 150
- Fat: 18
- Saturated Fat: 14
- Carbohydrates: 75
- Fiber: 3
- Protein: 5
Keywords: mango sticky rice, meal prep, make ahead lunch, thai dessert, sticky rice, coconut milk, healthy lunch, vegan lunch, gluten free lunch, batch cooking


