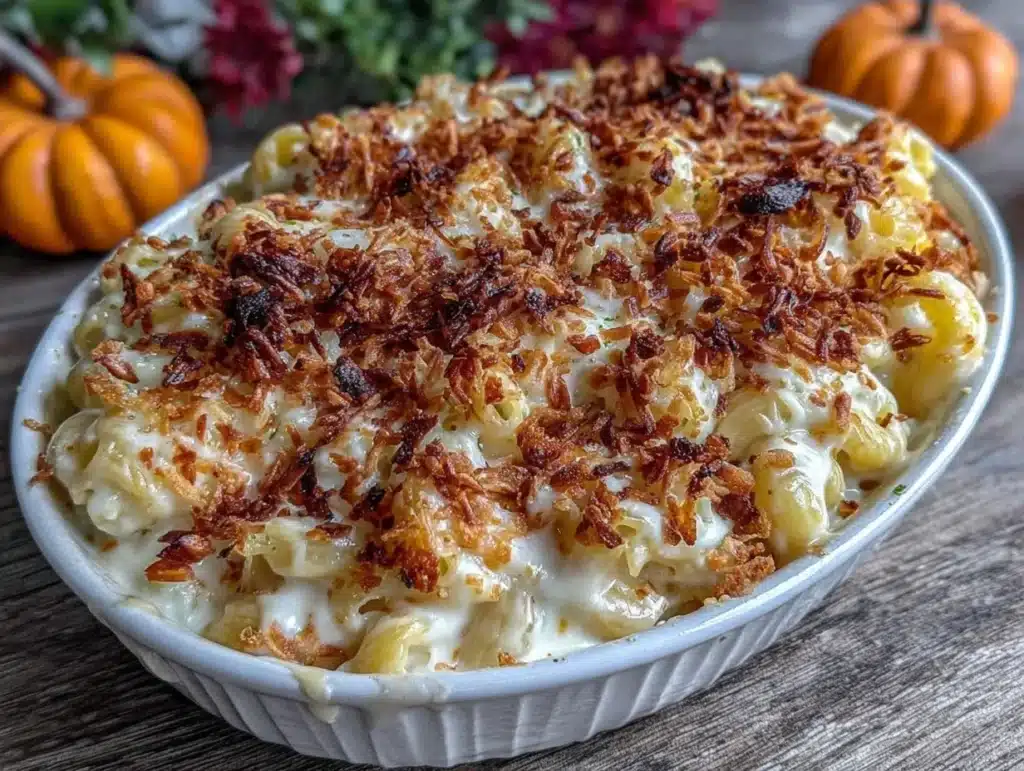
There is a specific kind of magic that happens when roasted garlic turns golden brown and smells like comfort wrapped in a warm hug. I remember the first time I tried this baked garlic mac and cheese during a particularly chaotic Tuesday. I was tired, my lunch box felt empty, and I desperately needed something that tasted like a treat but kept me full until dinner. Honestly, I just threw together whatever cheese was left in the fridge. But this time, I added roasted garlic. The result was pure gold.
That single dish changed how I approach meal prep forever. You know how most lunch prep feels like eating cardboard by Wednesday? This recipe is the opposite. It’s creamy, rich, and actually tastes better on day three than it did fresh out of the oven. The garlic infuses every bite, creating a depth of flavor that simple cheese sauce just can’t match on its own. It’s not just dinner; it’s my secret weapon for surviving busy workweeks.
I’ve tested this Ultimate Baked Garlic Mac And Cheese recipe dozens of times. I’ve tweaked the cheese ratios and roasted the garlic until my kitchen smelled like an Italian restaurant. The key is balancing the sharp cheddar with the sweet, mellow notes of slow-roasted garlic. It’s the kind of dish that makes your coworkers ask for the recipe within five minutes of you opening your lunch container. Let’s face it, we all need a little comfort in our midday meal.
This recipe is perfect for anyone who loves bold flavors but wants to save time during the week. It’s high in protein if you use the right cheeses, and it freezes beautifully. Whether you are a busy parent, a student, or just someone who hates spending their lunch break deciding what to eat, this mac and cheese is your new best friend. It’s reliable, delicious, and incredibly satisfying.
Why You’ll Love This Recipe
After spending years perfecting my lunch box strategy, I can confidently say this baked garlic mac and cheese is in a league of its own. It’s not just about the taste, though that is incredible. It’s about how it fits into your life. This recipe was designed with the busy meal prepper in mind. It delivers on all the promises that matter when you’re standing in front of your fridge on a Sunday night wondering what to make for the week ahead.
- Quick & Easy Prep: While roasting garlic takes time, the actual assembly is straightforward. You can have this in the oven in under 30 minutes of active prep, leaving you more time to relax or tackle other tasks.
- Simple Ingredients: You likely already have most of these items in your pantry. Pasta, butter, flour, milk, and cheese are staples. The roasted garlic adds complexity without requiring a trip to a specialty store.
- Perfect for Meal Prep: This dish holds up remarkably well in the refrigerator. It doesn’t get soggy or dry out. In fact, the flavors meld together beautifully over a few days, making it ideal for batch cooking.
- Crowd-Pleaser: Even people who claim they don’t like mac and cheese usually love this version. The garlic adds a savory punch that elevates it beyond typical comfort food. It’s great for potlucks, family dinners, or just treating yourself.
- Unbelievably Delicious: The texture is creamy without being heavy. The topping adds a nice crunch that contrasts with the soft pasta. It’s the kind of meal that makes you close your eyes and sigh with satisfaction.
What makes this recipe different from the rest is the technique. We aren’t just melting cheese on top of noodles. We are creating a roux-based sauce that is enriched with roasted garlic puree. This ensures the garlic flavor is distributed evenly throughout every bite. It’s not just another version of mac and cheese; it’s the version that actually works for your weekly schedule. It’s comfort food reimagined for the modern, busy lifestyle.
What Ingredients You Will Need
This recipe uses simple, wholesome ingredients to deliver bold flavor and satisfying texture without the fuss. The secret lies in the quality of the cheese and the care taken with the garlic. I recommend using block cheese and grating it yourself. Pre-shredded cheese contains anti-caking agents that can prevent your sauce from becoming perfectly smooth. Trust me on this one; it makes a huge difference in the final mouthfeel.
Here is what you will need to make this Ultimate Baked Garlic Mac And Cheese:
- Elbow Macaroni: 1 pound (450g) of dry pasta. Elbows hold sauce well. You can use cavatappi or shells if you prefer a different shape.
- Unsalted Butter: 4 tablespoons (60g). This forms the base of your roux. Using unsalted allows you to control the sodium level.
- All-Purpose Flour: 4 tablespoons (30g). This thickens the sauce. Make sure it is fresh for the best results.
- Whole Milk: 3 cups (720ml). Whole milk provides the richest creaminess. You can use 2% if you prefer, but whole milk is best for flavor.
- Roasted Garlic Puree: 6-8 cloves worth of garlic. Roasting the garlic removes the sharp bite and brings out a sweet, nutty flavor. I use Garlic Groms for convenience, but fresh is better.
- Sharp Cheddar Cheese: 2 cups (200g) shredded. Sharp cheddar provides a strong flavor profile that stands up to the garlic.
- Gruyère Cheese: 1 cup (100g) shredded. This cheese melts beautifully and adds a sophisticated, nutty taste. It is worth the extra cost.
- Parmesan Cheese: ½ cup (50g) grated. Adds saltiness and umami depth to the sauce.
- Dijon Mustard: 1 teaspoon. This is a secret ingredient that enhances the cheese flavor without making it taste like mustard.
- Garlic Powder: ½ teaspoon. For an extra boost of garlic flavor in the sauce itself.
- Salt and Black Pepper: To taste. Remember that the cheeses are already salty, so taste before adding extra salt.
- Breadcrumbs: ½ cup (50g) panko or regular breadcrumbs. Mixed with a little melted butter for the topping.
- Fresh Parsley: 2 tablespoons chopped. For garnish and a pop of color.
If you are looking for substitutions, you can use gluten-free pasta if needed. Just be careful not to overcook it, as GF pasta can get mushy. For a dairy-free option, you can use plant-based butter and milk, but the cheese substitution is trickier. I recommend using a high-quality vegan cheddar shreds for the best melt. In summer, you might want to add some sun-dried tomatoes for a twist, but this recipe shines in its classic form.
Equipment Needed
You don’t need fancy gadgets to make this, but having the right tools helps. A large pot for boiling pasta is essential. I use a 6-quart stockpot because it gives the pasta room to move. A medium saucepan is needed for the roux and cheese sauce. I prefer stainless steel because it heats evenly and is easy to clean. A 9×13 inch baking dish is standard for this recipe. Glass dishes are great because you can see the browning, but ceramic retains heat well.
A fine-mesh sieve is helpful for straining the roasted garlic if you want a completely smooth puree. A box grater is better than a food processor for shredding cheese, as it creates fluffy shreds that melt faster. For the topping, a small bowl and a fork are all you need to mix the breadcrumbs with butter. If you don’t have panko, regular breadcrumbs work fine, though they won’t be as crunchy. A silicone spatula is useful for scraping the sauce bowl to get every bit of cheese.
How to Prepare the Garlic
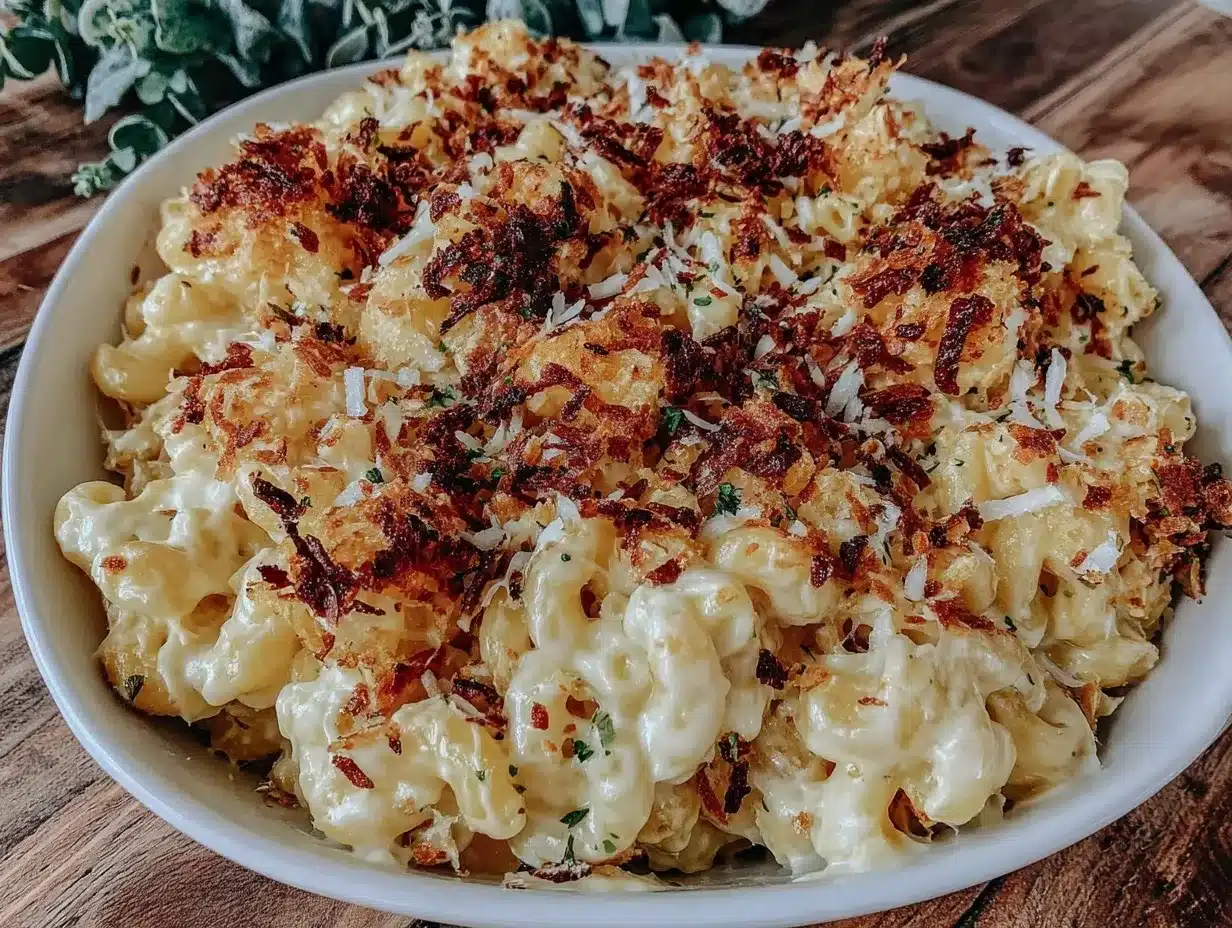
Before you start the pasta, you need to roast the garlic. Preheat your oven to 400°F (200°C). Cut the top off a head of garlic to expose the cloves. Drizzle with olive oil and wrap in foil. Roast for 40-45 minutes until soft and golden. Let it cool, then squeeze the cloves out. This takes effort, but the flavor is unmatched compared to raw garlic. Do not skip this step. The sweetness balances the sharp cheddar perfectly.
Preparation Method
Let’s get into the nitty-gritty of making this Ultimate Baked Garlic Mac And Cheese. I want you to feel confident in the kitchen, so I’ll break this down step-by-step. Don’t rush. Cooking is about patience, especially when dealing with cheese sauces.
- Roast the Garlic: As mentioned, start by roasting your garlic. This should be done first since it takes the longest. Once done, mash the cloves into a smooth paste with a fork. Set aside. You want about 6-8 cloves worth of puree.
- Boil the Pasta: Bring a large pot of salted water to a boil. Add the elbow macaroni and cook according to package directions, but drain it 1-2 minutes before it is fully al dente. It will finish cooking in the oven. Drain and rinse with cool water to stop the cooking process. Toss with a little oil to prevent sticking.
- Make the Roux: In a medium saucepan, melt the butter over medium heat. Once foamy, add the flour. Whisk constantly for about 1-2 minutes. You want a light golden color. Do not let it burn. This cooks out the raw flour taste.
- Add the Milk: Slowly pour in the milk while whisking vigorously. This is crucial to avoid lumps. Add the roasted garlic puree, garlic powder, Dijon mustard, salt, and pepper. Whisk until smooth.
- Thicken the Sauce: Continue to cook the mixture, stirring frequently, until it thickens enough to coat the back of a spoon. This usually takes 5-7 minutes. Do not let it boil vigorously, or it might separate.
- Melt the Cheese: Remove the pan from heat. This is important. If you add cheese to boiling milk, it can become grainy. Stir in the cheddar, Gruyère, and Parmesan cheese gradually. Stir until fully melted and smooth. Taste and adjust seasoning.
- Combine: Add the cooked pasta to the cheese sauce. Stir gently to coat every noodle. You can do this in the pot or transfer to a mixing bowl.
- Prepare the Topping: In a small bowl, mix the breadcrumbs with melted butter. Add a pinch of paprika if you like a little color. Sprinkle evenly over the mac and cheese in your baking dish.
- Bake: Preheat your oven to 375°F (190°C). Place the baking dish on a middle rack. Bake for 20-25 minutes, or until the top is golden brown and bubbly. Let it rest for 5-10 minutes before serving. This helps the sauce set slightly, making it easier to portion for lunch boxes.
Cooking Tips & Techniques
There are a few tricks I’ve learned over the years to ensure your mac and cheese is perfect every time. First, never add cheese to a boiling sauce. It’s the number one mistake people make. Heat causes the proteins in cheese to tighten and squeeze out fat, resulting in a greasy, grainy mess. Always remove the pan from heat before adding cheese. Second, grate your own cheese. Pre-shredded cheese is coated in cellulose to prevent clumping. This coating stops the cheese from melting smoothly. Your sauce will be infinitely creamier if you shred it yourself.
Another tip is to undercook your pasta slightly. Since the mac and cheese will bake in the oven, the pasta will absorb more liquid and continue to cook. If you cook it to al dente in the pot, it might become mushy after baking. Aim for a bite that is still slightly firm. Also, let the baked mac and cheese rest before cutting or serving. This allows the sauce to thicken and stabilize. It makes portioning for lunch much easier.
I once tried to make this with low-fat cheese, and it was a disaster. The texture was rubbery and the flavor was bland. Stick to full-fat dairy for the best results. If you are worried about calories, you can reduce the butter in the topping, but don’t skimp on the sauce ingredients. The fat carries the flavor. Finally, taste your sauce before baking. It should taste slightly too salty on its own, as the pasta will dilute the flavor. Adjust seasonings accordingly.
Variations & Adaptations
One of the best things about this recipe is how adaptable it is. You can change it up based on what you have in your fridge or your dietary preferences. Here are a few variations I love.
Spicy Garlic Mac: Add a teaspoon of red pepper flakes to the roux. Or, use pepper jack cheese instead of half the cheddar. This adds a nice kick that pairs well with the garlic. It’s great if you like a little heat with your comfort food.
Vegetable Boost: Stir in some sautéed spinach or kale before baking. The garlic pairs beautifully with greens. You can also add caramelized onions for extra sweetness and depth. This makes the dish more nutritious without sacrificing flavor.
Protein Pack: For a heartier lunch, add cooked bacon bits or shredded chicken. Bacon adds a smoky element that complements the garlic perfectly. Chicken makes it a complete meal. Just make sure to toss the protein in with the pasta and sauce.
Gluten-Free Option: Use gluten-free pasta. Look for brands made from brown rice or quinoa flour, as they hold up better to baking. Also, use gluten-free breadcrumbs for the topping. The rest of the ingredients are naturally gluten-free.
Cheese Swap: If you don’t like Gruyère, you can use Monterey Jack or fontina. Both melt well and have mild flavors that let the garlic shine. Experiment to find your favorite combination.
Serving & Storage Suggestions
This mac and cheese is best served warm. If you are eating it fresh, garnish with fresh parsley for a pop of color. For lunch prep, let it cool completely before transferring to containers. This prevents condensation from making the topping soggy. Store in airtight containers in the refrigerator for up to 4 days. It reheats beautifully in the microwave. Add a splash of milk if it looks too thick after reheating. You can also freeze it for up to 3 months. Thaw in the fridge overnight before reheating.
For a crunchy topping after reheating, you can sprinkle a few fresh breadcrumbs on top and broil for a minute. This restores the texture that might have softened in the fridge. Pair this with a simple green salad or steamed broccoli. The crispness of the veggies balances the richness of the mac. It’s a complete meal that feels indulgent but is actually quite balanced.
Nutritional Information & Benefits
While this is definitely a comfort food, it can fit into a healthy lifestyle if you watch portions. One serving provides a good amount of protein from the cheese and pasta. Calcium is abundant, supporting bone health. The garlic adds immune-boosting properties. However, it is calorie-dense, so be mindful of your serving size. It’s best enjoyed as a main dish rather than a side. For a lighter option, mix in more vegetables to increase fiber and volume. It’s a treat that satisfies both your body and your soul.
Conclusion
This Ultimate Baked Garlic Mac And Cheese is more than just a recipe. It’s a solution for busy weeks, a source of comfort, and a dish that brings joy to the table. I hope you try it and find it as useful in your meal prep routine as it has been in mine. Don’t be afraid to make it your own. Add your favorite veggies, swap cheeses, or adjust the spice level. The beauty of cooking is in the customization. If you make this, I’d love to hear how it turned out. Leave a comment below and let me know your favorite variation. Happy cooking!
Frequently Asked Questions
Can I make this recipe ahead of time?
Yes, you can assemble the entire dish up to 24 hours in advance. Cover it tightly and refrigerate. When you are ready to eat, let it come to room temperature for 20 minutes before baking. You may need to add a few extra minutes to the baking time.
Why is my mac and cheese grainy?
This usually happens if the cheese is added to a boiling sauce or if pre-shredded cheese is used. Always remove the sauce from heat before adding cheese, and grate your own cheese from blocks for the smoothest texture.
Can I use milk alternatives?
Yes, you can use unsweetened almond or oat milk. However, the sauce may be slightly thinner. You might need to use a bit more flour or cook it a little longer to thicken. The flavor will also be different, so choose a neutral-tasting milk.
How do I reheat leftovers?
Reheat in the microwave with a splash of milk to restore creaminess. Stir halfway through heating. For a crispier topping, reheat in the oven at 350°F (175°C) for 15-20 minutes.
Is roasted garlic necessary?
While you can use raw or powdered garlic, roasted garlic provides a unique sweetness and depth that raw garlic lacks. It mellows the sharpness and creates a more complex flavor profile. I highly recommend taking the time to roast it.
Pin This Recipe!
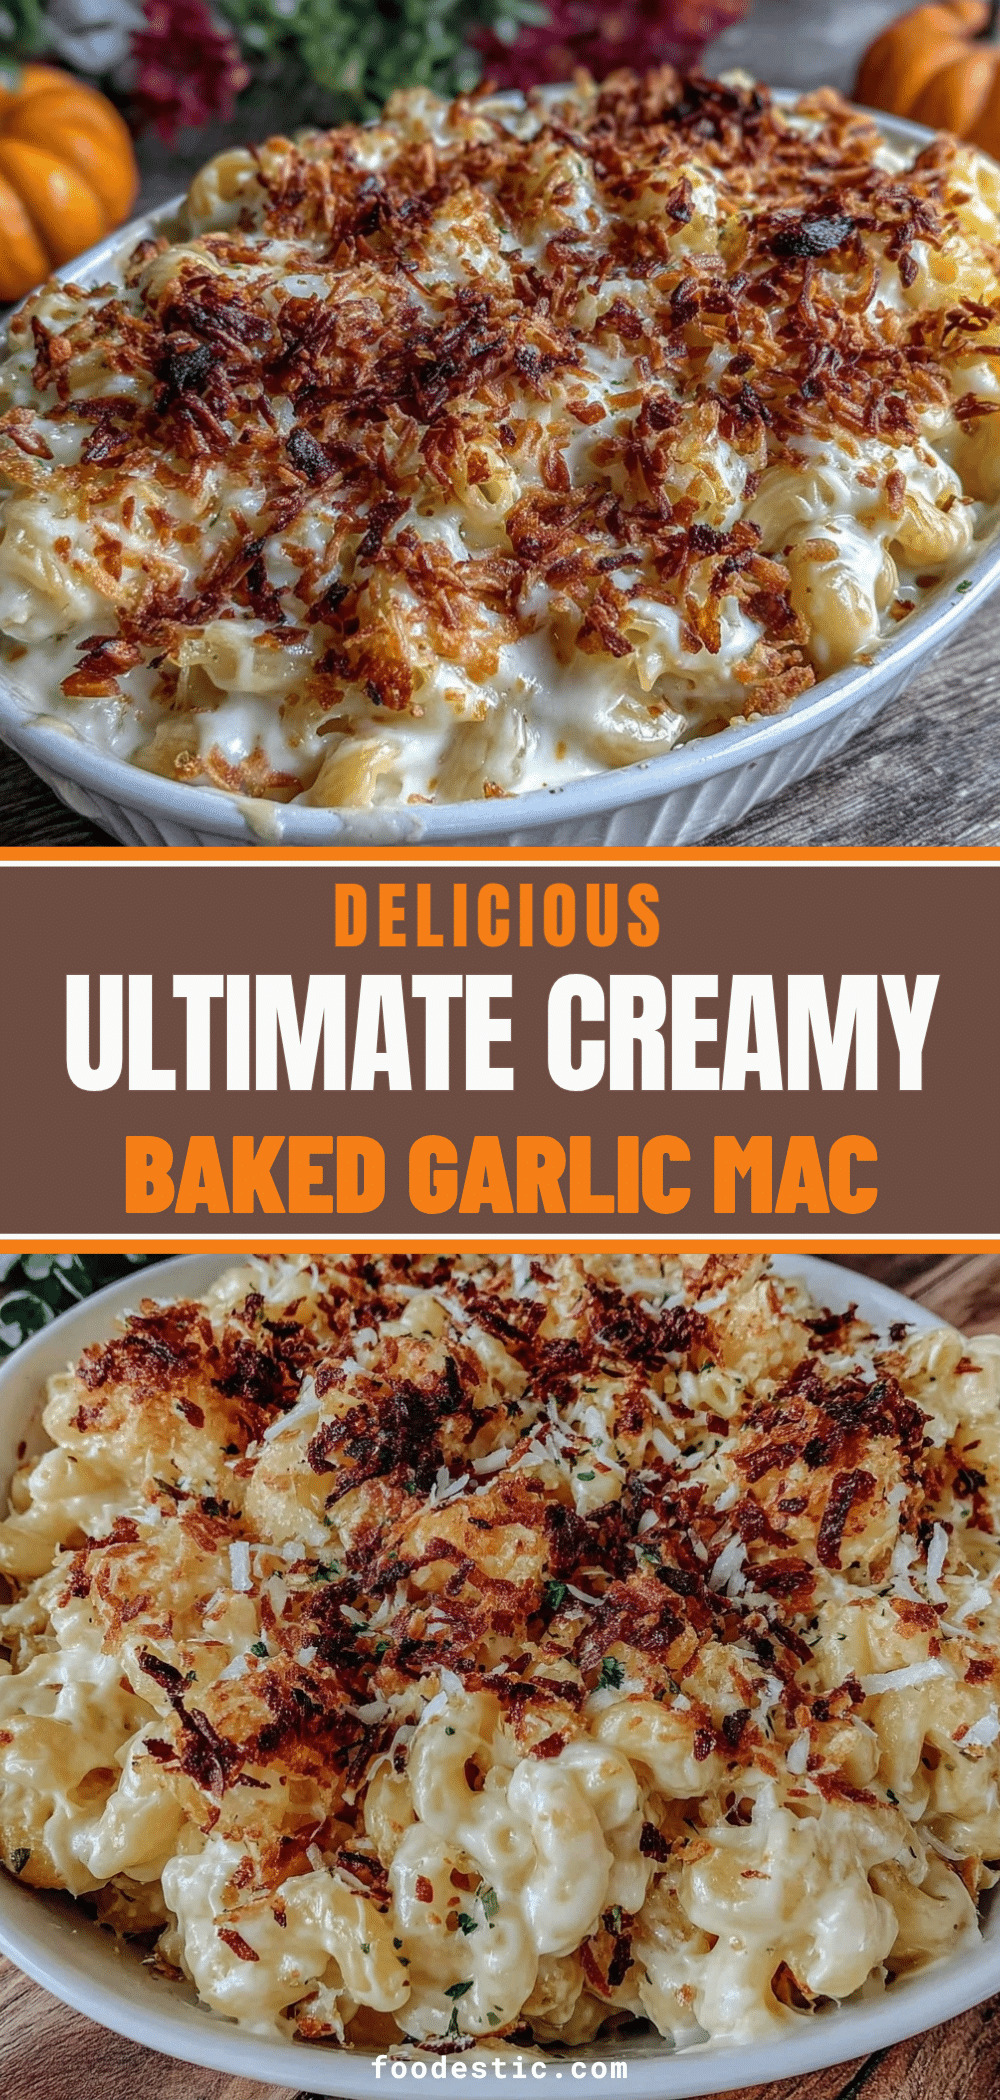

Ultimate Baked Garlic Mac And Cheese
- Total Time: 95 minutes
- Yield: 8 servings 1x
Description
A creamy, rich baked mac and cheese infused with sweet, slow-roasted garlic and a blend of sharp cheddar, Gruyère, and Parmesan cheeses. Perfect for meal prep, this dish holds up well in the refrigerator and freezes beautifully.
Ingredients
- 1 pound (450g) elbow macaroni
- 4 tablespoons (60g) unsalted butter
- 4 tablespoons (30g) all-purpose flour
- 3 cups (720ml) whole milk
- 6–8 cloves roasted garlic (mashed into puree)
- 2 cups (200g) sharp cheddar cheese, shredded
- 1 cup (100g) Gruyère cheese, shredded
- ½ cup (50g) Parmesan cheese, grated
- 1 teaspoon Dijon mustard
- ½ teaspoon garlic powder
- Salt and black pepper to taste
- ½ cup (50g) panko or regular breadcrumbs
- 2 tablespoons fresh parsley, chopped
- Olive oil (for roasting garlic)
- Melted butter (for topping)
Instructions
- Preheat oven to 400°F (200°C). Cut the top off a head of garlic, drizzle with olive oil, wrap in foil, and roast for 40-45 minutes until soft. Let cool, squeeze out cloves, and mash into a puree.
- Bring a large pot of salted water to a boil. Cook elbow macaroni until 1-2 minutes before al dente. Drain, rinse with cool water, and toss with a little oil.
- In a medium saucepan, melt butter over medium heat. Add flour and whisk constantly for 1-2 minutes until light golden.
- Slowly pour in milk while whisking vigorously to avoid lumps. Add roasted garlic puree, garlic powder, Dijon mustard, salt, and pepper. Whisk until smooth.
- Cook the mixture, stirring frequently, for 5-7 minutes until it thickens enough to coat the back of a spoon. Do not let it boil vigorously.
- Remove the pan from heat. Stir in cheddar, Gruyère, and Parmesan cheese gradually until fully melted and smooth. Taste and adjust seasoning.
- Add the cooked pasta to the cheese sauce and stir gently to coat every noodle.
- In a small bowl, mix breadcrumbs with melted butter. Sprinkle evenly over the mac and cheese in a 9×13 inch baking dish.
- Preheat oven to 375°F (190°C). Bake for 20-25 minutes until the top is golden brown and bubbly.
- Let rest for 5-10 minutes before serving to allow the sauce to set.
Notes
Grate your own cheese to ensure a smooth sauce, as pre-shredded cheese contains anti-caking agents. Undercook the pasta slightly as it will continue to cook in the oven. Never add cheese to a boiling sauce to prevent graininess. Let the dish rest before serving to help the sauce thicken.
- Prep Time: 30 minutes
- Cook Time: 65 minutes
- Category: Main Course
- Cuisine: American
Nutrition
- Serving Size: 1 cup
- Calories: 550
- Sugar: 6
- Sodium: 680
- Fat: 28
- Saturated Fat: 16
- Carbohydrates: 52
- Fiber: 2
- Protein: 22
Keywords: mac and cheese, baked mac and cheese, garlic mac and cheese, meal prep, comfort food, lunch ideas, cheesy pasta, roasted garlic