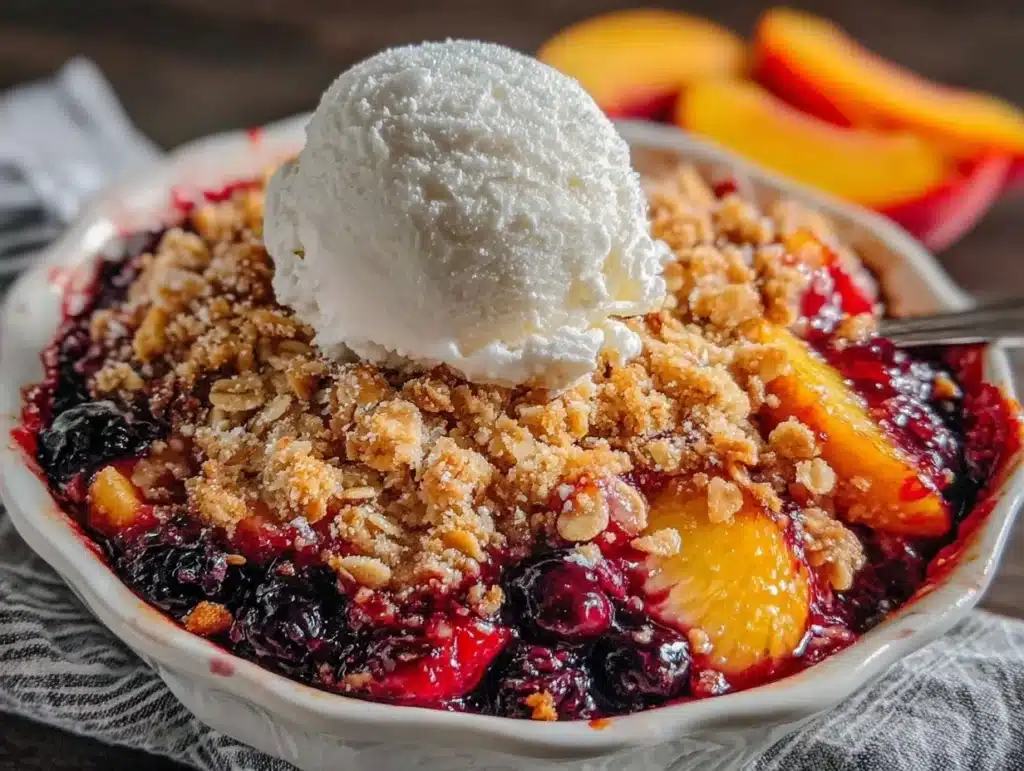
There is a specific kind of magic that happens when ripe peaches meet tart blueberries under a blanket of buttery oats. I learned this the hard way, honestly. Years ago, I tried to bake a crumble on a Sunday morning for a brunch that started at 9 AM. Spoiler alert: it didn’t go well. The batter was cold, the oven was temperamental, and I was sweating through my apron by the time the timer went off. It was delicious, but the stress was not worth the sugar rush.
That disaster led me to create the version of Best Blueberry Peach Crumble that I swear by today. This isn’t just a dessert recipe; it is a meal prep strategy disguised as comfort food. By making the crumble ahead of time, you unlock a level of convenience that changes how you approach weekend hosting or midweek treats. You know how stressful it is to pull out a hot dish right when guests are arriving? Not anymore.
I’ve tested this recipe over a dozen times, adjusting the ratio of fruit to topping to ensure it doesn’t get soggy in the fridge. The result is a crumble that holds its structure, retains its crunch, and tastes even better after the flavors have had time to meld. It’s perfect for busy families who want something homemade without the Sunday morning chaos. Honestly, once you try this make-ahead method, you’ll never bake a fruit crumble any other way again.
Why You’ll Love This Make-Ahead Blueberry Peach Crumble
Let’s face it, most fruit desserts are hit or miss. They’re either too runny, too dry, or the topping turns into a hard rock after sitting in the fridge. This recipe is different because it was built for the real world, not just for immediate consumption. I developed this specific blueberry peach crumble method to solve the common problems of soggy bottoms and stale crumbs. After years of tweaking, I’ve landed on a technique that keeps the texture intact for days.
Here is why this recipe has become a staple in my kitchen:
- Stress-Free Entertaining: You can assemble the entire dish up to 24 hours in advance. When your guests arrive, you just pop it in the oven. No last-minute chopping or mixing while everyone is watching you.
- Simple, Seasonal Ingredients: You don’t need fancy pantry items. This relies on fresh or frozen stone fruit and berries, which are often budget-friendly when in season. It feels luxurious but costs very little.
- Perfect for Meal Prep: Unlike many desserts, this stores beautifully. You can portion it out into individual ramekins or keep it in one large dish. It’s ideal for packing lunches or having a ready-made snack for the kids.
- Texture That Lasts: The secret is in the oat-to-butter ratio and the slight under-baking if you plan to reheat. The topping stays crumbly, not mushy, even after refrigeration.
- Comfort Food, Reimagined: It’s warm, fruity, and satisfying. It hits that sweet spot between a dessert and a breakfast treat, making it versatile enough for any time of day.
This isn’t just another fruit crisp. It’s the kind of recipe that makes you feel like a hosting pro without the work. It’s reliable, delicious, and saves you time when you need it most. That’s the kind of cooking I’m all about.
What Ingredients You Will Need
This recipe uses simple, wholesome ingredients to deliver bold flavor and satisfying texture without the fuss. The key to a great crumble is quality fruit and a topping that balances sweetness with a hint of salt. I’ve found that using a mix of fresh and frozen berries works well, especially if you are making this outside of peak peach season. Here is what you need to get started.
For the Fruit Filling
- Ripe Peaches: 4 large peaches, peeled and sliced. Look for peaches that yield slightly to pressure but aren’t mushy. They should smell sweet. (You can substitute nectarines if you prefer, but peaches have a better skin-peel factor.)
- Blueberries: 2 cups fresh or frozen blueberries. If using frozen, do not thaw them first, or you will lose too much juice and make the filling watery.
- Granulated Sugar: ½ cup. Adjust to ⅓ cup if your peaches are extremely sweet and you want a less sweet dessert.
- Apple Cider Vinegar: 1 teaspoon. This is the secret weapon. It brightens the flavor of the peaches and balances the sugar. You won’t taste the vinegar, just the fruit.
- Vanilla Extract: 1 teaspoon. Pure vanilla makes a huge difference in depth of flavor.
- Cornstarch: 2 tablespoons. This thickens the juices as the crumble bakes, preventing a soupy bottom.
- Lemon Juice: 1 tablespoon. Adds acidity to keep the peaches from browning and lifts the berry flavor.
For the Crumble Topping
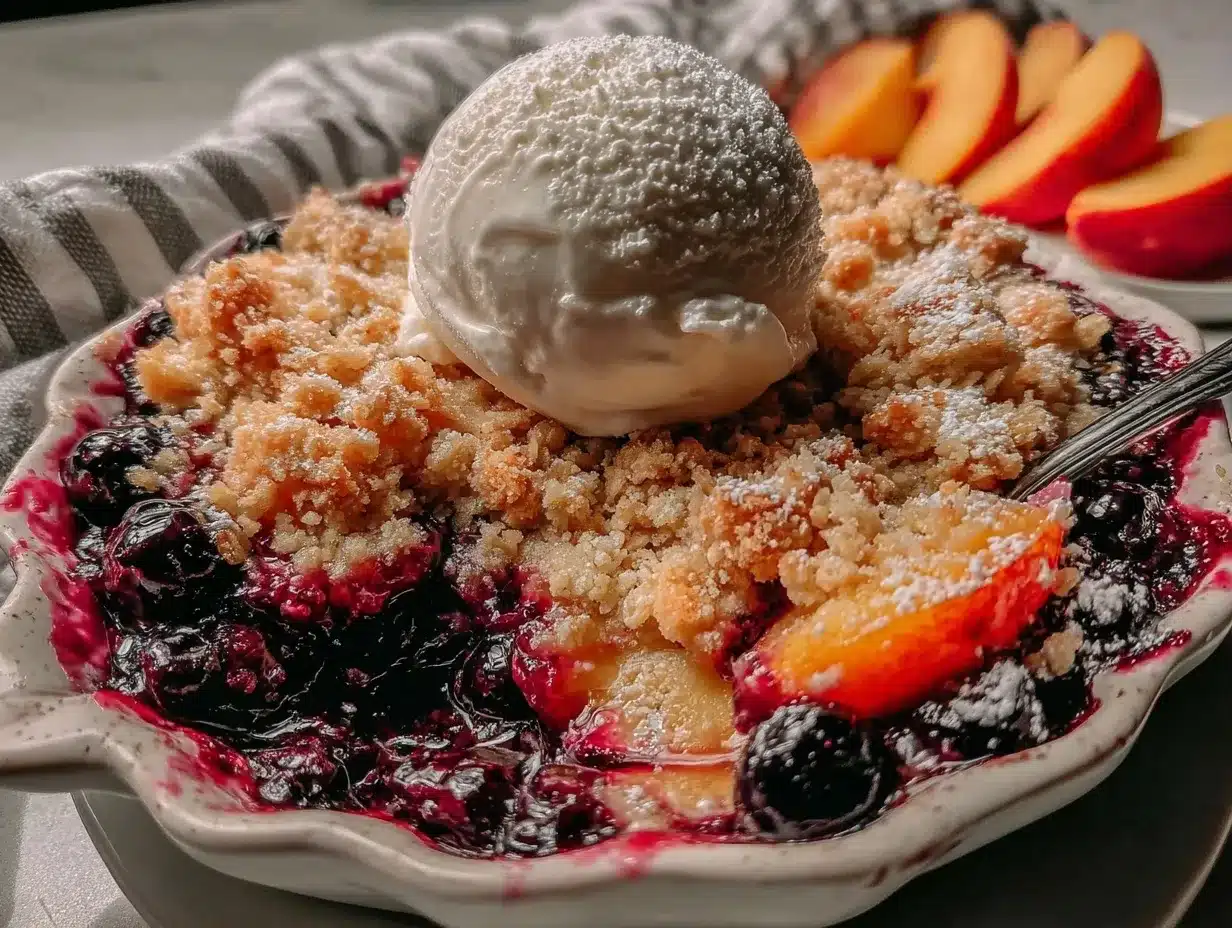
- Rolled Oats: 1 cup old-fashioned rolled oats. Avoid quick oats, as they turn to mush. You want that chewy, substantial texture.
- All-Purpose Flour: ½ cup. This binds the topping so it holds together in chunks rather than turning into dust.
- Light Brown Sugar: ¾ cup. Packed. This adds a molasses note that pairs beautifully with stone fruit.
- Unsalted Butter: ½ cup (1 stick), cold and cubed. This is crucial. Cold butter creates flakes and layers in the topping. If the butter is soft, the topping will be dense.
- Sea Salt: ½ teaspoon. Essential to cut through the sweetness.
- Cinnamon: 1 teaspoon. Warm spice that complements both peaches and blueberries.
I recommend using a high-quality butter like Kerrygold or Plugra for the best flavor. The fat content in these butters creates a richer, more tender crumble. Also, look for firm, small-curd cottage cheese if you decide to add a creamy layer, though this traditional version stands on its own.
Equipment Needed
You don’t need a fancy kitchen to make this crumble. The right tools just make the process smoother and the result more consistent. Here is what I use every time.
- 9×9 Inch Baking Dish: A square dish is ideal for crumbles because it gives a good ratio of topping to filling. A glass Pyrex dish is best for even heating.
- Large Mixing Bowls: You need one for the fruit and one for the topping. Keep them separate to avoid cross-contamination of wet and dry ingredients.
- Pastry Cutter or Fork: To cut the butter into the flour mixture. A pastry cutter is faster, but a fork works fine if you have the arm strength.
- Peeler or Knife: For peeling the peaches. If you boil them for 30 seconds first, the skins slip off easily.
- Measuring Cups and Spoons: Be precise, especially with the cornstarch and flour. Too much cornstarch can make the filling gummy.
If you don’t have a 9×9 dish, a 9-inch round pie dish works too, but you may need to adjust the baking time slightly. Make sure your baking dish is clean and dry before assembling to ensure the bottom gets crisp.
Preparation Method
Let’s walk through the steps to make this blueberry peach crumble. I’ve broken it down so you can prep it ahead of time with ease. This method ensures the flavors meld correctly and the texture stays perfect.
- Prep the Peaches (5 minutes): Bring a small pot of water to a boil. Score an ‘X’ on the bottom of each peach. Drop them in for 30-45 seconds, then transfer to an ice bath. The skins should peel off easily. Dice the peaches into bite-sized pieces. If you are in a rush, you can skip peeling, but the skin can sometimes get tough.
- Mix the Fruit Base (5 minutes): In a large bowl, combine the diced peaches, blueberries, sugar, lemon juice, vinegar, and vanilla. Sprinkle the cornstarch over the fruit and toss gently until everything is evenly coated. Let this sit for 10 minutes while you make the topping. This draws out some juices, which helps the thickening process.
- Make the Topping (5 minutes): In a separate bowl, whisk together the oats, flour, brown sugar, cinnamon, and salt. Add the cold, cubed butter. Use a pastry cutter or your fingers to work the butter into the dry ingredients. You want pea-sized chunks and some larger, irregular flakes. Don’t overmix; you want visible bits of butter.
- Assemble the Crumble: Pour the fruit mixture into your prepared baking dish. Spread it out evenly. Sprinkle the topping mixture over the fruit. Press down gently but don’t pack it tight. You want air pockets for the topping to crisp up.
- Make-Ahead Storage Option: If you are not baking immediately, cover the dish tightly with plastic wrap and then foil. It can sit in the refrigerator for up to 24 hours. Let it come to room temperature for 20 minutes before baking if you refrigerated it.
- Bake the Crumble (45-50 minutes): Preheat your oven to 375°F (190°C). Place the dish on a baking sheet (to catch any drips) and bake for 45-50 minutes. The topping should be golden brown, and the filling should be bubbling vigorously around the edges. If the topping browns too quickly, tent it with foil.
- Cool and Serve: Let the crumble cool for at least 20 minutes before serving. This allows the filling to set slightly so it doesn’t run everywhere. Serve warm with vanilla ice cream or whipped cream.
Pro tip: If you are making individual portions, use ramekins and reduce the baking time by 10-15 minutes. Keep an eye on them so the bottoms don’t burn.
Cooking Tips & Techniques
Having made this crumble dozens of times, I’ve learned a few tricks to ensure it turns out perfectly every single time. The biggest mistake people make is using warm butter. I cannot stress this enough: keep your butter cold. When the cold butter hits the hot oven, it melts slowly, creating steam pockets that make the topping flaky and tender. If your butter is soft, your crumble will be more like a cake.
Another common issue is a soggy bottom. This usually happens if the fruit releases too much liquid. That is why the cornstarch and the vinegar are important. The vinegar helps break down the pectin in the fruit slightly, allowing the cornstarch to work more effectively. Also, make sure your baking dish is not too deep. A wide, shallow dish allows more evaporation, keeping the topping crisp.
Don’t skip the resting time. When you pull the crumble out of the oven, the filling is liquid. As it cools, the starches gelatinize and the juices thicken. If you cut into it immediately, it will be soupy. Waiting 20 minutes makes a world of difference in texture.
If you are making this ahead, store the unbaked crumble in the fridge. Do not bake it and then refrigerate it if you want to keep the topping crunchy. Reheating baked crumble often softens the topping. By assembling it raw and baking it fresh (even if it’s 24 hours later), you guarantee that crunch.
Finally, taste your fruit before adding sugar. If your peaches are super sweet, reduce the sugar in the topping by a tablespoon. Every fruit is different, and adjusting to taste is what separates a good recipe from a great one.
Variations & Adaptations
One of the best things about this blueberry peach crumble is how adaptable it is. You can tweak it to fit your dietary needs or just switch up the flavors based on what’s in your fridge.
- Gluten-Free Option: Swap the all-purpose flour for a 1:1 gluten-free baking blend. Use certified gluten-free oats. The texture will be slightly more tender, but it still works well.
- Dairy-Free Version: Use cold vegan butter sticks instead of regular butter. Coconut oil can work, but it has a distinct flavor. Vegan butter mimics the fat content and water content of dairy butter better for this application.
- Lower Sugar: Reduce the brown sugar in the topping by ¼ cup and use a sugar substitute like erythritol or monk fruit blend. The fruit still provides enough sweetness, so you won’t miss it.
- Spice It Up: Add a pinch of cardamom or nutmeg to the topping. Cardamom pairs wonderfully with peaches and adds a floral note that feels sophisticated.
- Protein Boost: Stir 2 tablespoons of protein powder into the topping mixture. This adds a slight dryness, so you might need to add an extra teaspoon of butter or water to keep it crumbly.
I’ve also tried adding a layer of cream cheese to the bottom before the fruit, which makes it more like a cheesecake crumble. It’s delicious, but it changes the texture significantly. For the classic experience, stick to the original layers.
Serving & Storage Suggestions
This crumble is best served warm, but it’s also great at room temperature. For the ultimate presentation, serve it in small bowls with a dollop of Greek yogurt or a scoop of vanilla bean ice cream. The contrast of hot crumble and cold cream is addictive.
For storage, let the crumble cool completely before covering it. You can keep it in the refrigerator for up to 5 days. Cover it tightly with plastic wrap or transfer leftovers to an airtight container. If you want to keep the topping crisp, store it uncovered in the fridge for the first hour, then cover it.
To reheat, I recommend using an oven or toaster oven at 350°F for 10-15 minutes. This restores the crunch. Microwaving is faster but will make the topping soggy. If you must use the microwave, do it in short bursts and let it sit for a minute to redistribute the heat.
This recipe is perfect for meal prep. You can portion it into individual containers for lunches or snacks. It travels well in a cooler bag for picnics or potlucks. Just make sure the container is airtight to prevent it from absorbing other fridge odors.
Nutritional Information & Benefits
While this is a dessert, it does offer some nutritional benefits. Peaches are a good source of Vitamin C and potassium, which support immune health and blood pressure. Blueberries are packed with antioxidants, which help fight inflammation. The oats provide fiber, which aids in digestion.
Each serving contains approximately 350 calories, depending on the size of the portion. It has about 15 grams of fat, 50 grams of carbohydrates, and 3 grams of protein. It is not a low-carb dessert, but it is a balanced treat when enjoyed in moderation.
For those with gluten sensitivities, remember to check your oats and flour labels for cross-contamination. This recipe is naturally nut-free, making it safe for most school lunches or gatherings with nut allergies.
I view this as a guilt-free indulgence because it uses real fruit and whole grains. It’s better for you than a slice of cake with processed frosting. It’s a way to enjoy sweet flavors while still nourishing your body.
Conclusion
This blueberry peach crumble is more than just a dessert; it’s a solution for busy weeknights and stress-free weekends. By mastering the make-ahead method, you gain the freedom to enjoy homemade comfort food without the last-minute rush. The combination of juicy peaches, tart blueberries, and a buttery oat topping is simply irresistible.
I encourage you to try this recipe and make it your own. Adjust the sweetness, add your favorite spices, or serve it with your preferred topping. The beauty of baking is in the customization. Once you’ve made it, I’d love to hear how it turned out for you. Leave a comment below with your variations or tips.
Happy baking, and enjoy every bite of this delicious, make-ahead treat!
Frequently Asked Questions
Can I use frozen peaches instead of fresh?
Yes, you can use frozen peaches. Thaw them slightly and drain off excess liquid before mixing with the cornstarch. You may need to add an extra tablespoon of cornstarch if the fruit is very juicy.
How do I prevent the crumble from getting soggy?
Ensure your butter is cold when mixing the topping. Also, let the crumble cool completely before storing it. If reheating, use an oven instead of a microwave to restore crispness.
Can I make this in a slow cooker?
It’s not recommended for the classic crumble texture. The slow cooker steams the fruit, which can make the topping soft. Baking in the oven is best for that crispy finish.
How long does the unbaked crumble last in the fridge?
You can assemble it and store it in the fridge for up to 24 hours before baking. After that, the oats may start to absorb too much moisture and become mushy.
What is the best way to reheat leftovers?
Reheat in a 350°F oven for 10-15 minutes until warm and the topping is crisp. This method preserves the texture better than microwaving.
Pin This Recipe!
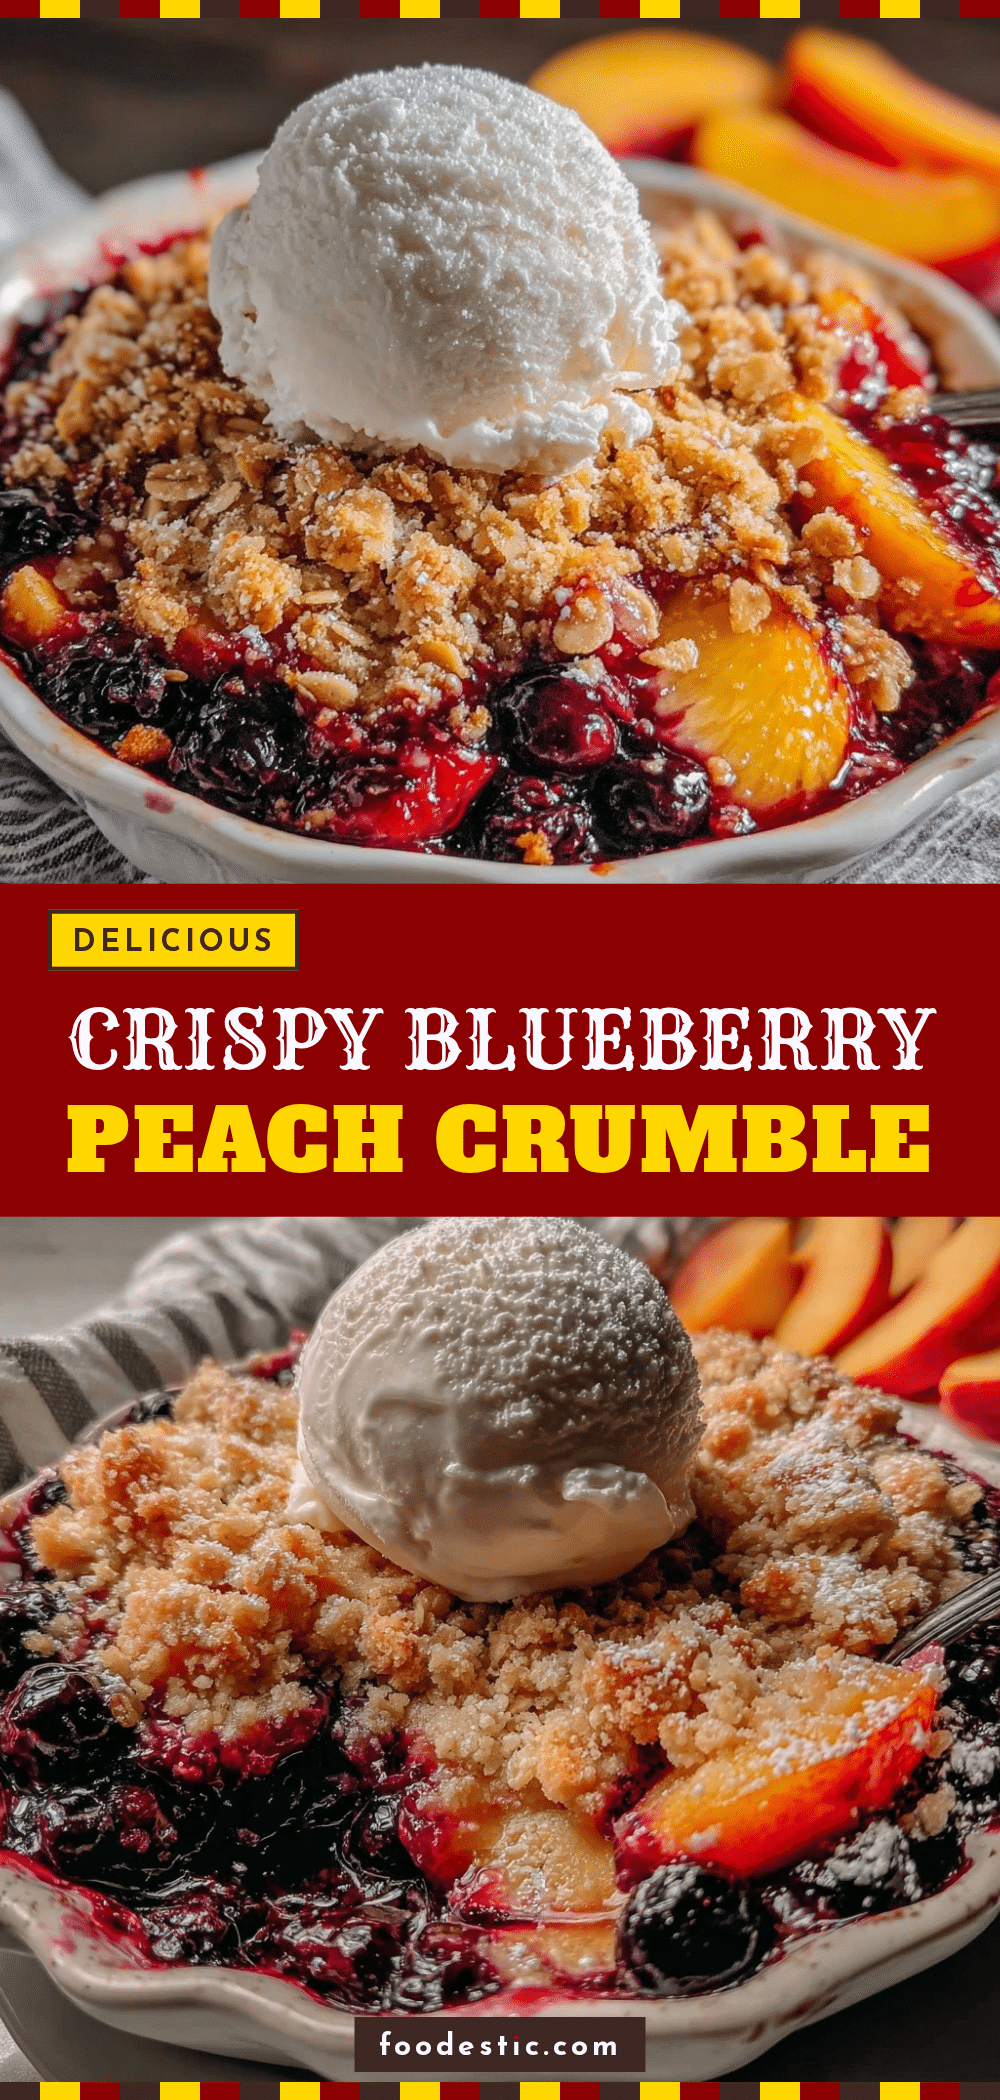

Best Blueberry Peach Crumble: Meal Prep & Storage Hack
- Total Time: 1 hour 5 minutes
- Yield: 8 servings 1x
Description
A make-ahead blueberry peach crumble that solves the problem of soggy bottoms and stale crumbs. This stress-free dessert allows you to assemble it up to 24 hours in advance, ensuring a crunchy topping and juicy filling every time.
Ingredients
- 4 large ripe peaches, peeled and sliced
- 2 cups fresh or frozen blueberries
- ½ cup granulated sugar
- 1 teaspoon apple cider vinegar
- 1 teaspoon vanilla extract
- 2 tablespoons cornstarch
- 1 tablespoon lemon juice
- 1 cup old-fashioned rolled oats
- ½ cup all-purpose flour
- ¾ cup light brown sugar, packed
- ½ cup (1 stick) unsalted butter, cold and cubed
- ½ teaspoon sea salt
- 1 teaspoon cinnamon
Instructions
- Preheat oven to 375°F (190°C).
- Score an ‘X’ on the bottom of each peach and boil for 30-45 seconds, then transfer to an ice bath. Peel and dice peaches into bite-sized pieces.
- In a large bowl, combine diced peaches, blueberries, sugar, lemon juice, vinegar, and vanilla. Sprinkle cornstarch over the fruit and toss to coat. Let sit for 10 minutes.
- In a separate bowl, whisk together oats, flour, brown sugar, cinnamon, and salt. Add cold cubed butter and use a pastry cutter or fingers to work it in until pea-sized chunks and flakes form.
- Pour the fruit mixture into a 9×9 inch baking dish. Sprinkle the topping mixture over the fruit and press down gently.
- If making ahead, cover tightly and refrigerate for up to 24 hours. Let sit at room temperature for 20 minutes before baking if refrigerated.
- Place the dish on a baking sheet and bake for 45-50 minutes until the topping is golden brown and filling is bubbling. Tent with foil if topping browns too quickly.
- Cool for at least 20 minutes before serving to allow filling to set. Serve warm with ice cream or whipped cream.
Notes
Ensure butter is cold for a flaky topping. Let the crumble cool completely before storing to maintain texture. For gluten-free, use GF flour and certified GF oats. For dairy-free, use vegan butter. Do not microwave leftovers if you want to keep the topping crisp; reheat in the oven at 350°F.
- Prep Time: 15 minutes
- Cook Time: 45-50 minutes
- Category: Dessert
- Cuisine: American
Nutrition
- Serving Size: 1 slice
- Calories: 350
- Sugar: 35
- Sodium: 120
- Fat: 15
- Saturated Fat: 9
- Carbohydrates: 50
- Fiber: 3
- Protein: 3
Keywords: blueberry peach crumble, make ahead dessert, meal prep dessert, fruit crumble, gluten free option, dairy free option, easy baking