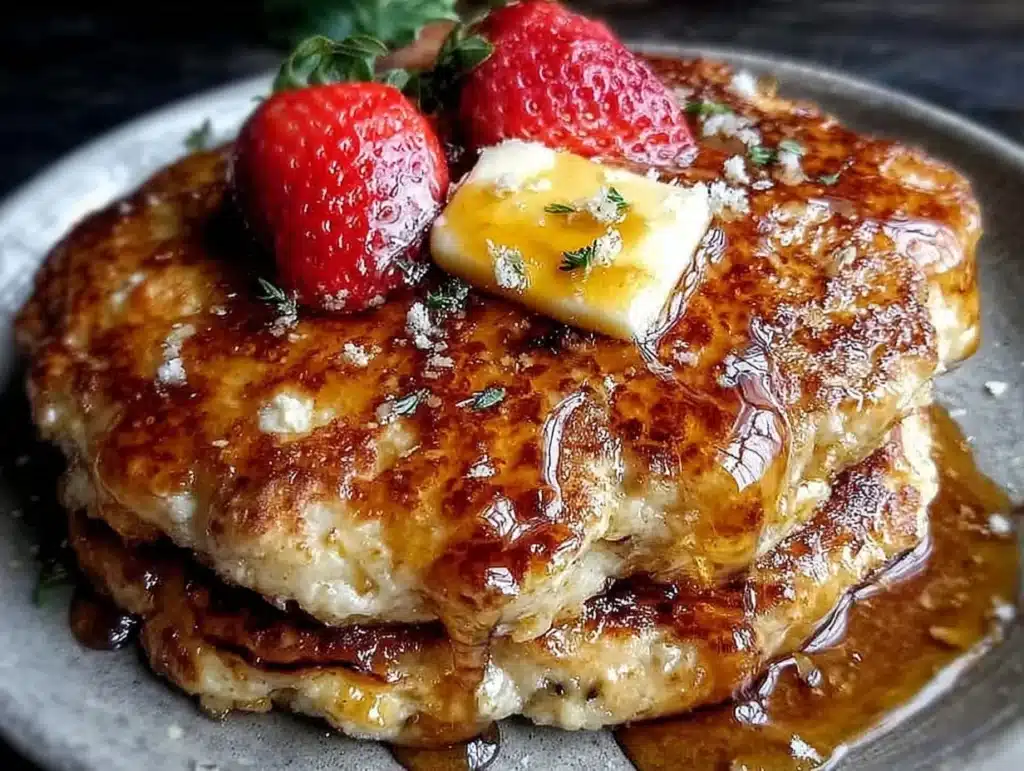
There is nothing quite like the smell of buttery, golden batter sizzling on a griddle to wake up your senses. But let’s be honest for a second. Making pancakes from scratch on a weekday morning? That’s a luxury we just don’t always have. I remember trying to flip delicate, thin crepes while my kids were begging for toast, and it ended in a burnt mess and a lot of sighs. That was the moment I realized I needed a pancake that could survive the reality of a busy week. I wanted something that tasted like a weekend brunch but behaved like a meal prep champion.
That’s how these Fluffy Stack Pancakes were born. I spent weeks tweaking the ratio of buttermilk to flour, testing different leavening agents, and learning exactly how to keep them soft even after they’ve been chilled in the fridge. The result is a stack of pancakes that are thick, airy, and incredibly satisfying. They aren’t just good cold; they are genuinely better when prepped ahead. You know that feeling when you grab a quick breakfast at 7 AM, and it’s still warm from the microwave? That’s the goal here. This recipe is designed for the person who wants to feel full and energized until lunch, not just until the next coffee break.
I’ve tested this batter over a dozen times, adjusting for humidity and different stove types. The secret lies in the resting time and the gentle folding technique. These pancakes hold their structure beautifully, meaning they don’t collapse into a dense brick when reheated. They stay fluffy. Honestly, I make a double batch on Sunday because knowing I have a high-protein, delicious breakfast ready to go changes my entire week. It stops the 10 AM sugar crash in its tracks. If you are tired of dry toast or sugary cereal, this is the solution you’ve been waiting for.
Why You’ll Love This Recipe
Let’s talk about why this specific recipe works so well for meal prep. I’ve tried countless “freezer-friendly” pancake recipes, and most of them turn out rubbery or flavorless after a day in the fridge. This one is different. It’s built to last. Here is why this stack of pancakes has become a staple in my weekly routine:
- Quick & Easy Prep: The batter comes together in under 10 minutes. You really don’t need any fancy equipment or hours of standing over the stove. It’s perfect for those chaotic Sunday mornings when you’re trying to get a few things done before the week starts.
- Simple Ingredients: You likely have everything you need right now. Flour, sugar, baking powder, milk, eggs, and butter. No obscure ingredients or expensive health food store runs required. It’s wholesome, simple cooking.
- Stays Full at 2pm: This is the big one. Most breakfasts fade by mid-morning. These pancakes have the right balance of carbohydrates and fats to keep your blood sugar stable. I’ve eaten these for lunch and still felt satisfied. They are dense enough to be a meal, but light enough to not feel heavy.
- Crowd-Pleaser: My kids, who usually pick at breakfast, clear their plates every time. They love the fluffy texture, and the mild sweetness makes them versatile. You can serve them with fruit, syrup, or even just a smear of peanut butter.
- Unbelievably Delicious: The texture is next-level. They have that distinct “cloud-like” quality that you usually only get from a diner. It’s comfort food that doesn’t weigh you down. It’s the kind of meal that makes you smile before you’ve even taken a bite.
What makes this recipe stand out from the rest is the technique. I use a method that incorporates air into the batter without overworking the gluten. This ensures they stay tender. Also, the sizing is deliberate. These aren’t tiny, bite-sized cookies. They are substantial, diner-style pancakes that provide real fuel. It’s not just about taste; it’s about function. It’s breakfast that works as hard as you do.
What Ingredients You Will Need
This recipe relies on pantry staples that deliver bold flavor and satisfying texture without the fuss. The beauty of these Fluffy Stack Pancakes is that they don’t require exotic items. You can grab everything from your local grocery store or even your own cupboard. Here is what you need to make the magic happen:
- All-Purpose Flour (2 cups / 250g): The base of the structure. I recommend a good quality brand like Gold Medal or King Arthur for consistent results. Don’t use self-rising flour unless you adjust the baking powder and salt, but standard AP flour gives the best control.
- Baking Powder (2 tsp): This is the lift. Make sure yours is fresh. If it’s been sitting in your cabinet for years, it might not have enough punch. Fresh baking powder is the difference between a flat pancake and a fluffy one.
- Baking Soda (1/2 tsp): This reacts with the acid in the buttermilk to create extra lift and browning. It adds a slight tang that balances the sweetness.
- Salt (1/2 tsp): Never skip the salt. It enhances the flavor of the other ingredients and balances the sweetness. It’s the unsung hero of baking.
- Granulated Sugar (2 tbsp): Just enough to sweeten the batter without making it a dessert. It also helps with browning on the griddle.
- Buttermilk (2 cups / 480ml): The key to tenderness. The acidity tenderizes the gluten. If you don’t have buttermilk, you can make a substitute by adding 2 tablespoons of vinegar or lemon juice to 2 cups of milk and letting it sit for 10 minutes.
- Large Eggs (2): Room temperature eggs blend better into the batter. They provide structure and richness. I like to use free-range eggs for the best flavor.
- Melted Butter (1/4 cup / 55g): Adds richness and moisture. Let it cool slightly before adding so you don’t cook the eggs. You can substitute with neutral oil if you need a dairy-free option, though butter tastes best.
- Vanilla Extract (1 tsp): For that classic pancake aroma. Use pure vanilla, not imitation, if you can find it. It makes a subtle but noticeable difference.
For the best texture, I recommend looking for small-curd buttermilk if possible. It blends more smoothly. Also, ensure your eggs are at room temperature; cold eggs can cause the melted butter to seize up, leading to lumpy batter. These small details matter when you are trying to get that perfect fluffiness.
Equipment Needed
You don’t need a fancy kitchen to make these. A few basic tools will get the job done perfectly. You’ll need a large mixing bowl for combining the wet and dry ingredients. A whisk is essential for breaking up lumps in the flour and ensuring the baking powder is evenly distributed. A non-stick skillet or a flat griddle is crucial. I prefer cast iron because it holds heat evenly, which helps the pancakes cook uniformly. If you don’t have cast iron, a heavy-bottomed non-stick pan works well too. You’ll also need a spatula with a thin edge for flipping without tearing the pancakes. A measuring cup set is helpful for accuracy, though I often use a scoop for the flour to be consistent. Finally, have some airtight containers ready for storage. Glass containers are great because they don’t retain odors and can go straight from fridge to microwave.
Preparation Method
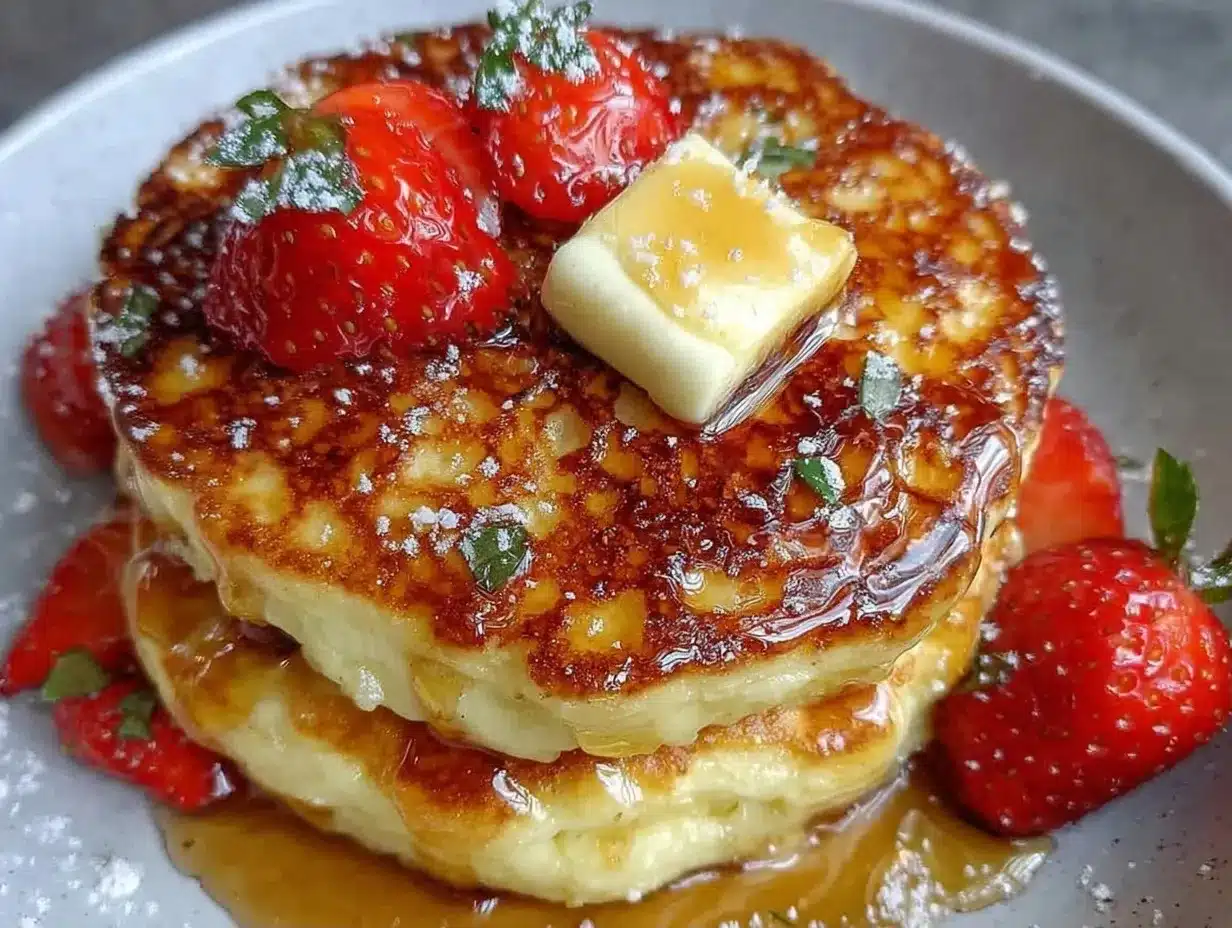
Making these Fluffy Stack Pancakes is straightforward, but there are a few tricks to keep them light. Here is how to do it right, step by step.
- Mix the Dry Ingredients (2 minutes): In a large bowl, whisk together the flour, baking powder, baking soda, salt, and sugar. Make sure there are no clumps of baking powder left. This ensures even rising. Set this aside.
- Combine the Wet Ingredients (2 minutes): In a separate medium bowl, whisk the buttermilk, eggs, melted butter, and vanilla extract. Whisk until the eggs are fully incorporated and the mixture looks smooth. Be careful not to over-whisk the eggs, or you might incorporate too much air that collapses later.
- Combine Wet and Dry (1 minute): Pour the wet ingredients into the dry ingredients. Use a spatula or spoon to gently fold them together. Stop as soon as the flour is moistened. The batter will be lumpy. This is good! Overmixing develops gluten, which makes pancakes tough and chewy instead of fluffy. Do not beat the batter. Just bring it together.
- Rest the Batter (10-15 minutes): This is the most important step. Let the batter sit on the counter. This allows the flour to hydrate and the baking powder to start working. You will see small bubbles forming on the surface. Do not skip this. It makes the pancakes lighter.
- Heat the Pan (3 minutes): Place your skillet or griddle over medium heat. Test it by sprinkling a few drops of water on the surface. If they dance and evaporate quickly, it’s ready. Lightly grease the pan with butter or oil. Wipe out excess with a paper towel so the pancakes don’t fry in a pool of oil.
- Cook the Pancakes (3-4 minutes per batch): Pour about 1/4 cup of batter for each pancake. Cook until bubbles form on the surface and the edges look set, about 2-3 minutes. Flip gently. Cook for another 1-2 minutes until golden brown. The internal temperature should reach 205°F (96°C) for best results, but visual cues work too—they should be springy to the touch.
- Keep Warm (5 minutes): As you finish each batch, place the pancakes on a baking sheet in a 200°F (95°C) oven. This keeps them warm while you cook the rest. This is great for meal prep because it ensures all pancakes are fresh and hot when you plate them.
- Cool Completely (30 minutes): Before storing, let the pancakes cool completely on a wire rack. Trapped steam will make them soggy if you seal them while hot. This step is critical for meal prep success.
Cooking Tips & Techniques
I’ve made my fair share of burnt, flat pancakes, so I’ve learned what works. First, heat management is everything. If your pan is too hot, the outside burns before the inside cooks. If it’s too low, they dry out. Medium heat is the sweet spot. Second, don’t press down on the pancakes with your spatula. This squeezes out the air you worked so hard to incorporate. Just let them cook undisturbed. Third, clean your pan between batches. Browned bits from the previous pancake will burn on the next one, giving them a bitter taste. A quick wipe with a damp cloth helps. Also, if your batter looks too thick after resting, add a splash of milk. If it’s too thin, add a tablespoon of flour. Consistency matters for stacking. Finally, use a ladle or measuring cup for the batter. Freehand pouring leads to uneven sizes, which means uneven cooking. Uniformity is key for a good stack.
Variations & Adaptations
One of the best things about this recipe is how adaptable it is. You can tweak it to fit your dietary needs or taste preferences. For a healthier twist, substitute half of the all-purpose flour with whole wheat flour. It adds fiber and a nuttier flavor, though the pancakes will be slightly denser. If you are gluten-free, use a 1:1 gluten-free flour blend. Make sure it contains xanthan gum, or add 1/2 teaspoon to help with binding. For a dairy-free version, swap the butter for coconut oil or a neutral oil, and use almond milk or oat milk with a tablespoon of vinegar to create a buttermilk substitute. You can also add mix-ins like blueberries or chocolate chips. Fold them in gently after the batter has rested. Just be aware that mix-ins can weigh down the stack slightly, so they might not be quite as fluffy, but they taste amazing. I also love adding a pinch of cinnamon or nutmeg for a warm, spiced flavor profile.
Serving & Storage Suggestions
These pancakes are versatile for serving. You can stack them high with fresh berries, a drizzle of maple syrup, or a dollop of Greek yogurt. For meal prep, I prefer keeping the toppings separate. Store the pancakes in a single layer in an airtight container. You can stack them with parchment paper in between to prevent sticking. They will last in the refrigerator for up to 5 days. For longer storage, freeze them. Place them on a baking sheet in the freezer until solid, then transfer to a freezer bag. They will keep for up to 3 months. To reheat, microwave them for 30-60 seconds with a damp paper towel over them. This restores the moisture and fluffiness. They also reheat well in a toaster on a low setting. The flavors actually meld together over time, making them taste even better on day two or three.
Nutritional Information & Benefits
Each serving (2 pancakes) provides approximately 250 calories, 8g of protein, 35g of carbohydrates, and 10g of fat. These values can vary based on the size of the pancakes and the specific ingredients used. The buttermilk adds calcium and probiotics, which are good for gut health. The eggs provide high-quality protein, which helps with satiety. By controlling the sugar content, you avoid the blood sugar spike and crash associated with sugary cereals. This makes these pancakes a balanced breakfast option. They are naturally nut-free, making them safe for school lunches or office settings where allergies are a concern. However, they contain gluten and dairy, so those with intolerances should use the substitutions mentioned earlier. From a wellness perspective, I love that this recipe allows me to enjoy a treat while still fueling my body properly. It’s indulgent but nutritious.
Conclusion
These Fluffy Stack Pancakes are more than just breakfast; they are a solution for busy mornings. They are easy to make, delicious to eat, and perfect for meal prep. I hope you try this recipe and find it as useful in your weekly routine as I have in mine. Feel free to customize the flavors to suit your taste. Add some cinnamon, swap in some berries, or keep it classic. I’d love to hear how you make them your own. Leave a comment below with your favorite topping or variation. Share this recipe with a friend who needs a better breakfast plan. Here’s to mornings that start with a smile and end with you feeling full and ready for the day.
Frequently Asked Questions
Can I make the batter the night before?
Yes, you can mix the batter and store it in the fridge overnight. However, the baking powder may lose some potency, so the pancakes might be slightly less fluffy. If you do this, let the batter come to room temperature before cooking and give it a gentle stir.
Why are my pancakes dense?
This usually happens if you overmix the batter. Once the flour is moistened, stop mixing. Also, ensure your baking powder is fresh. Old leavening agents won’t create the necessary bubbles for lift.
How do I freeze pancakes properly?
Cool the pancakes completely first. Then, flash freeze them on a baking sheet for an hour. Once solid, transfer them to a freezer-safe bag. This prevents them from sticking together in a block.
Can I use self-rising flour?
If you use self-rising flour, omit the baking powder and baking soda in the recipe. You may need to adjust the salt content as well, since self-rising flour already contains salt.
What is the best way to reheat frozen pancakes?
The best way is to toast them directly from the freezer in a toaster. They come out crispy on the outside and soft on the inside. You can also microwave them with a damp paper towel for 30-60 seconds.
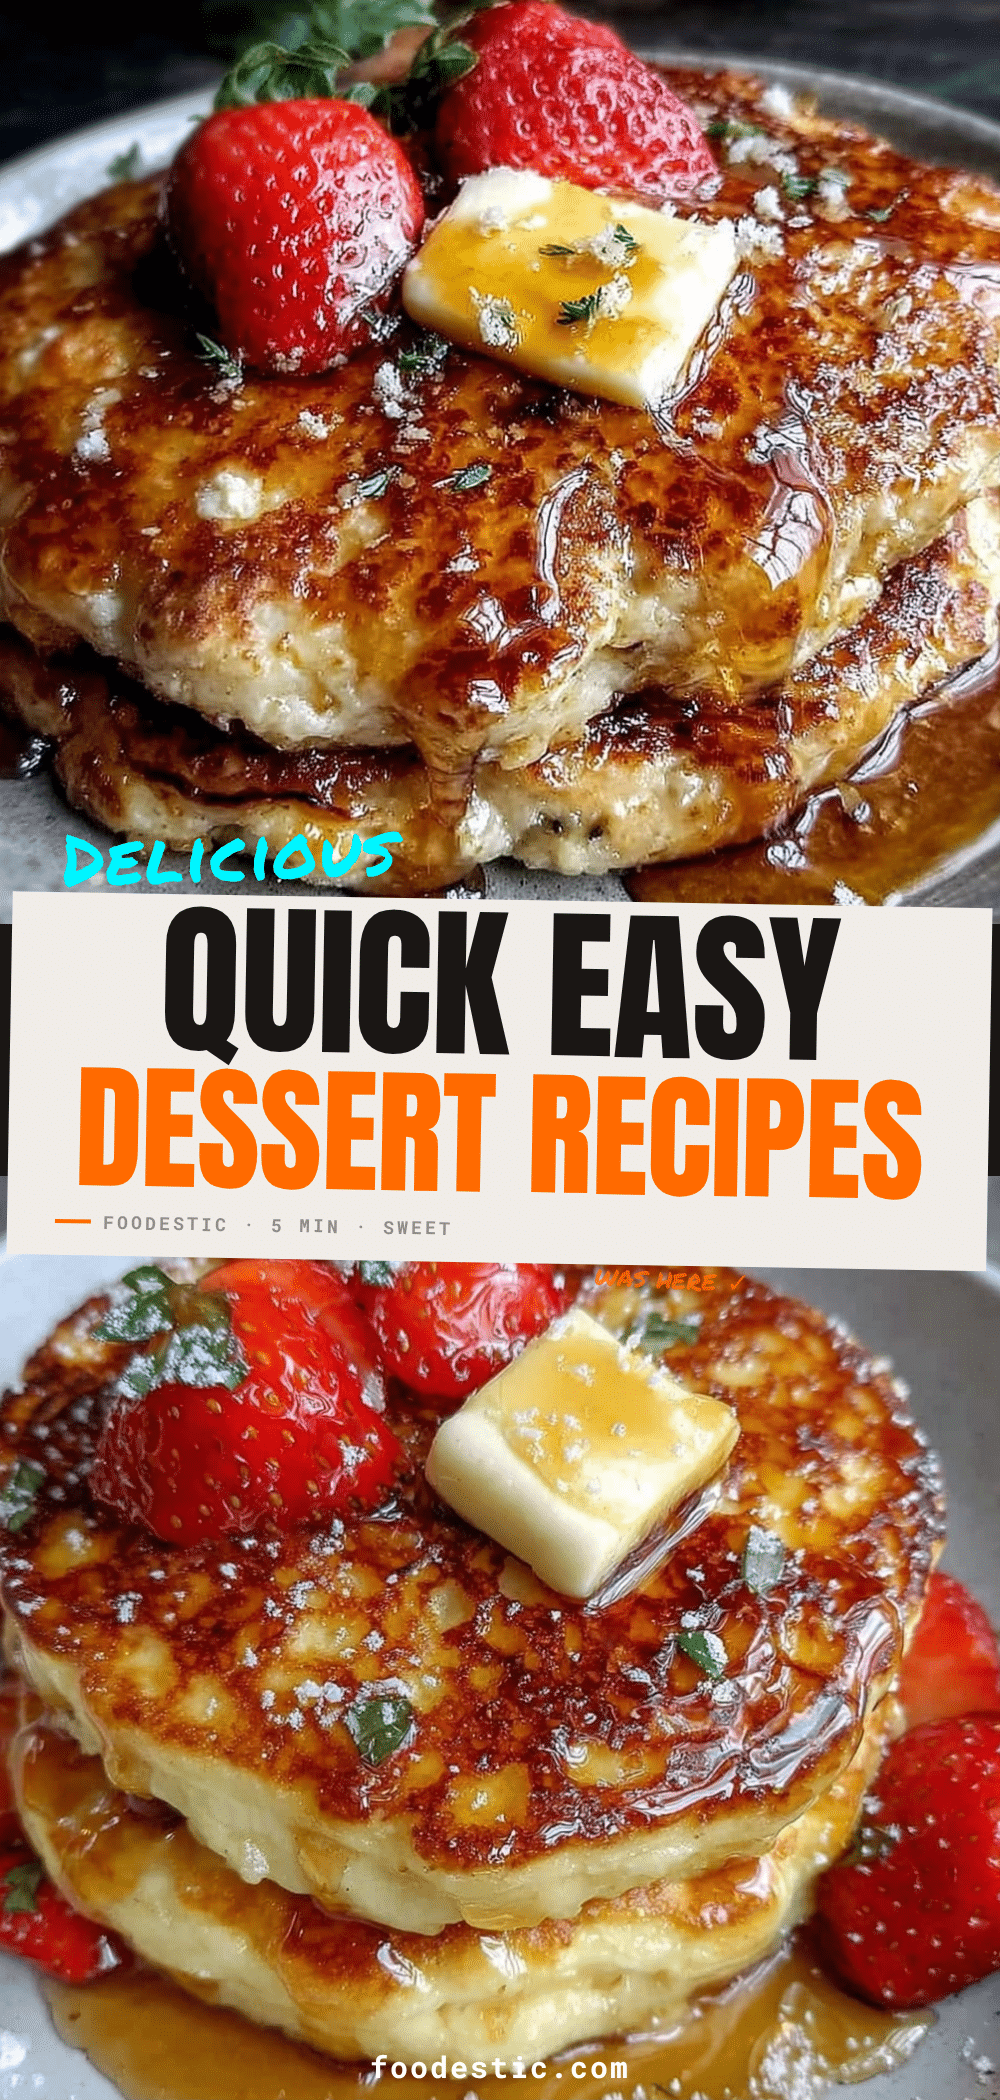
Pin This Recipe!
Fluffy Stack Pancakes: Best Meal Prep to Stay Full
- Total Time: 40 minutes
- Yield: 8 servings 1x
Description
These thick, airy pancakes are designed for meal prep, staying fluffy and satisfying even after being chilled and reheated. They provide a balanced breakfast that keeps you full until lunch.
Ingredients
- 2 cups (250g) All-Purpose Flour
- 2 tsp Baking Powder
- 1/2 tsp Baking Soda
- 1/2 tsp Salt
- 2 tbsp Granulated Sugar
- 2 cups (480ml) Buttermilk
- 2 Large Eggs
- 1/4 cup (55g) Melted Butter
- 1 tsp Vanilla Extract
Instructions
- In a large bowl, whisk together the flour, baking powder, baking soda, salt, and sugar until no clumps remain.
- In a separate medium bowl, whisk the buttermilk, eggs, melted butter, and vanilla extract until smooth.
- Pour the wet ingredients into the dry ingredients and gently fold together with a spatula until just moistened. The batter should remain lumpy; do not overmix.
- Let the batter rest on the counter for 10-15 minutes to allow the flour to hydrate.
- Heat a skillet or griddle over medium heat. Test readiness by sprinkling water drops; they should dance and evaporate. Lightly grease the pan.
- Pour about 1/4 cup of batter per pancake. Cook for 2-3 minutes until bubbles form on the surface and edges look set.
- Flip gently and cook for another 1-2 minutes until golden brown and springy to the touch.
- Place finished pancakes on a baking sheet in a 200°F (95°C) oven to keep warm while cooking the rest.
- Let pancakes cool completely on a wire rack before storing to prevent sogginess.
Notes
Ensure baking powder is fresh for maximum lift. Do not overmix the batter to avoid tough pancakes. Let batter rest for 10-15 minutes. Cool pancakes completely before storing to maintain texture. Can substitute buttermilk with milk plus vinegar/lemon juice. For dairy-free, use oil and almond/oat milk. For gluten-free, use a 1:1 GF flour blend with xanthan gum.
- Prep Time: 10 minutes
- Cook Time: 30 minutes
- Category: Breakfast
- Cuisine: American
Nutrition
- Serving Size: 2 pancakes
- Calories: 250
- Sugar: 6
- Sodium: 400
- Fat: 10
- Saturated Fat: 5
- Carbohydrates: 35
- Fiber: 1
- Protein: 8
Keywords: pancakes, meal prep, breakfast, fluffy pancakes, buttermilk pancakes, high protein breakfast, freezer friendly


